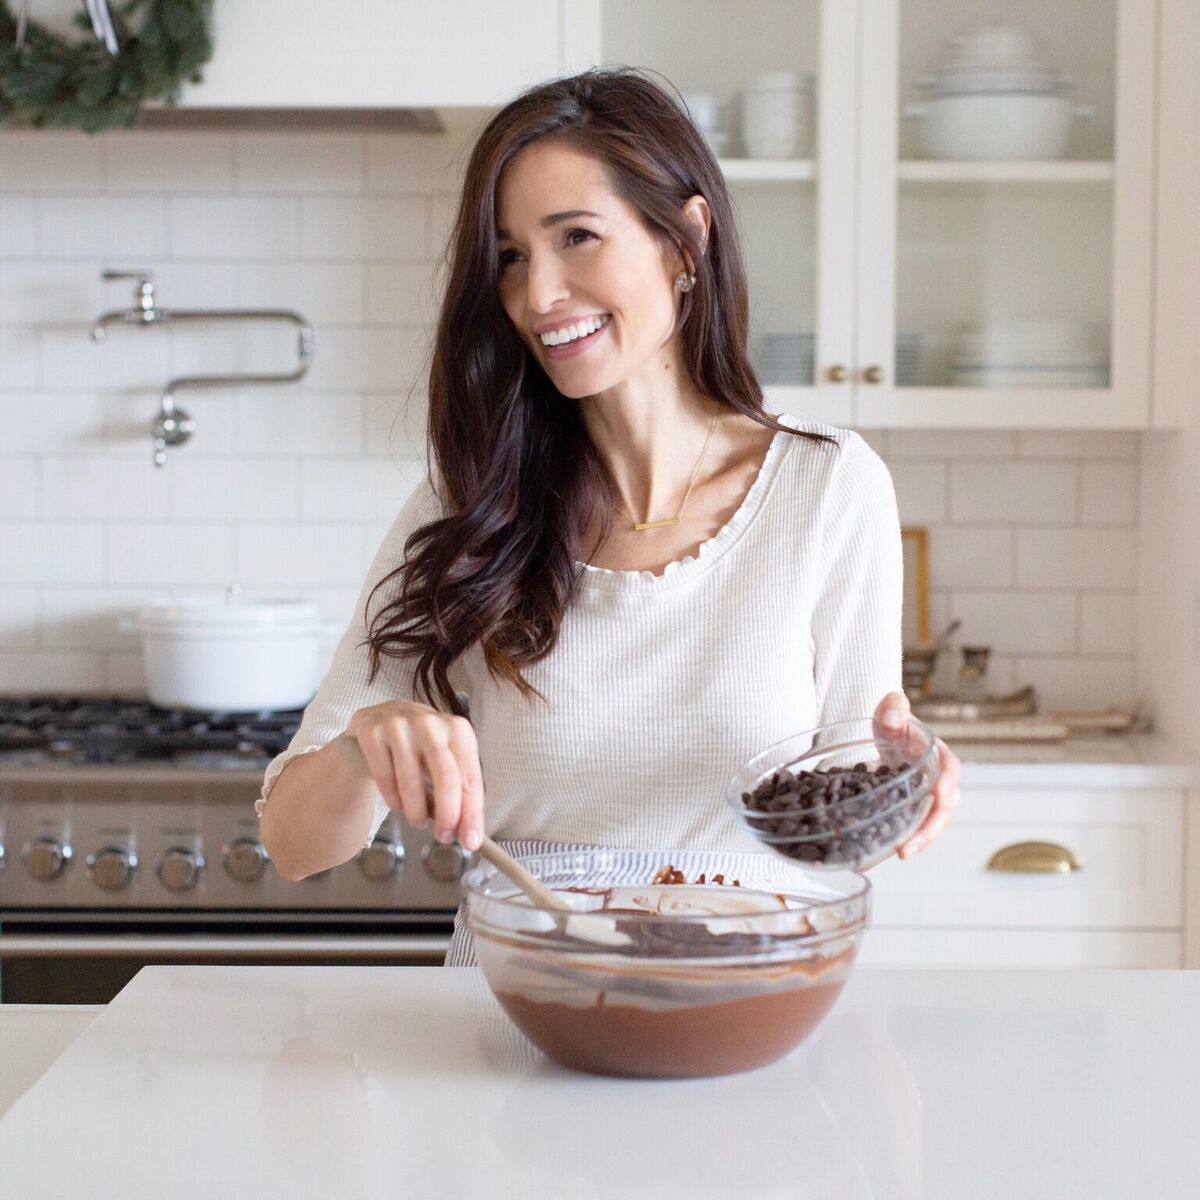
I vowed that this Christmas would be filled with fewer material things and less overall busy-ness and more time with friends and family, board games, and hand-made gifts made with love. Which is why I was so excited to partner with Ecole Chocolat to create this beautiful chocolate bark tutorial to share with you for the holidays!
I have always been a homebody, even as a kid. I started baking on my own at the age of 9 and spent a lot of my holidays in my youth happily catering my parents’ holiday parties, cross-stitching and making elaborate homemade Christmas ornaments in my spare time. I loved packaging up my creations as gifts with a special hand-written note. These gestures become more precious as time ticks on and everyone’s schedules are over-flowing. When was the last time you received a hand-written note?
Making chocolate bark is so PERFECT for this time of year for a number of reasons! First, once you know the rules for making chocolate (and you really do have to follow them, trust me on this one), it’s really so easy and is such a fun activity to do with your girlfriends. Homemade chocolate bark is also incredibly impressive looking and can be made in advance. The sky is the limit when it comes to the variations. You can create a dark chocolate trail mix variation for the health nut on your list, or venture down the path of something stunning and indulgent like a marbled almond bark with edible gold flakes.
Chocolate and Girl Power
I got a bunch of us ladies together to make chocolate bark as a group and we had such a fun time sipping wine, playing old-fashioned Christmas music and creating our own personalized chocolate barks for gifts. The women in my life mean so much to me, which is another reason why I jumped at the chance to collaborate with Ecole Chocolat. Ecole Chocolat means “chocolate school” in French. Since 2003, they have helped people from all over the world discover their passion for chocolate through their online programs. Their graduates have discovered a new passion and many have even opened award-winning chocolate businesses. Over 70% of Ecole Chocolat’s graduates are women, and their programs inspired many to take the leap into entrepreneurship. As an entrepreneur myself, their vision – to support women in achieving their personal and business goals – really resonated with me.
Choosing Quality Chocolate
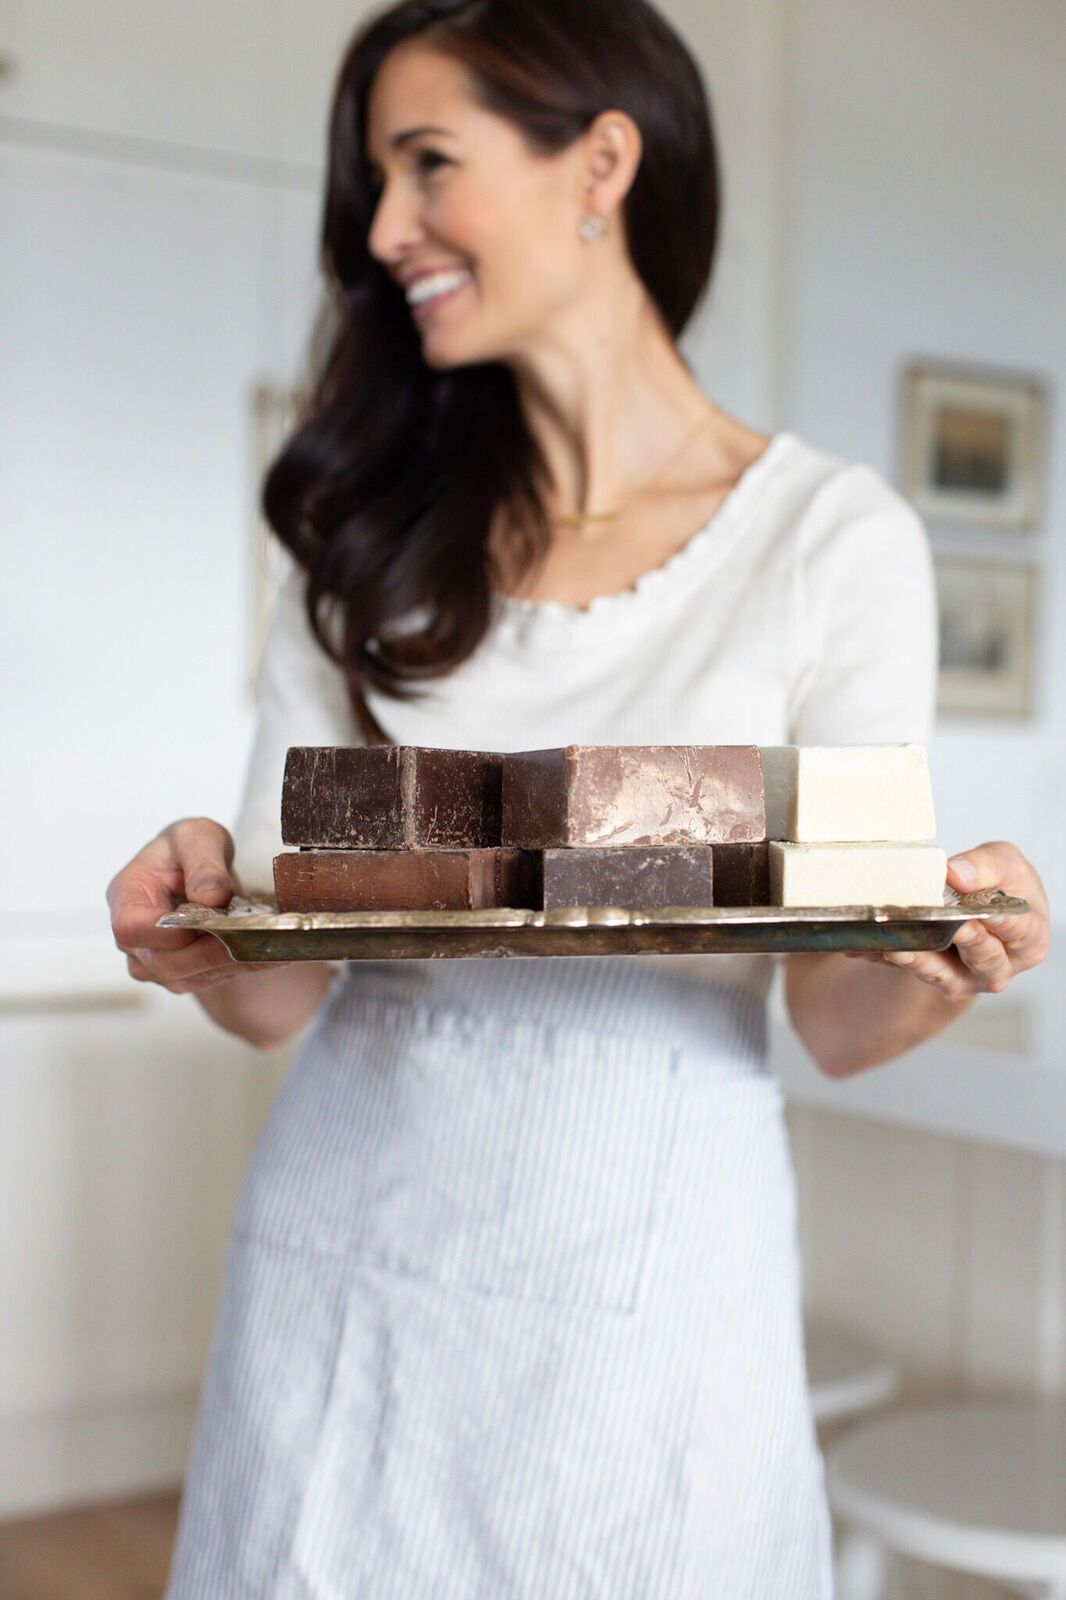
Quality matters, especially when it comes to food. And when it comes to chocolate, a high quality chocolate will leave you feeling so much more satisfied (I prefer dark chocolate, you need so little to satisfy a sweet craving and it contains more antioxidants than milk chocolate). When you are looking for chocolate for this recipe, choose the highest quality chocolate you can find. Chocolate is the star ingredient in this recipe, so you want to choose a chocolate with great flavor. Similar to wine, chocolate can have different flavors depending on where the cacao beans are grown. It can be really fun to taste chocolate made with beans from different origins to see how they are different, so you can choose which one you like the best!
Some brands that you can easily order online include Callebaut, Cacao Barry, Guittard and Valrhona. You may also be able to find one or all of these brands at your local specialty grocery store. These are companies known for making chocolate from high quality cocoa beans with the very best flavors.
When you see a percentage on the packaging, the only thing that tells you is how sweet the chocolate is – the ratio of cocoa beans to other ingredients. It doesn’t tell you anything about quality or flavor. For example, a 70% dark chocolate bar is 70% cocoa beans, and the remaining 30% is made up of sugar, plus perhaps vanilla, and perhaps an emulsifier like lecithin. Ultimately it comes down to personal preference, so you have to taste different chocolate to find the one you like. In comparison, the chocolate bars we grew eating contain less than 20% cocoa beans.
Chocolate Bark Recipe
TIME: 45 minutes
YIELD: 2 full cookie sheets of bark (approximately 48 pieces, depending on the size you break them into)
SUPPLIES:
- 2 cookie sheets (I used 13×18″)
- 2 Silpat™ mats or culinary parchment paper
- Offset spatula
- Thermometer – a probe or infrared thermometer work best because you need accuracy within a few degrees. This will be hard to read on a candy or other type of thermometer.
INGREDIENTS:
- 1.7 lbs (0.5 kg) quality semi-sweet or dark chocolate (either chunks or callets/buttons) – see “Choosing quality chocolate” above for buying tips.
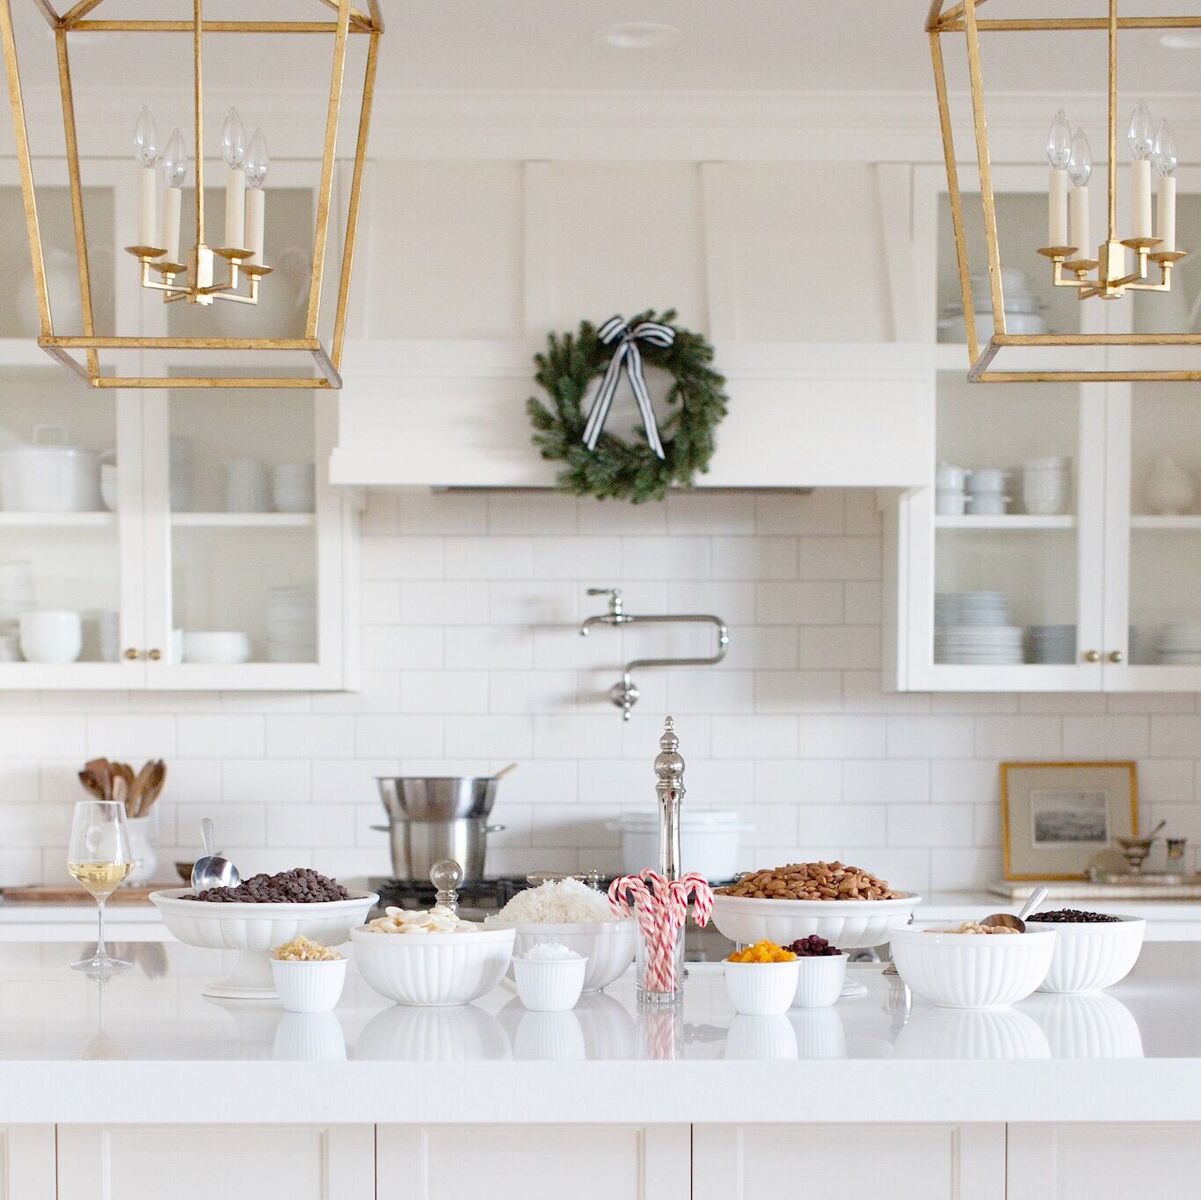
- Bark toppings (see list below for ideas), chopped or prepared as required, ready to use.
METHOD:
Place the Silpat™ liners on the cookie sheets, or cut the parchment paper to size and place on the cookie sheets. If the Silpat™ doesn’t fit your cookie sheet perfectly, you could flip it over and put the Silpat™ on the back of the cookie sheet.
Have your toppings ready to go, as once your chocolate is tempered, you will have to work quickly before it hardens.
To begin, the chocolate must be tempered in order for it to harden properly for your bark. For more on the science of tempering, click here.
Step 1 – Melt your chocolate
Chop the chocolate into small pieces if it didn’t come in buttons. The smaller the pieces, the quicker your chocolate will melt and temper. Set aside about 25 to 30 percent of the chopped chocolate. There is no need to be exact on this measurement, as you just want enough unmelted chocolate to start the seeding process.
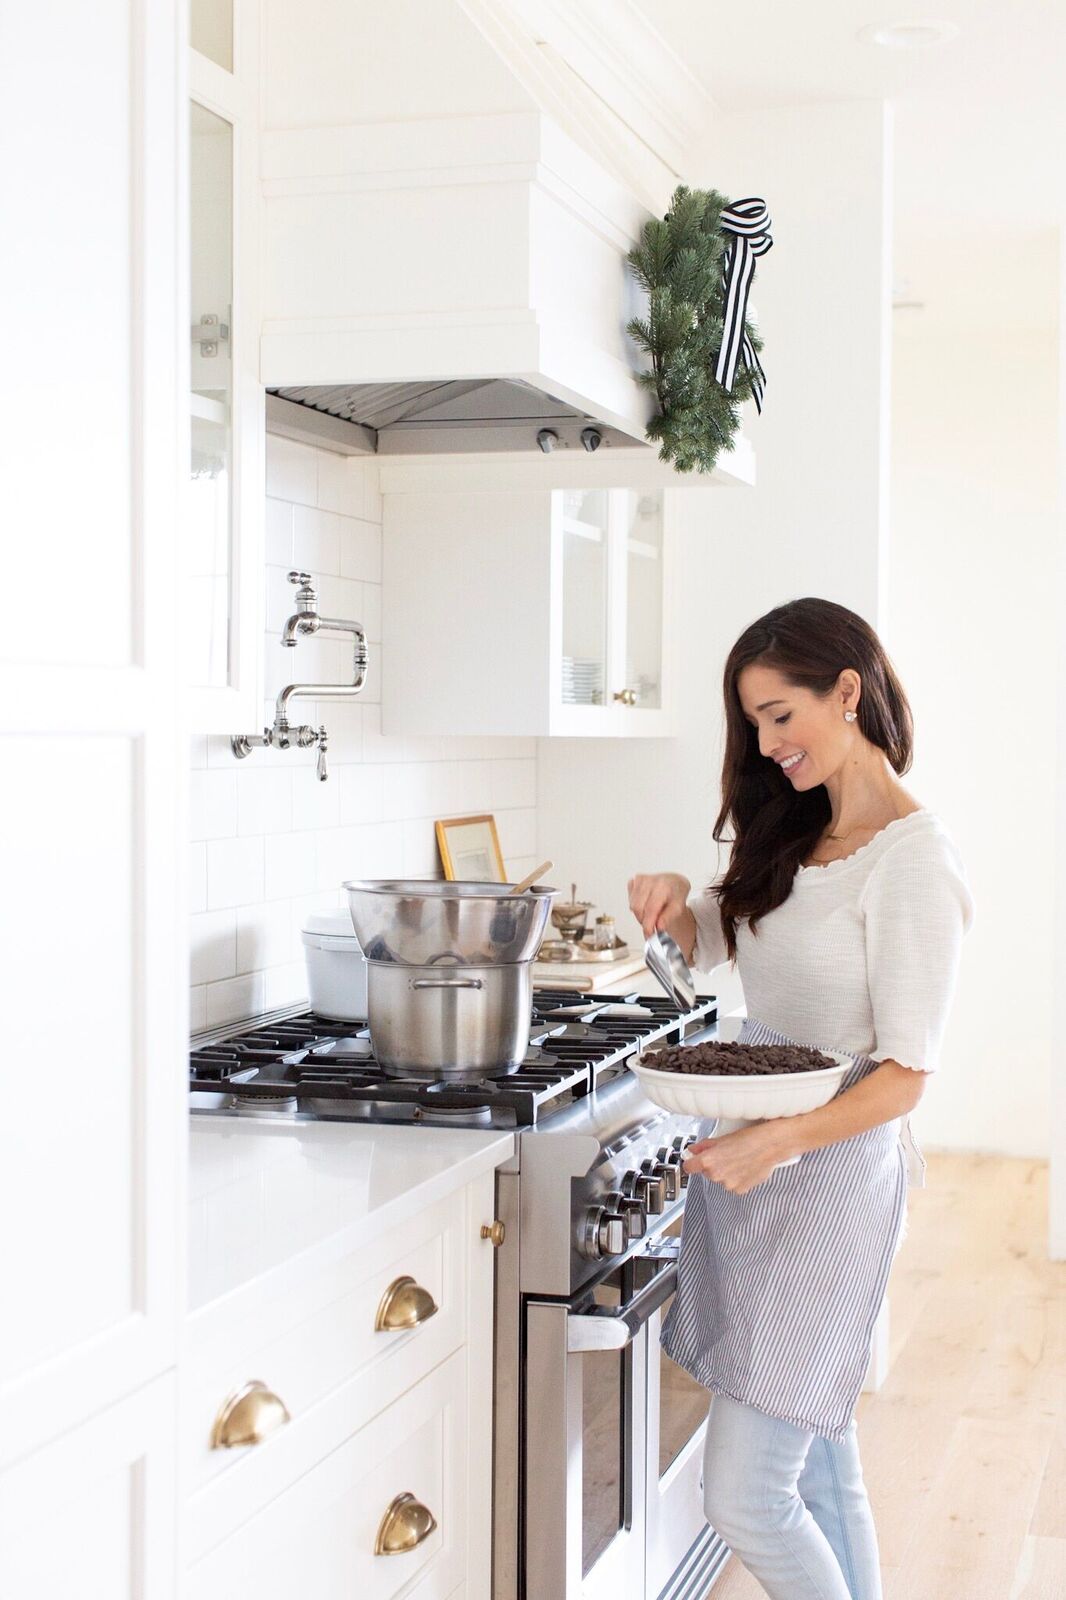
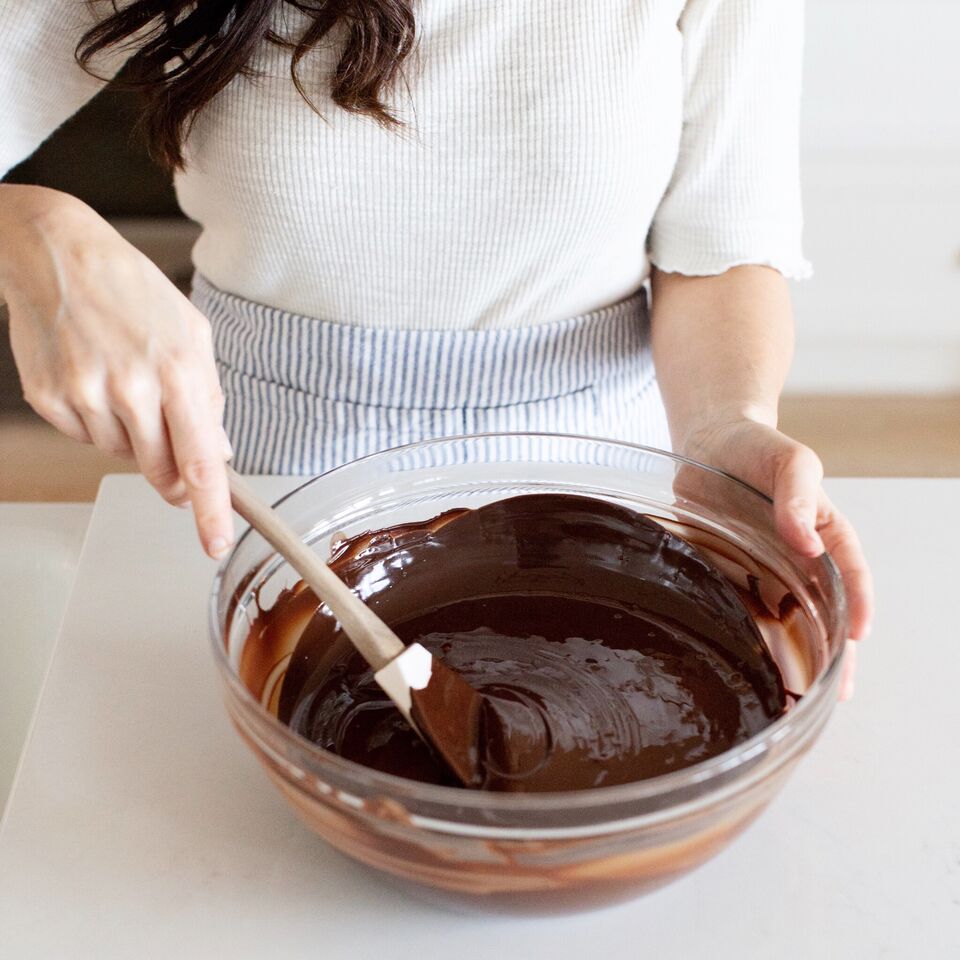
Place the remaining 70 to 75 percent of chopped chocolate in a microwave-safe bowl and microwave on half-power, being very careful to stir the mixture every minute until it is almost completely melted, which should take about four to five minutes. You can also use a metal bowl over a pot of simmering water (or a bain-marie), just make sure there are no gaps between the side of the bowl and the side of the pan, that the bowl isn’t touching the water, and that no water gets into the chocolate.
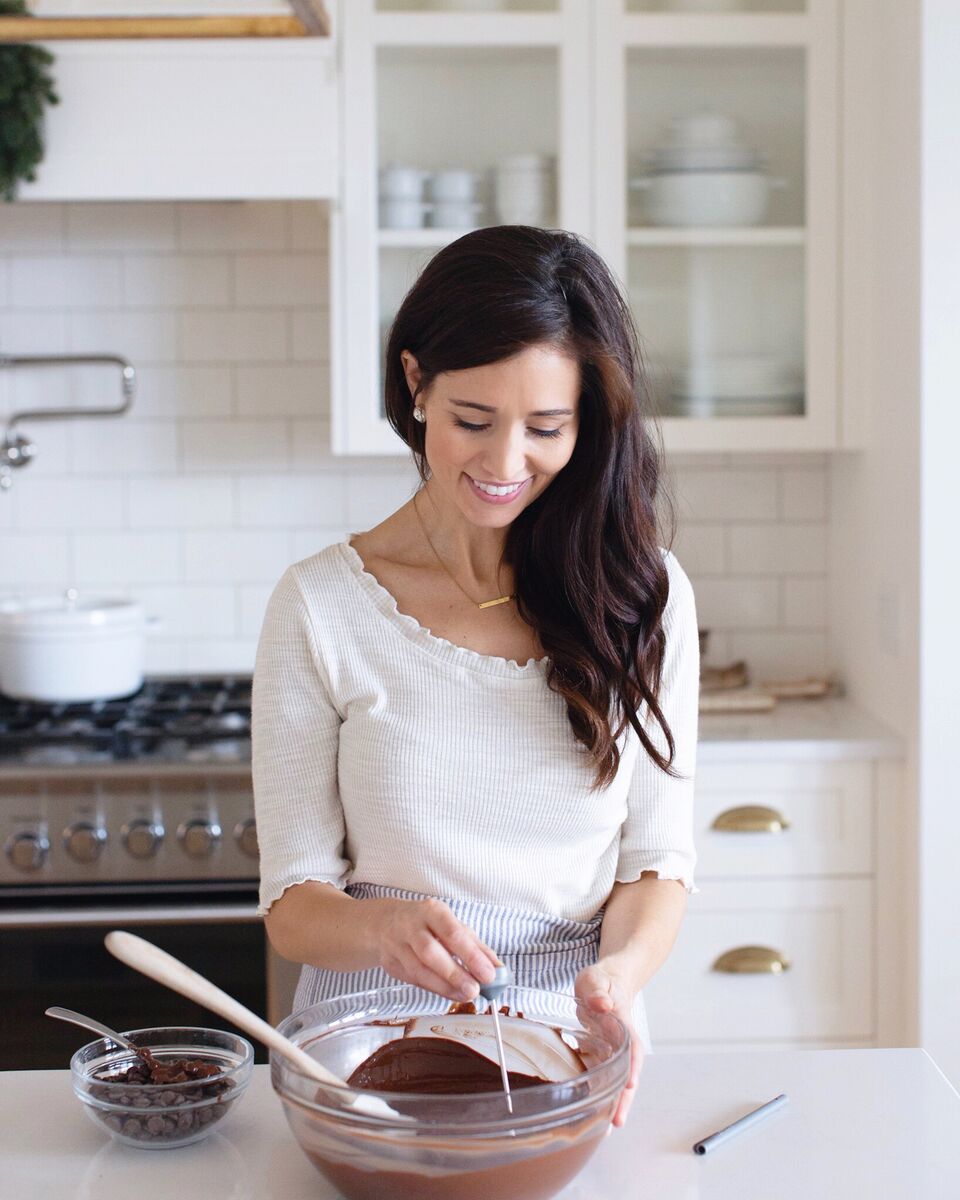
Remove the bowl of chocolate from the microwave and stir to cool it slightly. Removing the bowl before all the chocolate is completely melted will help prevent overheating. You don’t want your chocolate to burn. Those last bits of solid chocolate will melt as you stir. Using a thermometer, check the temperature of the melted chocolate—it should be between:
- Dark Chocolate: 114 – 118° F (46 – 48° C)
- Milk Chocolate: 105 – 113° F (40 – 45° C)
- White Chocolate: 100 – 110° F (37 – 43° C) Note: be very careful as the high milk and sugar content in white chocolate will cause it to burn easily.
I’ve indicated a range of temperatures above as not all thermometers are perfectly accurate.
Step 2 – Temper the chocolate mass by adding the seed chocolate you have set aside
Start adding handfuls of the chopped chocolate you set aside to the melted chocolate. Stir in this “seeding” chocolate continuously until the desired temperature (see below) is reached and the bits have dissolved completely. This could take anywhere from 10 to 15 minutes, depending on the temperature of your environment. Your chocolate should now be tempered.
- Dark chocolate should be between 88 – 89° F (31° C)
- Milk and white chocolates should be between 84 – 86° F (29 – 30° C)
Make sure to stir the tempered chocolate and check the temperature during the time you are using it for dipping or molding. You can put the tempered chocolate mass in the microwave for 10 – 15 seconds at half-power if the temperature starts to drop. Just make sure that you don’t raise the temperature above 90° F (32° C) or you will lose your temper and have to start over again.
A heating pad put around the bottom and sides of the bowl will help if you are doing a lot of work at one time. Again, make sure the heating pad doesn’t raise the temperature of the chocolate too high. Keep stirring and checking the chocolate mass with a thermometer.
Step 3 – Make your bark
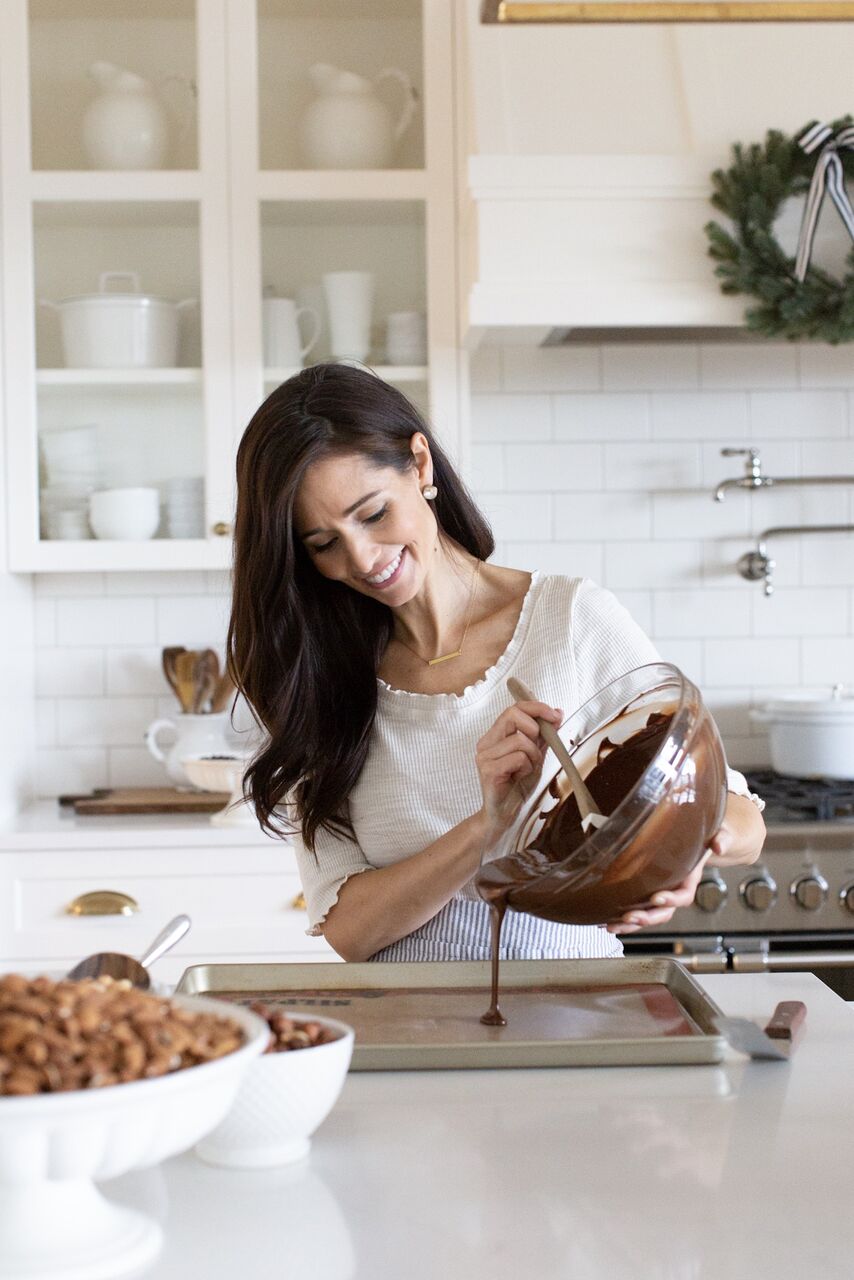
Now that your chocolate is tempered, pour it onto the first of your prepared cookie sheets (each sheet should require about half the chocolate). Keep the remaining chocolate warm while you work on the first sheet.
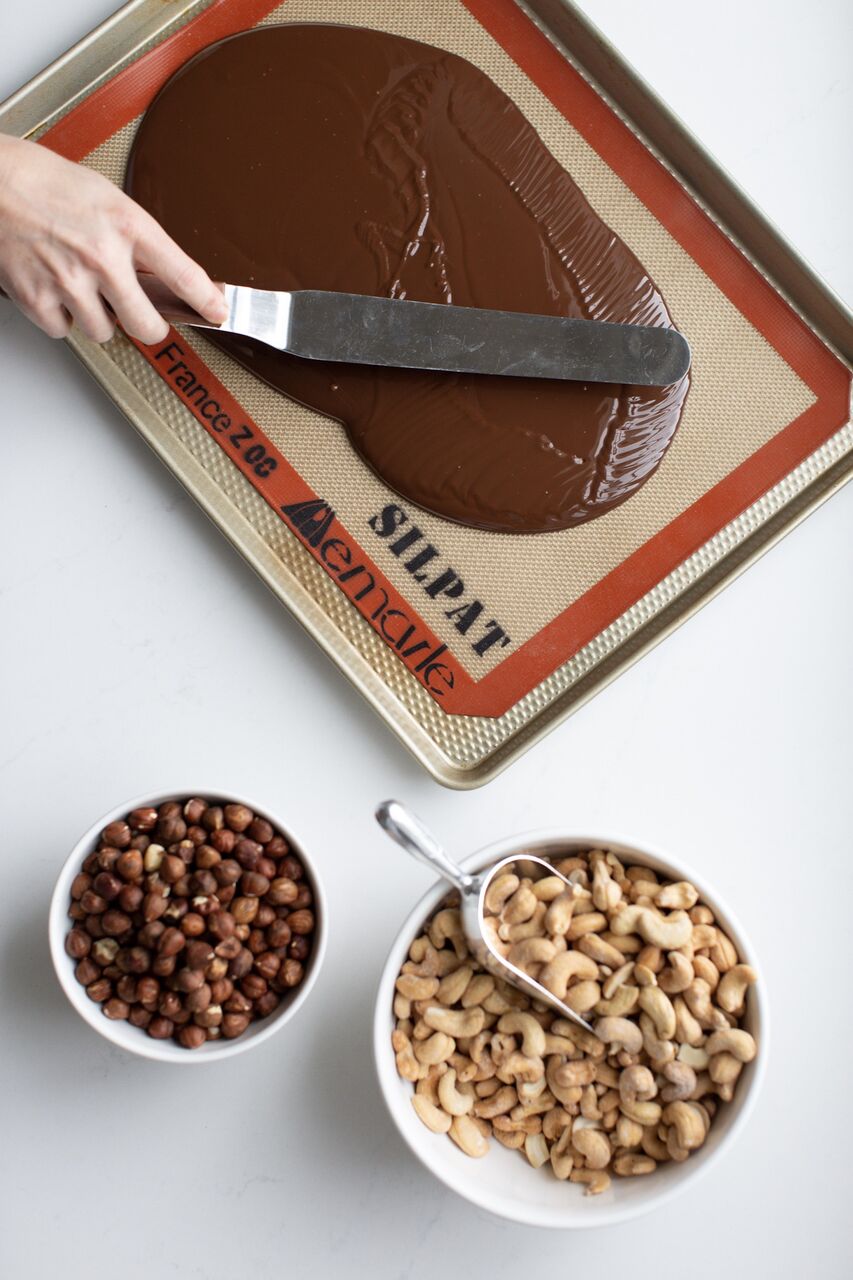
Spread it with your offset spatula so that you have an even layer of chocolate on each cookie sheet. The chocolate should be between ¼ and 1/8 of an inch thick.
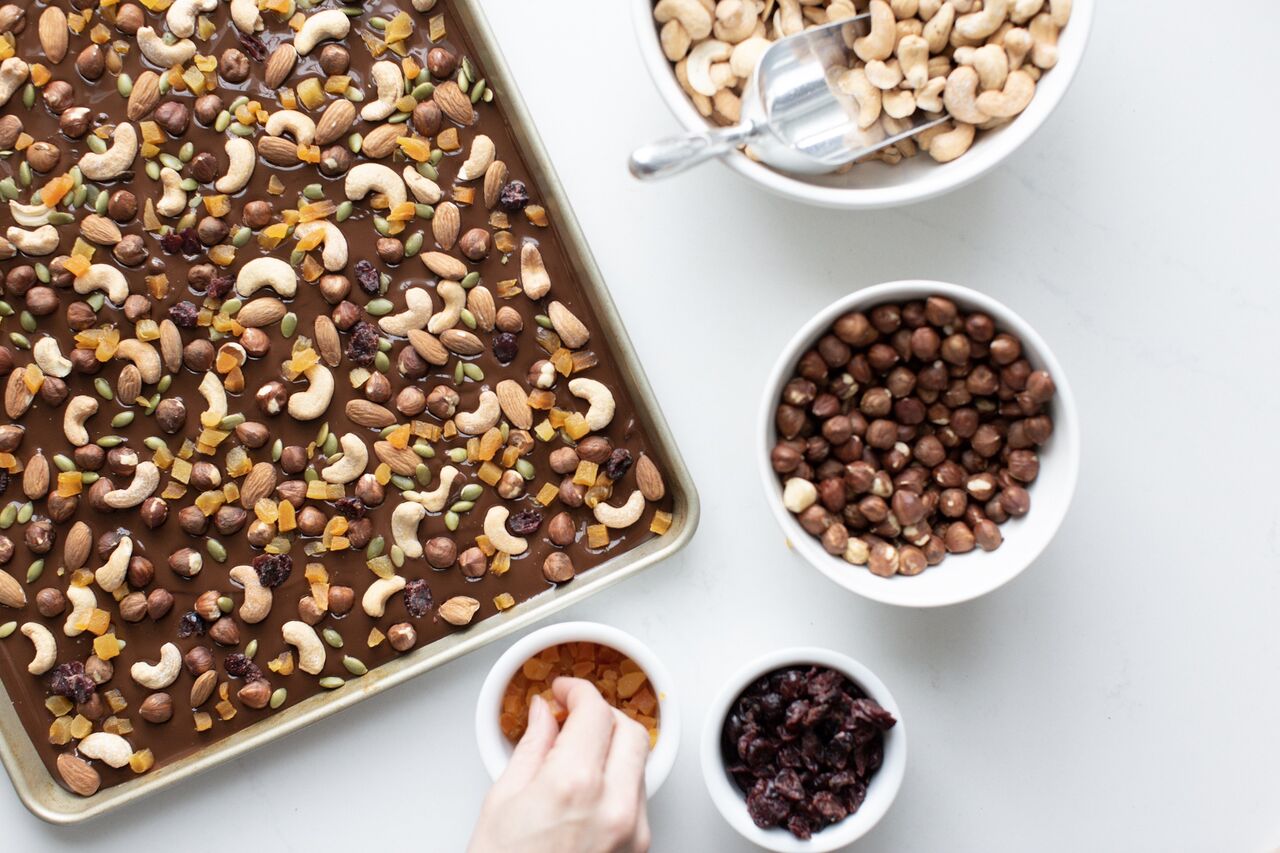
Working quickly, scatter your chosen toppings over the surface of the bark (see below for possible toppings). Press them in very lightly so the topping bits adhere to the chocolate, but don’t press through to the bottom. As soon as you spread it, the chocolate will begin to cool and harden, so you need to add the toppings while it’s still warm. Score the bark with a sharp knife while soft to help with cutting into uniform pieces later. Be very careful not to cut all the way through to the Silpat™ or parchment paper underneath.
Prepare the second sheet with the remaining chocolate and toppings.
Once both sheets are done, place the cookie sheets in the fridge for 5 minutes so the bark begins to harden. Remove the bark from the fridge and allow it to continue to harden. Depending on your room temperature and the thickness of your bark, this should take between 10 – 20 minutes. Once the bark is completely hard, remove it from the Silpat™ or parchment to a cutting board. Cut it with a sharp knife along the score lines, and then break it into pieces. Package as desired or store in an air-tight container in a cool cupboard or room.
Bark can be stored up to the shelf life of your toppings.
Chocolate Bark Toppings
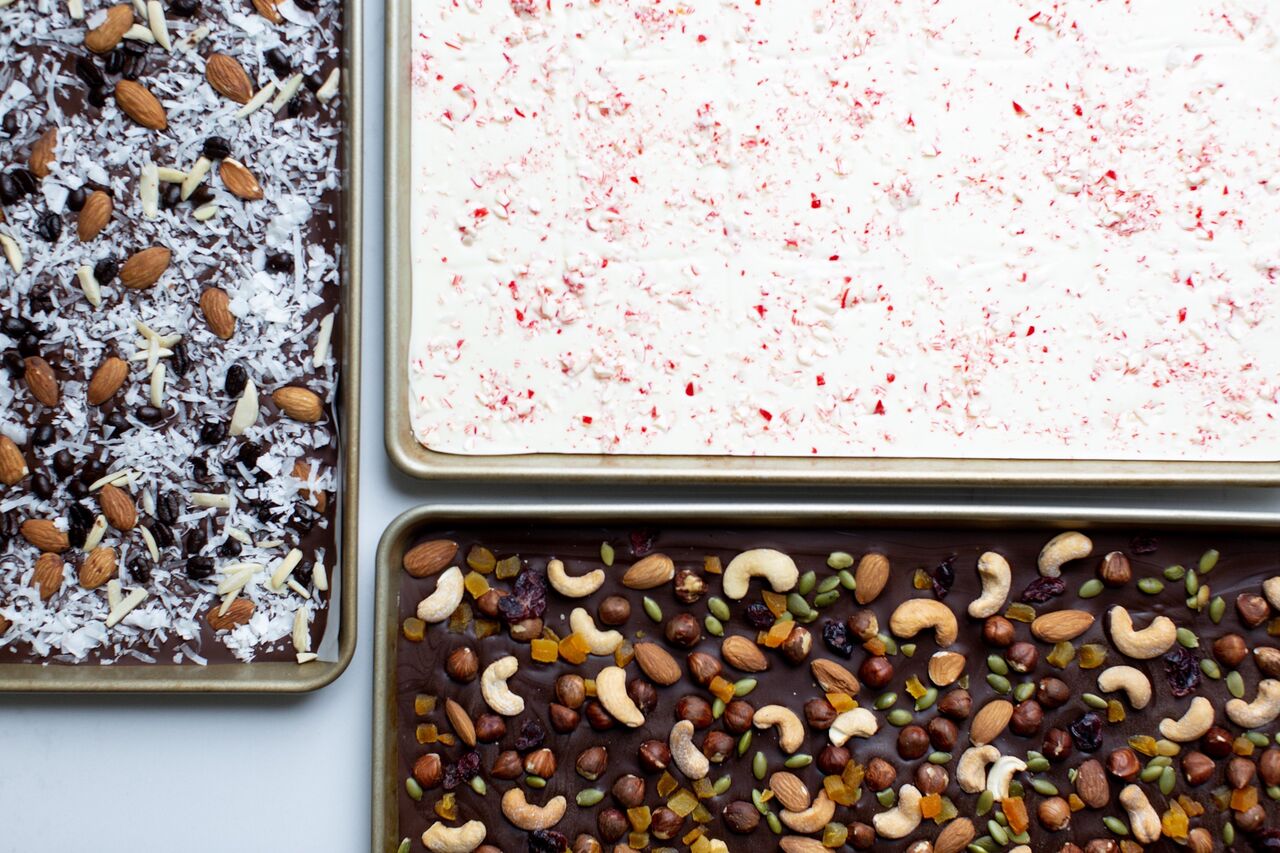
The sky is really the limit here and you can let your creativity run wild. Here are a few ideas for inspiration!
- Freeze dried raspberries or strawberries and pistachios
- Dried sour cherries (or dried cranberries) and candied orange peel
- Sea salt
- Sesame seeds, pumpkin seeds
- Candied ginger
- Chopped almonds and cocoa nibs
- Chopped peanuts and crushed toffee
- ‘Trail Mix’ (cashews, almonds, hazelnuts, pumpkin seeds, dried apricots and cranberries)
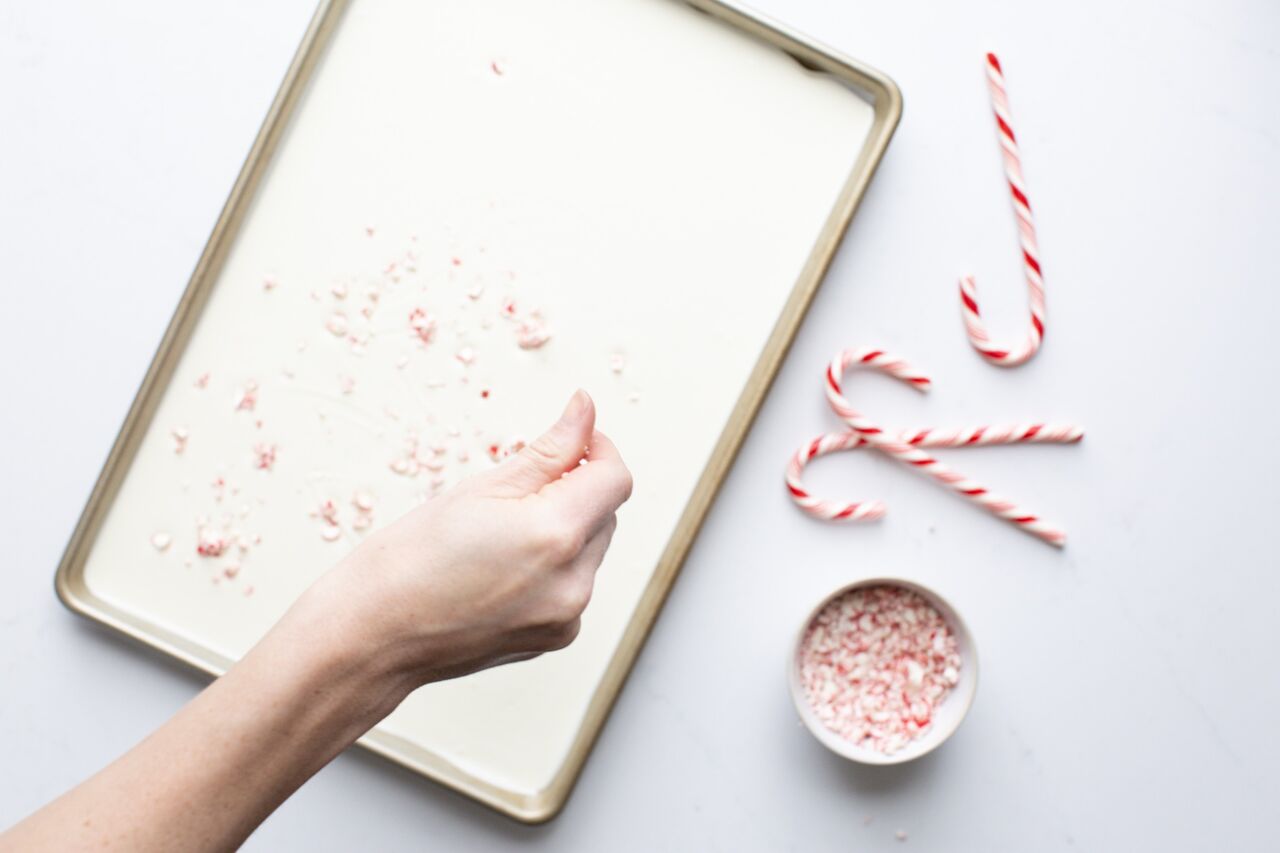
- Crushed candy canes
- ‘Coco Loco’ (espresso beans, coconut and almonds)
- Pretzels and peanuts
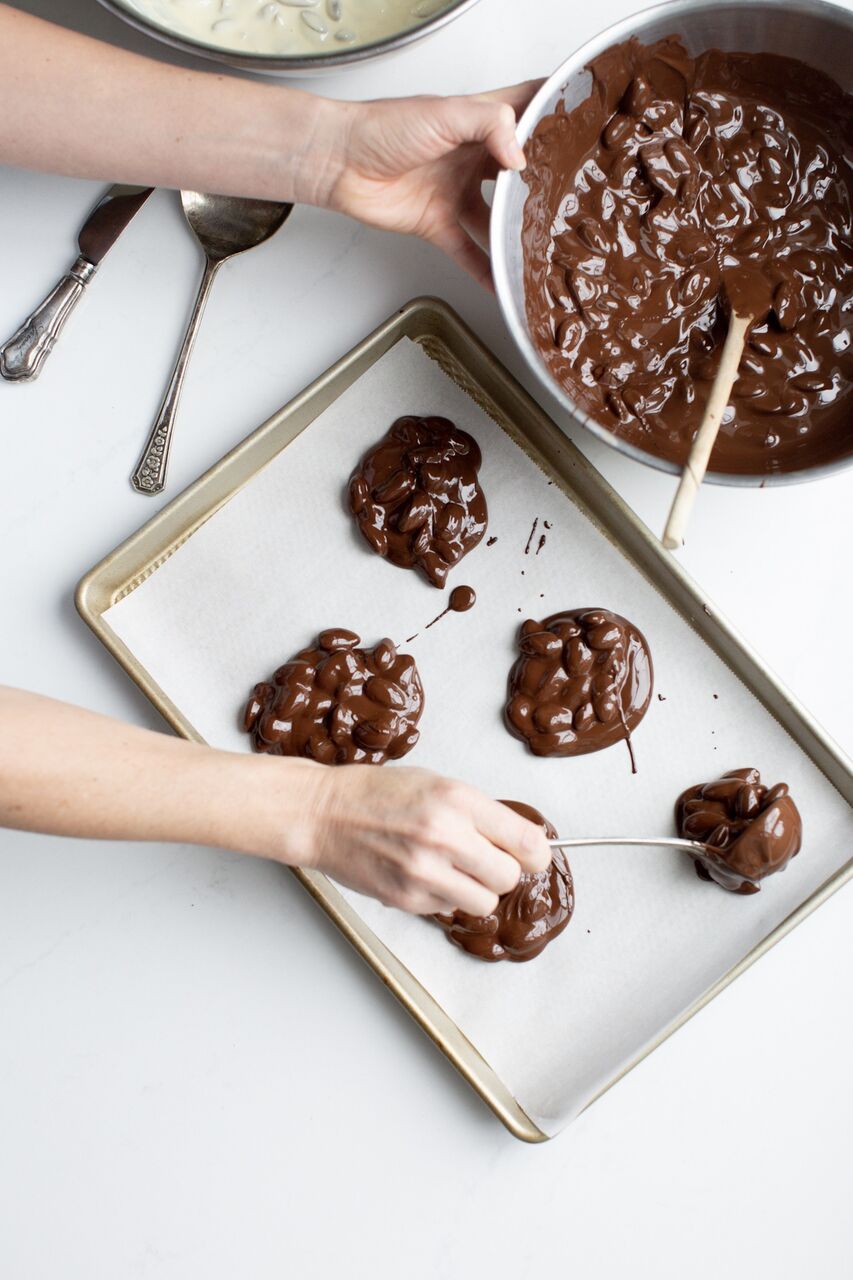
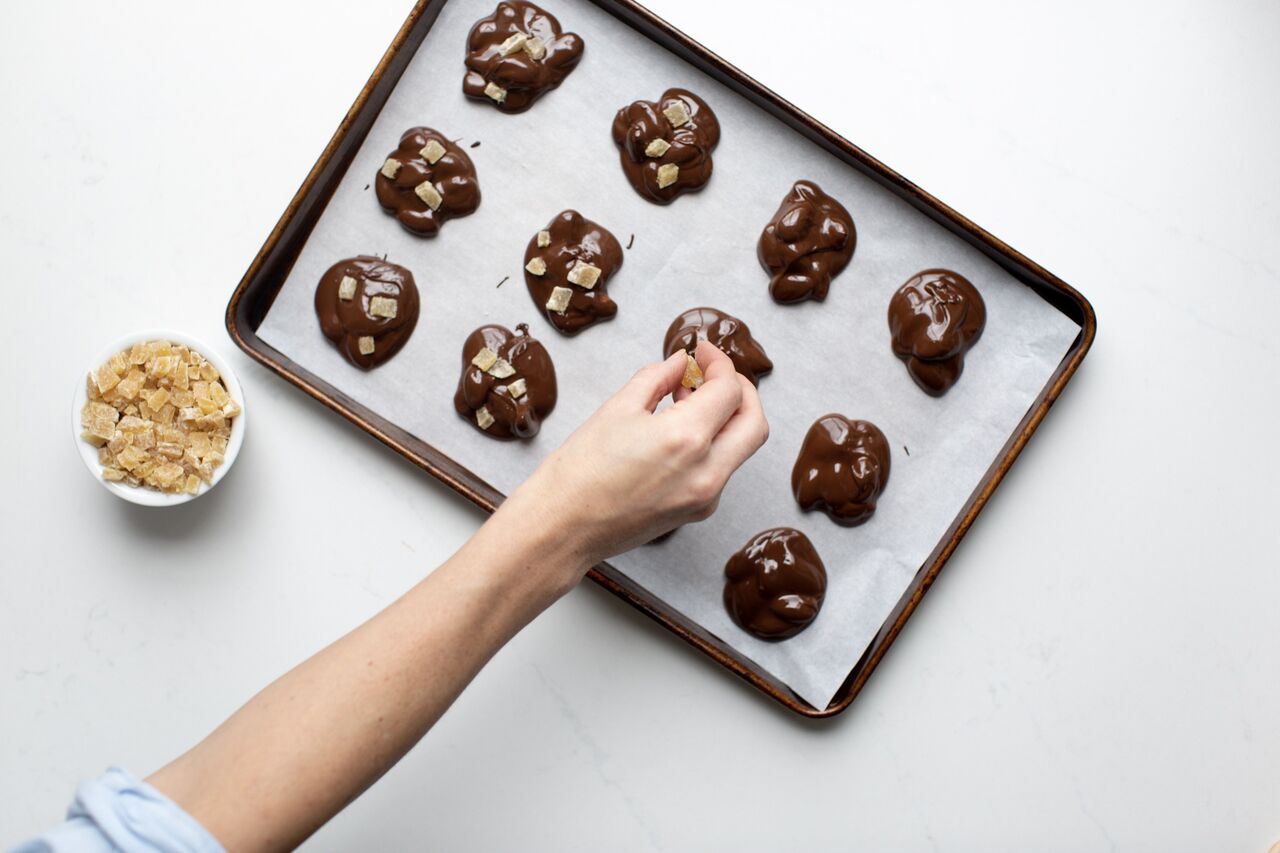
- Chocolate Bites (simply drop spoonfuls of melted chocolate onto a prepared sheet, spacing apart slightly, and top with anything you want – I love almonds and candied ginger! See the very last picture in the post for an example)
Marbled Almond Bark Tutorial
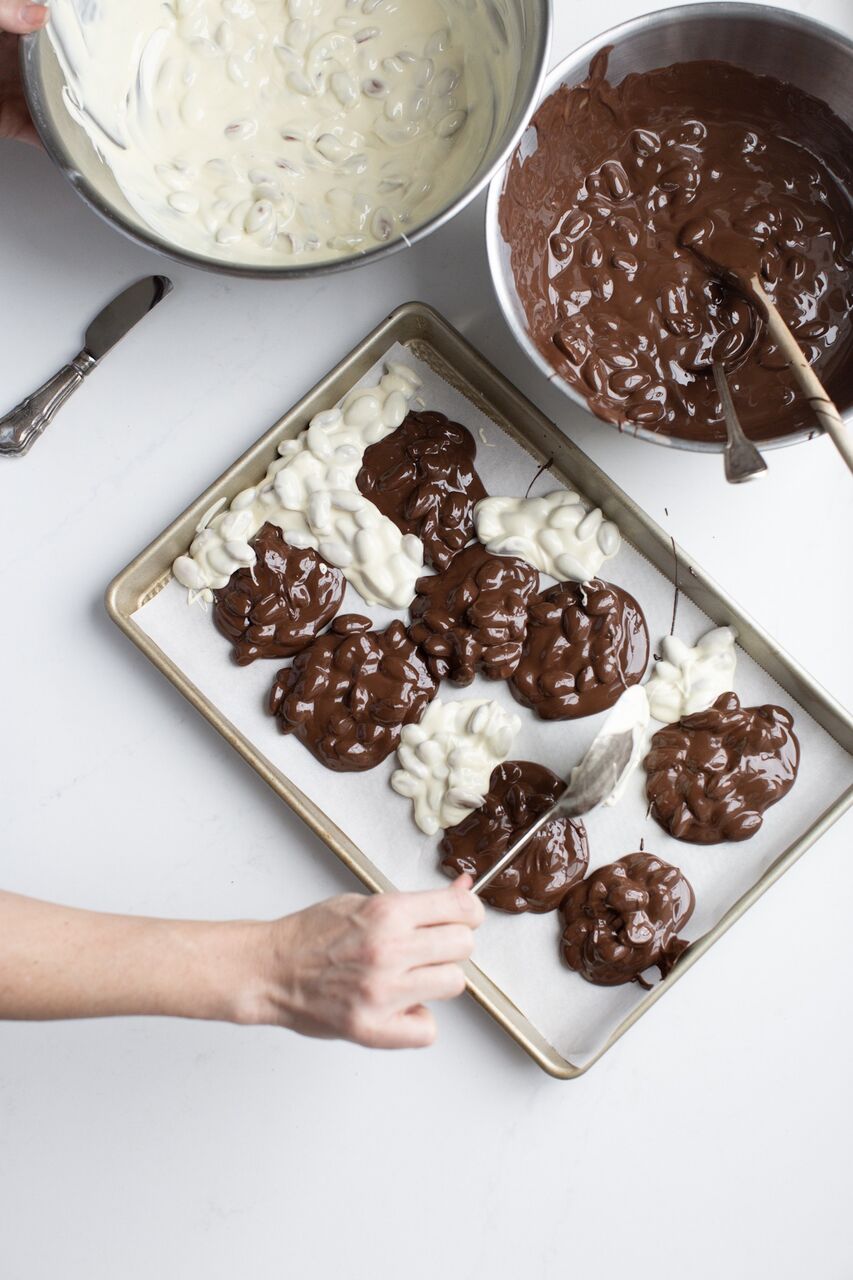
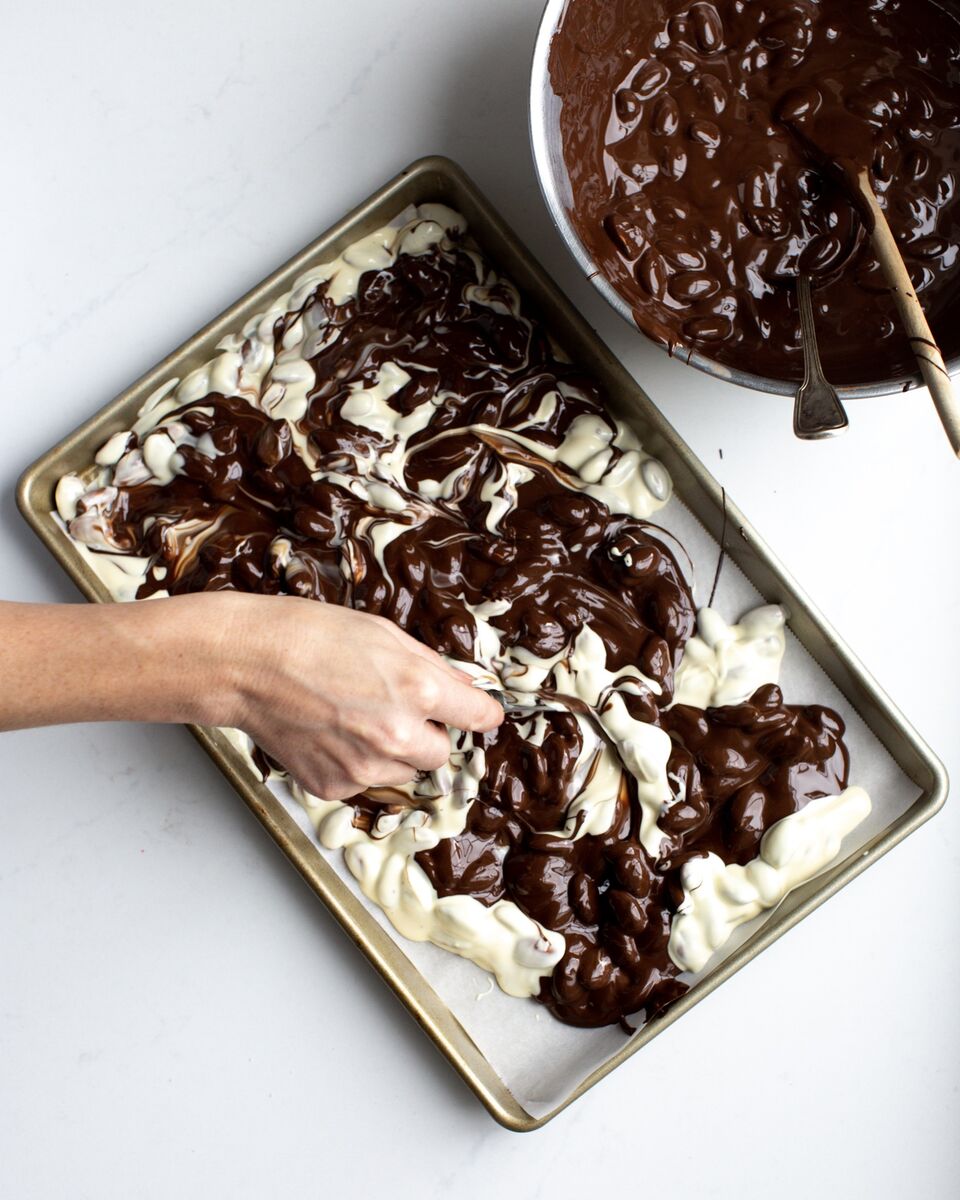
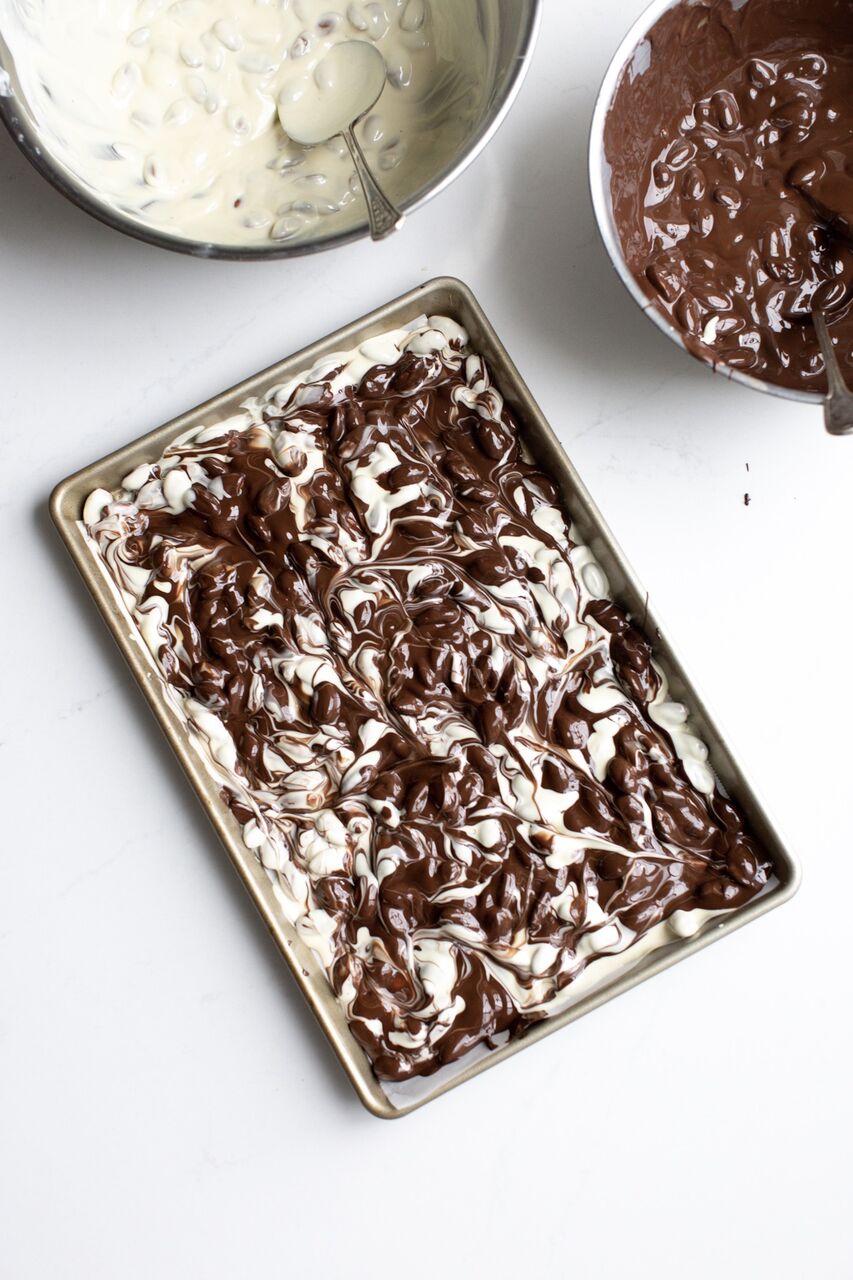
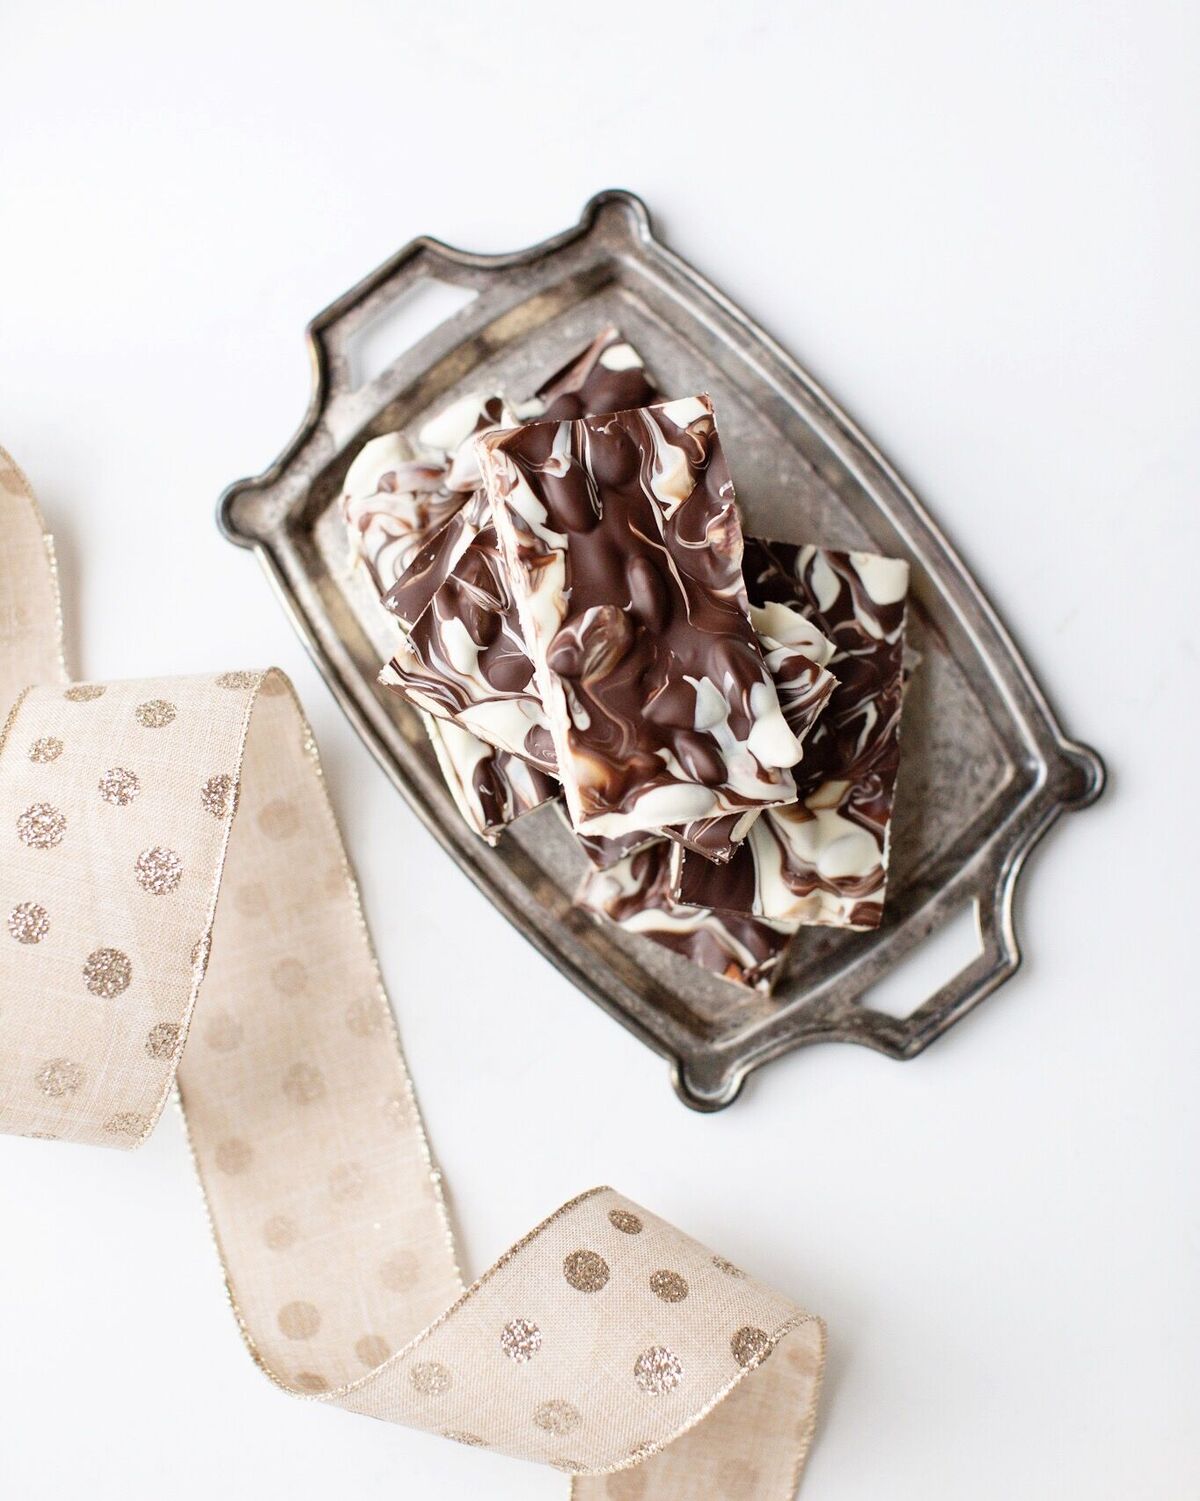
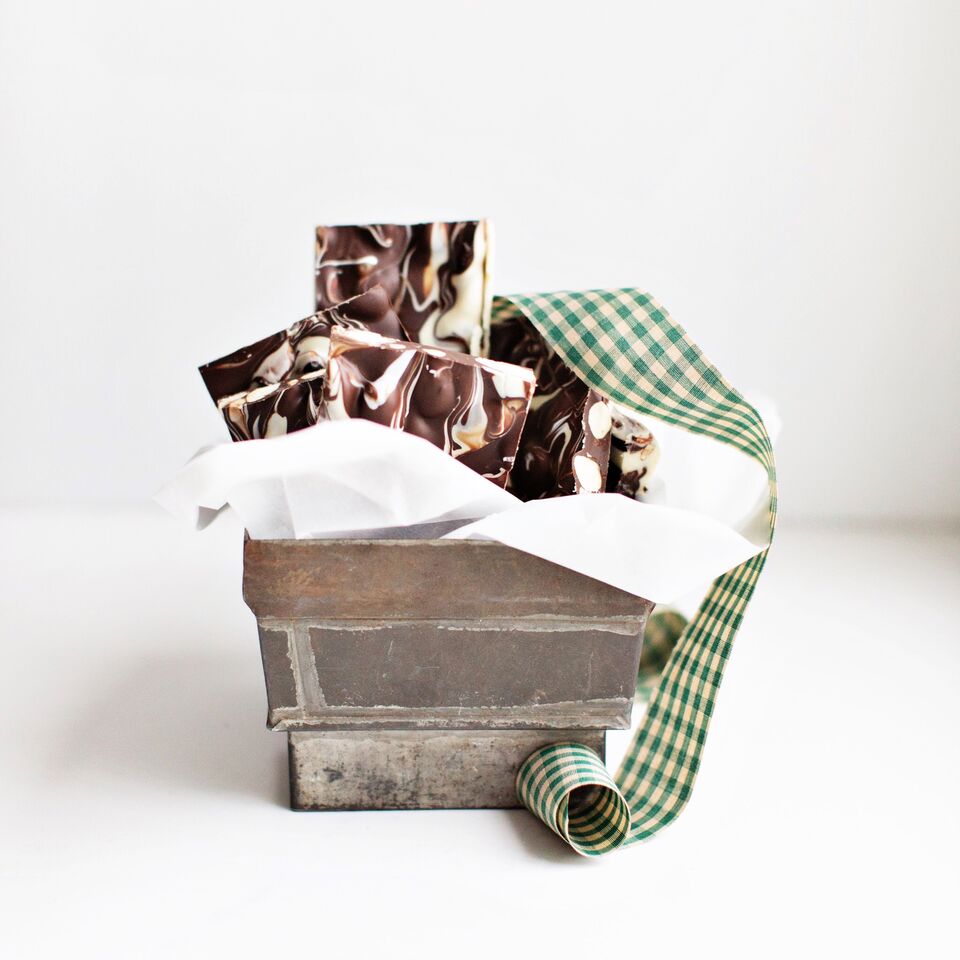
Marbled Almond Bark is so simple to make and is super impressive. To make this, simply melt the white and dark chocolates separately as per the instructions above, stir in toasted whole almonds, and drop large spoonfuls of each type of chocolate randomly on a prepared surface as per above. Draw a butter knife through the mounds of chocolate, dragging it along through each chocolate pile into the next in a swirling motion to create a marble effect. See the tutorial below! Follow the instructions above to set and score the chocolate bark.
Packaging Ideas
Chocolate bark is so impressive on its own that it doesn’t need too much in the way of fancy packaging. We often think of chocolate bark as a Christmas thing, but there are so many variations where you could make it all-year round (Valentine’s Day for instance, or even a pretty variation for Easter). That being said, here are some of my favourite ideas for packaging up the chocolate bark for some added wow factor!
- Vintage silver plates. You can buy these at thrift stores or local antique stores, and they make such a showy way to gift the bark (or bites: I ended up making some small almond ginger bites out of some extra chocolate dropped onto parchment paper and sprinkled with chopped candied ginger, they turned out so perfect!). You can wrap the plates in cellophane for transporting if desired and tie it with some velvet ribbon.
- Take-out style boxes. I bought these plaid ones last year at Superstore, but you can purchase these at most craft stores like Michaels. I like to line mine with parchment paper and tie it with a satin ribbon for extra wow!
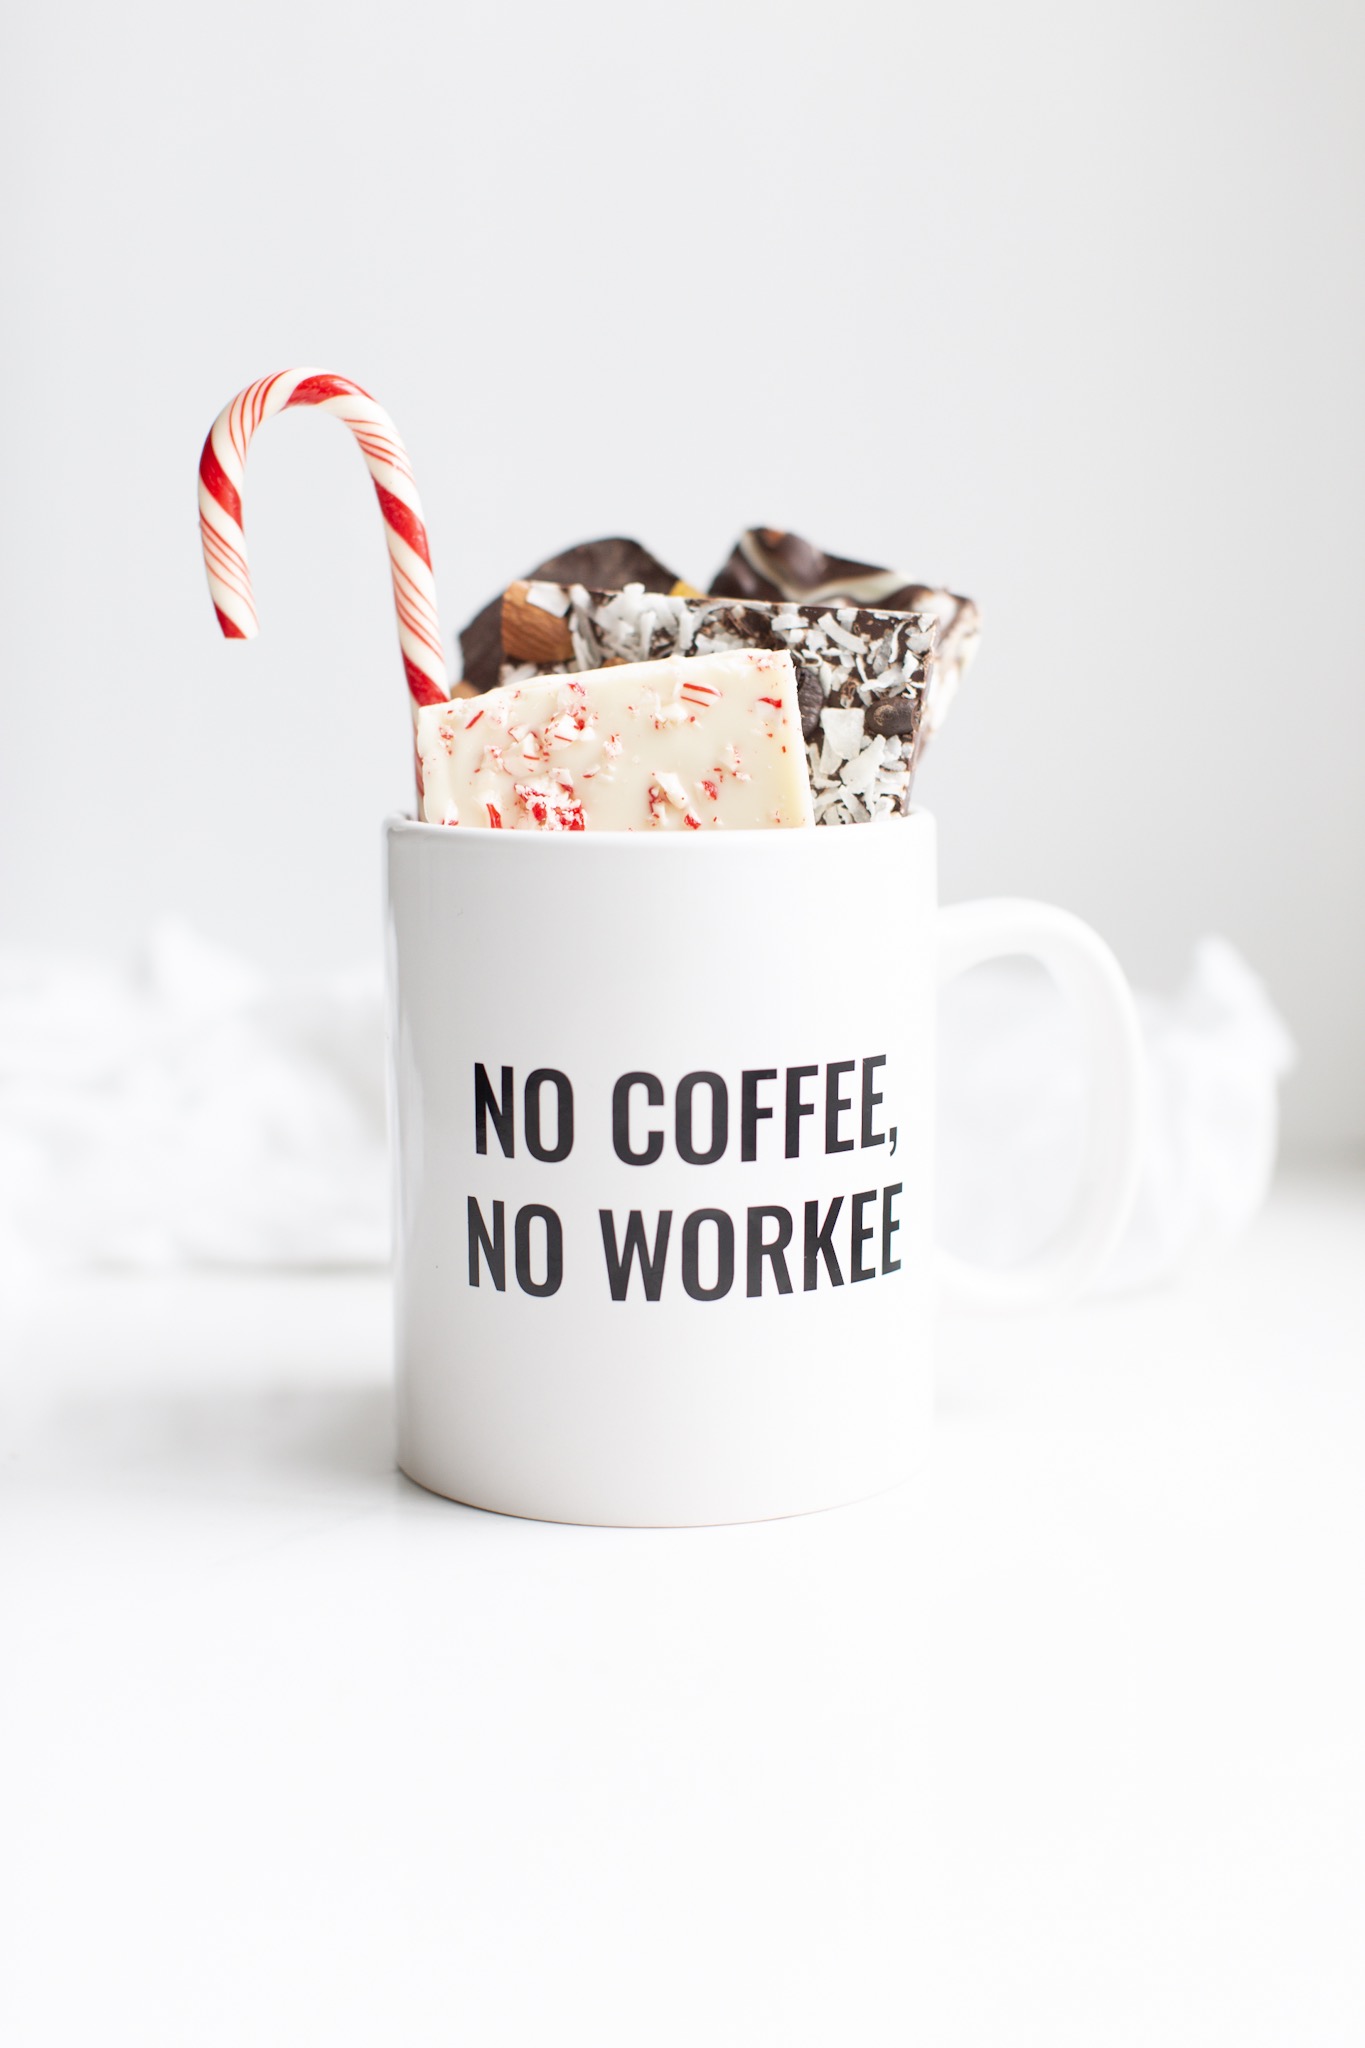
- Coffee Mugs. For the coffee lover on your list, find an oversized coffee mug and fill it with bark. You can wrap it in cellophane and tie it with ribbon at the top to finish it off.
- Tin or paper boxes. You can find these almost anywhere… of course I love the vintage tin ones! Line them with parchment and fill with bark.
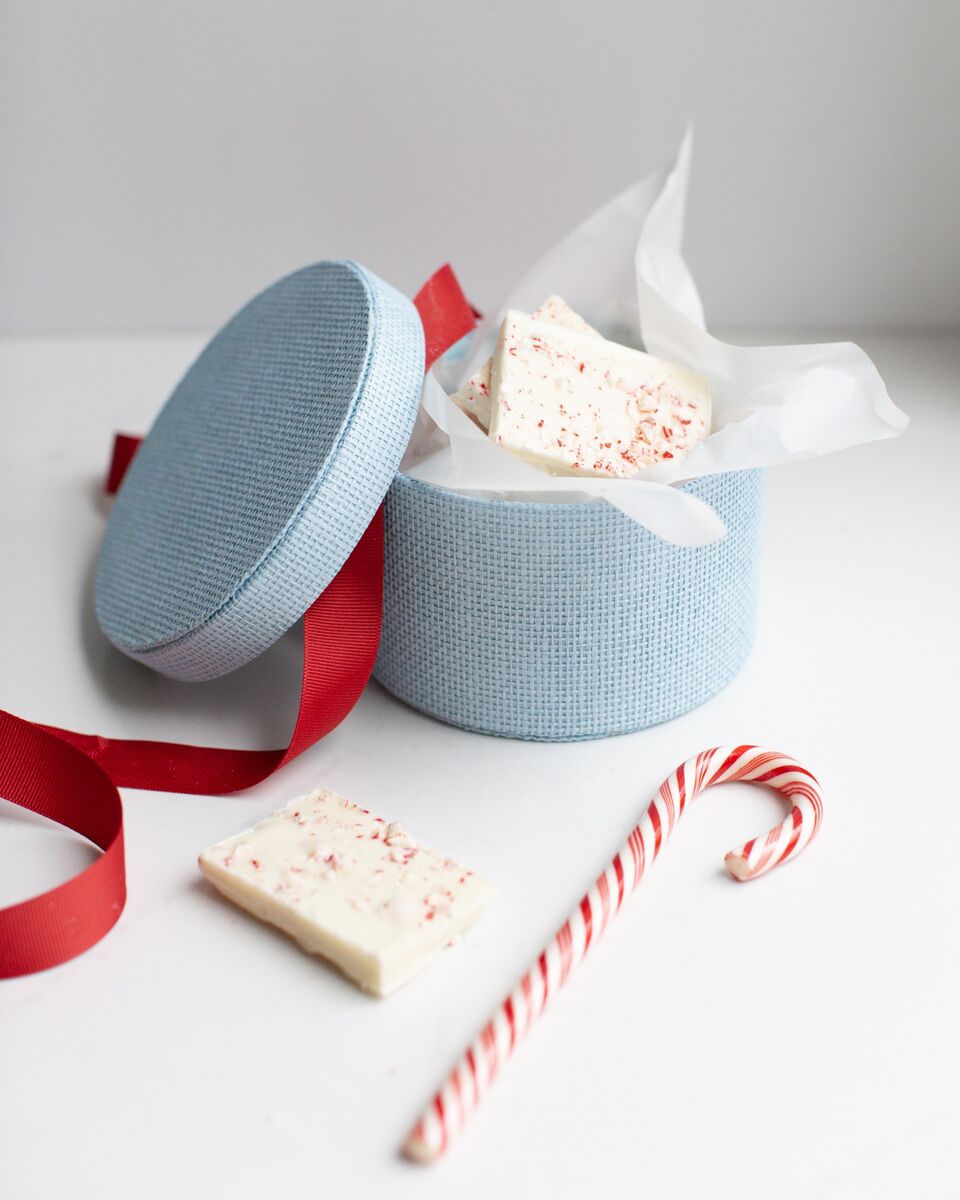
- Round linen boxes. I found these blue ones at IKEA, and I thought they were perfect for packaging up the white chocolate bark with candy canes. Tie them shut with red ribbon for the most impressive little gift box ever!
- Small gift bags or cellophane bags. Little gift bags are perfect for packaging up chocolate bark and you can buy the cellophane bags at craft or dollar stores everywhere (I tie the cellophane ones with ribbon).
Thank you Ecole Chocolat for sponsoring this post! All opinions are my own.
About Ecole Chocolat
Founded in 2003, Ecole Chocolat is a professional chocolate school that has helped hundreds of graduates from all over the world discover their passion for chocolate. Their online programs are perfect for anyone who wants to learn how to make chocolate, whether as a hobby, or for entrepreneurs looking to start a chocolate business. You will benefit from the expertise of their instructors who have been where you are and will share their knowledge and experience to help you succeed. Their comprehensive chef-led curriculum includes chocolate theory, tastings, techniques such as tempering, molding and dipping, and recipe development. Then for those interested in starting a business, they guide you through the process of developing a business plan. Explore the world of fine chocolate with Ecole Chocolat. You might discover a hobby that you enjoy, or a passion that takes your life down a whole new path. Whichever direction you choose to go, they will be with you every step of the way.







❤️ This is an absolute gift that you are so kind to share with us. I will definitely be making some of this for the holidays.
May your family be blessed with happiness health and an amazing New Year!
Hugs
Lisa