After 3 years I finally created our gallery wall in our hallway – and I’m OBSESSED! Here’s a tutorial for how to create a gallery wall in your own home.
Refreshing your space is a great activity as we head into a new year! Is there a spot in your home you’ve been wanting to spruce up!? For me, I had a blank wall in our front hall (just off our front door) that I had been wanting to put art in, but had the hardest time deciding what to put up! We finally pulled the trigger and landed on a collection of sentimental black and white photography that I had printed and framed.
While there are many ways to create a gallery wall, this is the way that Charles uses and it’s bang on every time. My way? Not so much (picture a machine gun taken to a wall and that’s what mine looks like lol – I’ll leave it to him).
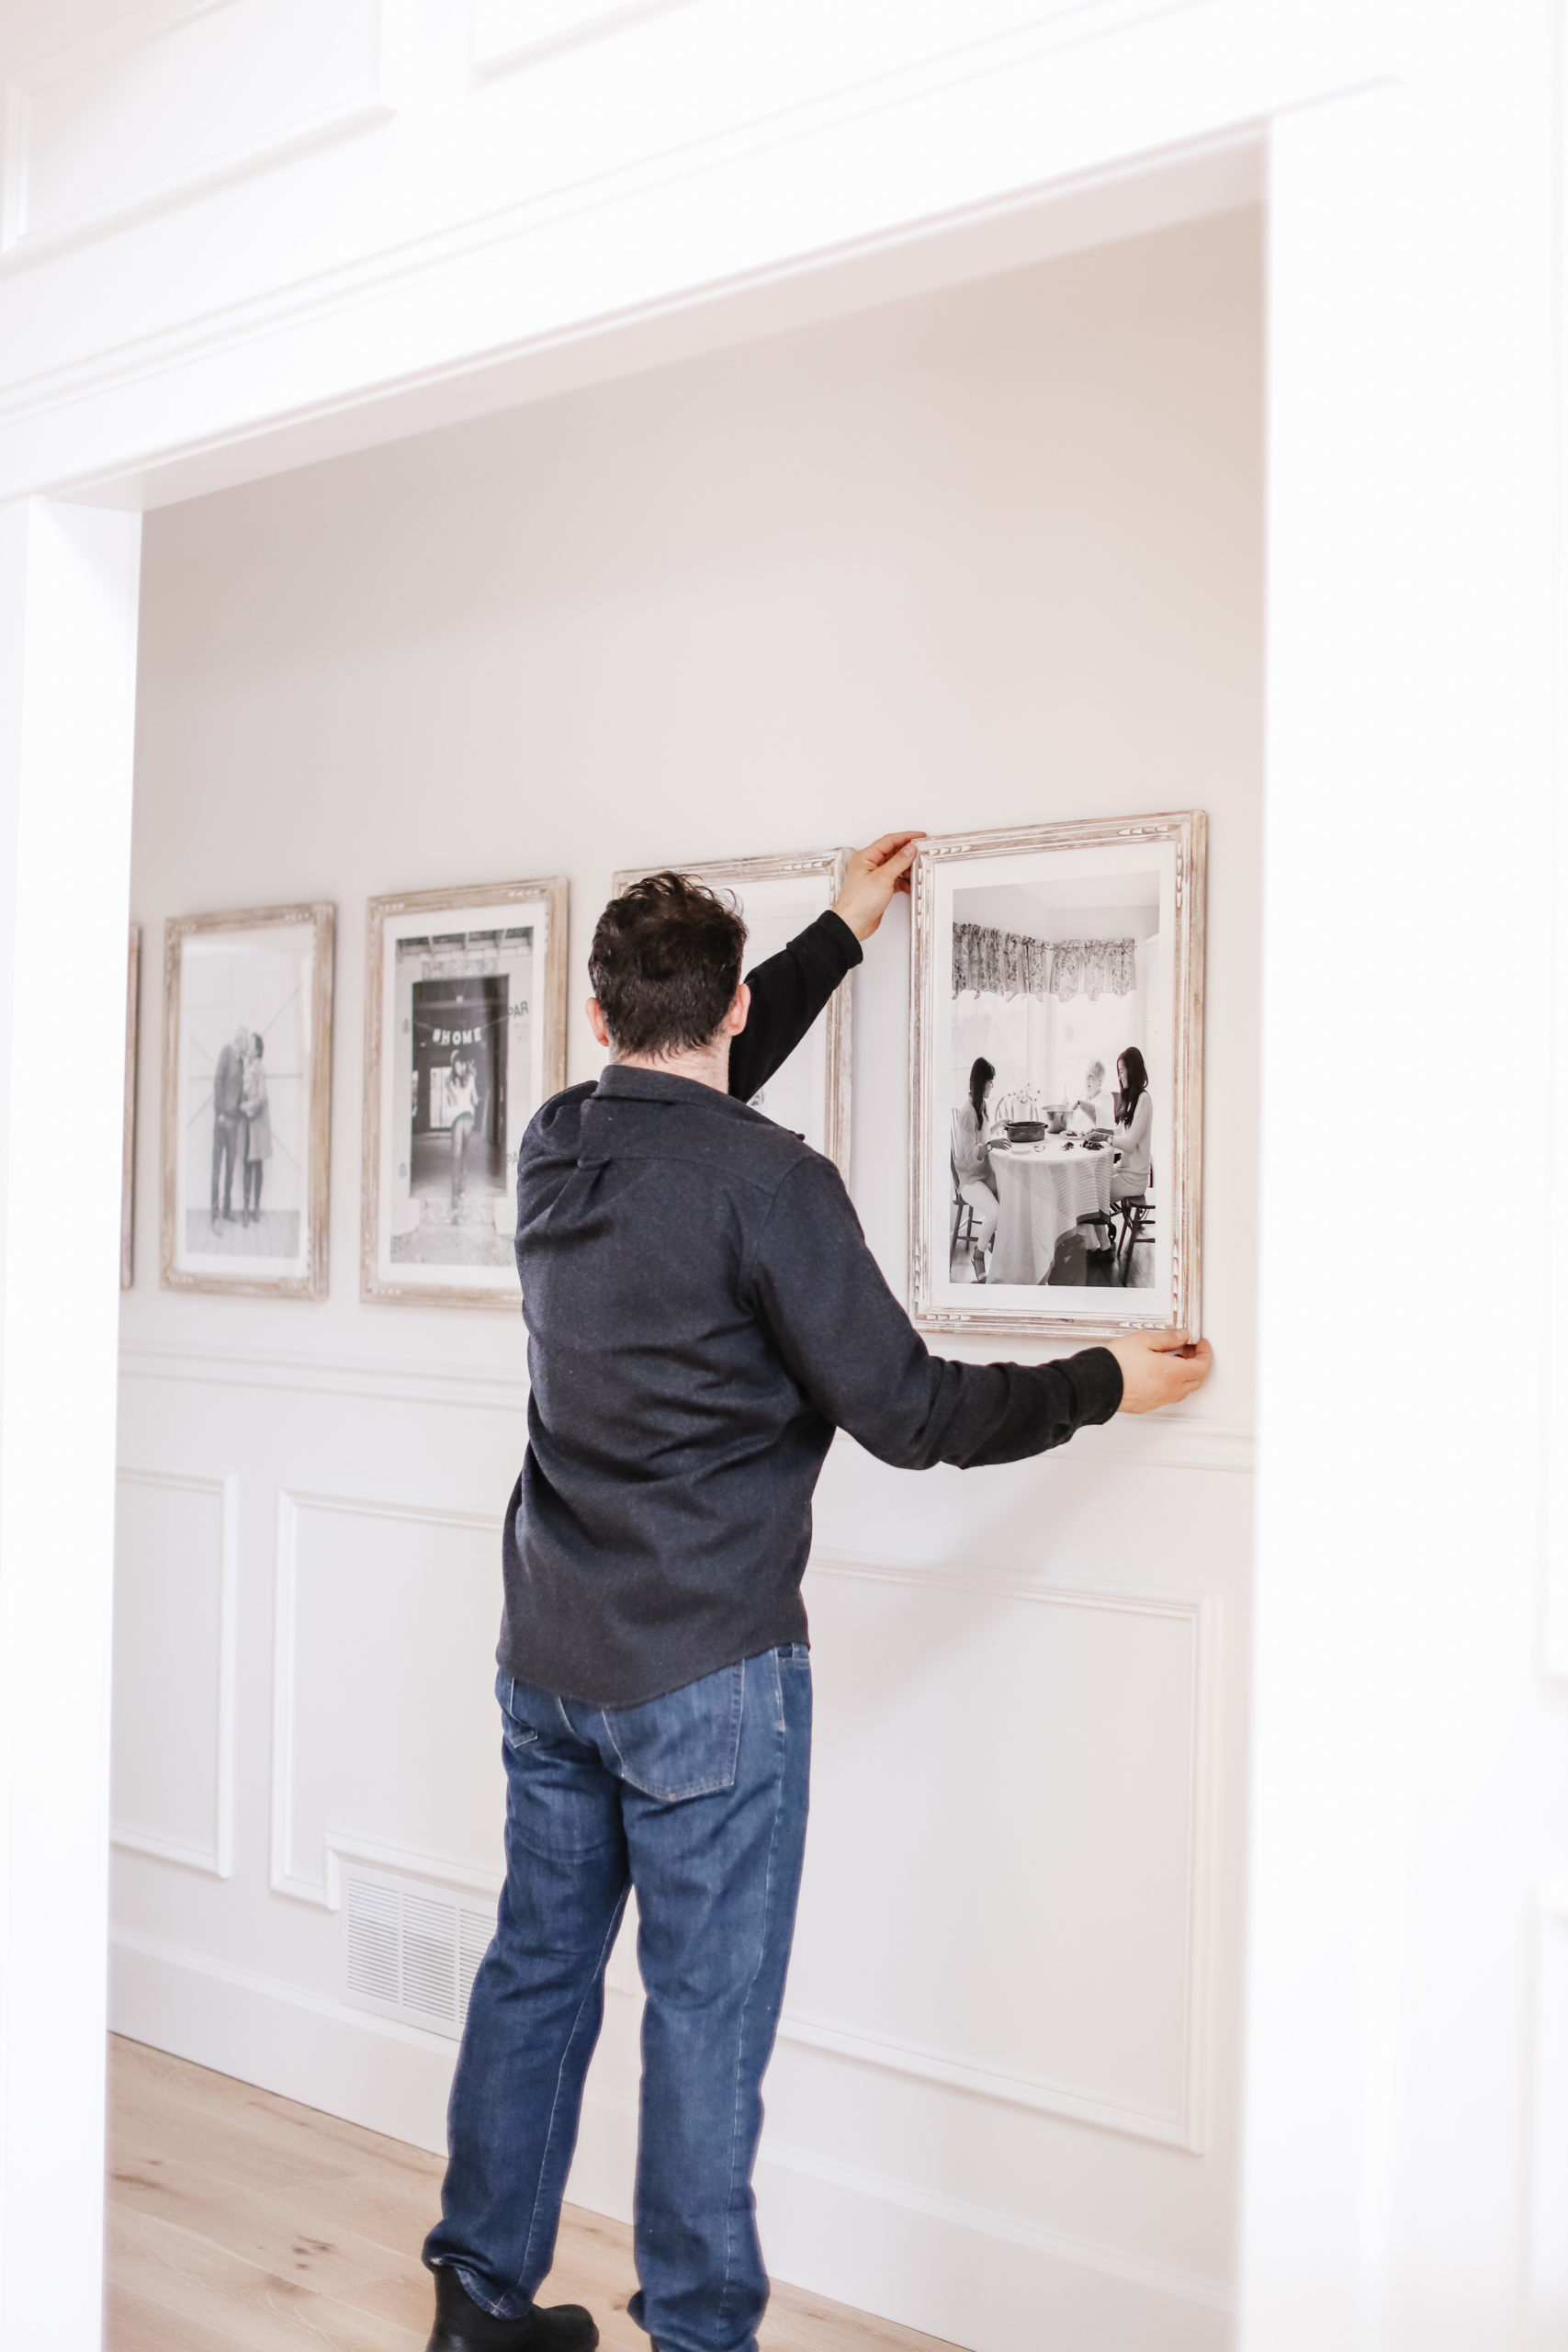
Where do you order frames?
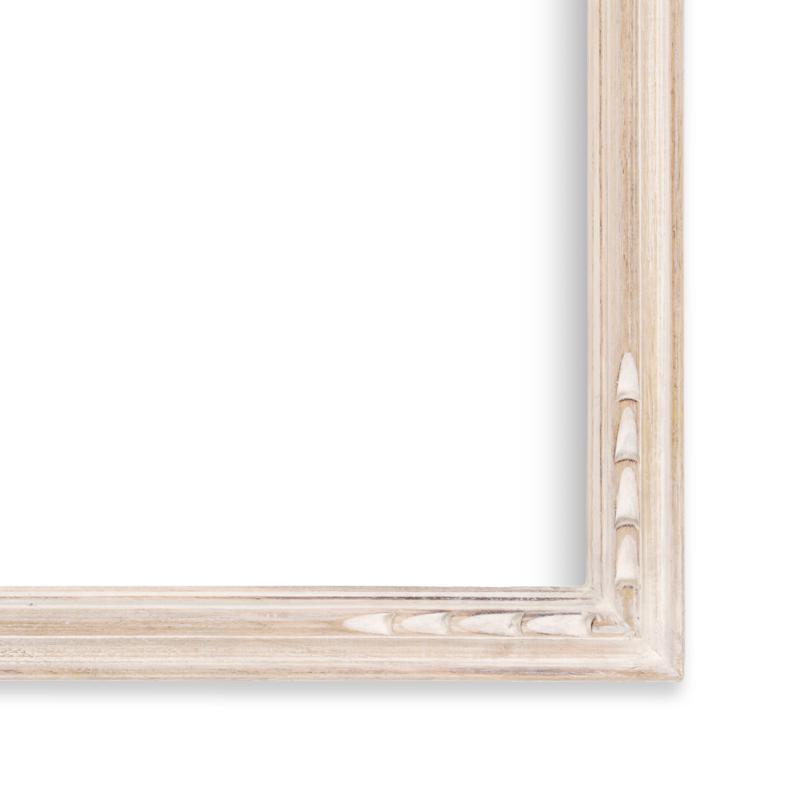
You could easily print out your own of course and frame them, but I love Minted for a couple of reasons. The frames are so nice (the one shown here is my favourite and is a 18”x24” Whitewashed French Farmhouse) and the process is incredibly easy. Just drop and drag your photos into the back end of the site and upload into your choice of frame and size and hit purchase. The framed pieces are delivered to your door wrapped incredibly well. Note that they are sent from the US, so there is duty and shipping on top.
How to create a consistent black & white gallery wall
I love black and white photography, but depending on how I edit the pictures, the tone isn’t always the same which isn’t ideal for a gallery wall. I used the black and white setting in the Minted site once you personalize your piece to make them all the same which saved me the hassle. If you are editing your own pictures just be sure to use the exact same filter on all of the images!
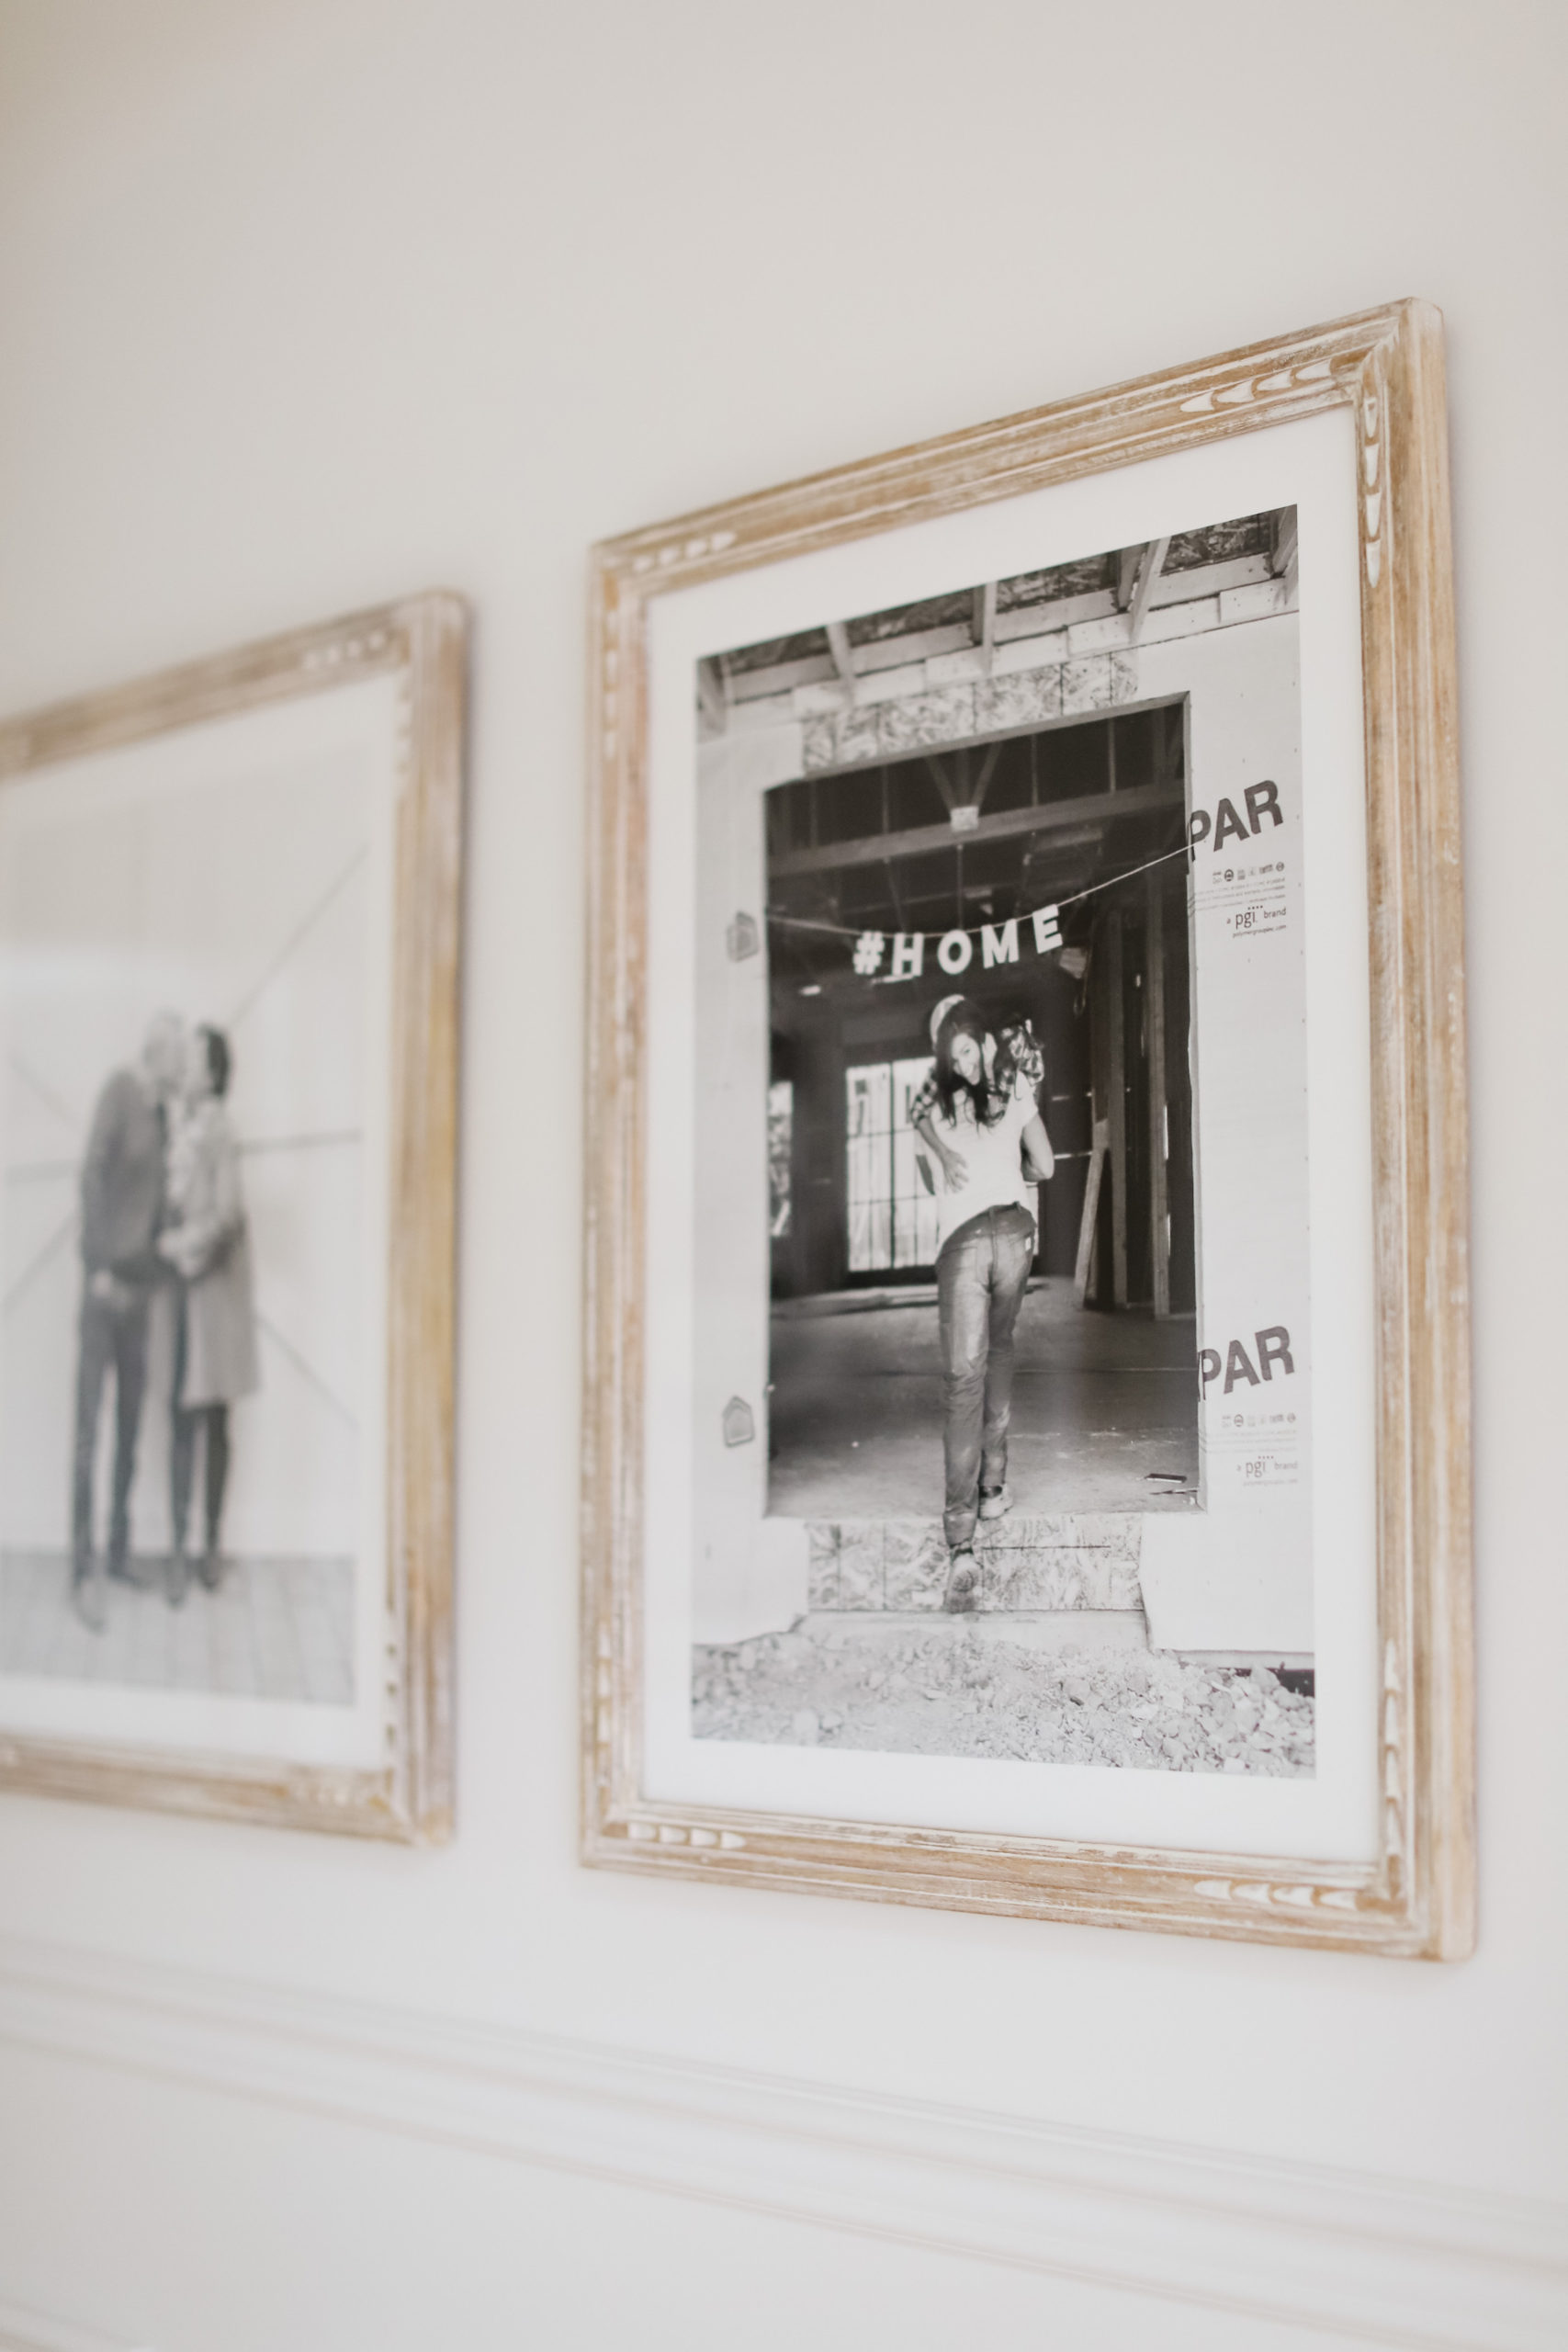
Can you use iPhone photos for a gallery wall?
I took many of these photos using my iPhone, and they turned out great! There is nothing that beats professional photography, but in a pinch I’ve had no issues with my iPhone quality pictures. Many of mine had that warning pop up that they weren’t high enough resolution but they printed out fine anyway (that is no guarantee that yours will turn out, but that was my experience). I use Lightroom for editing pictures (and typically use Jillian’s presets – this one used Food Love, my fav! Use the code FRAICHE15XO for 15% off).
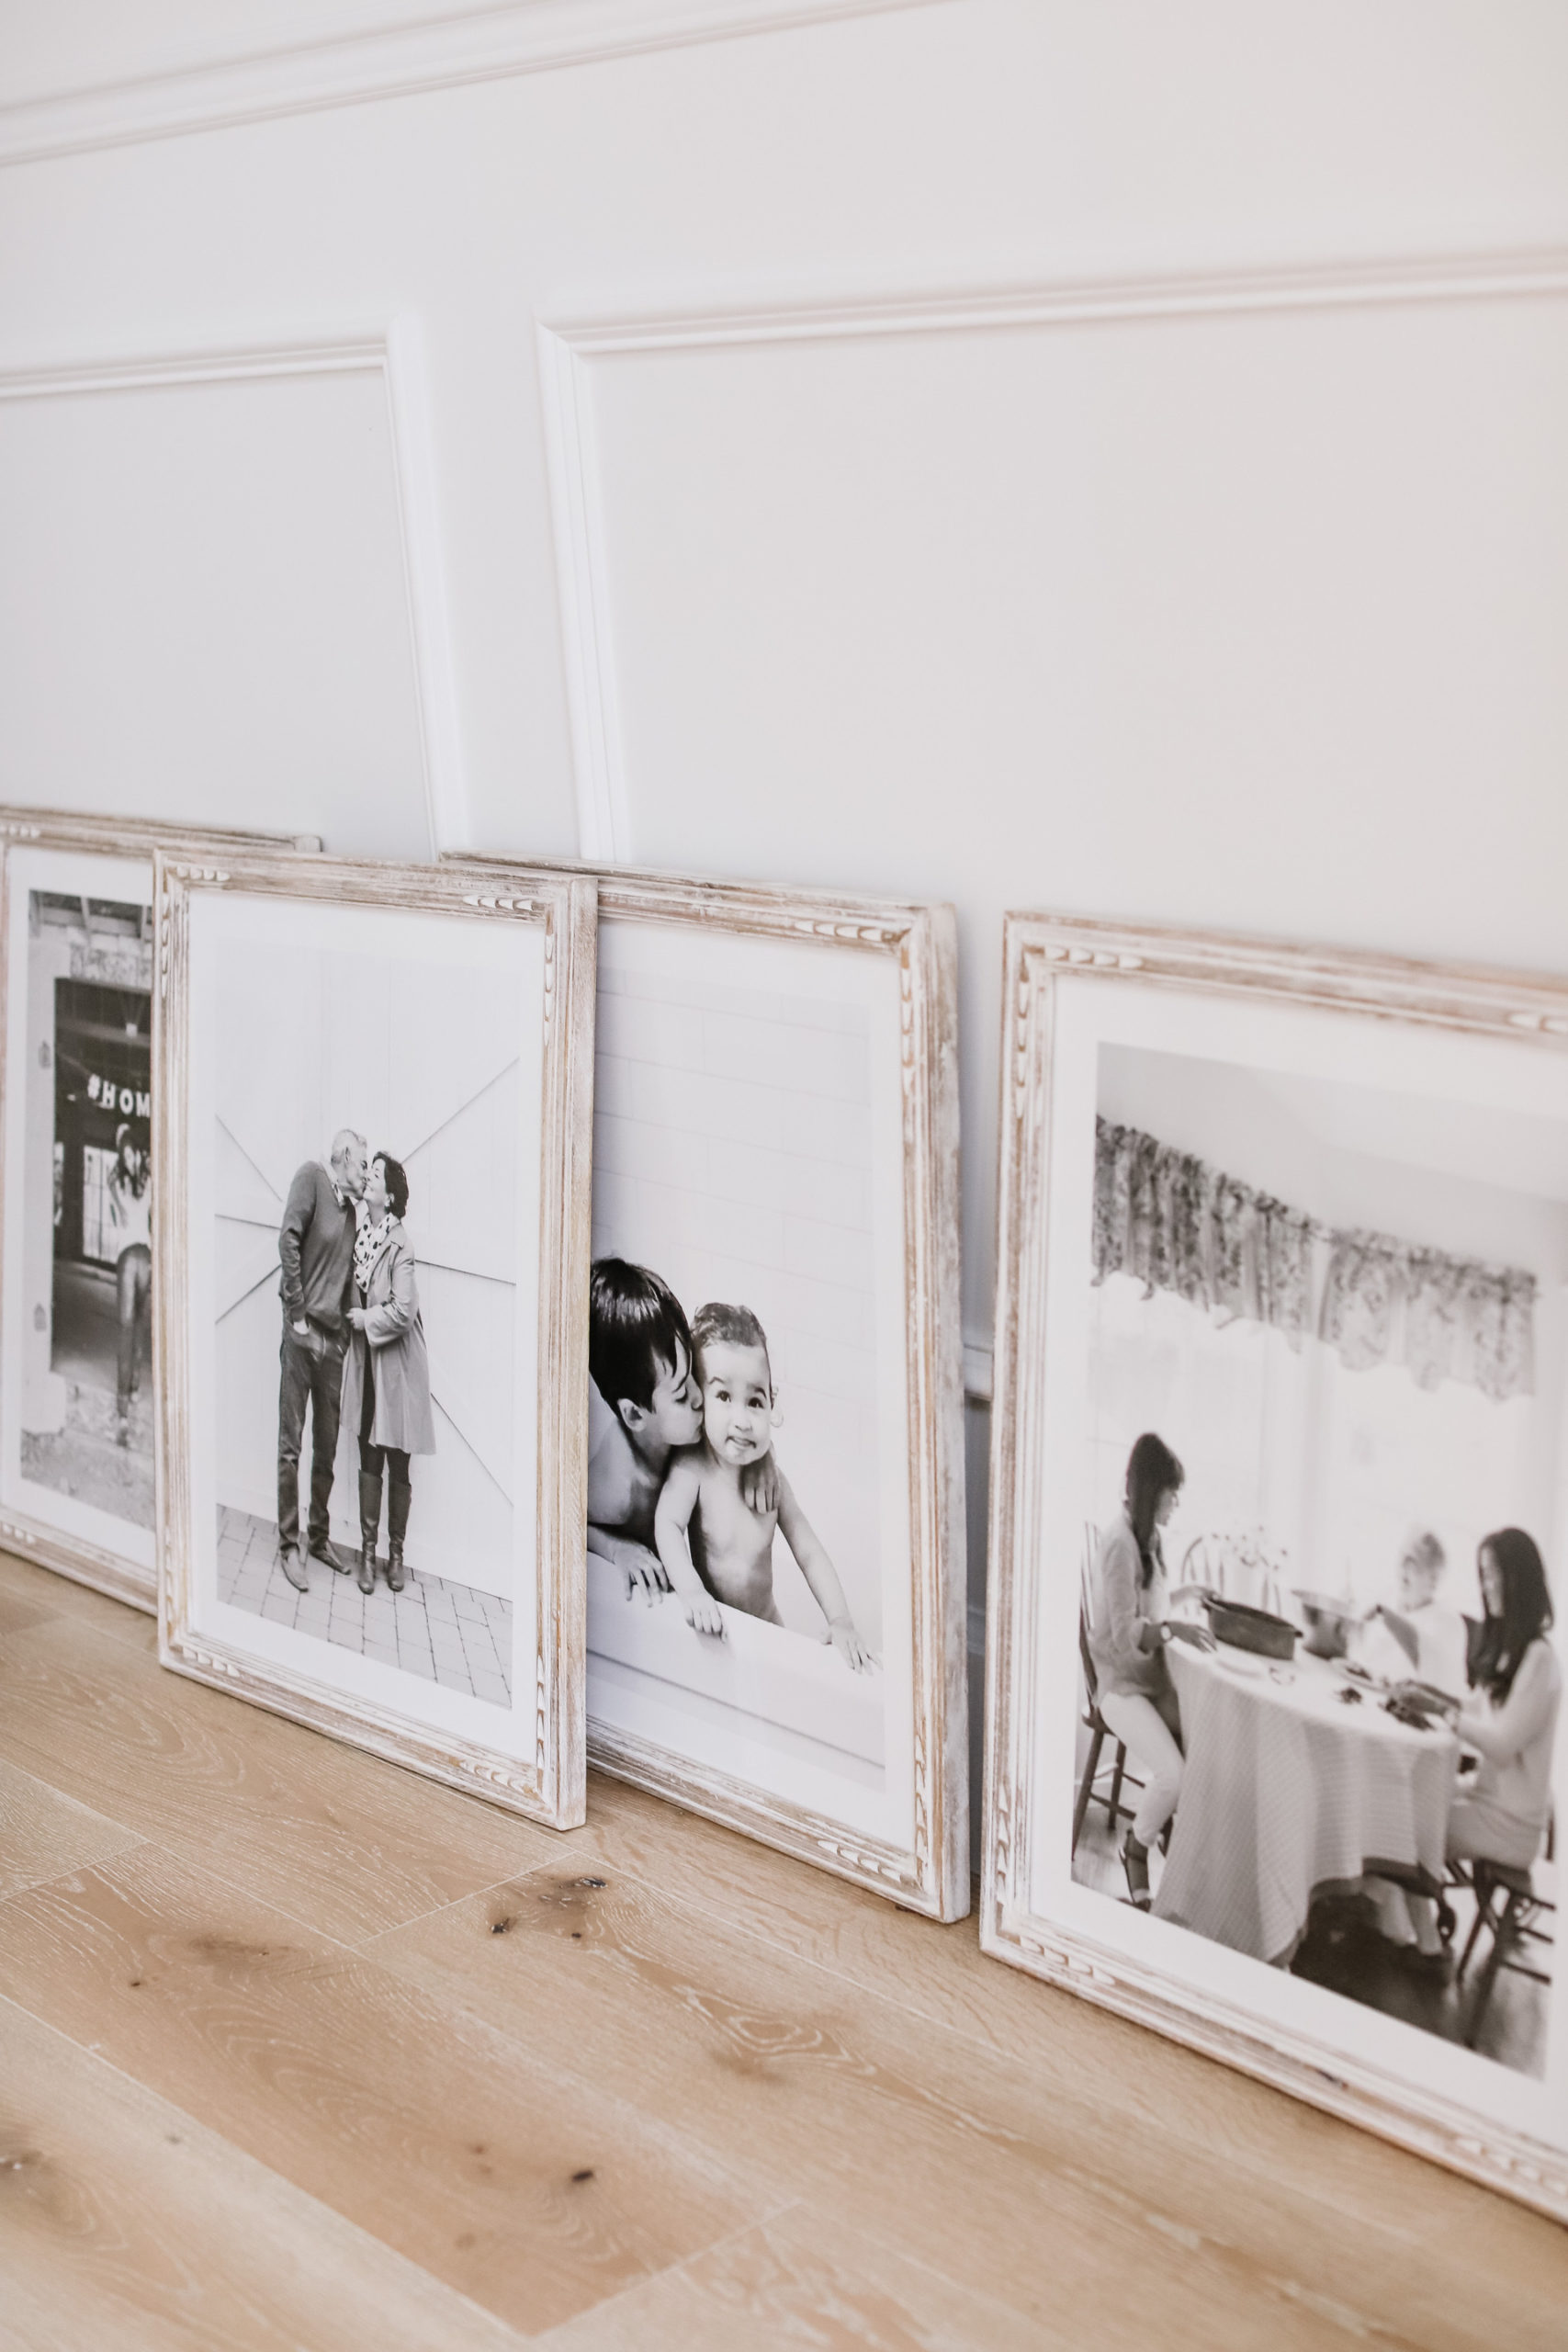
Where should art be placed on a wall?
Art should be placed at eye level on the wall. The magic number is 60” from the floor to the centre of the art piece. Charles is 6’2” so when I go into his office it’s really high (it drives me a bit nuts haha). If you have wainscotting or library moulding like we did, I like leaving a small gap between the chair rail and the art – I left 3”. Don’t feel like you need to centre it vertically in that space: keep the art at eye level. If art is being hung above furniture leave 4-6” between the furniture and the bottom of the art.
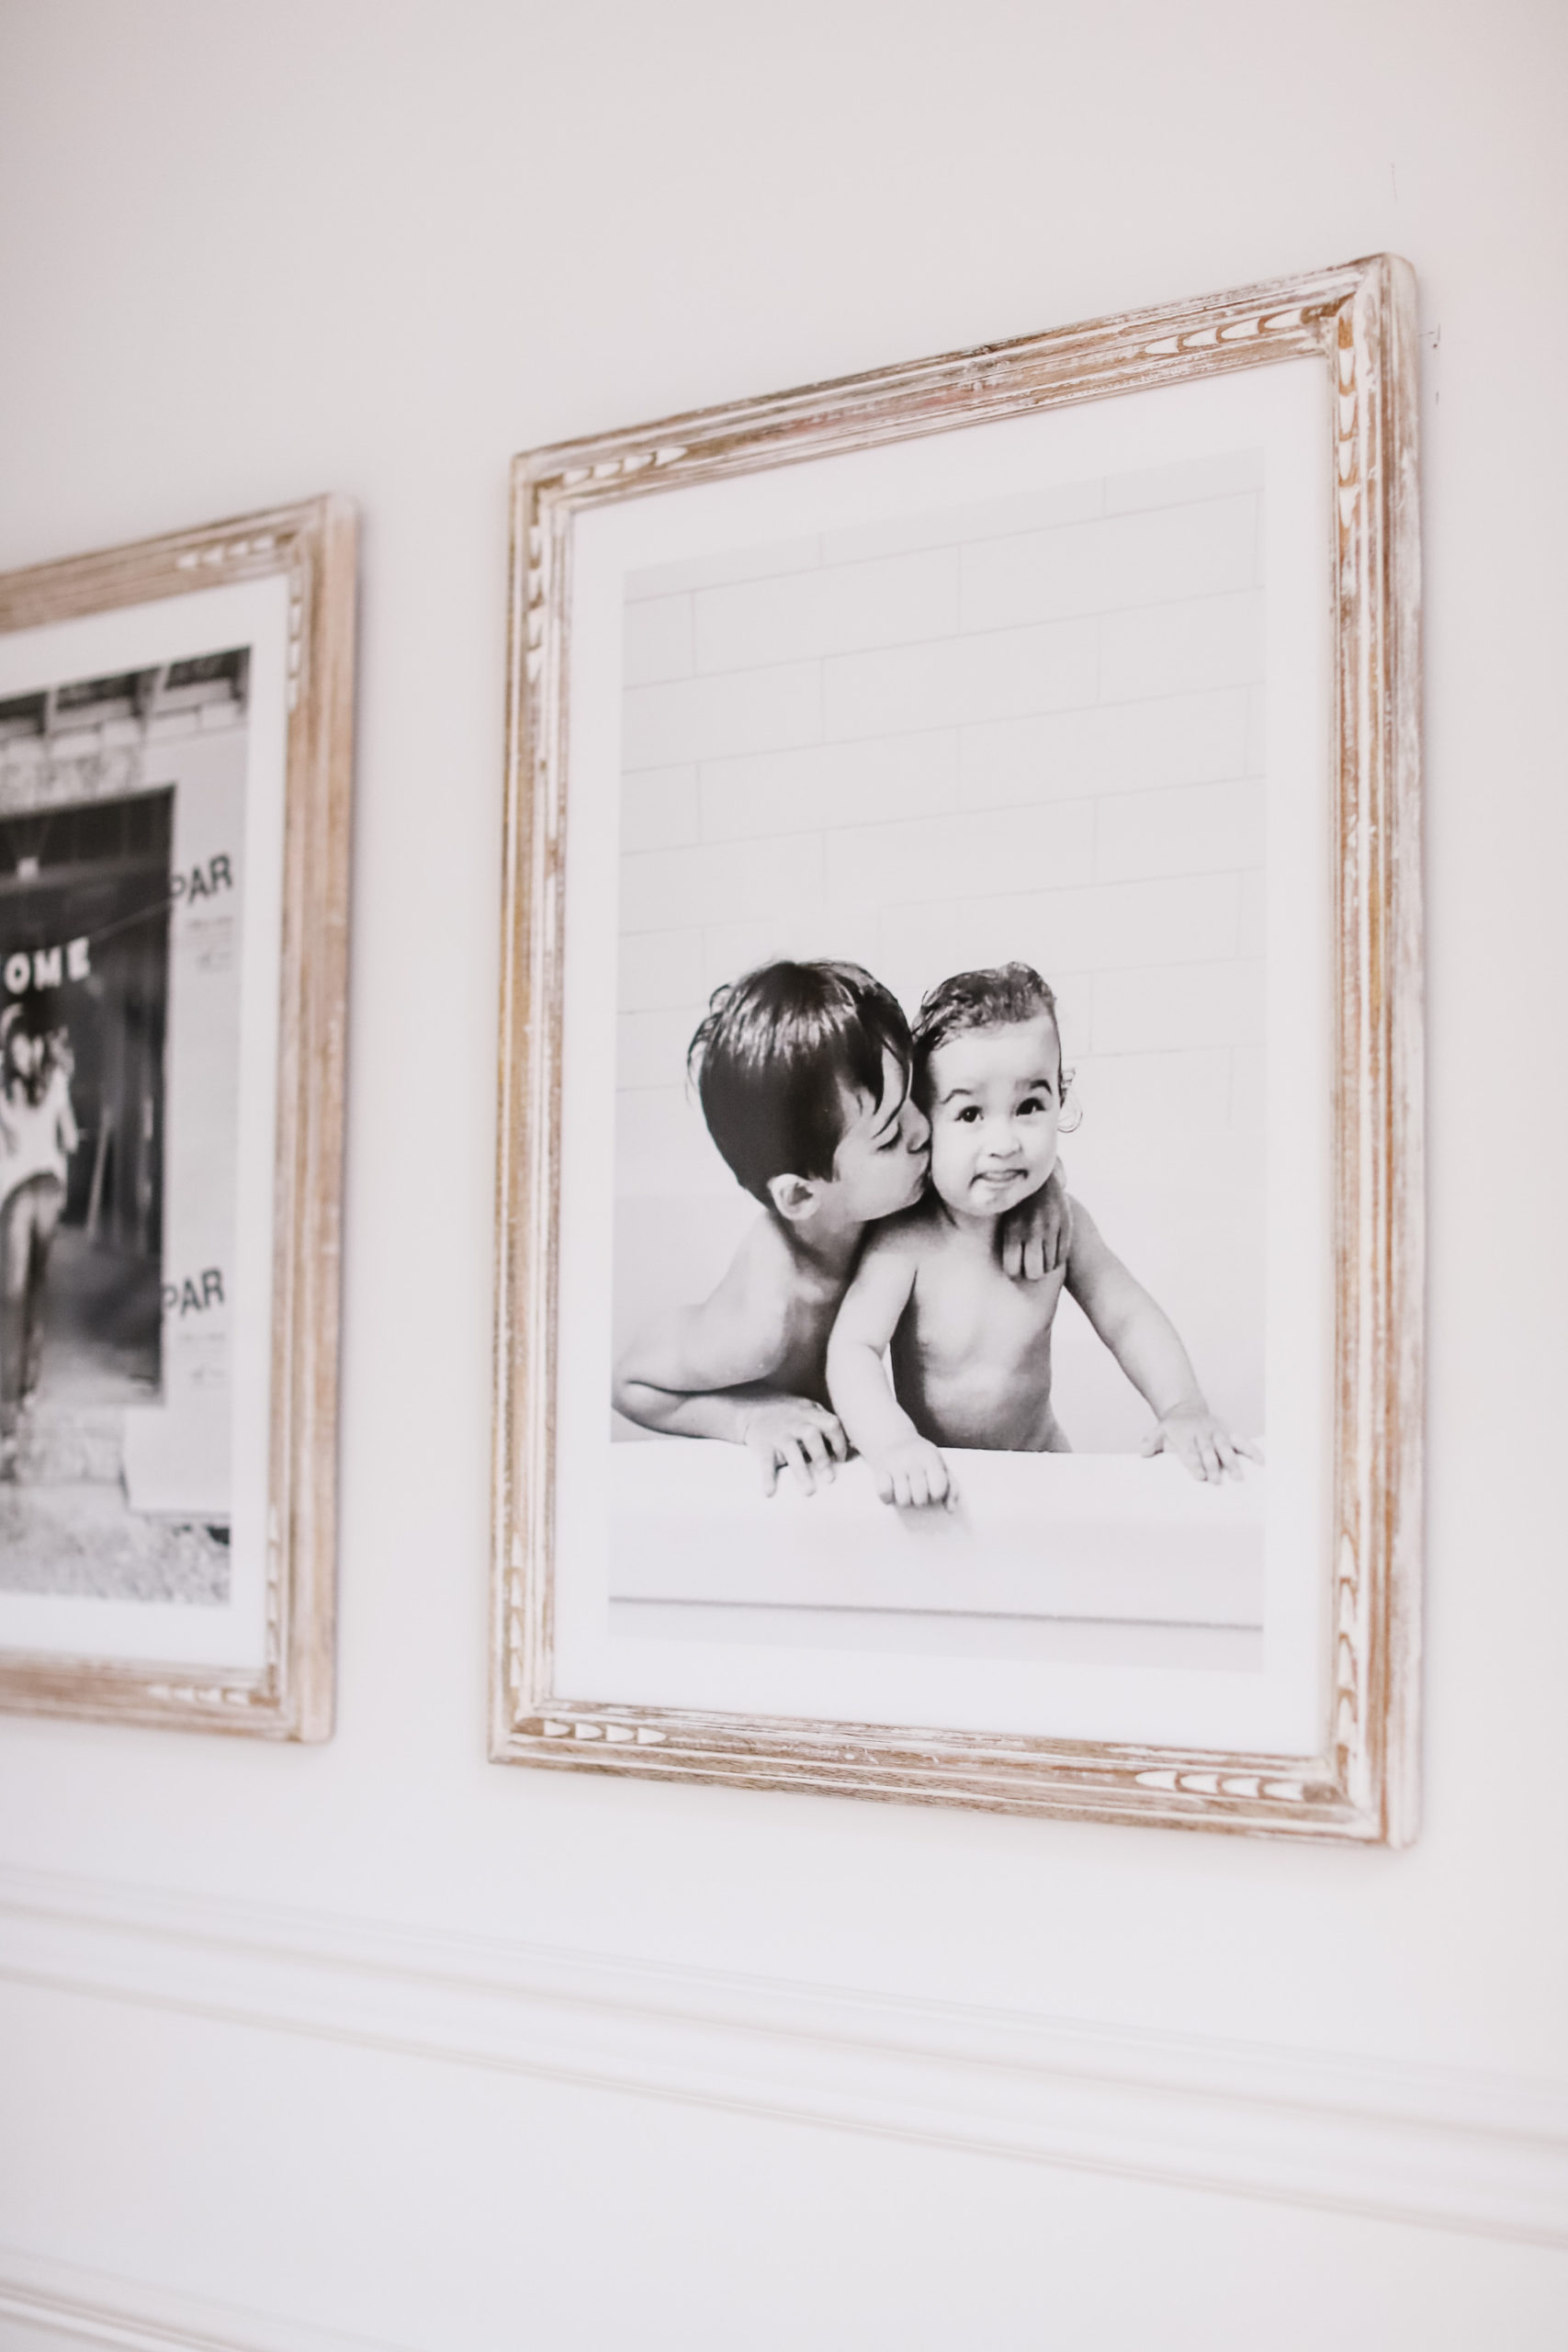
How to calculate how many frames will fit on a gallery wall
To figure out how many frames will fit on your wall measure the length of your wall, determine your frame size, and factor in your gaps. I used some rough math to estimate how many would fit, then crunched some numbers to be sure.
For instance, if you have a 10 foot wall (120”), and your frames are 18” wide (120”/18” = 6.7) technically there is room for 6 pieces of art, BUT that doesn’t account for enough room for gaps between the pieces. Knowing I want to have gaps between my art and slightly bigger gaps at the ends, I am going to assume that I can fit five pieces of art in that space. I like to have around a 4” gap between each piece – there will be four gaps like this to account for, plus the gaps at the ends. Now I will pressure test that math:
18” x 5 = 90” (total width the frames will take up)
4” x 4 = 16” (total width the gaps will take up)
90” + 16” = 106” (total width the gaps plus frames will take up)
120” – 106” = 14” (total width left for the end gaps)
14”/2 = 7” (width for the end gaps – which is perfect for me)
Once you have this established, order your art!
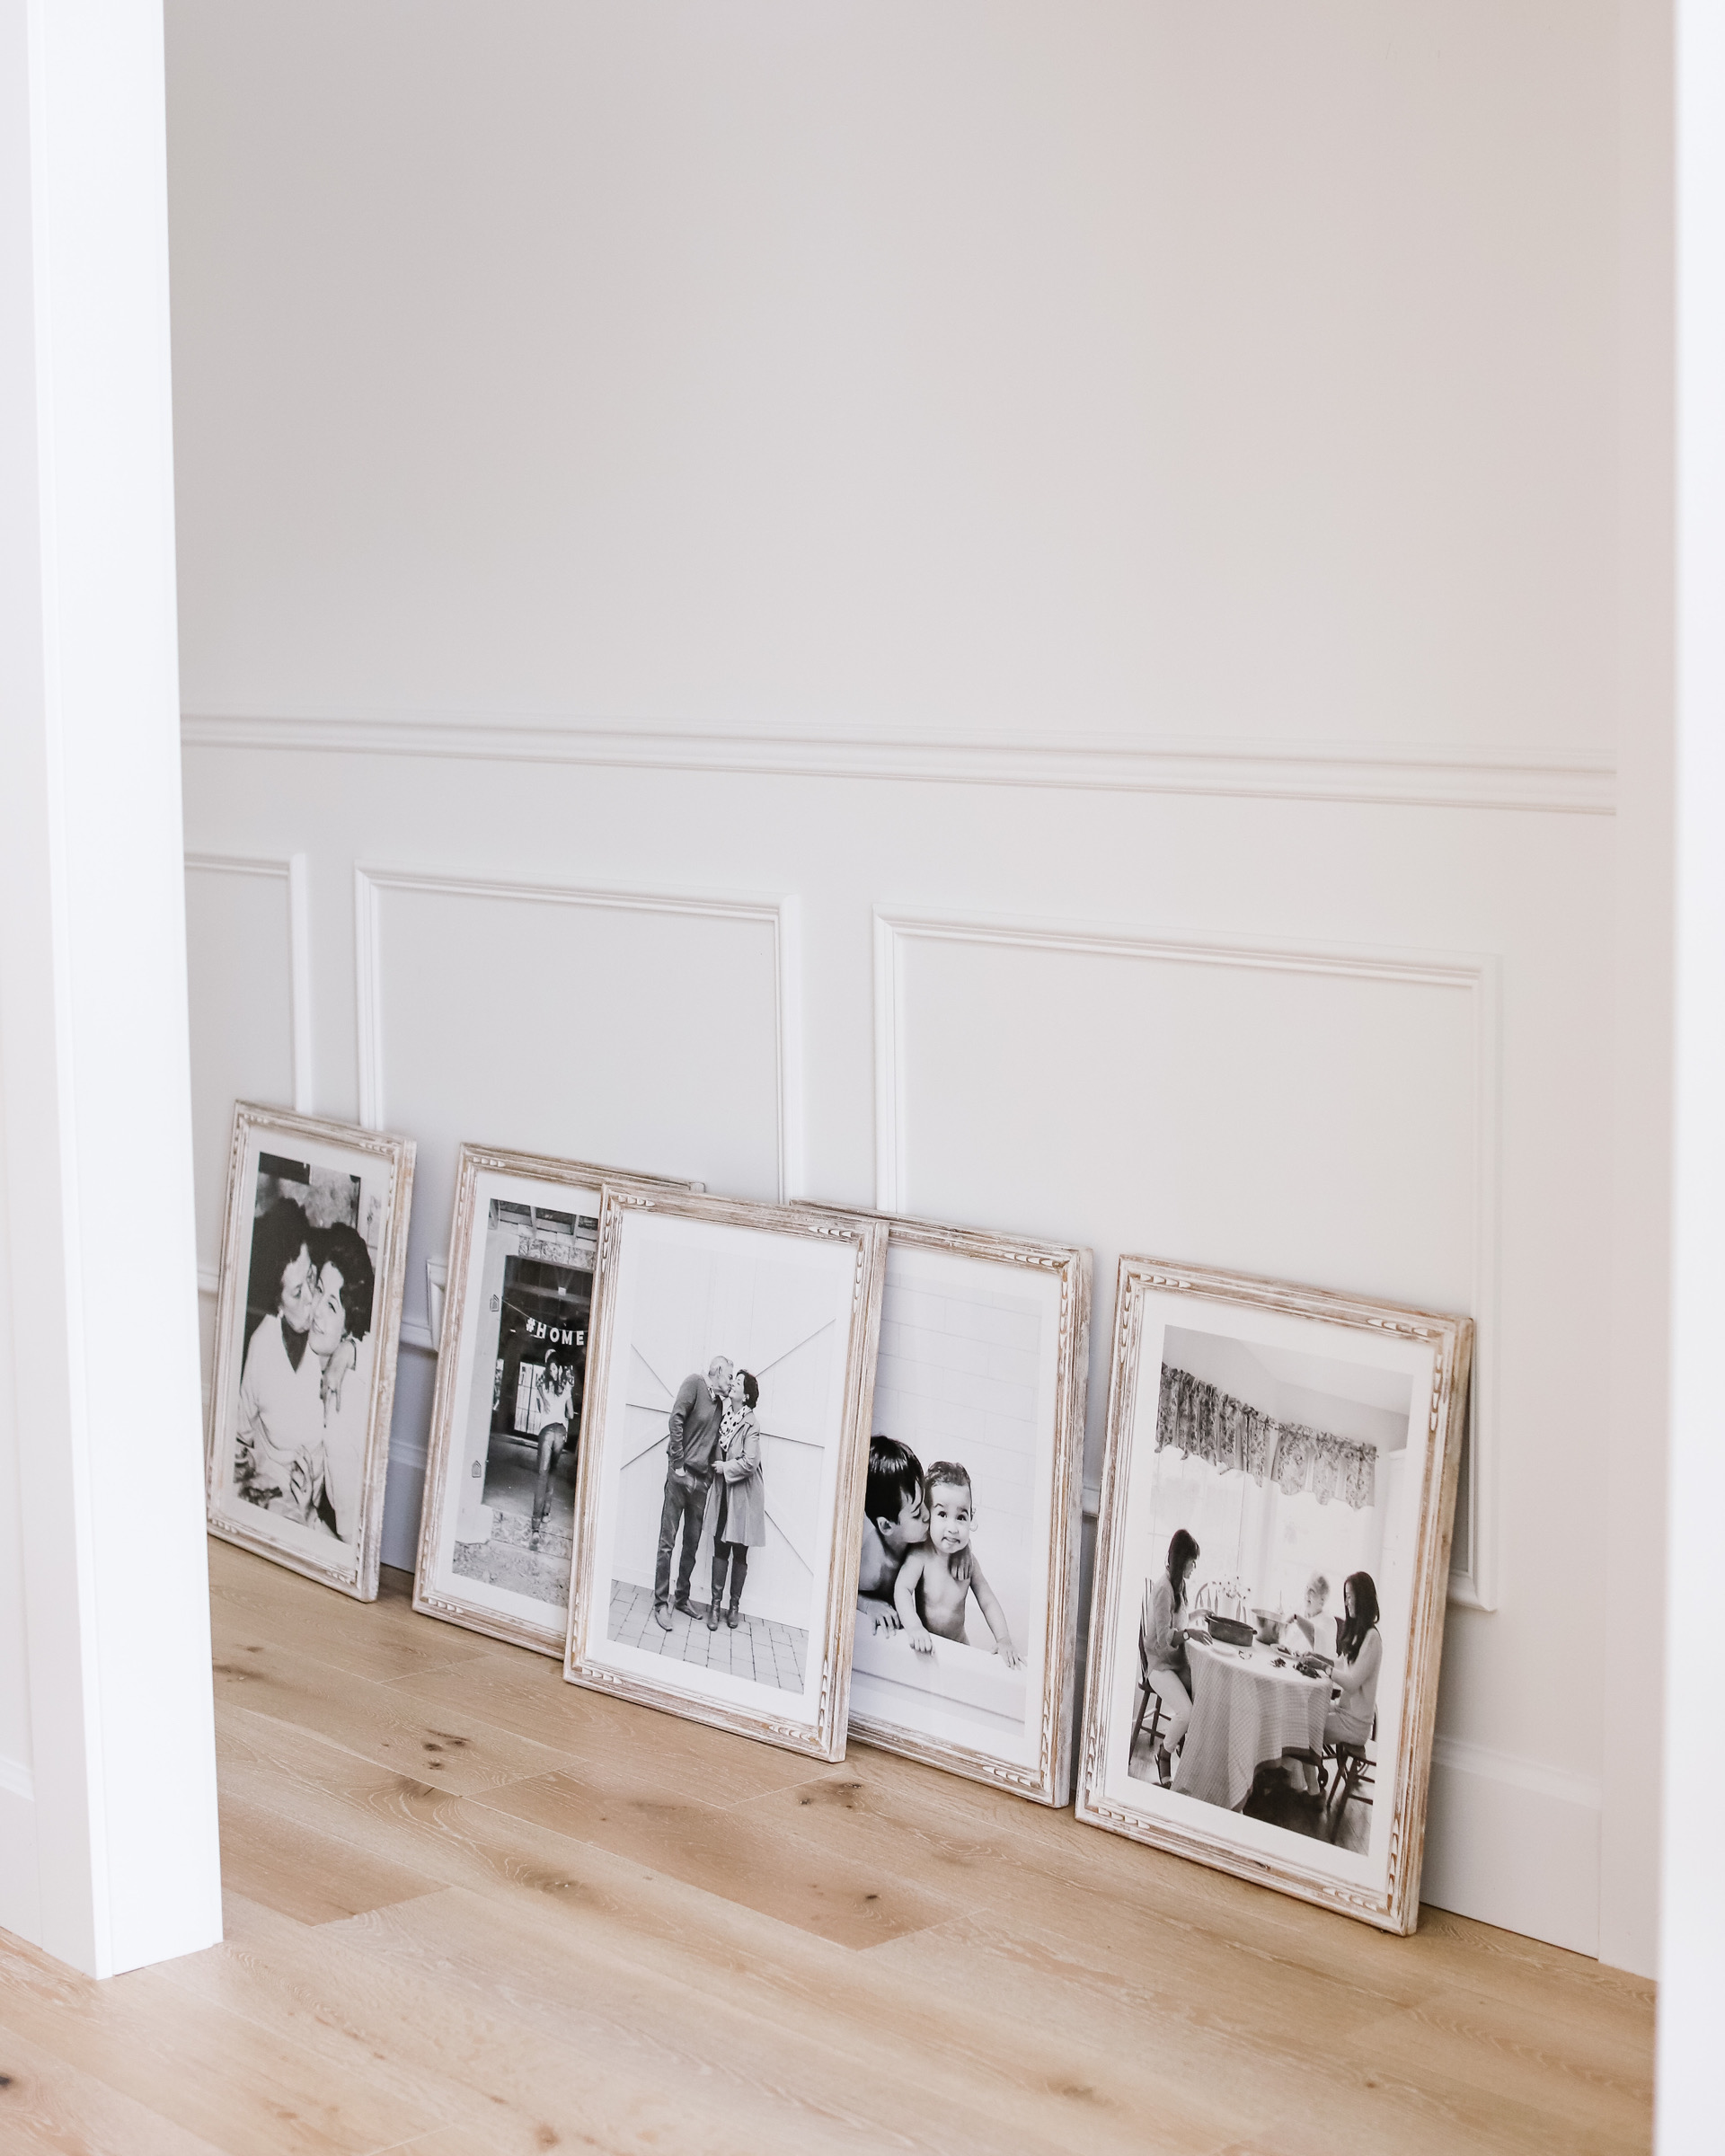
How to hang art for a gallery wall
You’ve done all your planning and are ready to finally hang the gallery wall! Here are a few steps to get you there…
Step 1: Lay out your art
Carefully place your pieces of art against the wall on the floor to determine the rough layout and spacing (calculated above). I like to leave a wider gap at the far ends (last pieces of art where they meet a wall, if applicable) and to keep my frames closer together. I like 7-10” at the ends and 4-5” between each piece, but it’s really up to you. I recommend doing the math above, it will save you so much headache!
Step 2: Measure & place your screws or nails
First, start at the far end and measure where your art will be placed – you can cut out paper templates of each piece to make it easier, or simply make a mark with pencil on the wall. Measure from the floor to the middle of where the screw or nail will be placed for each art piece. This will vary depending on the hardware used (some art has the wire, in which you need to pull it taught and measure where the nail will actually sit – they may not all be the same). Charles uses a pencil and draws lightly on the wall before drilling (smart move!). If there are two hooks (vs the wire) Charles measures the centre of the piece and then uses a level with a ruler on it to mark the two drill holes (each measured from that centre mark).
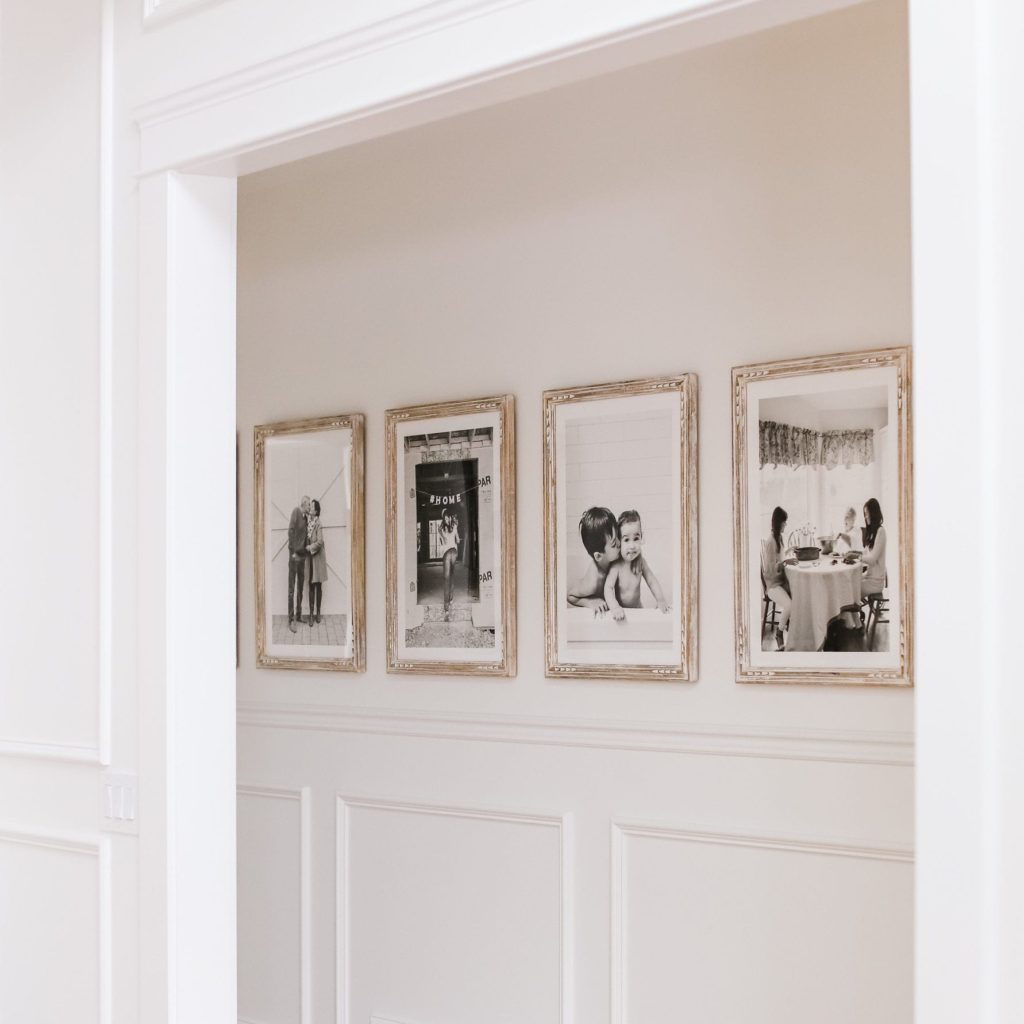
Step 3: Hang your beautiful art and enjoy!
Take a step back and admire your hard work! I seriously love passing this wall everyday and being reminded of the special moments captured in each image, which now have their own perfect spot in my home.
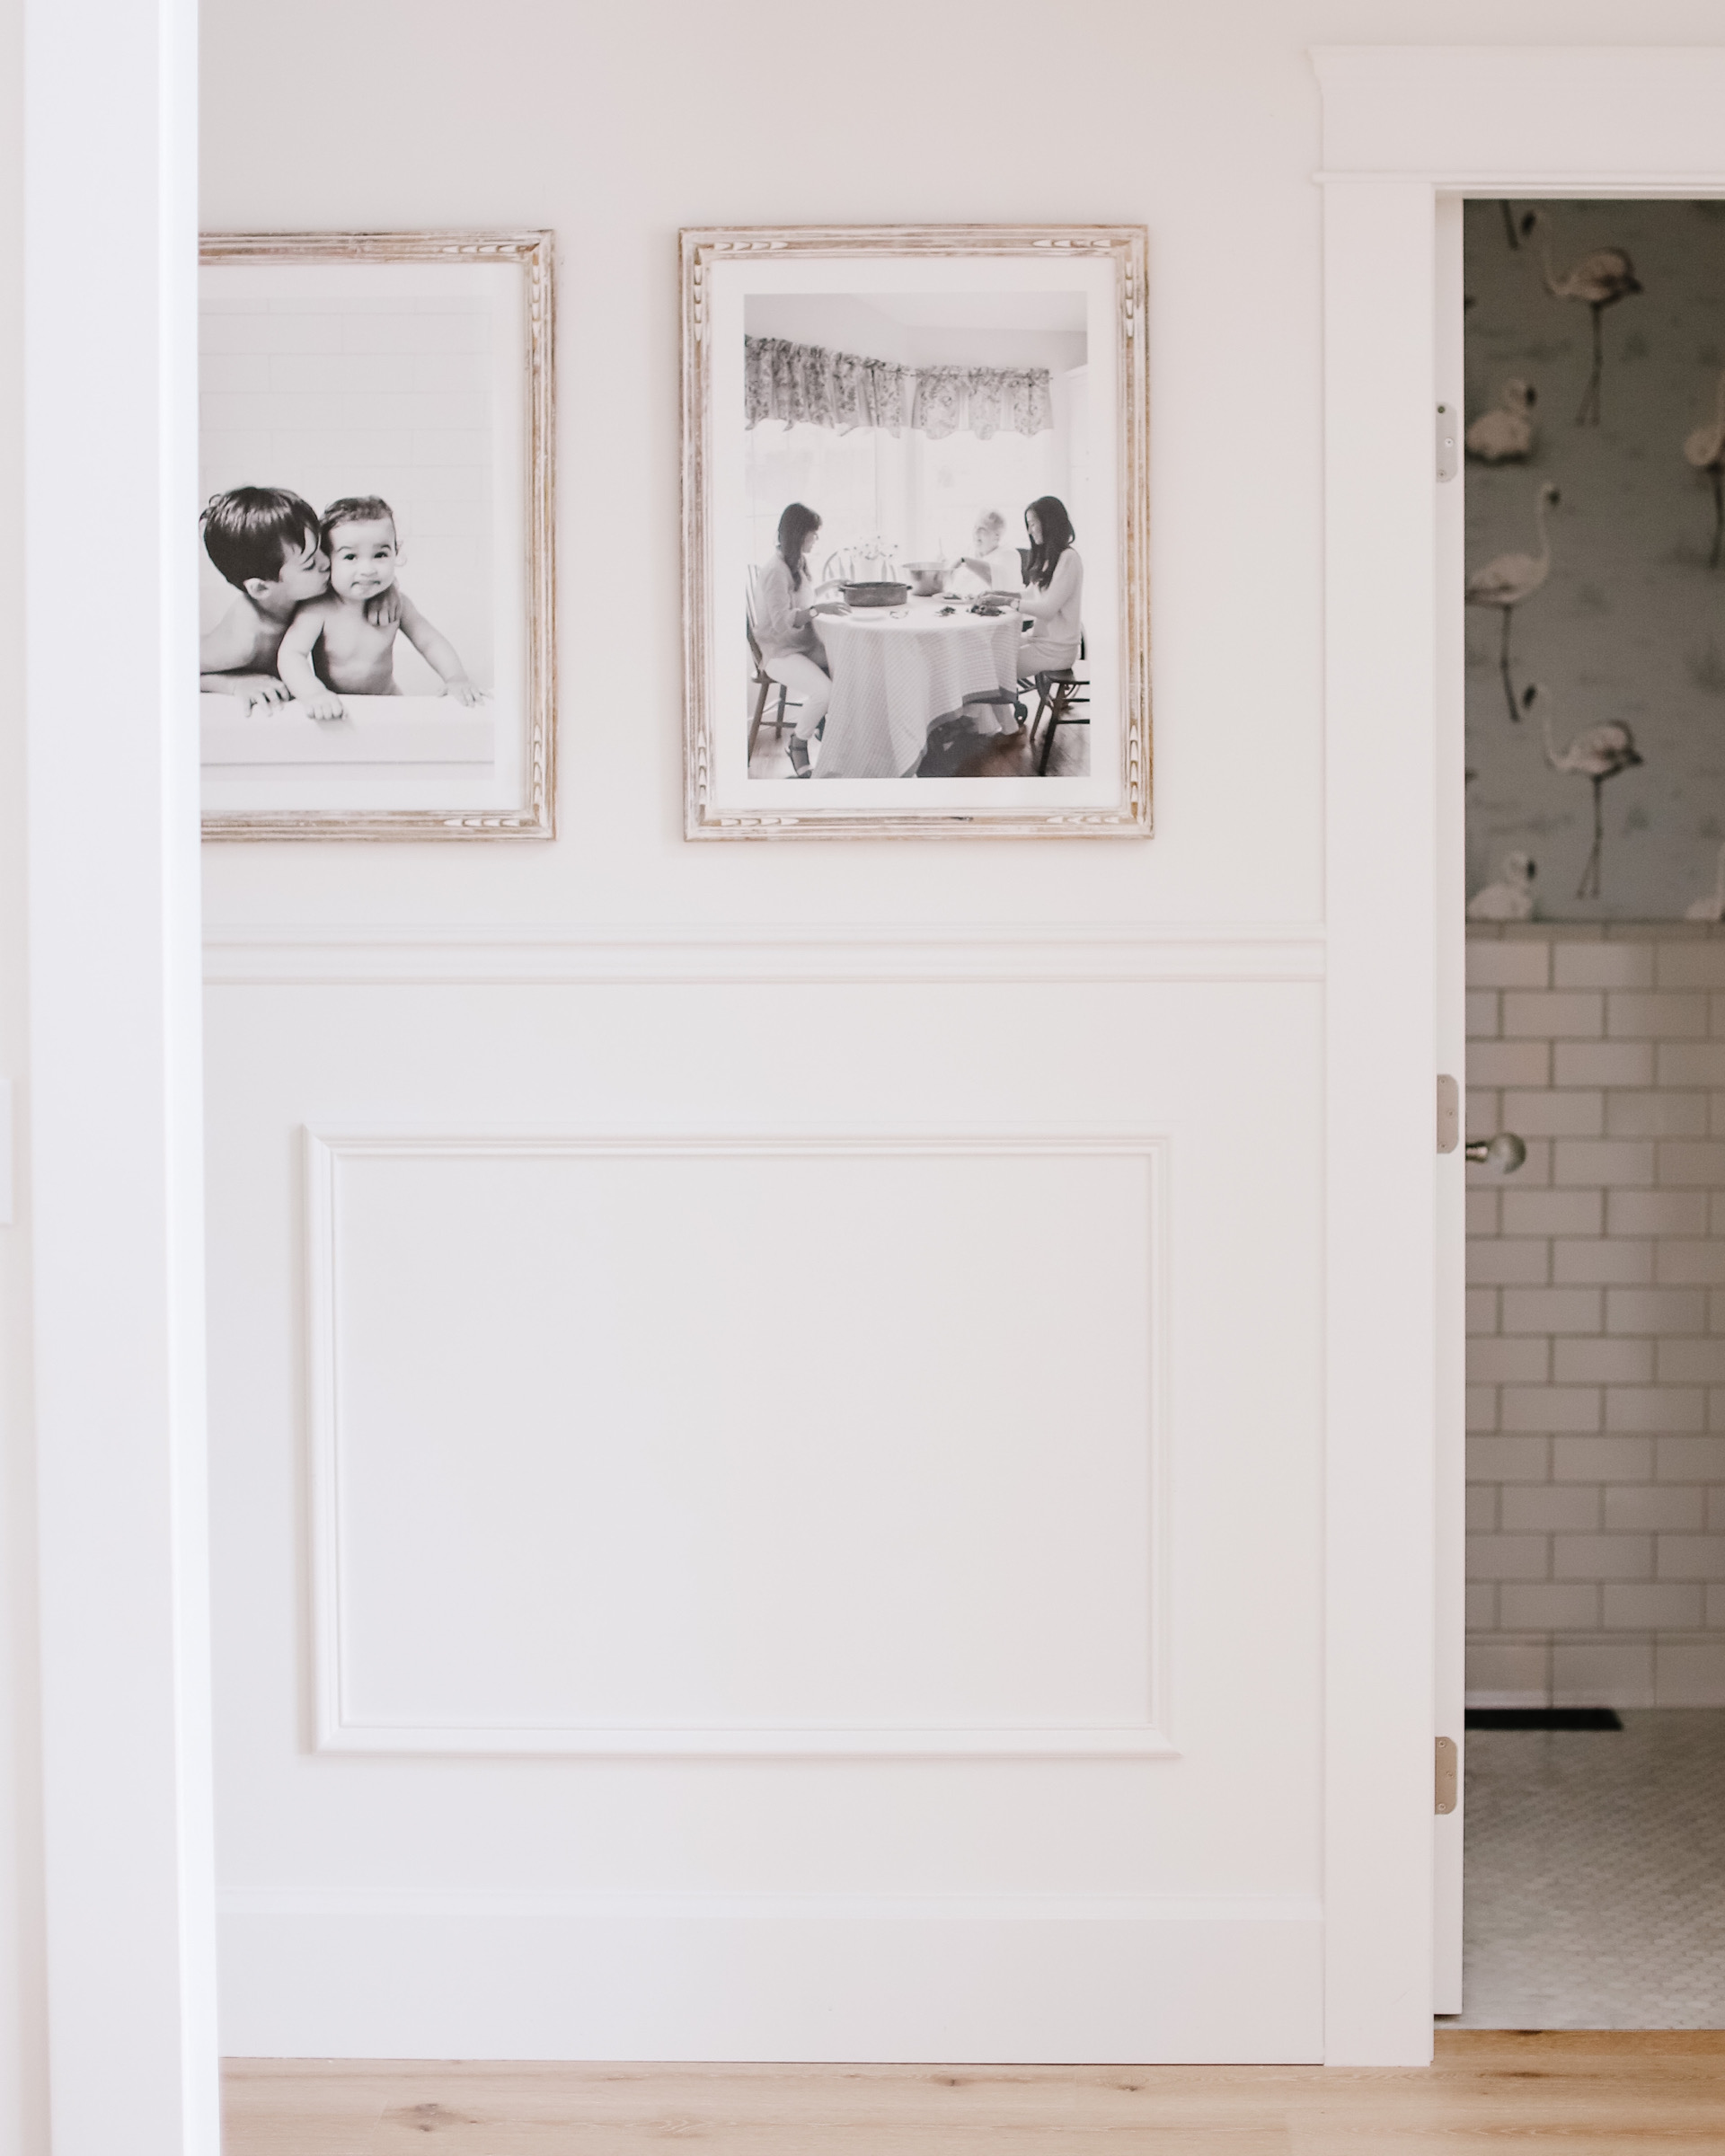
I know this is a bit complicated to explain – let me know below in the comments section if you have any questions!



Soooo useful! Thanks so much!
You’re welcome Sarah! Happy to hear it helped! Tori
Love these tips! What is your wall colour?
Thanks Elisha! Benjamin Moore Simply White!
Love this! I saw your story and wasn’t sure how to tackle this until now.
I’m happy you find it useful Kim! Happy New Year!
What are your thoughts on gallery photo walls leading up the stairs?
Hi! I’ve always admired Jillian’s gallery wall and yours is just as lovely. Thank you so much for the step-by-step instructions; maybe 2021 is the year I finally get my own done!
Hi Carly thank you! Happy New Year! Tori