It’s time to share our camper renovation reveal! This blog includes our camper renovation DIY tips, links to the products we used and an overview of all the design elements that made this little space a comfortable (and gorgeous) home away from home!
Charles and I both grew up camping, so when we had a family of our own we knew that a trailer was a must. We didn’t want to spend a lot, and ended up picking up a 2005 Jayco Eagle 5th wheel trailer from Facebook Marketplace. Fast forward to three days into Covid restrictions and Charles, out of boredom (prompted by a mouse infestation), gutted the trailer.
Alright, I thought, let’s do this! If you prefer a video tour, head here for my Instagram Live tour!
Is Renovating a Camper a Lot of Work?
Heck YES!
It’s a labour of love and requires a bit of skill (which I don’t have for the record but thankfully Charles does). We kept the cabinets and most of the bathroom along with the countertops in all the areas, but gutted everything else including the sofa and dining set along with the TV. I realize a lot of people like camping with a TV, I’m just not one of them.
How to Renovate a Camper
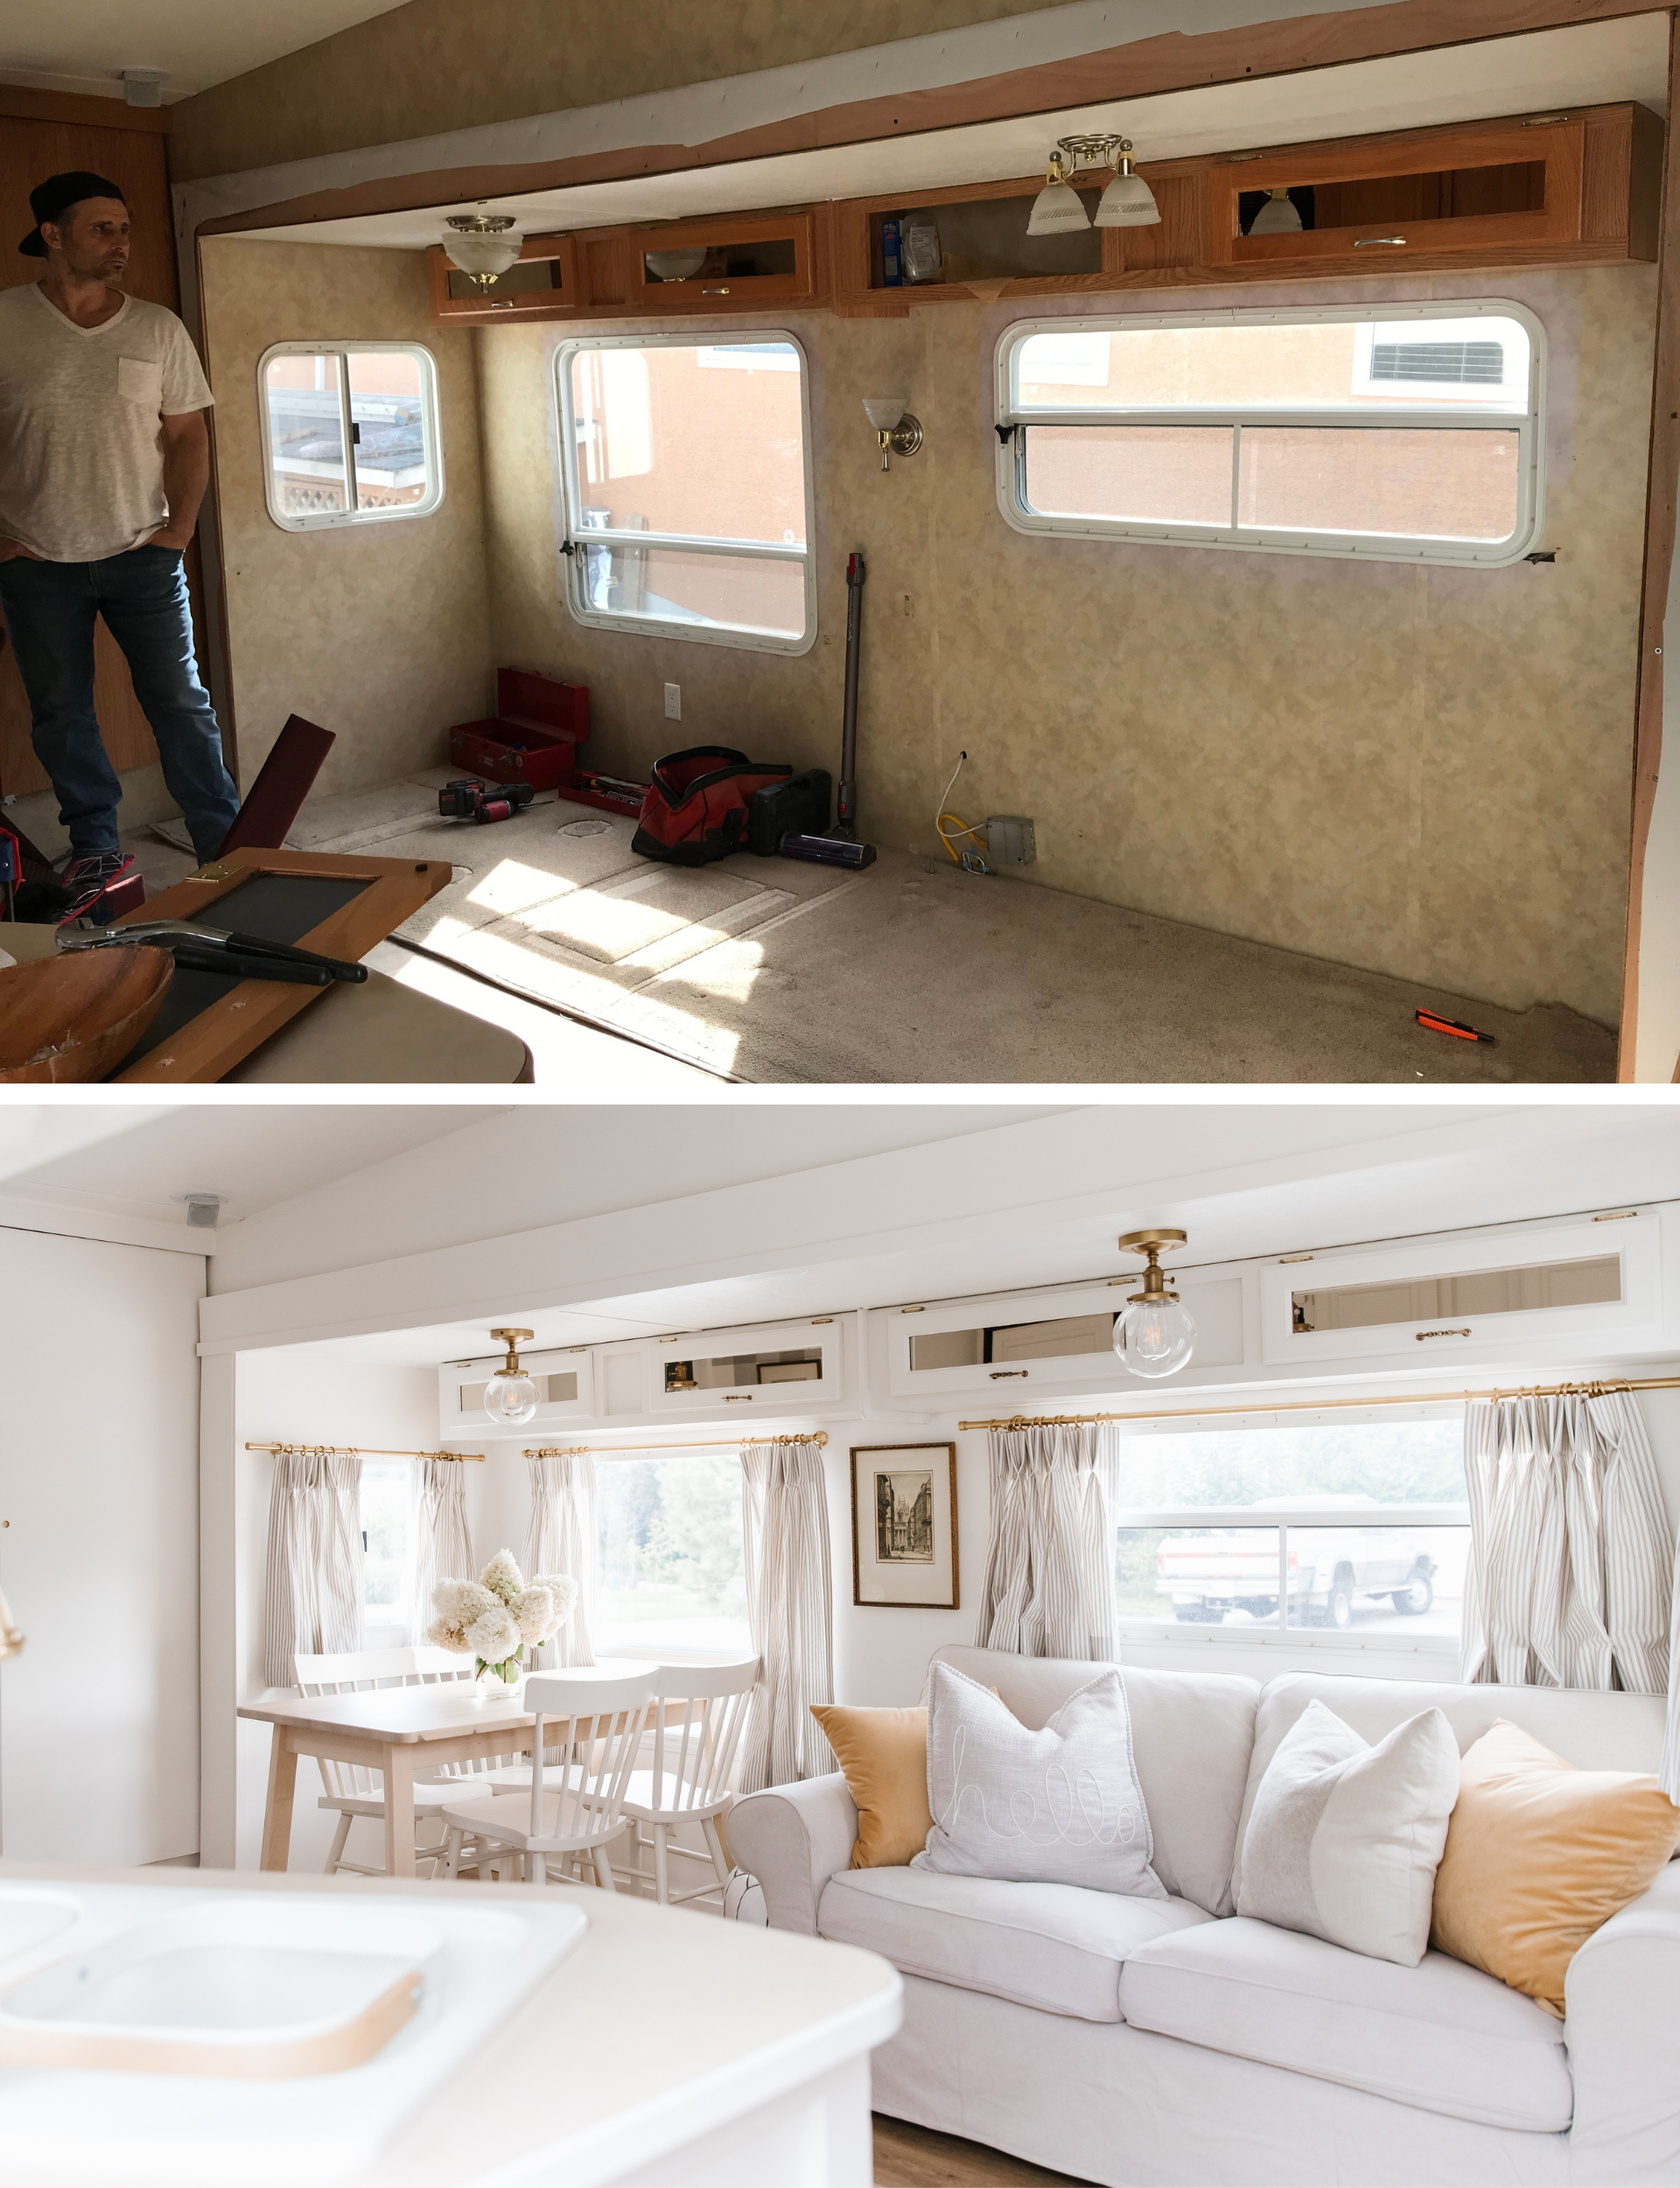
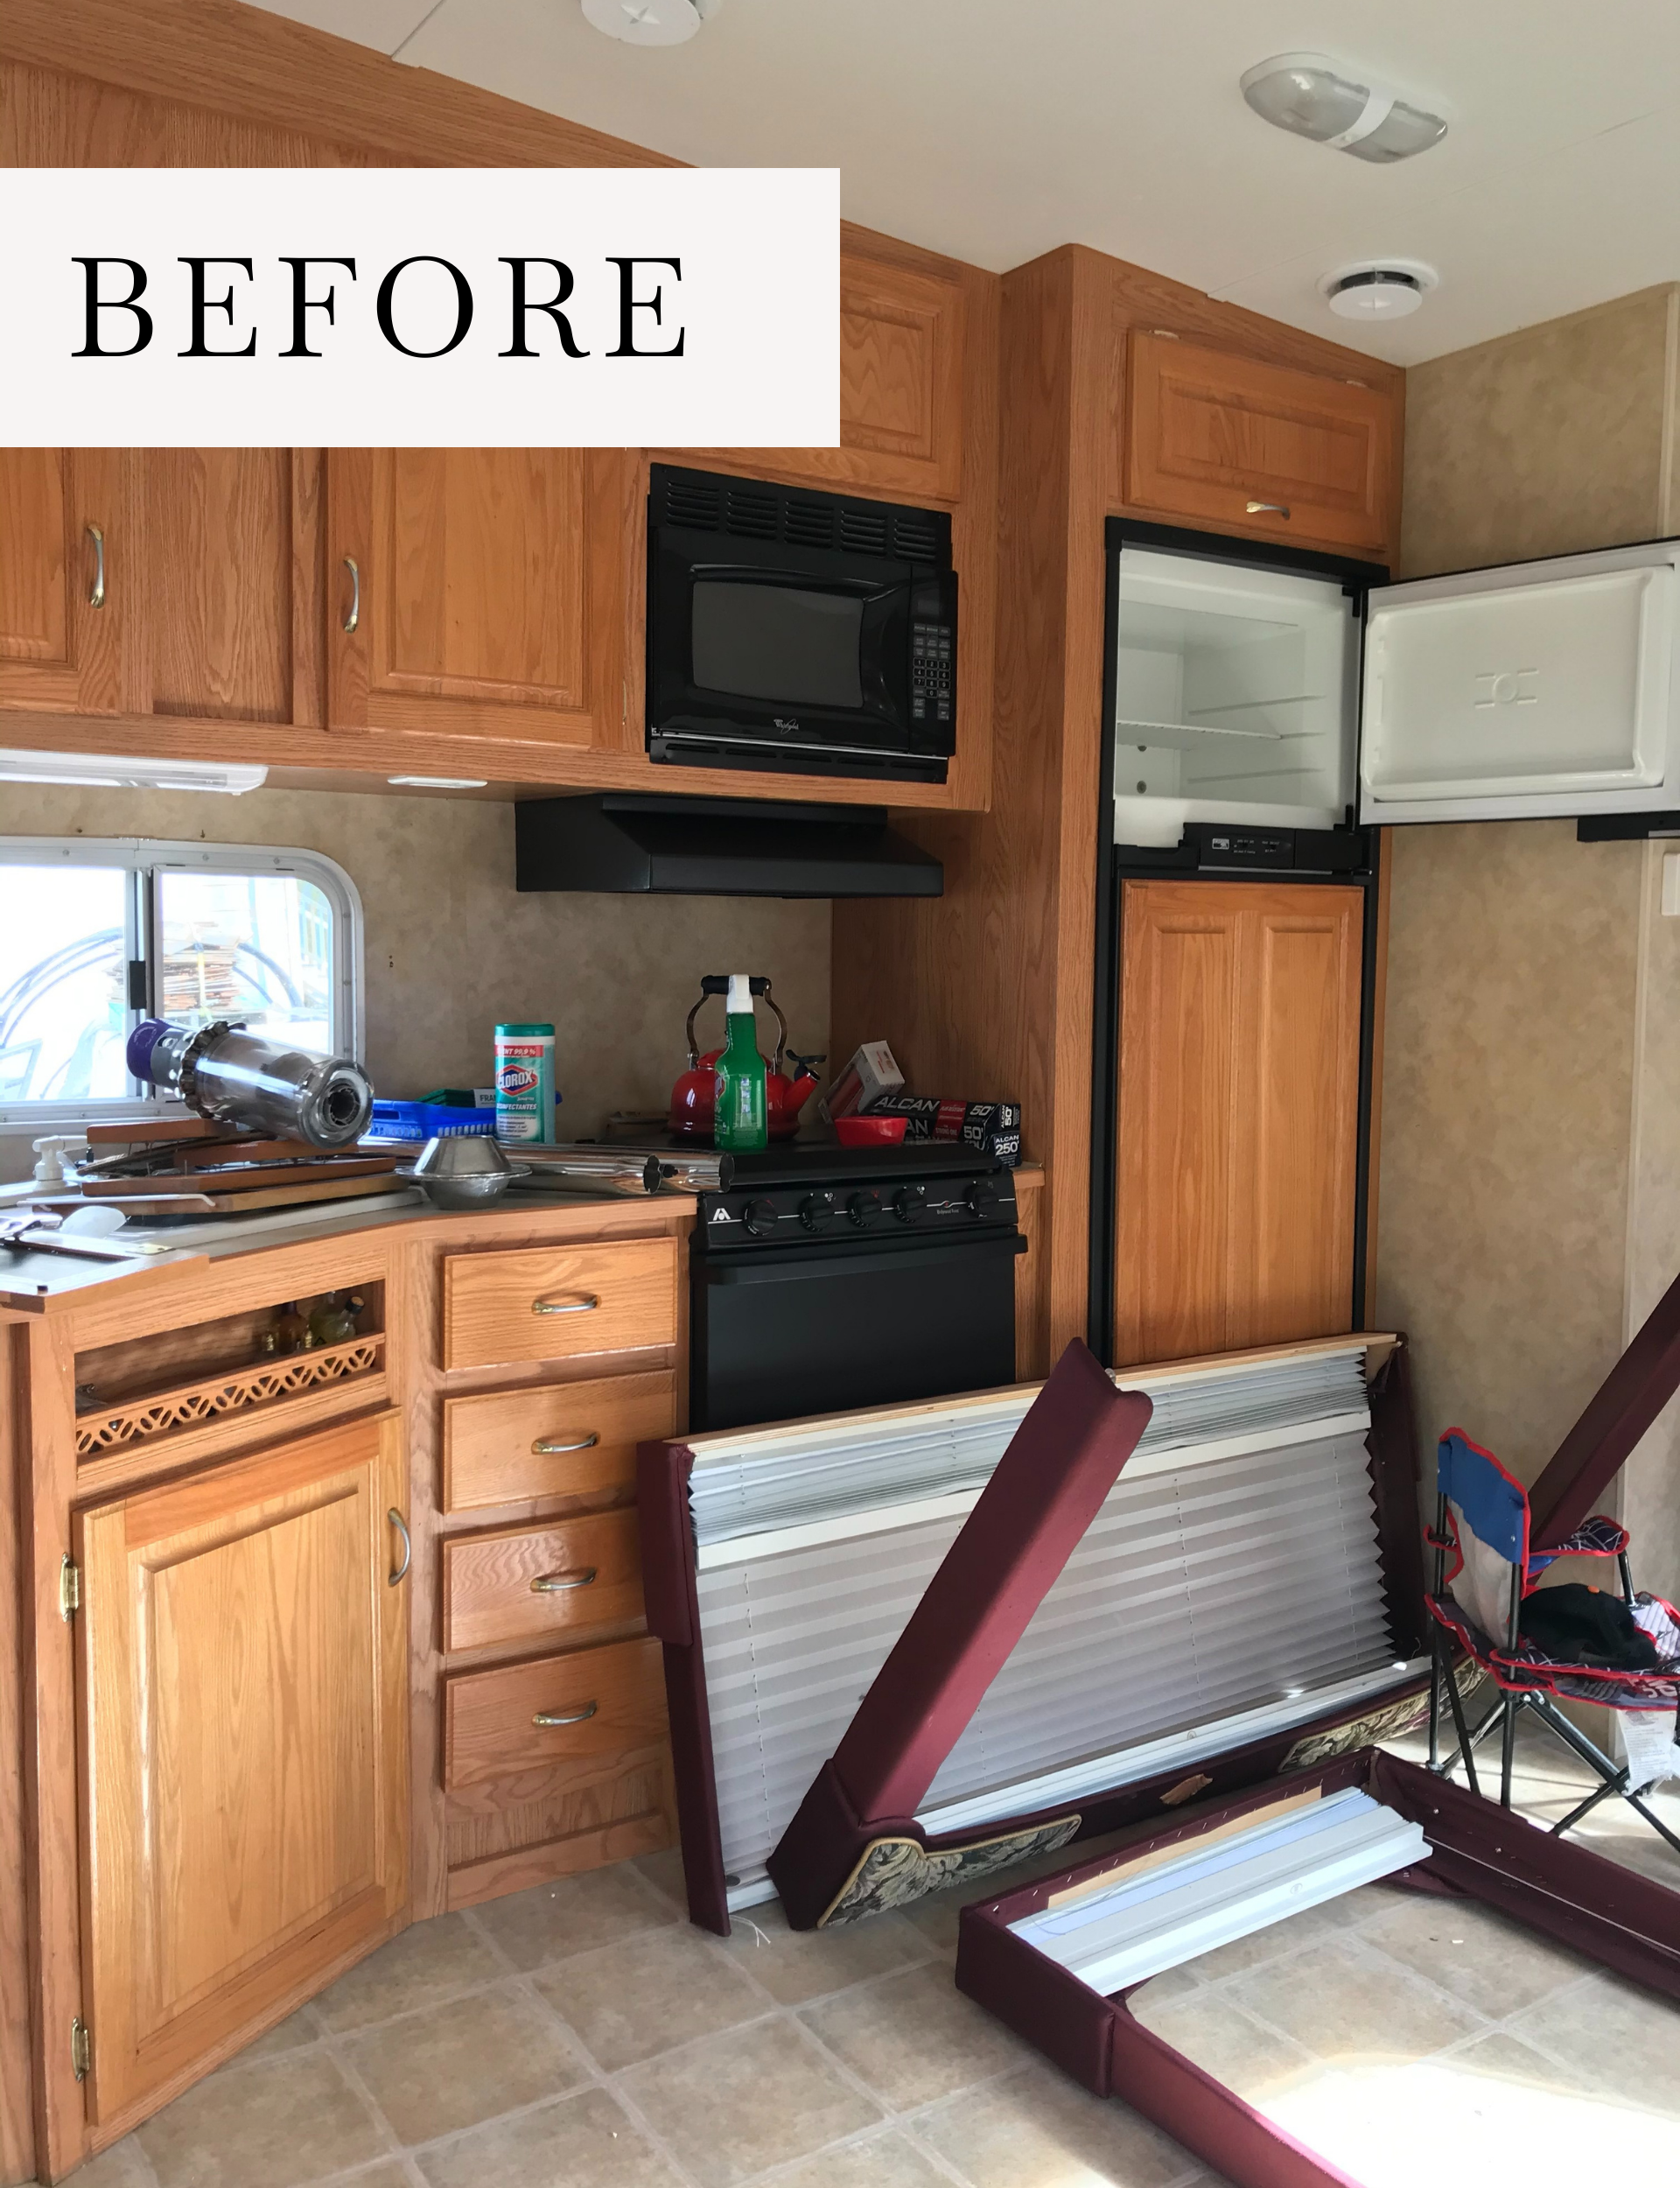
- Demo. Rip out the components that you don’t want to keep. We took out the couch (it was infested by mice), dining banquette, decorative lights, carpet and the sliding glass door for the shower. I also removed the wallpaper border (first thing I did – it was so ugly): it peels off so easily! We left the linoleum floor in and just went over top of it with a new vinyl product.
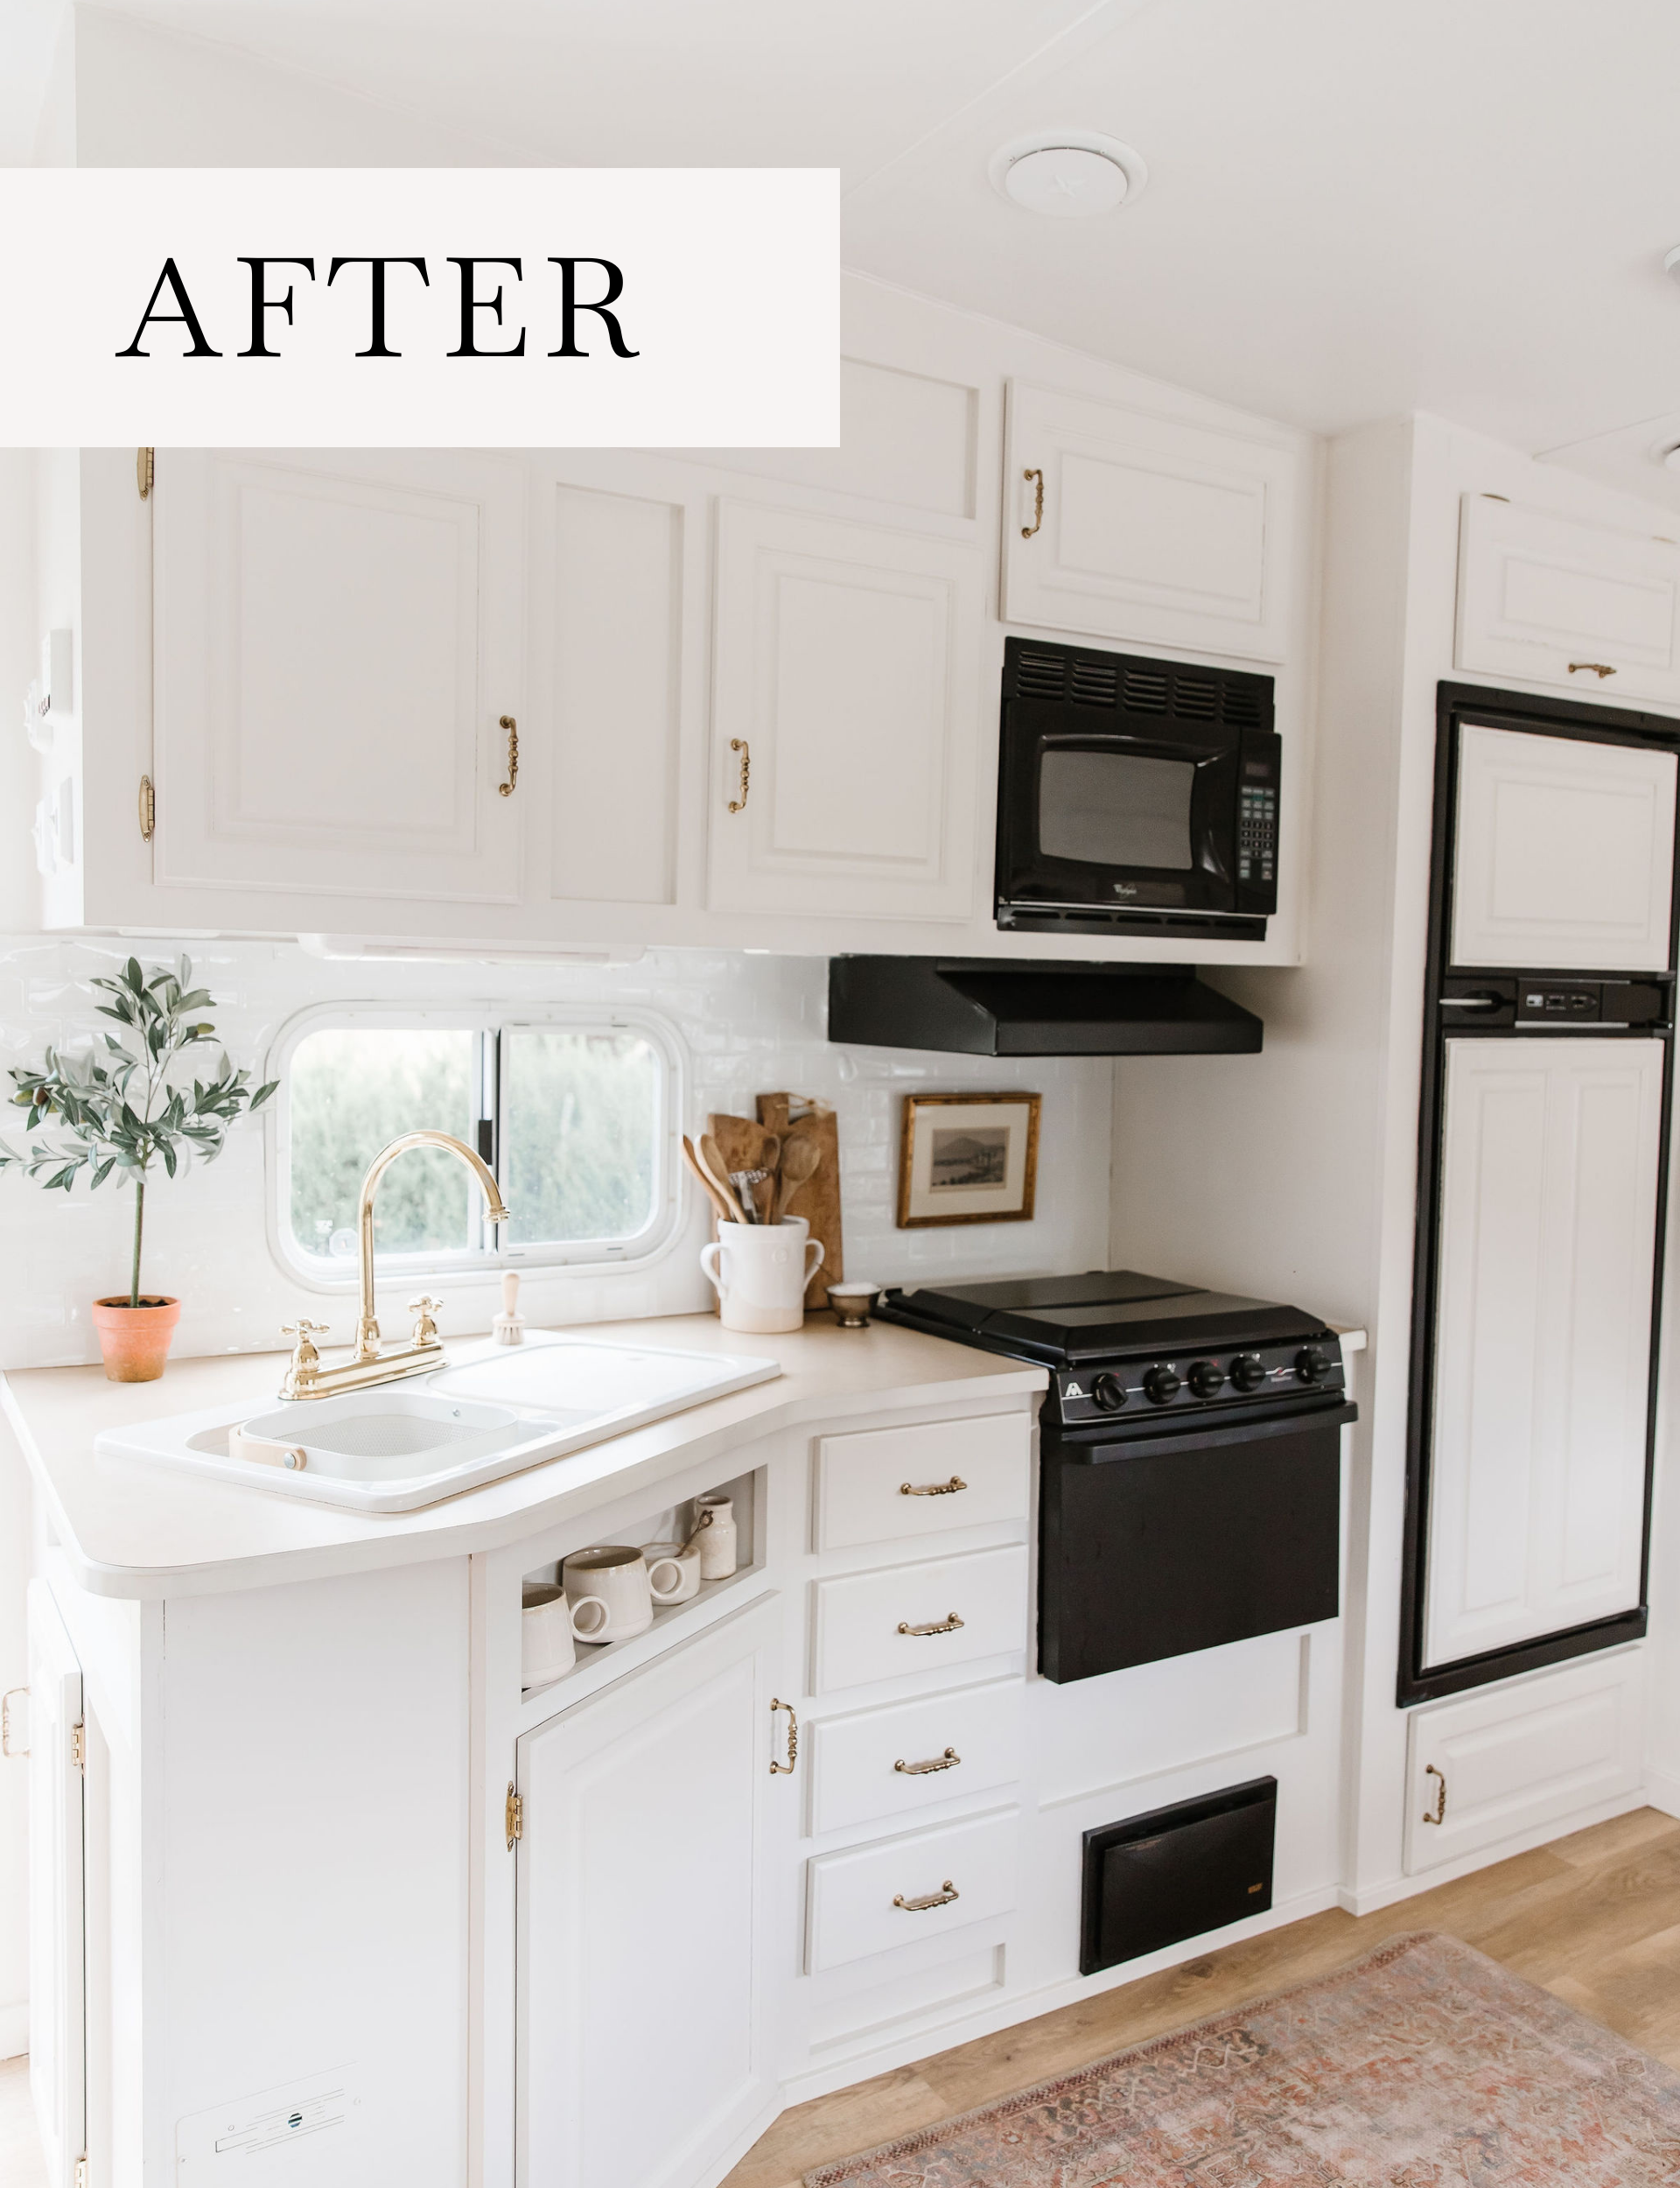
- Paint & Wallpaper. We painted the cabinets, ceiling and walls and installed wallpaper in a few places for interest.
- New Flooring. We chose carpet in the bedrooms and vinyl ‘hardwood’ in the living areas.
- Finishing. Install trim and replace fixtures (sources below).
- Replace Window Coverings. Ours were broken and very dated with old fabric valances. Bye bye!
- Decorate. Replace any of those components like couches etc that you ripped out and decorate away! The best part!
How to Paint a Camper
There are 2 ways to paint a camper: spray or brush & roll. If you have the budget, spraying is the way to go. You can either buy a paint sprayer or get it professionally done. In this case everything that isn’t getting painted is taped off and the rest is sprayed. Time was on our side so Charles ended up painting it. I think if he were to do it over again he would have sprayed – it was SO MUCH WORK!
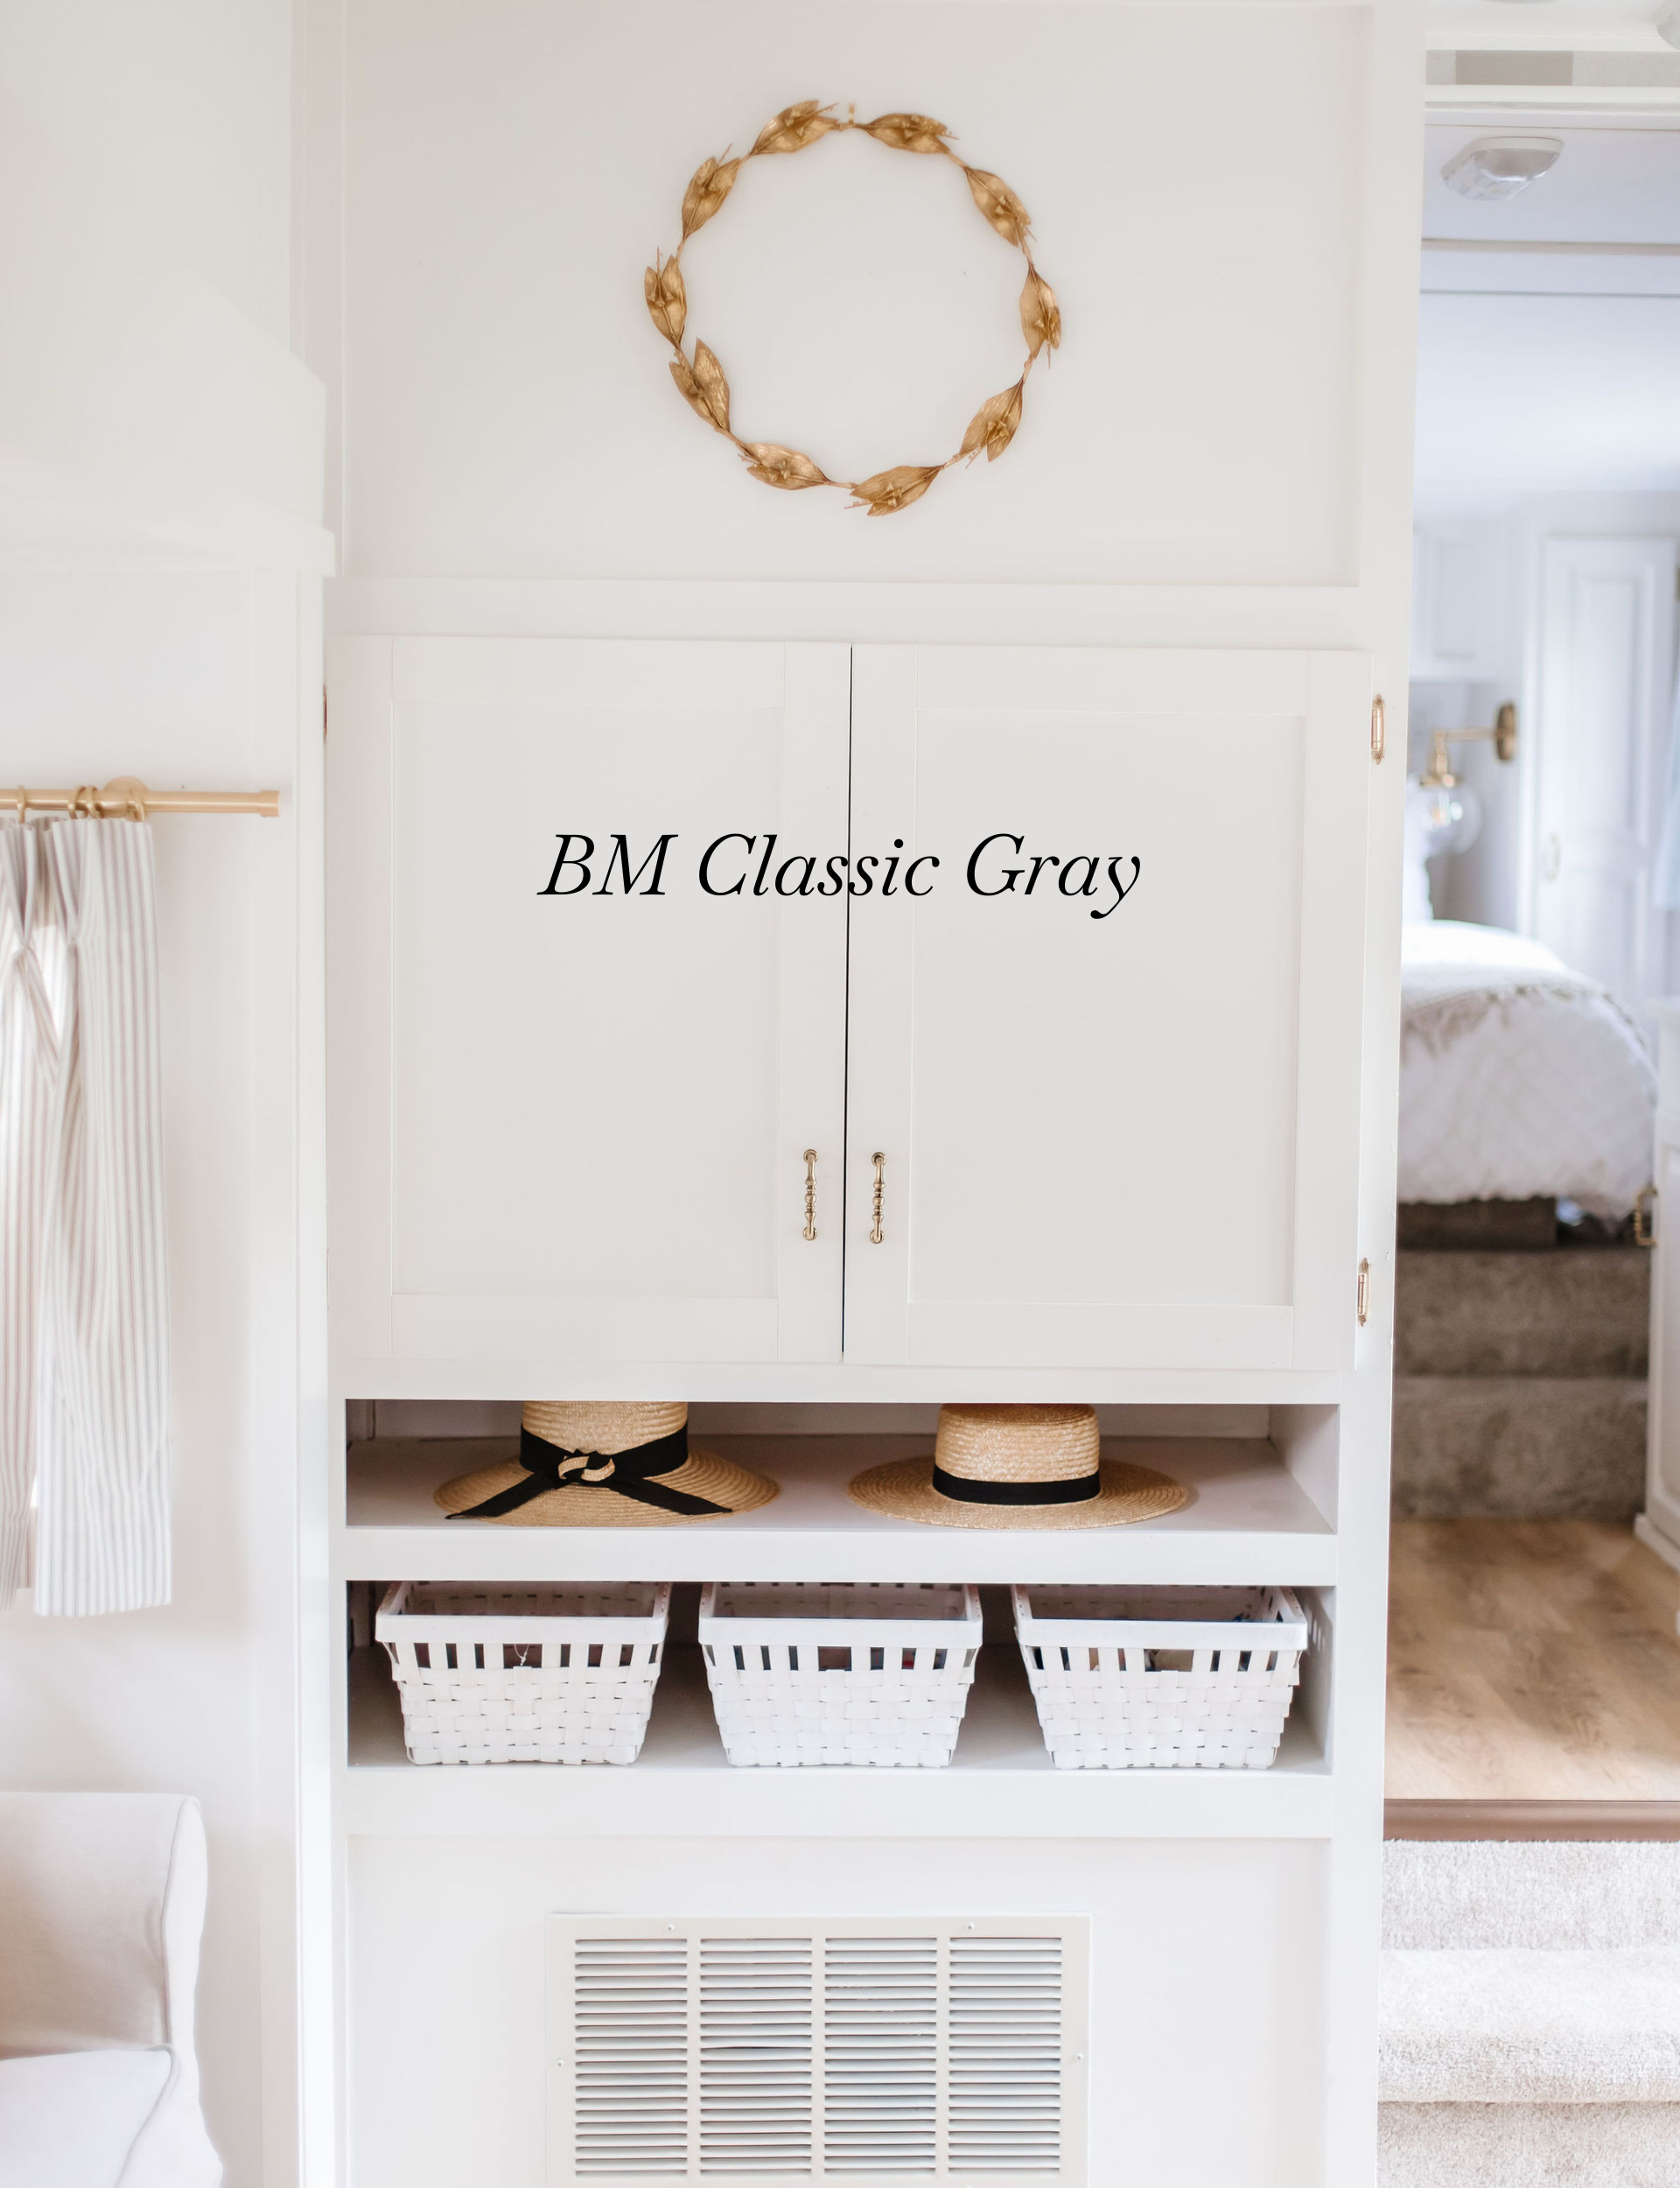
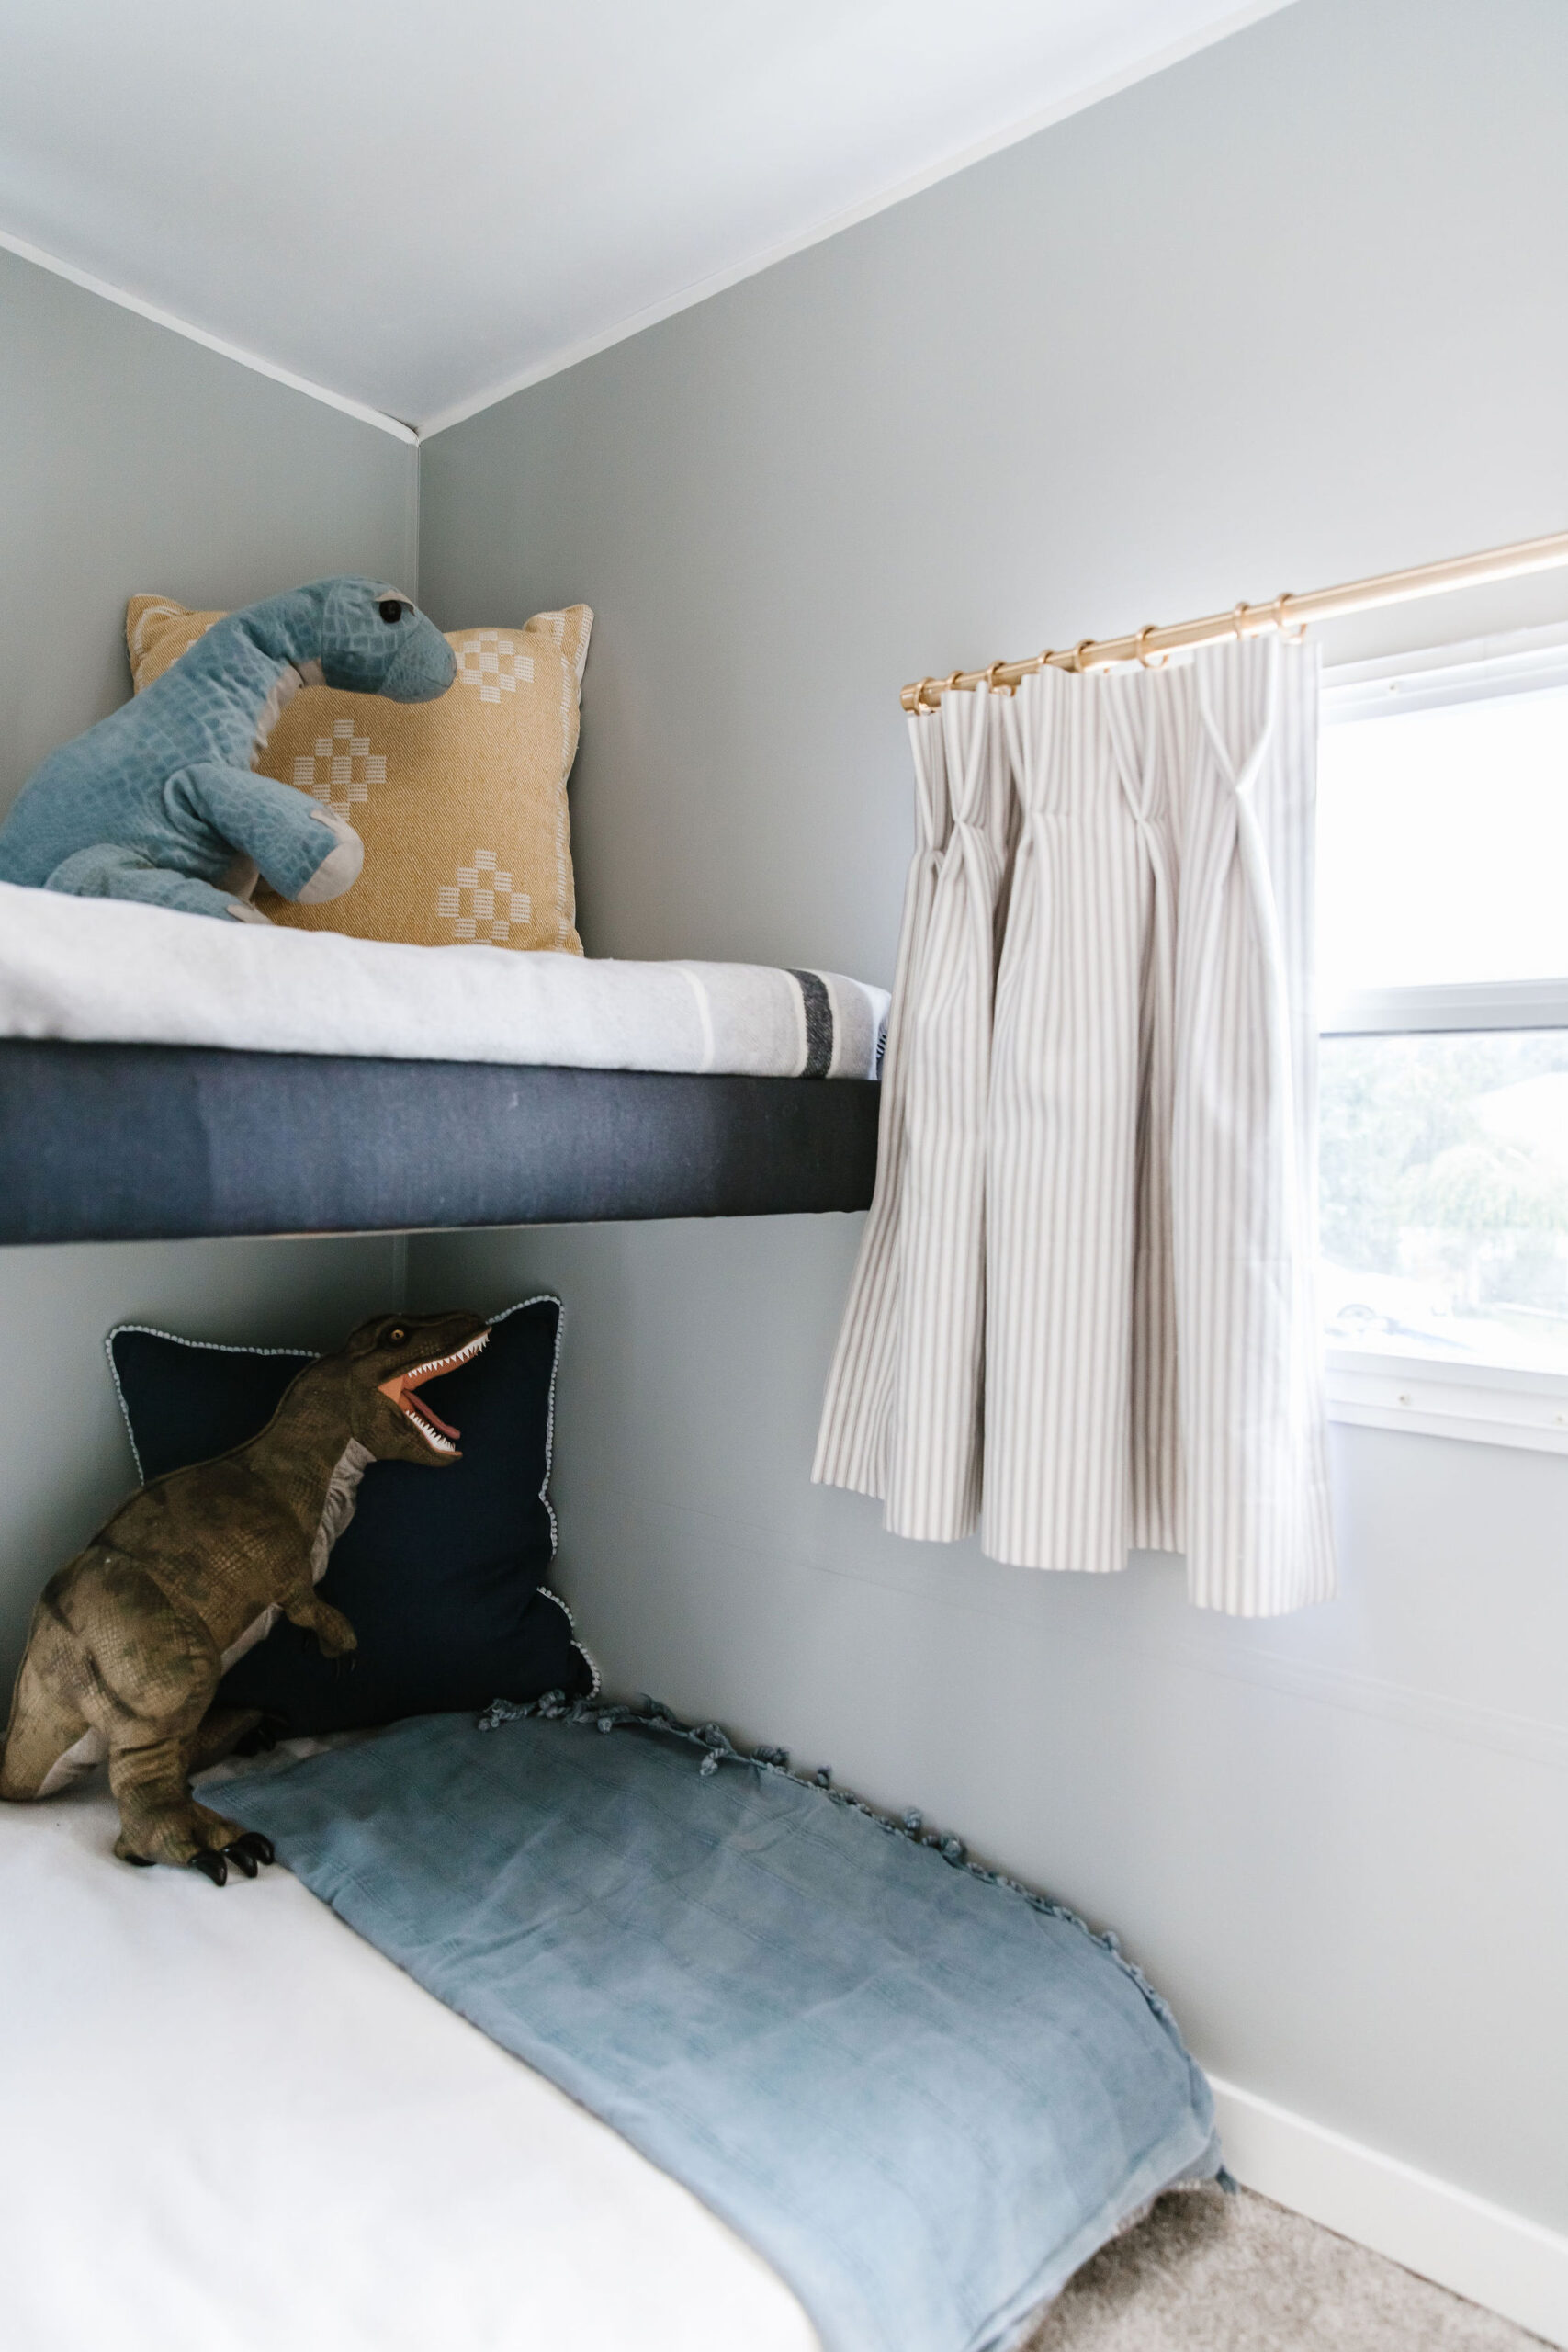
We used Benjamin Moore Simply White on our walls in a satin finish (easier to wipe down) and the cabinets were Benjamin Moore Classic Grey in a cabinet-grade paint. The boys’ bunks were painted the same colour as the interior of my front door, Benjamin Moore Half Moon Crest.
We went with an eggshell finish for the walls, a satin finish for the trim and a cabinet grade finish for the cabinets. Some have had success with Fusion mineral paint which is another option and wouldn’t require priming. We primed everything first with a Zinzer primer. For tips on picking the perfect white paint visit here!
Replacing Camper Flooring
Since we have a slide we ended up getting the vinyl flooring professionally installed as it was a bit tricky. Charles just picked up a standard vinyl plank floor in a tone we liked along with some carpet remnants from a local store since we didn’t need much. They worked just fine! We placed the vinyl floor overtop of the existing floor since it was hard to remove.
Camper Window Coverings
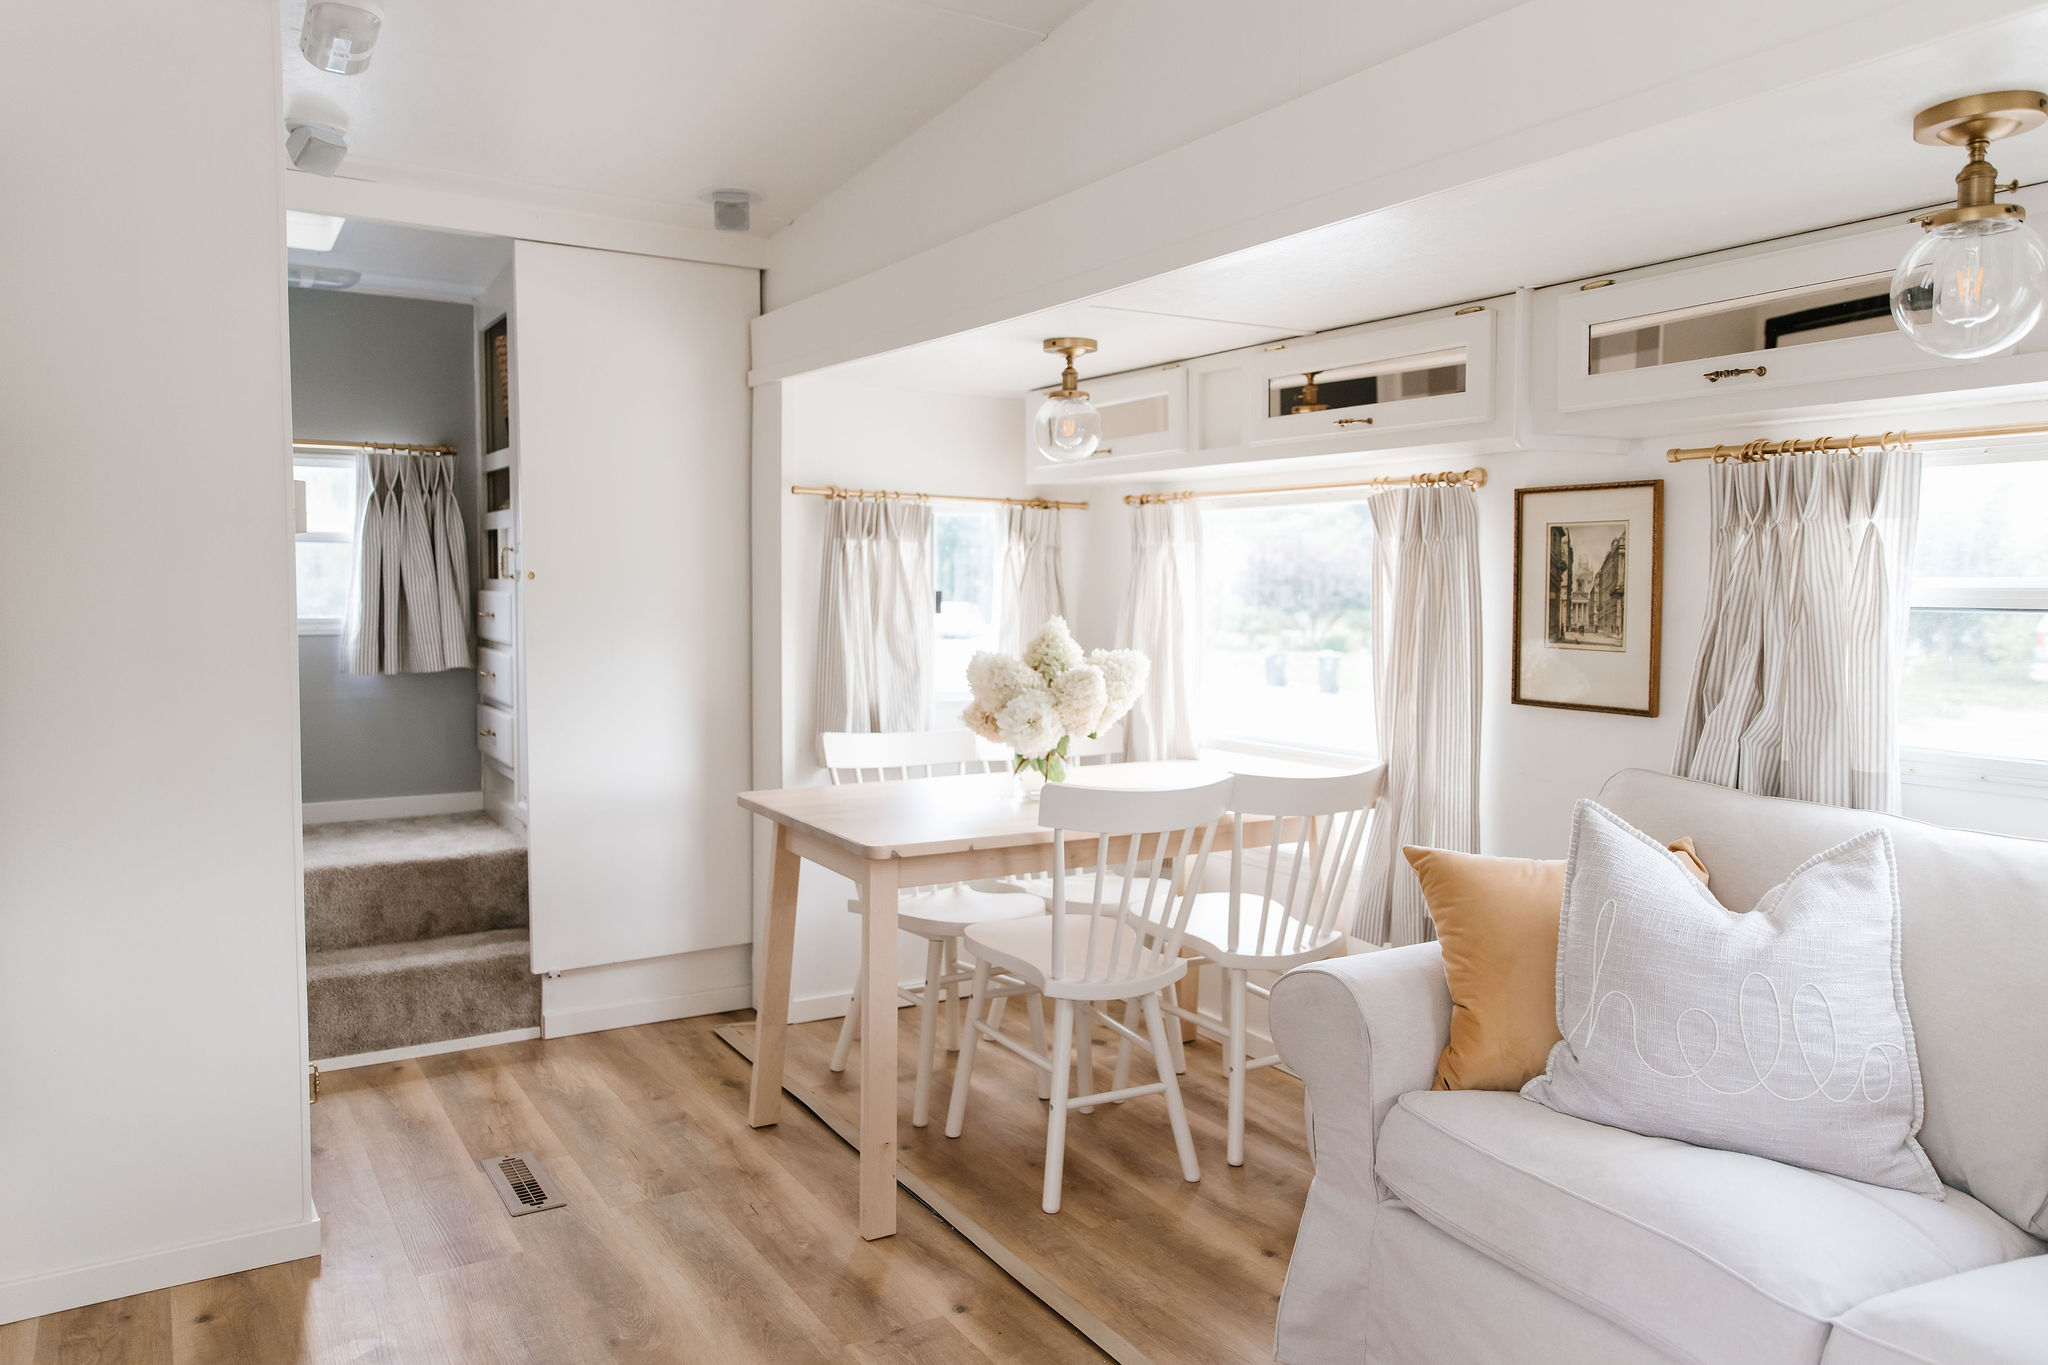
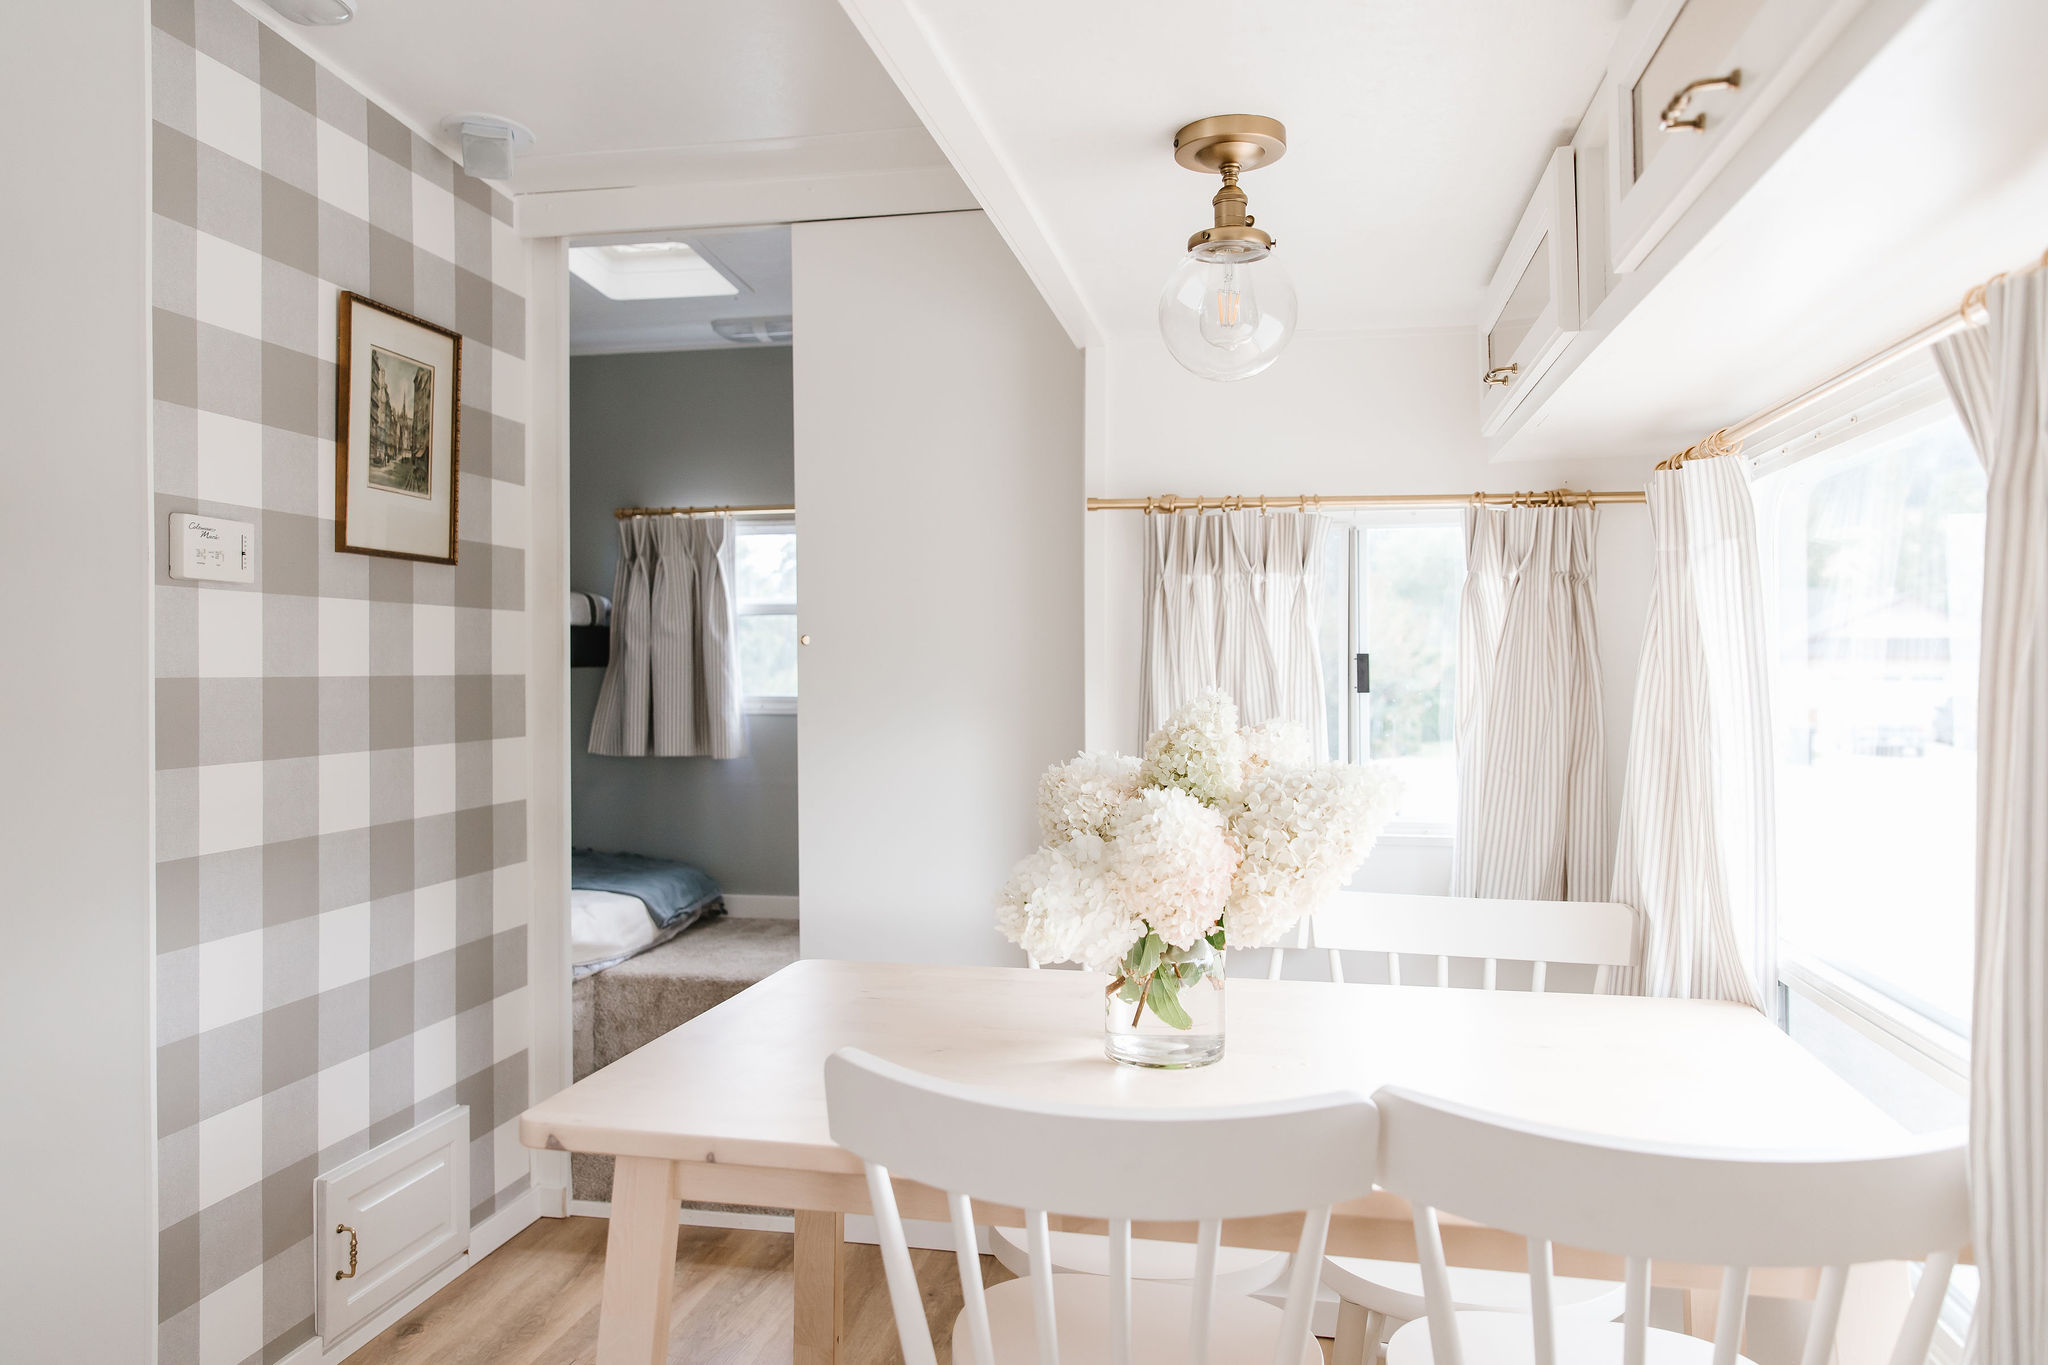
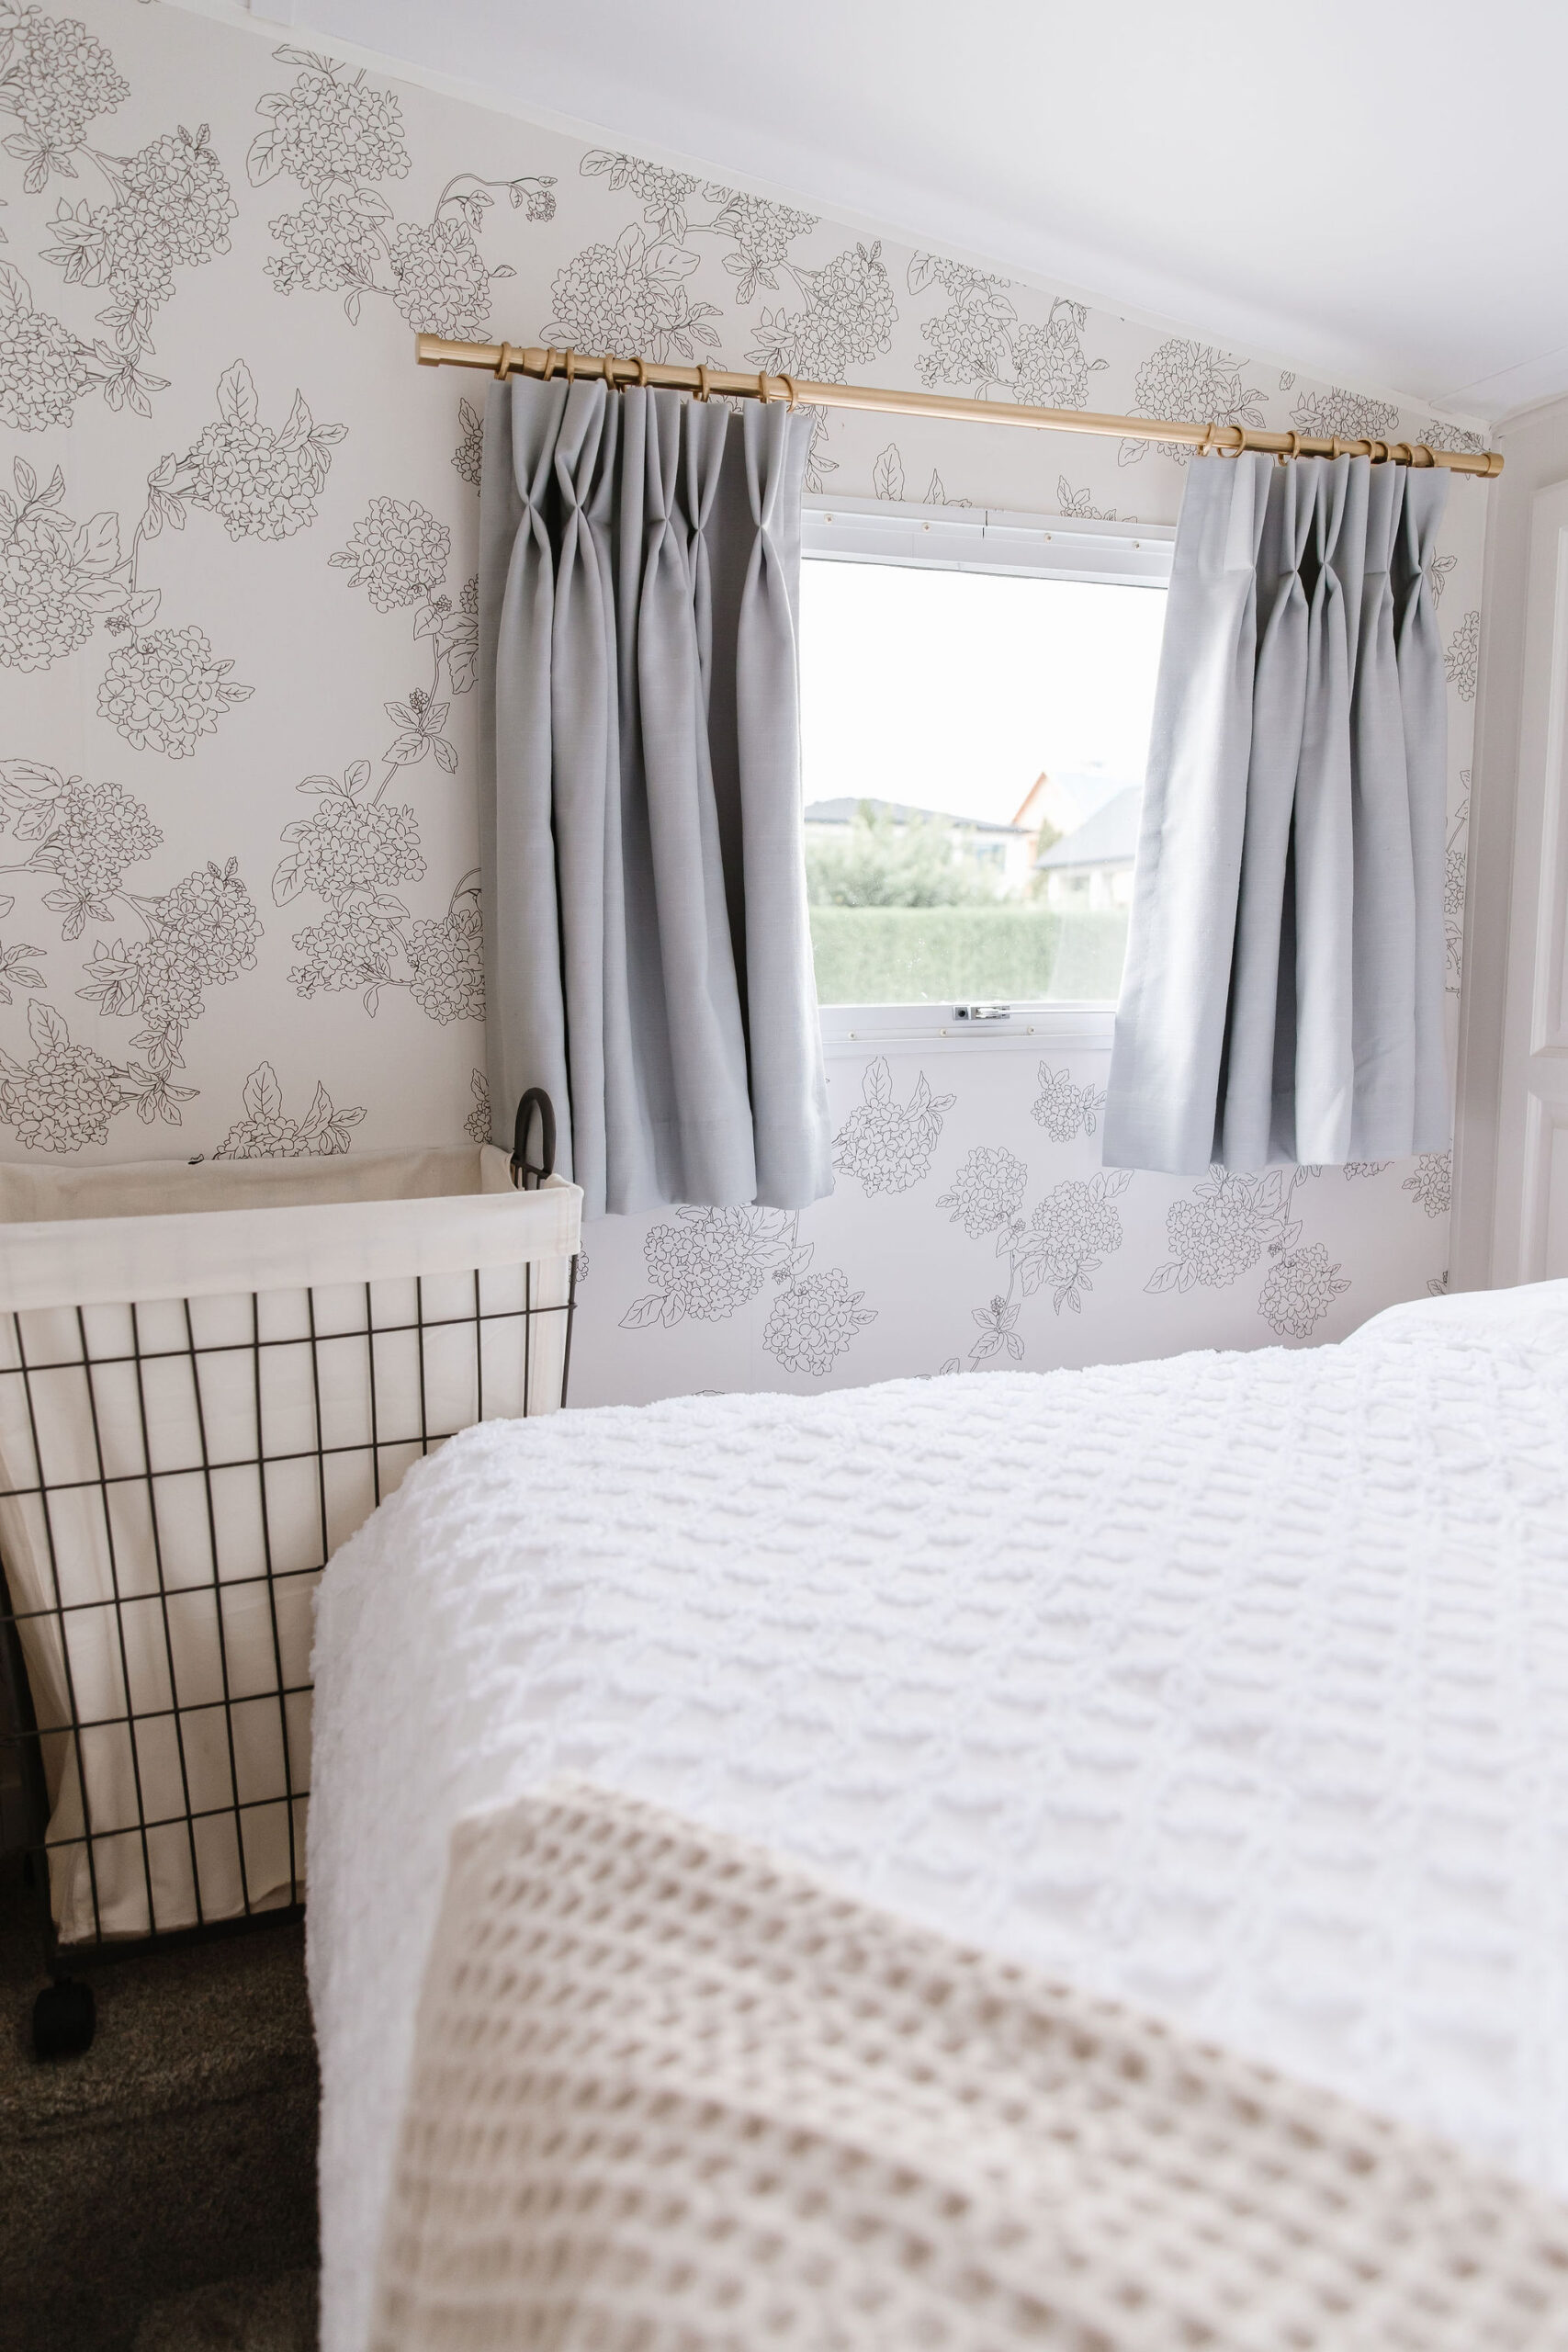
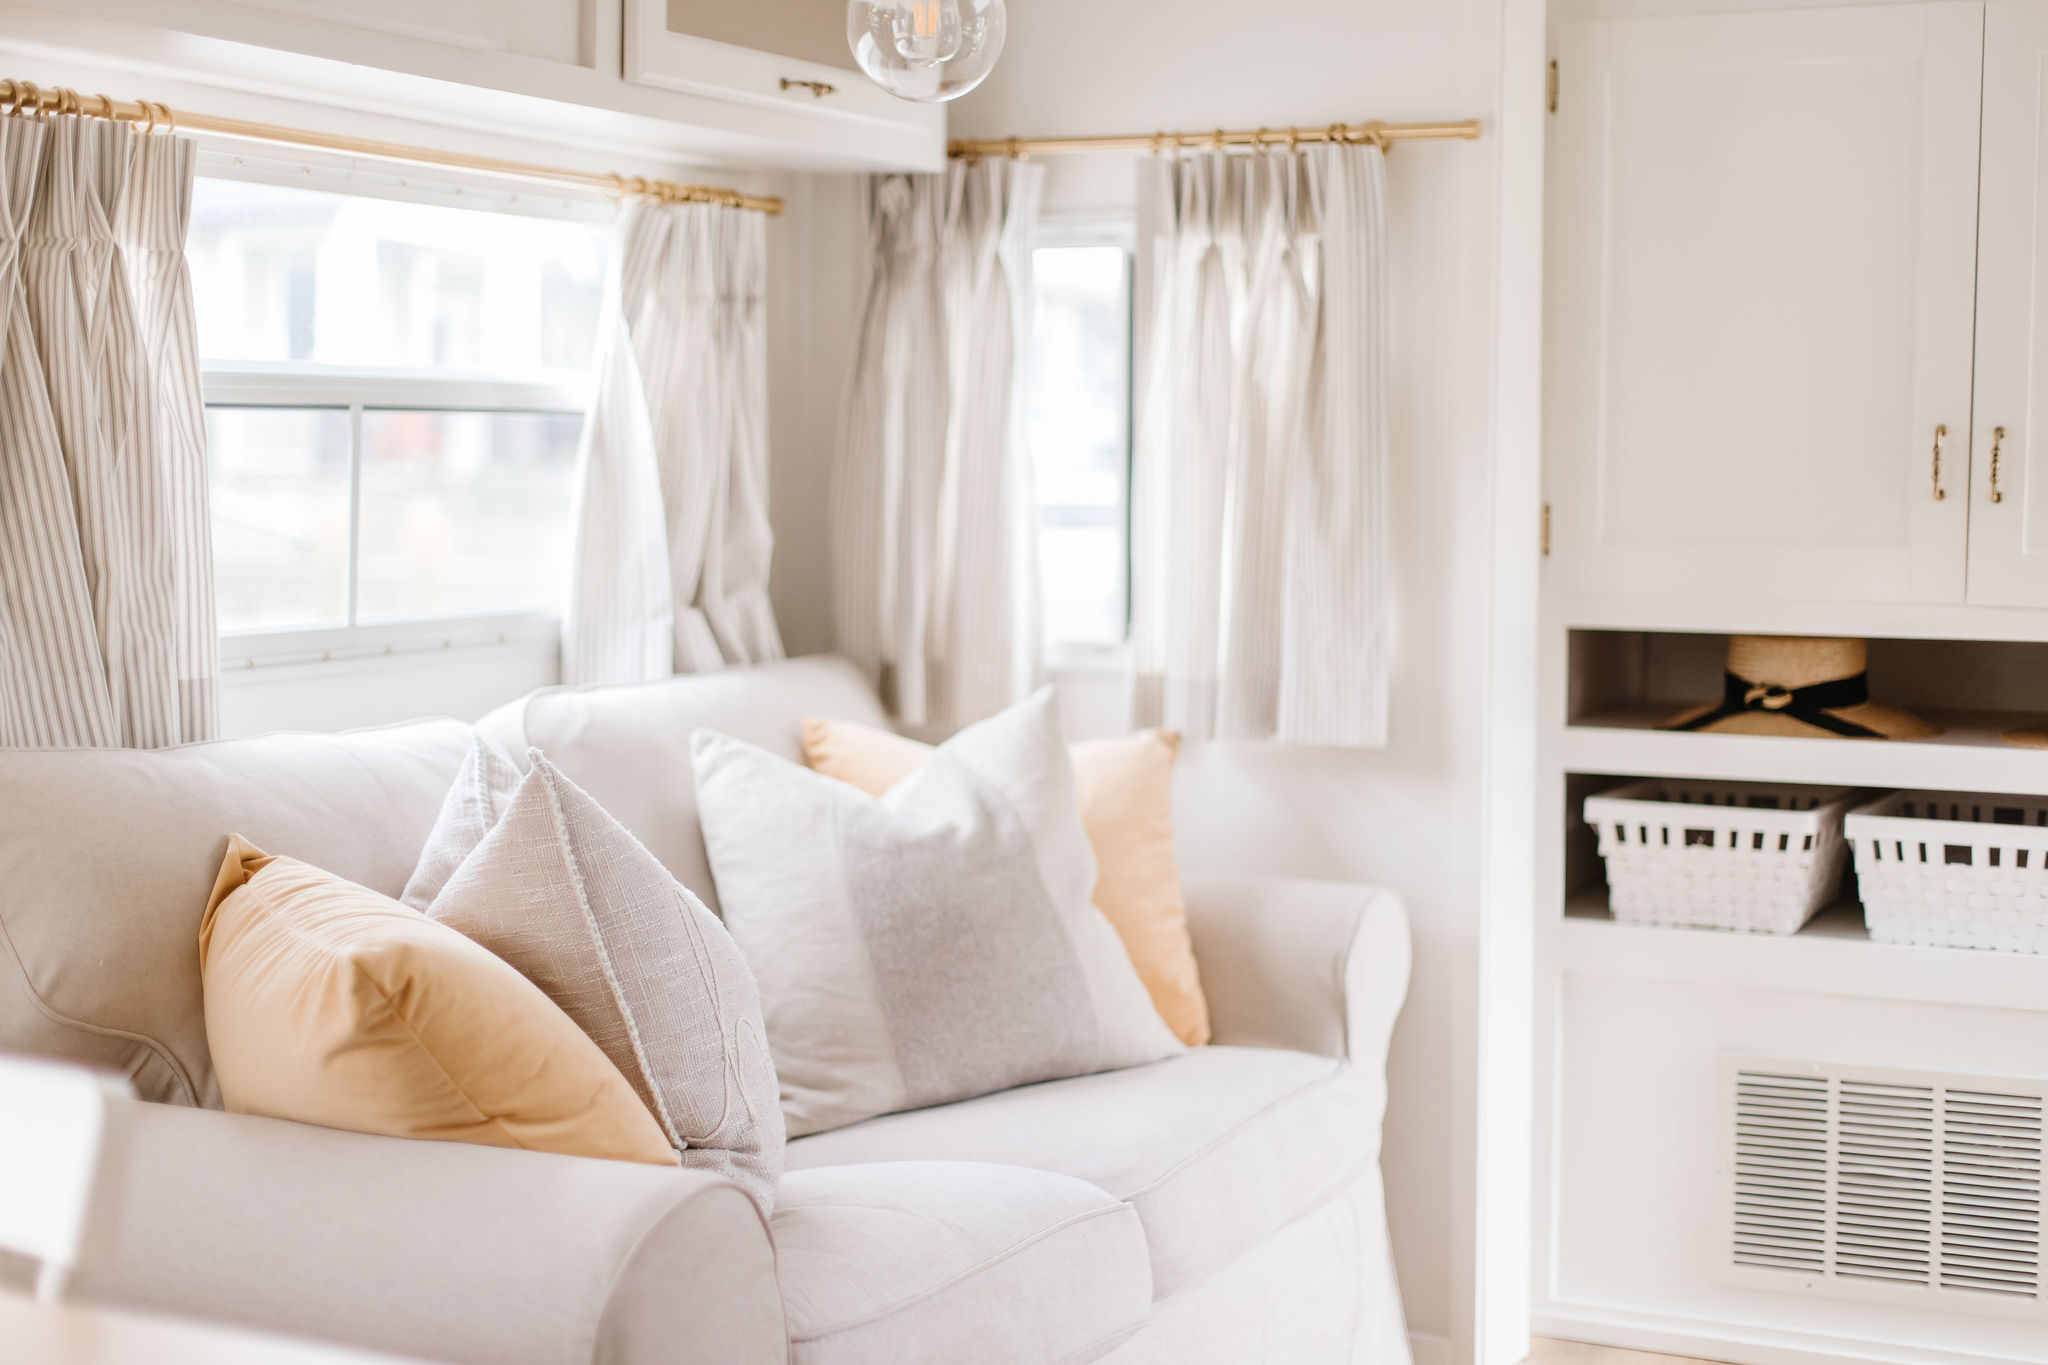
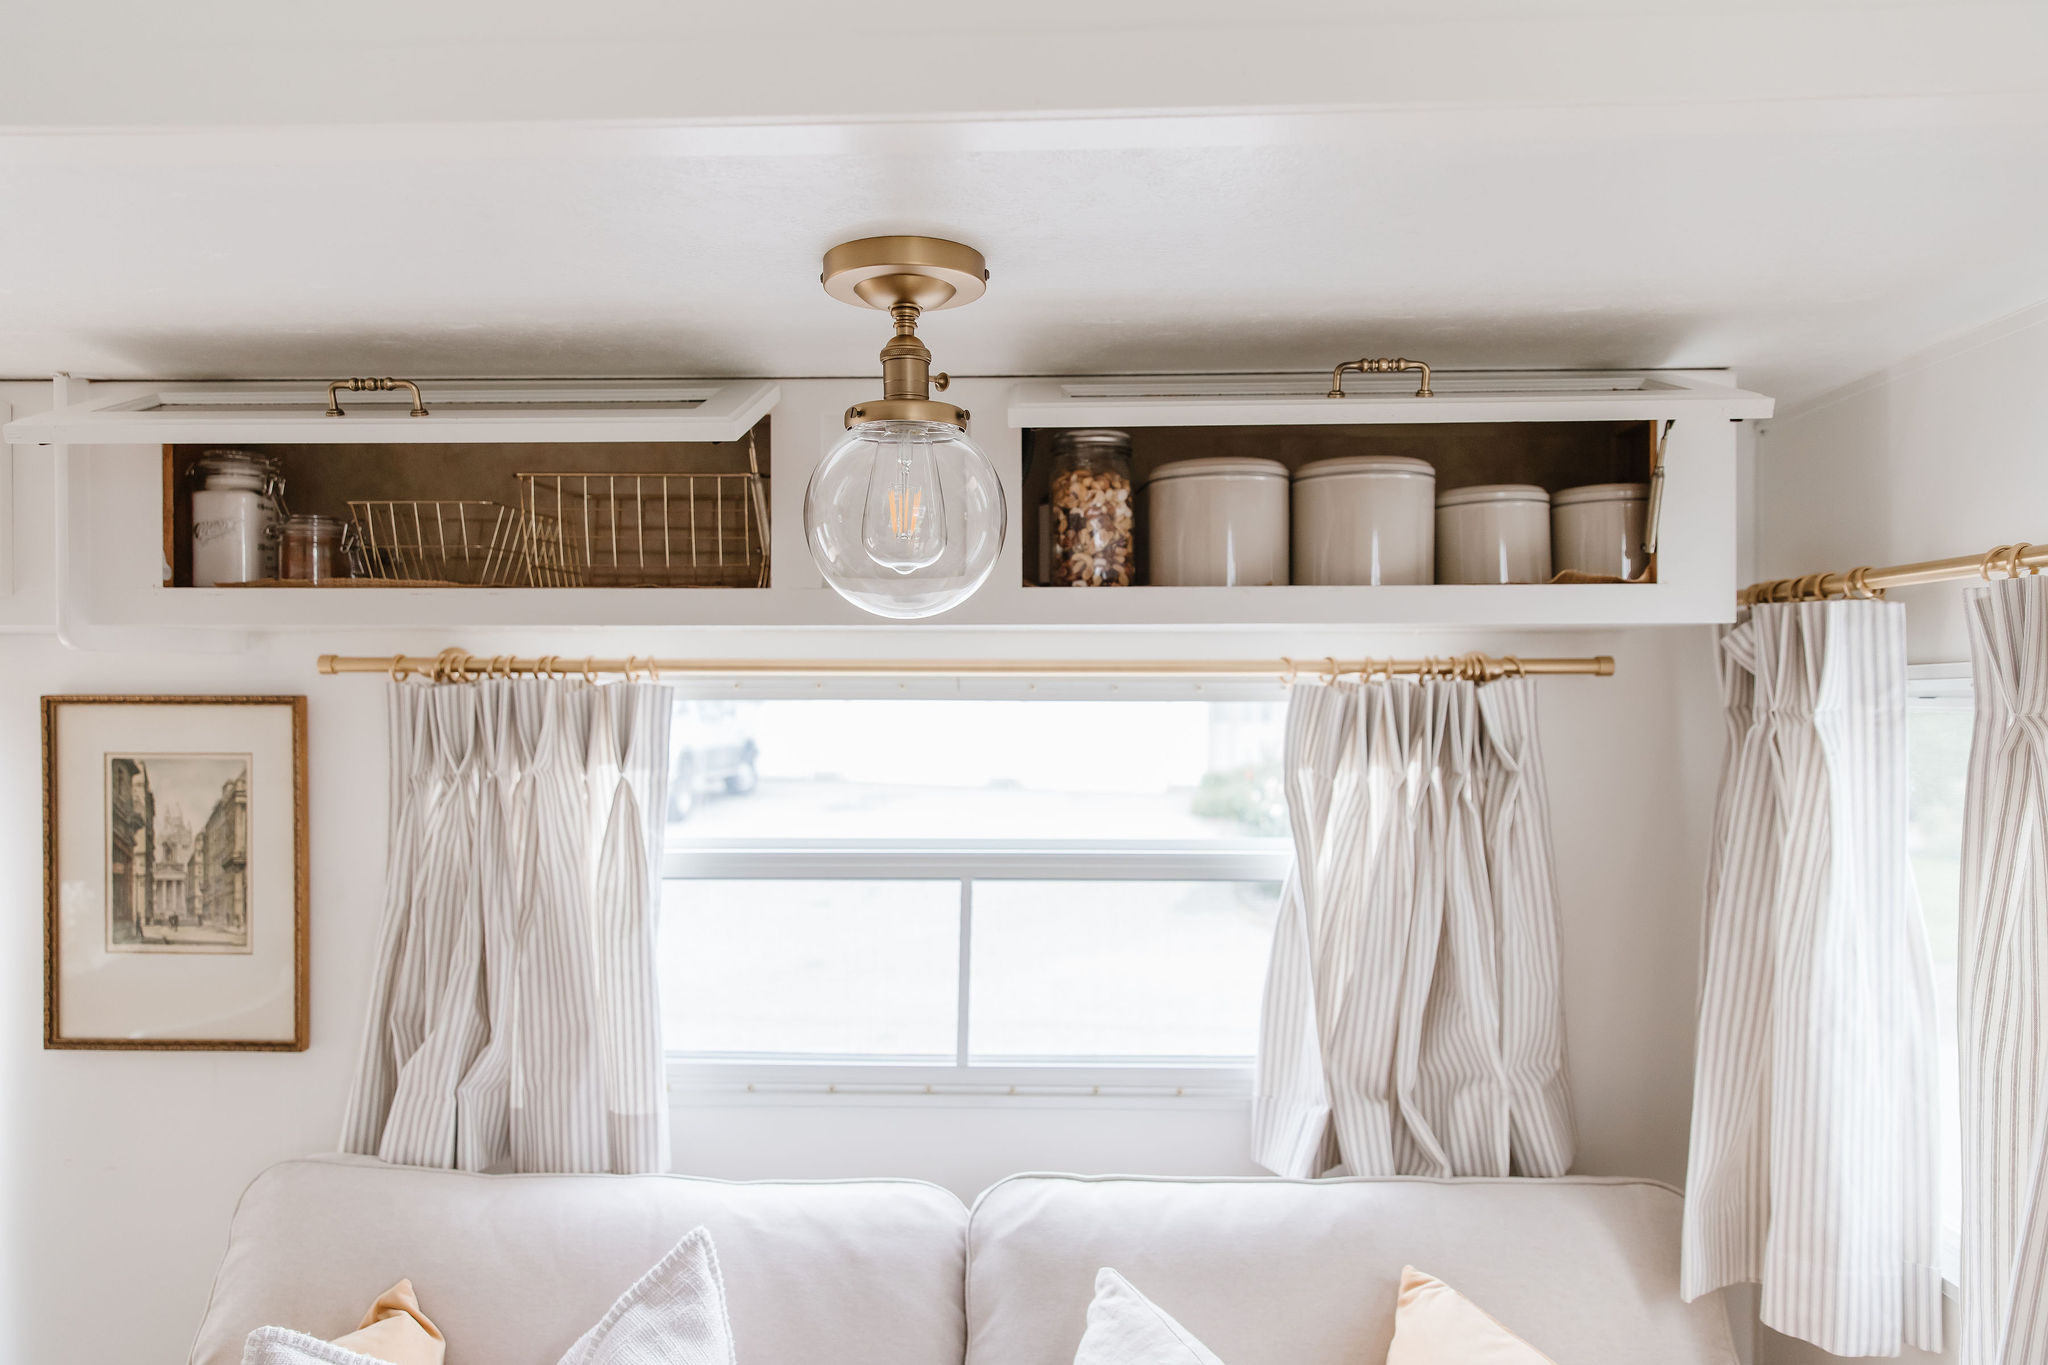
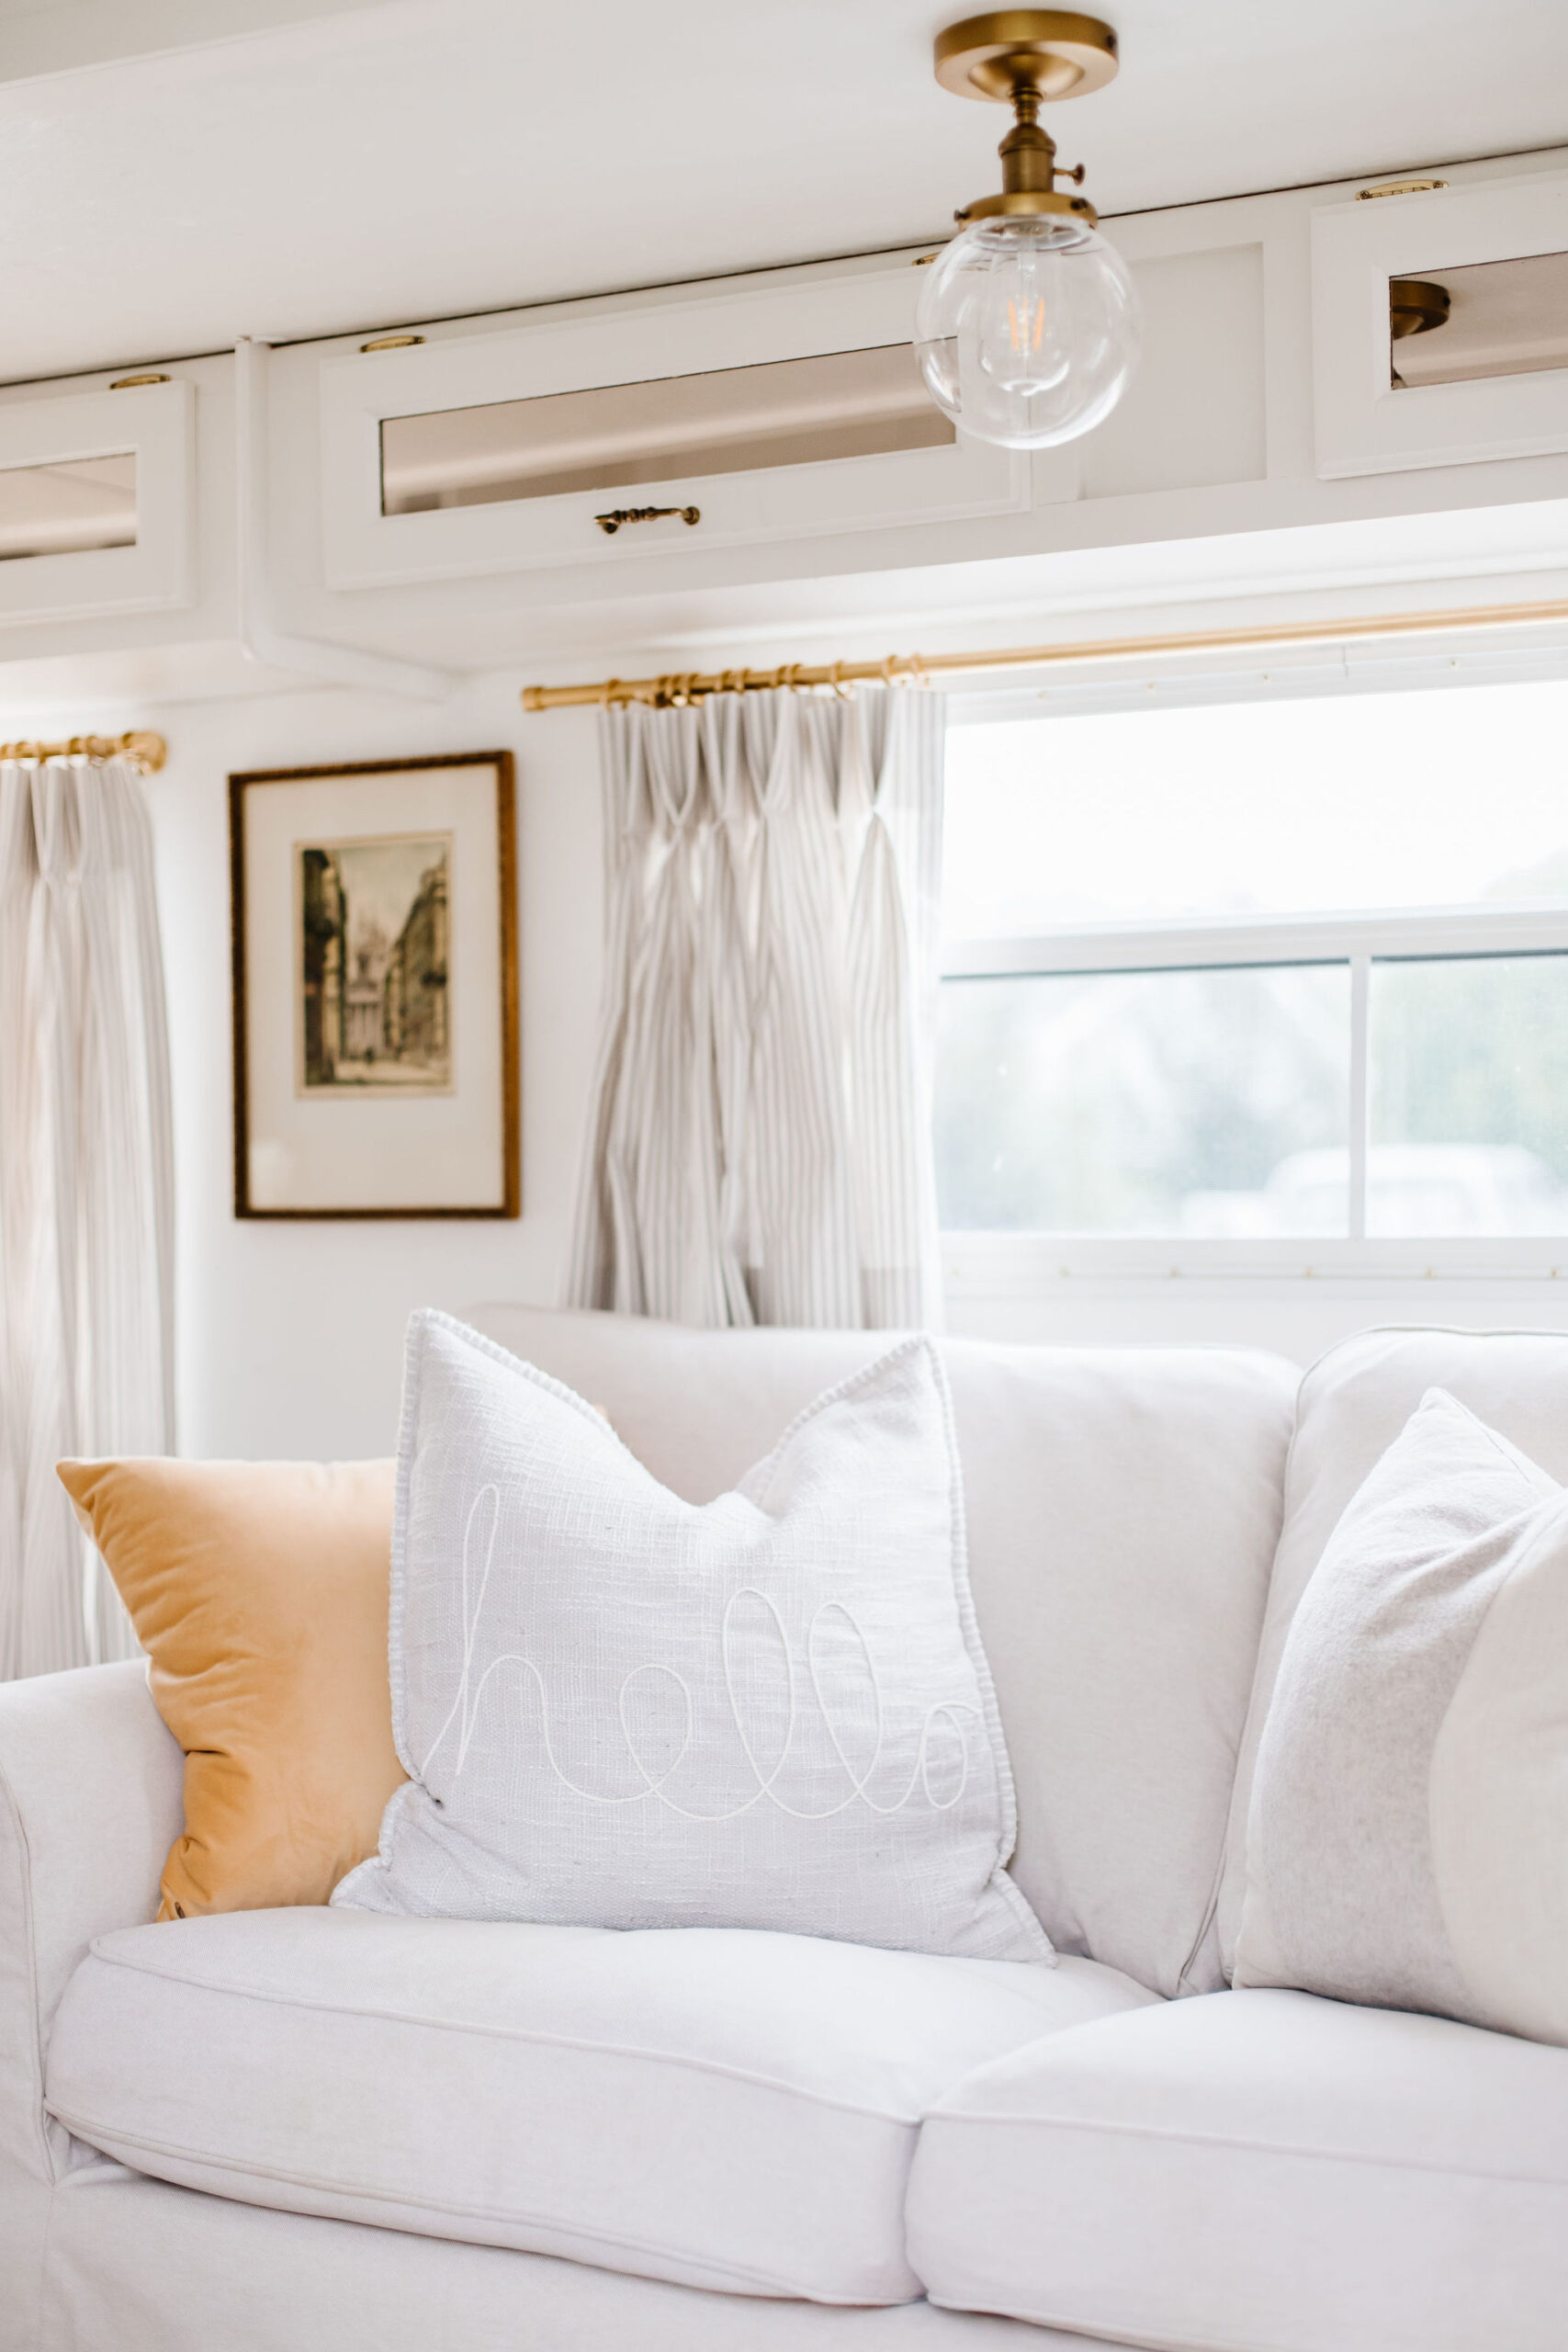
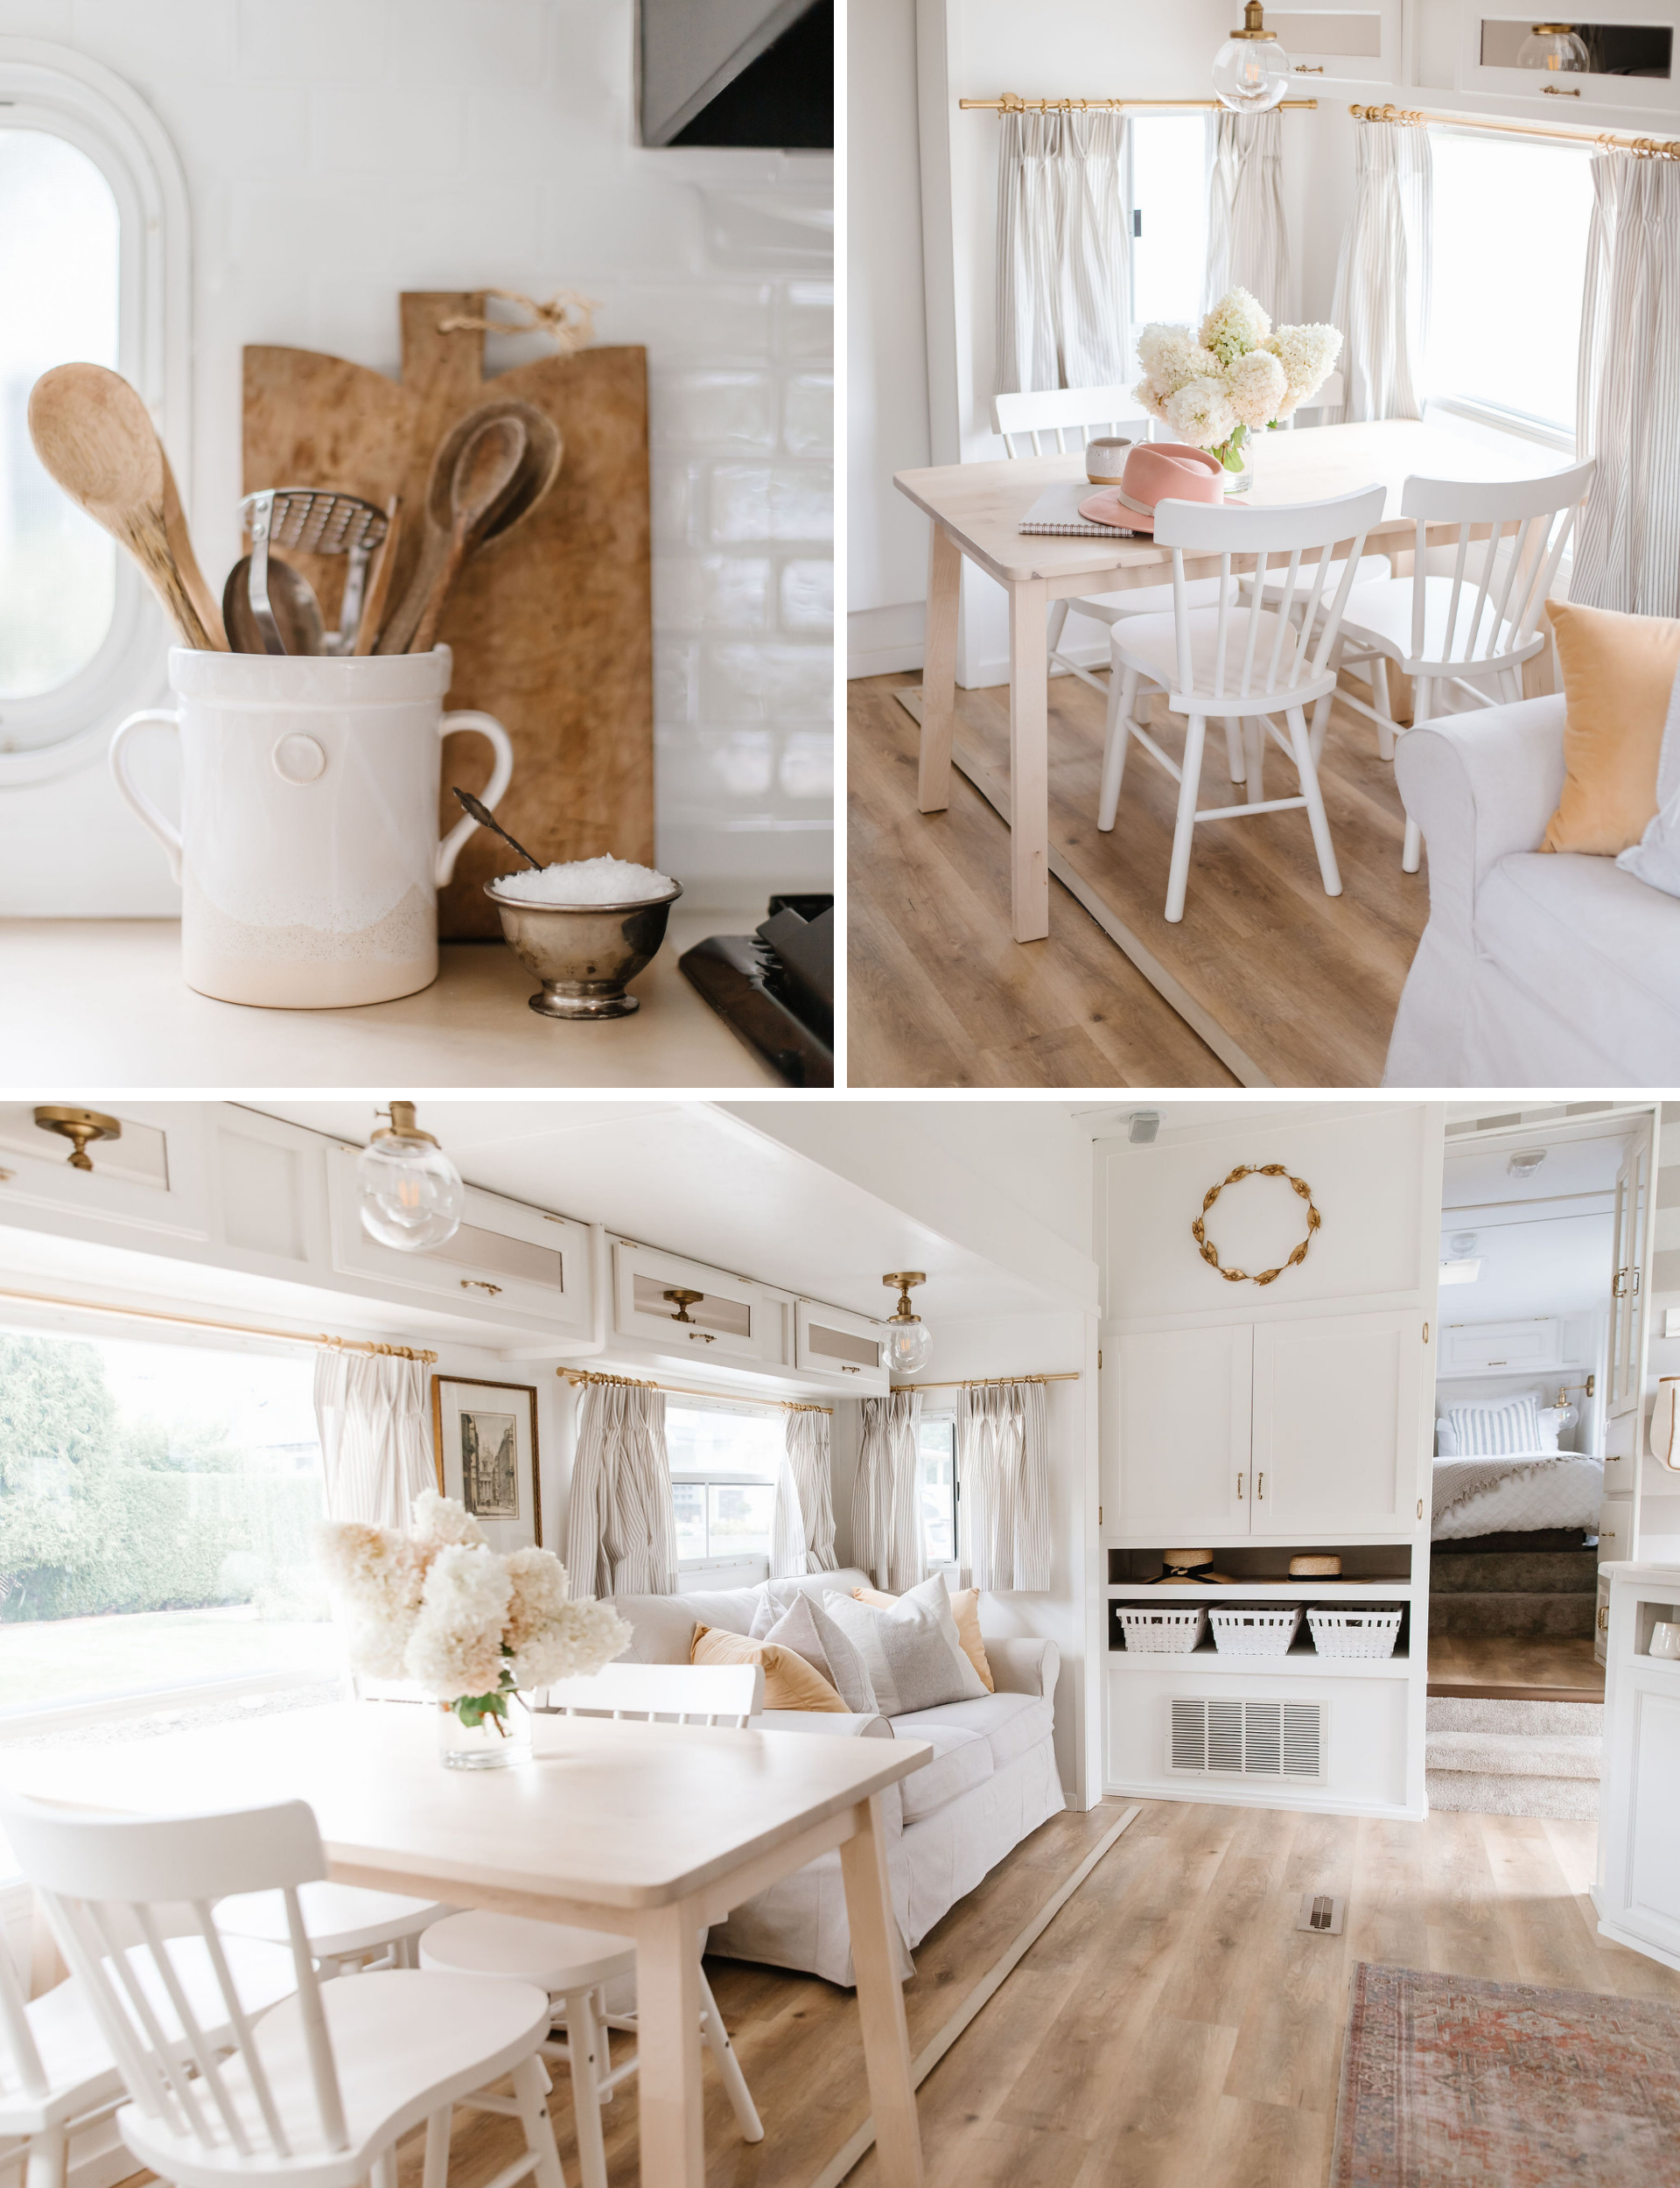
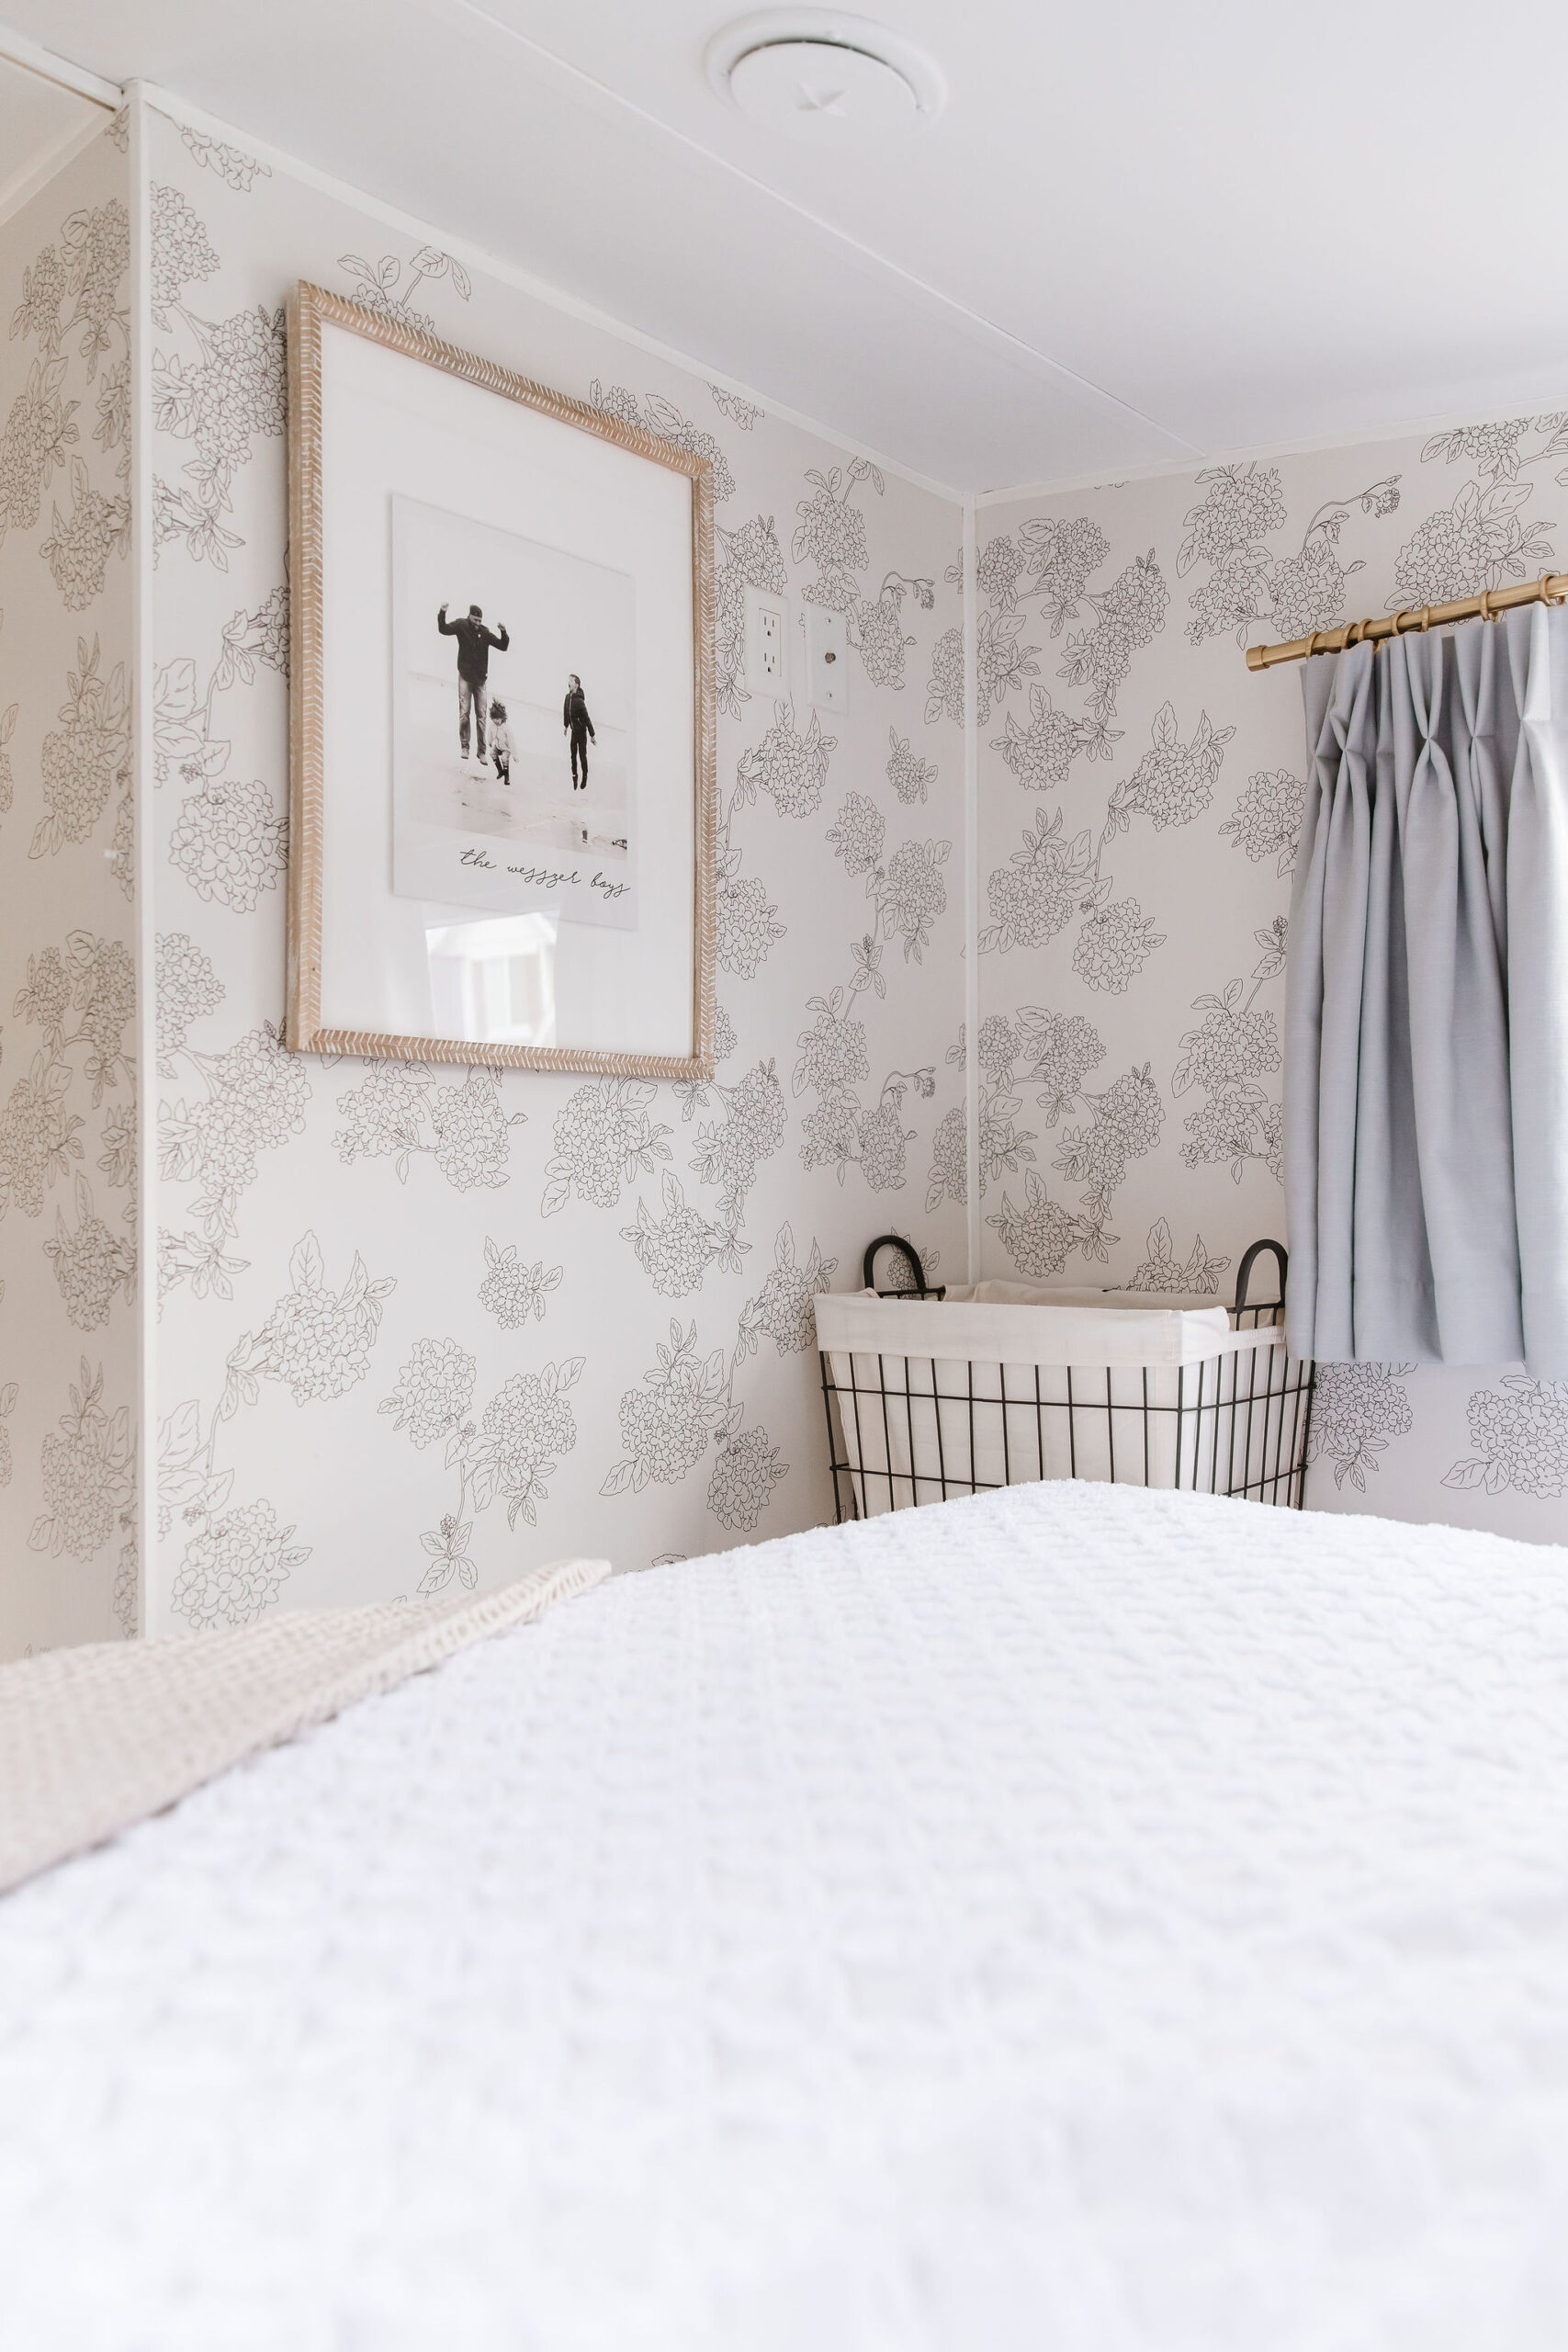
I’m OBSESSED with our window coverings. Lindsay from Q Design Centre custom made them for our space and I absolutely love them! Lindsay did our window coverings for our home too. The original ones were half broken and rather ugly, so this was a massive upgrade. We went with gold hardware for the café curtains with a cute French-inspired stripe for the main area and a soft linen grey/blue for the bedroom curtains to play on the hydrangea theme. I would do it over again the same way a thousand times over! Lindsay can give you our fabric choices if you want to recreate the look.
Replacing Camper Lighting
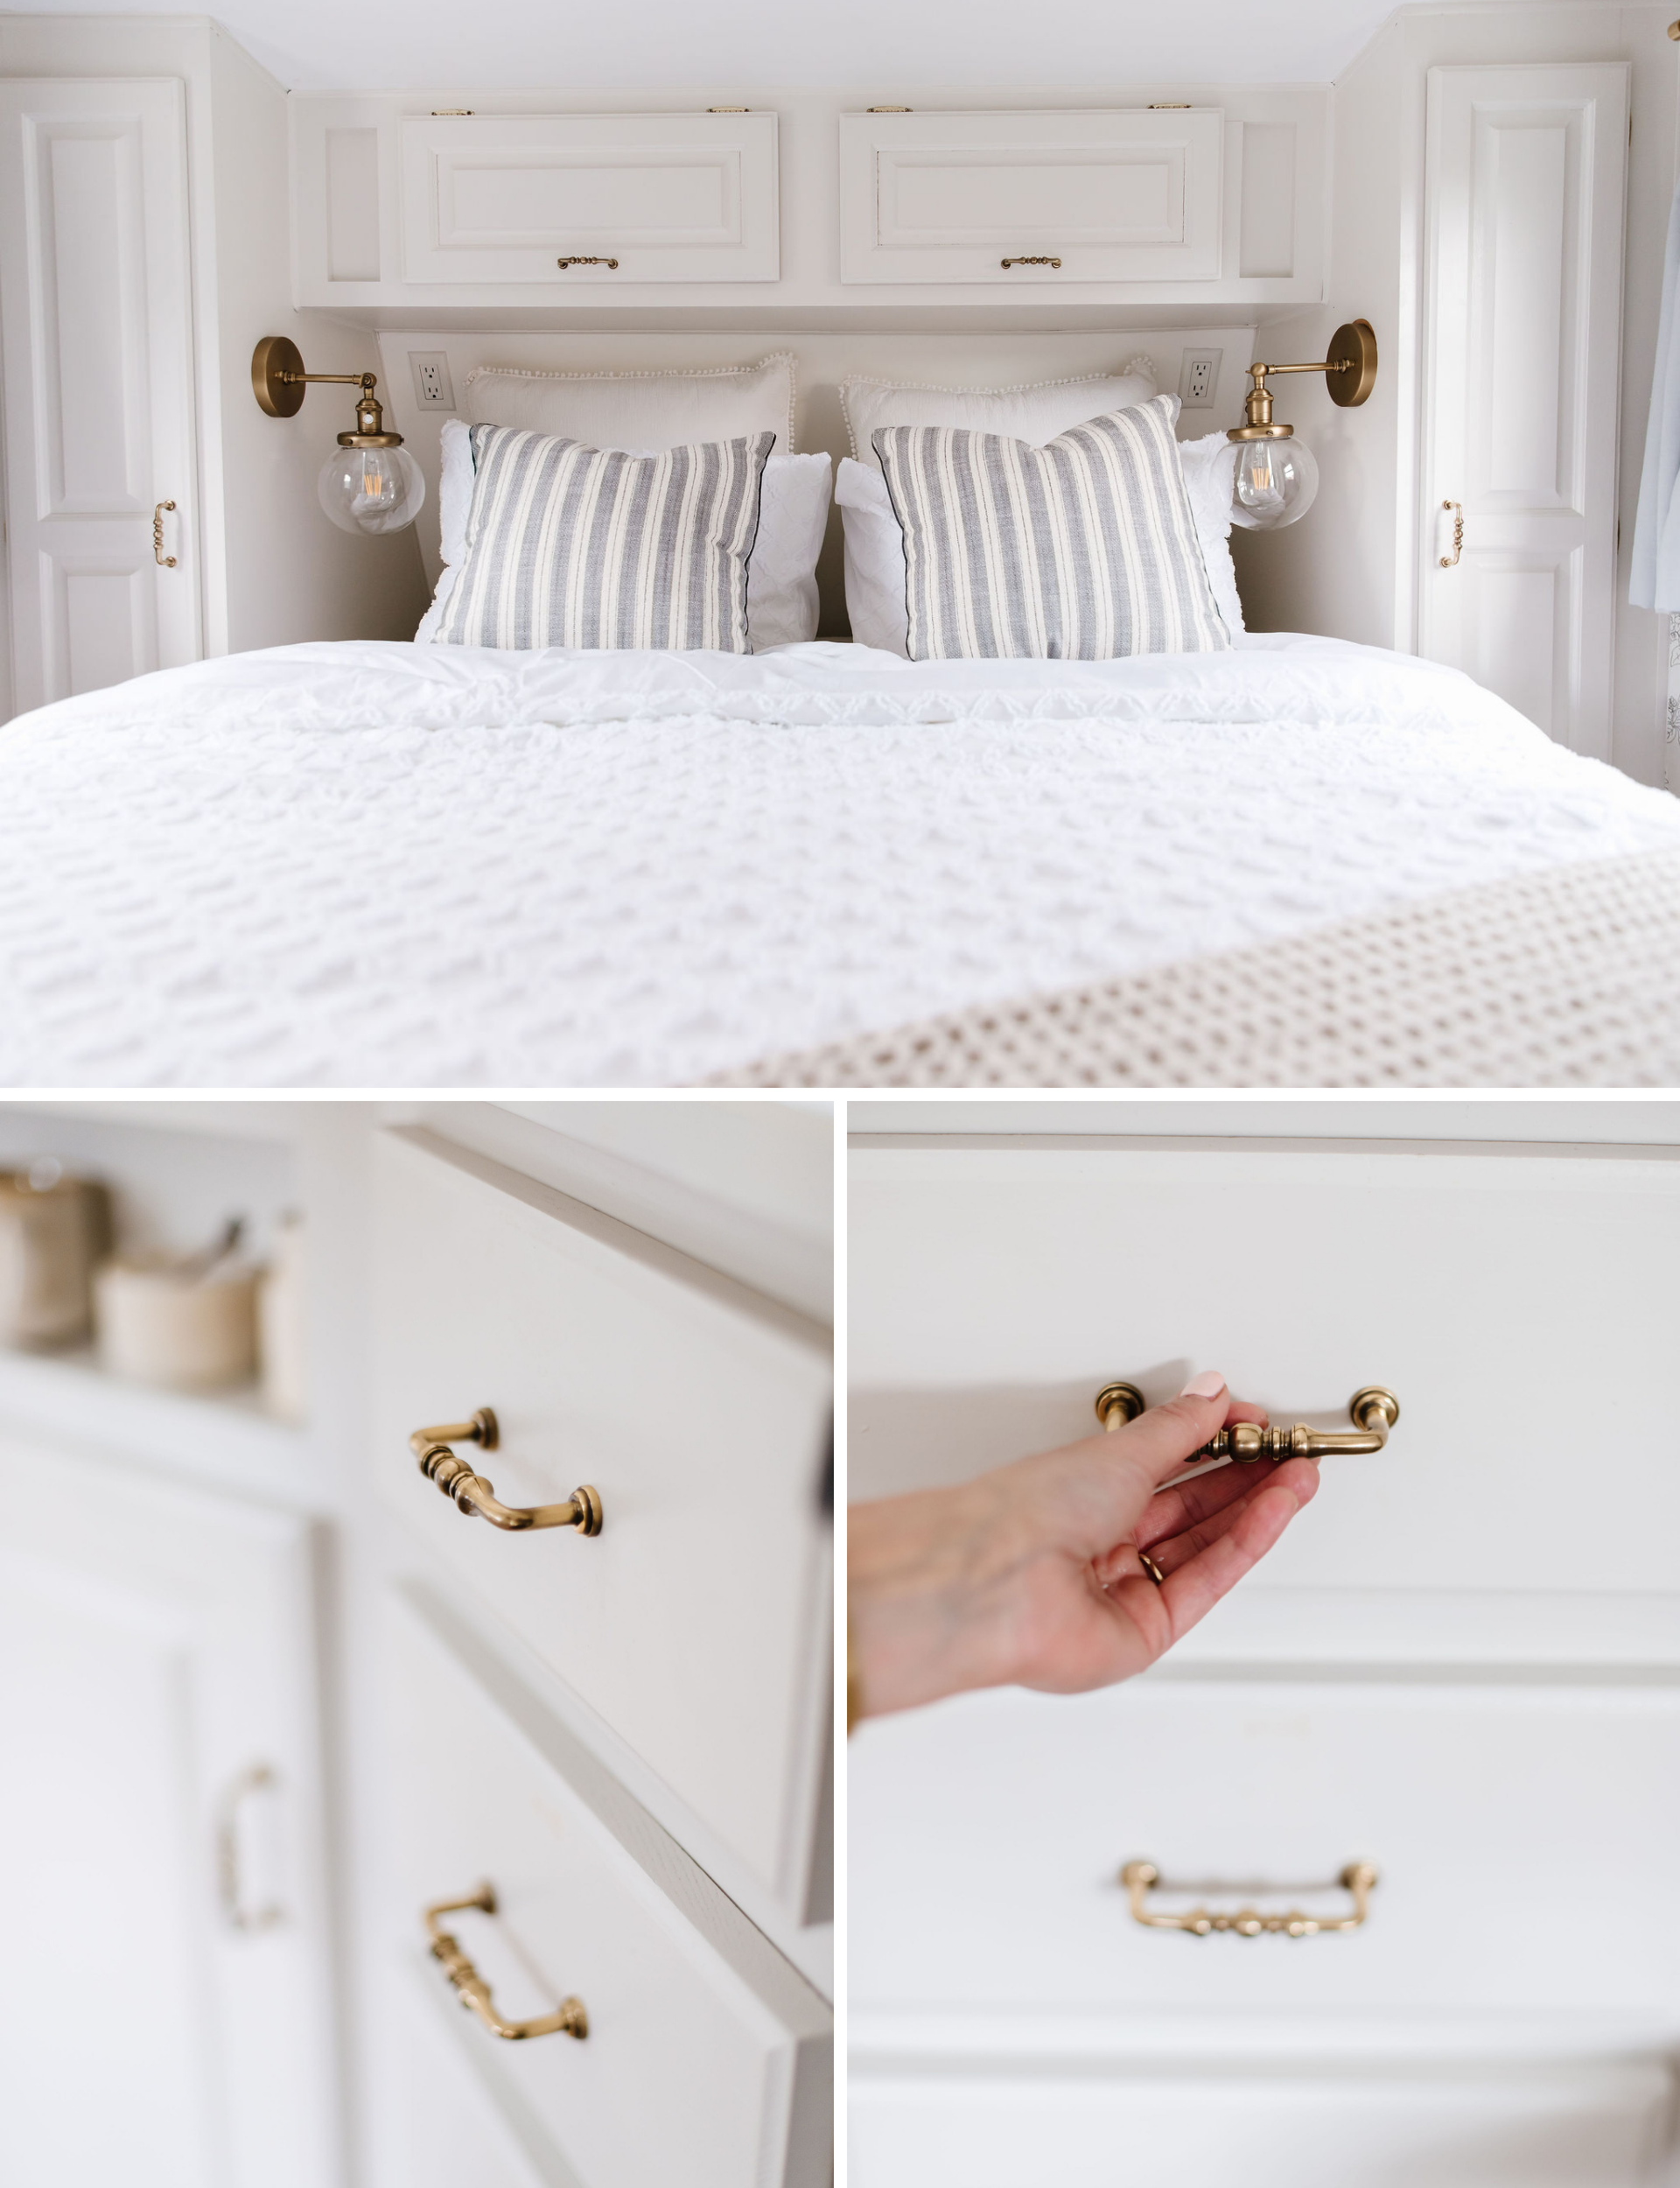
Lighting for campers isn’t as easy as you would think. I didn’t like any of the options in the local RV stores, so headed online and followed my cousin Sammy’s lead by choosing these brass lights that I’m in love with! Camper lighting needs to be 12 V (you can’t just use any regular light) and if you don’t have a wall switch to control them you need to make sure that they have switches on the fixtures (hard to find).
Camper Dining & Living Room
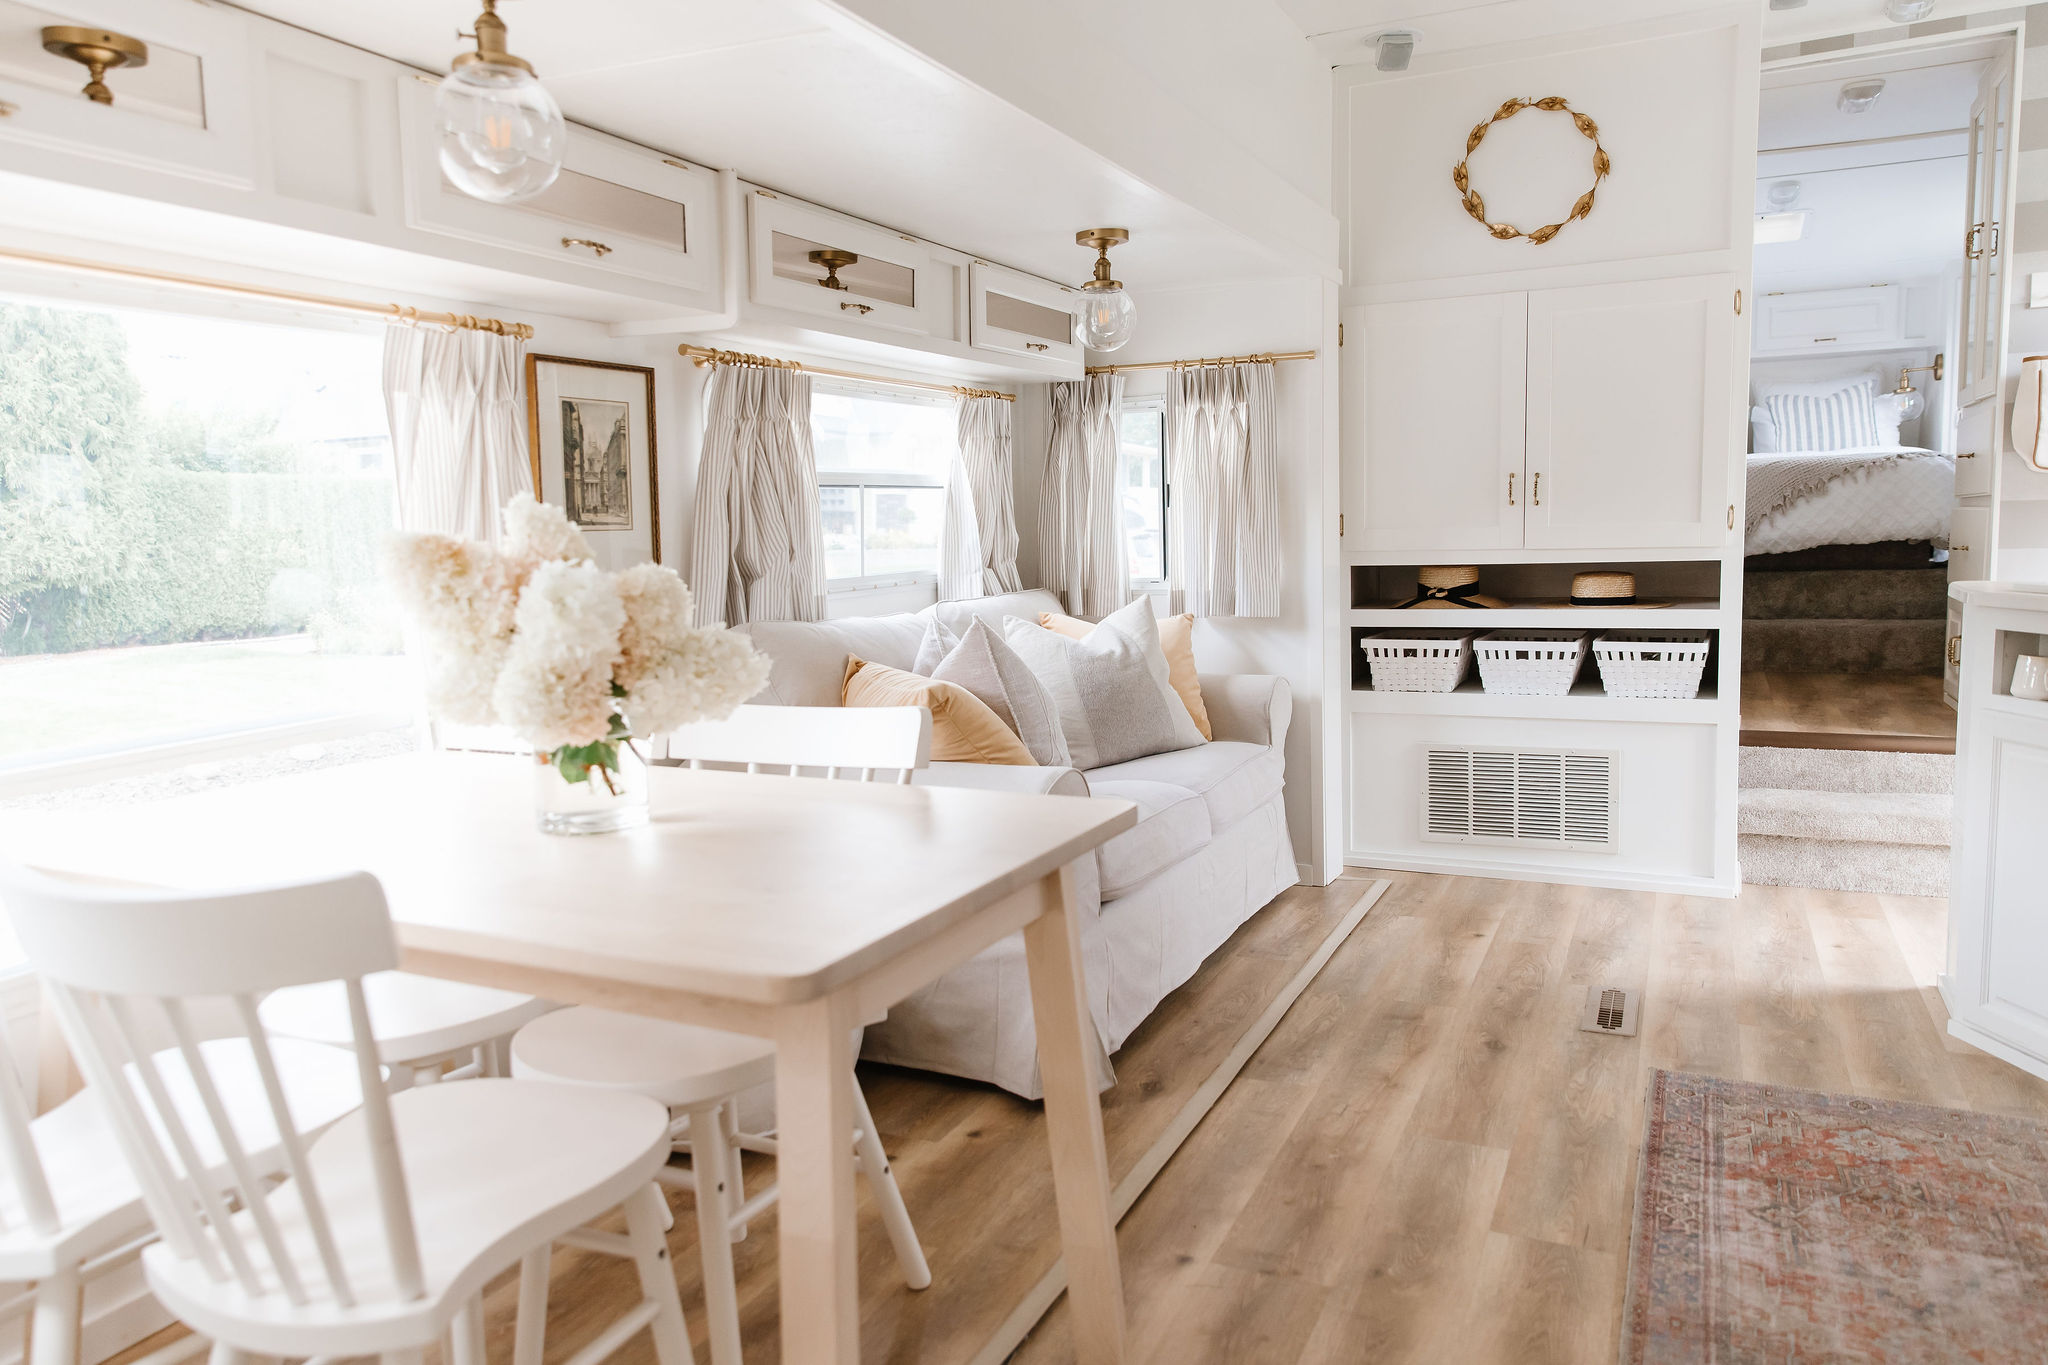
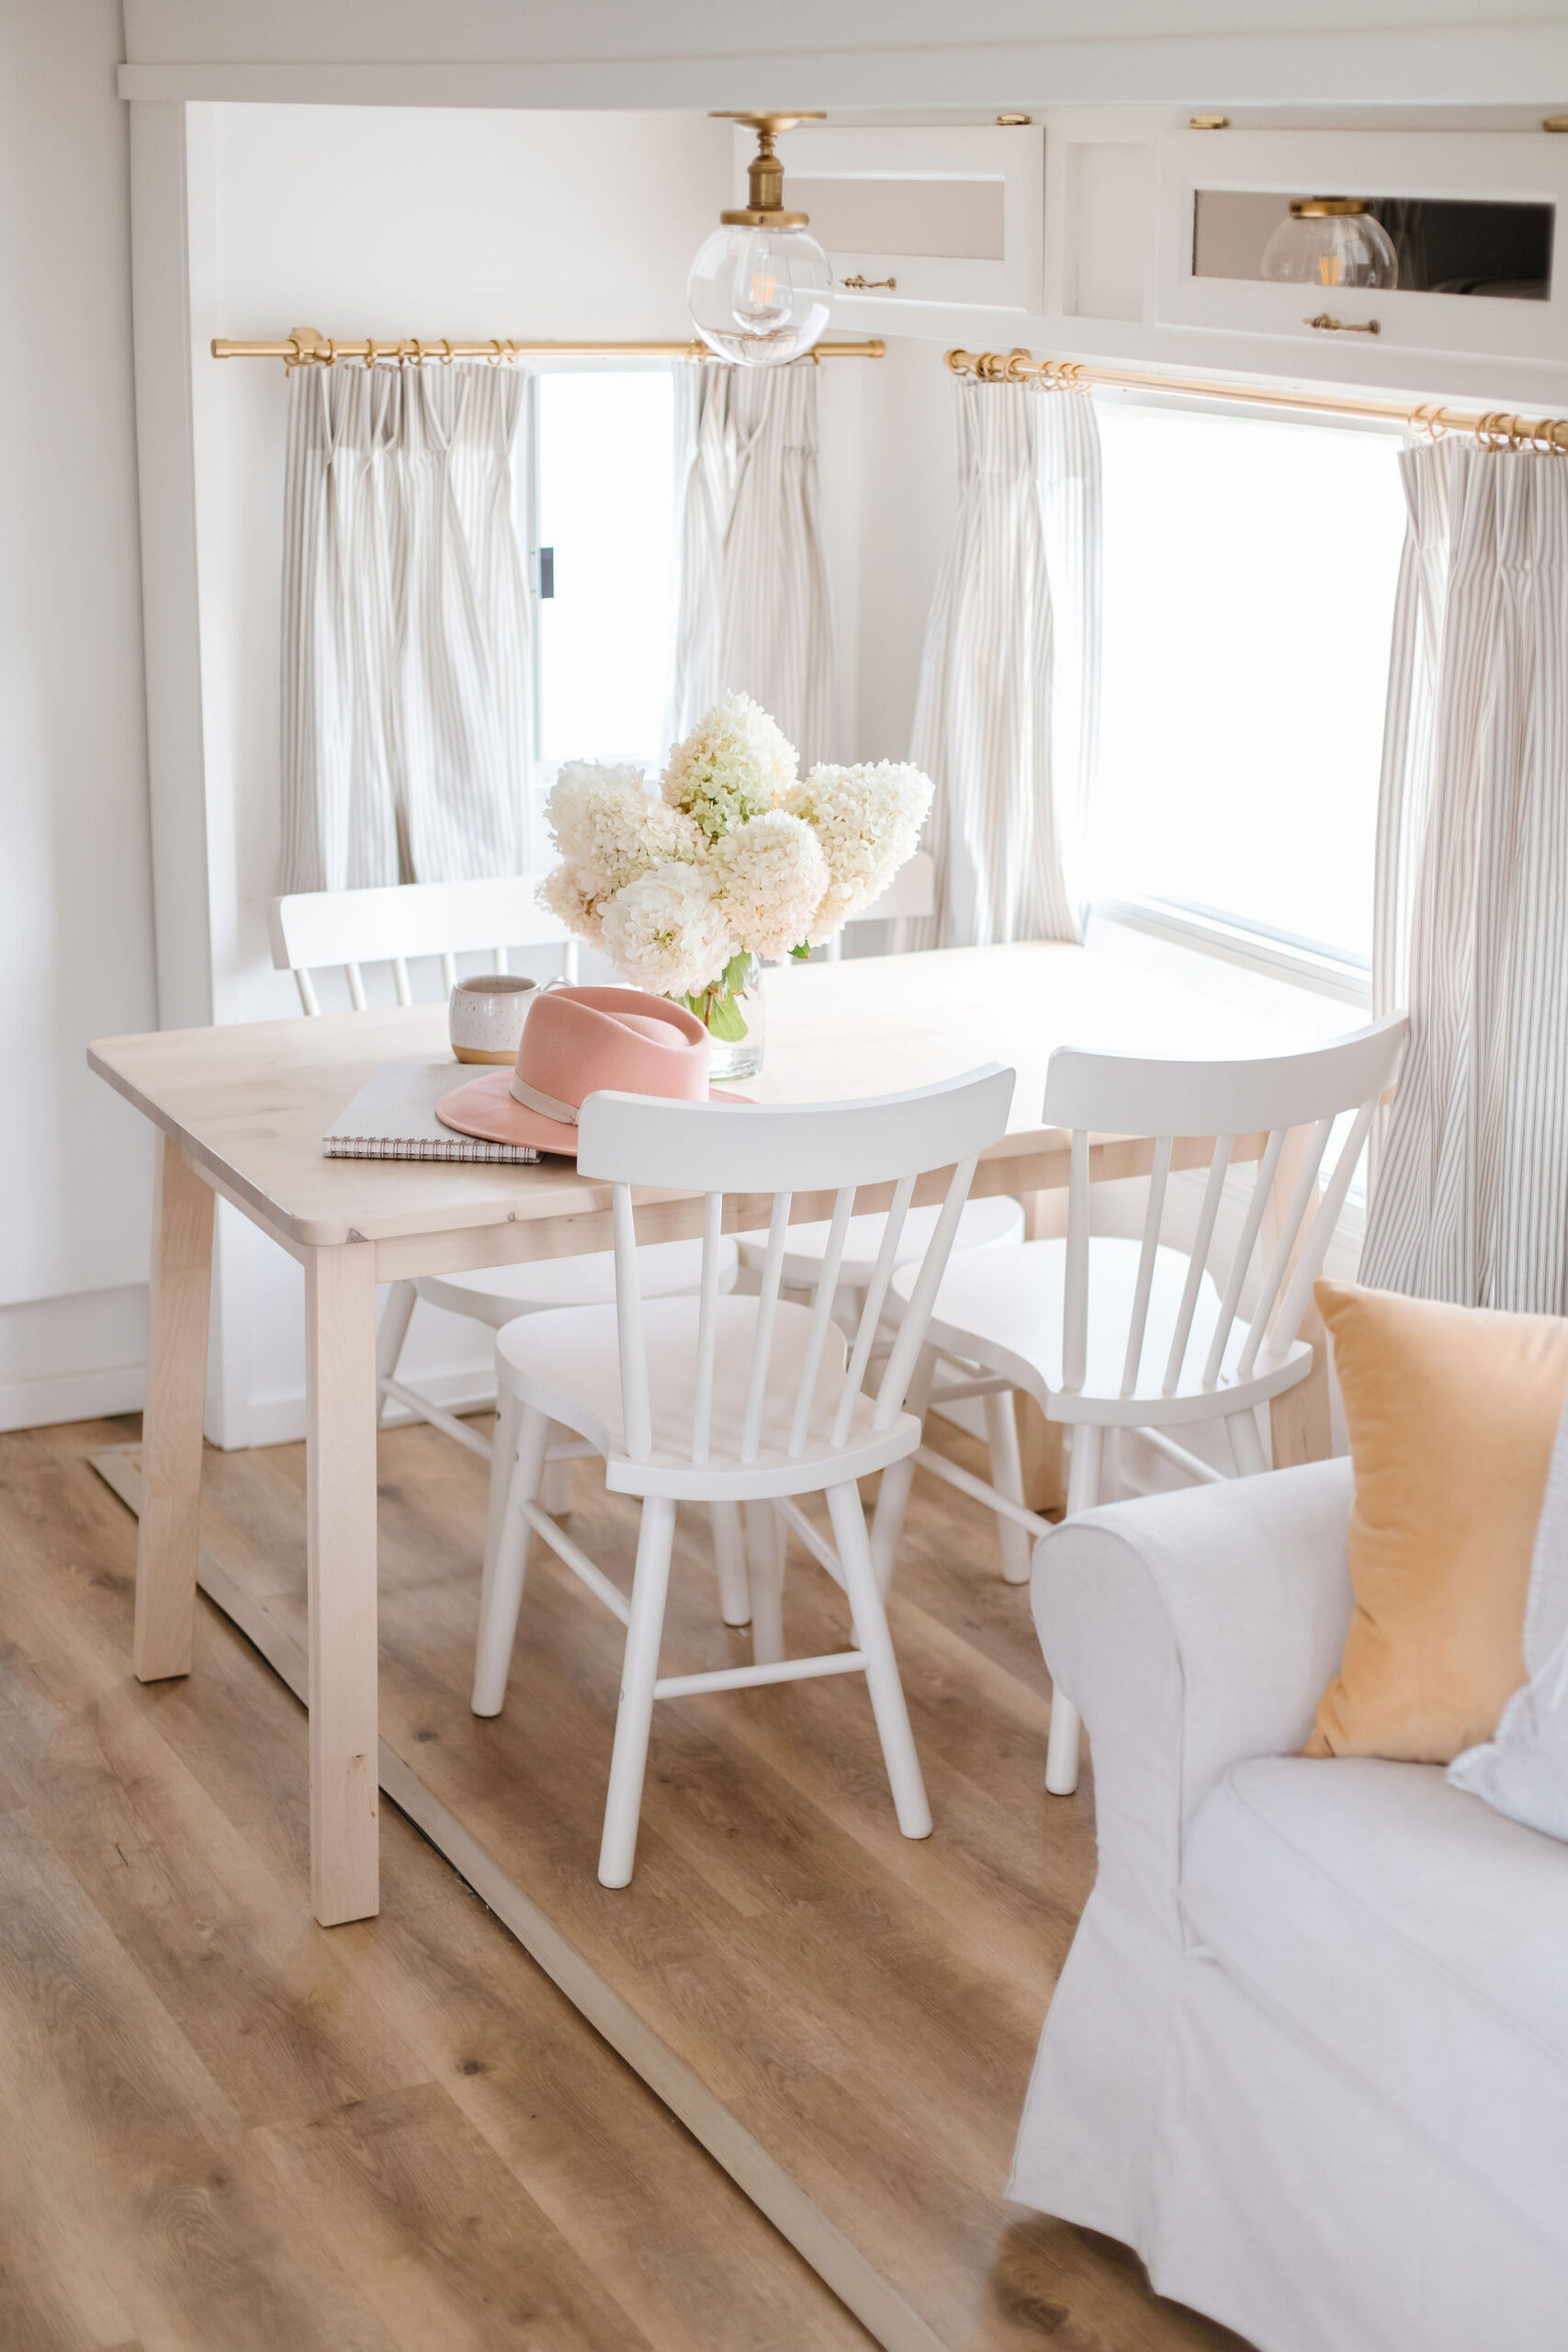
We wrestled over what to do with the dining area and settled on a small set from IKEA – I love it! The exact one we have Is no longer available but they have so many great options.
TIP: To transport the tables and chairs we turn them upside down and they do just fine.
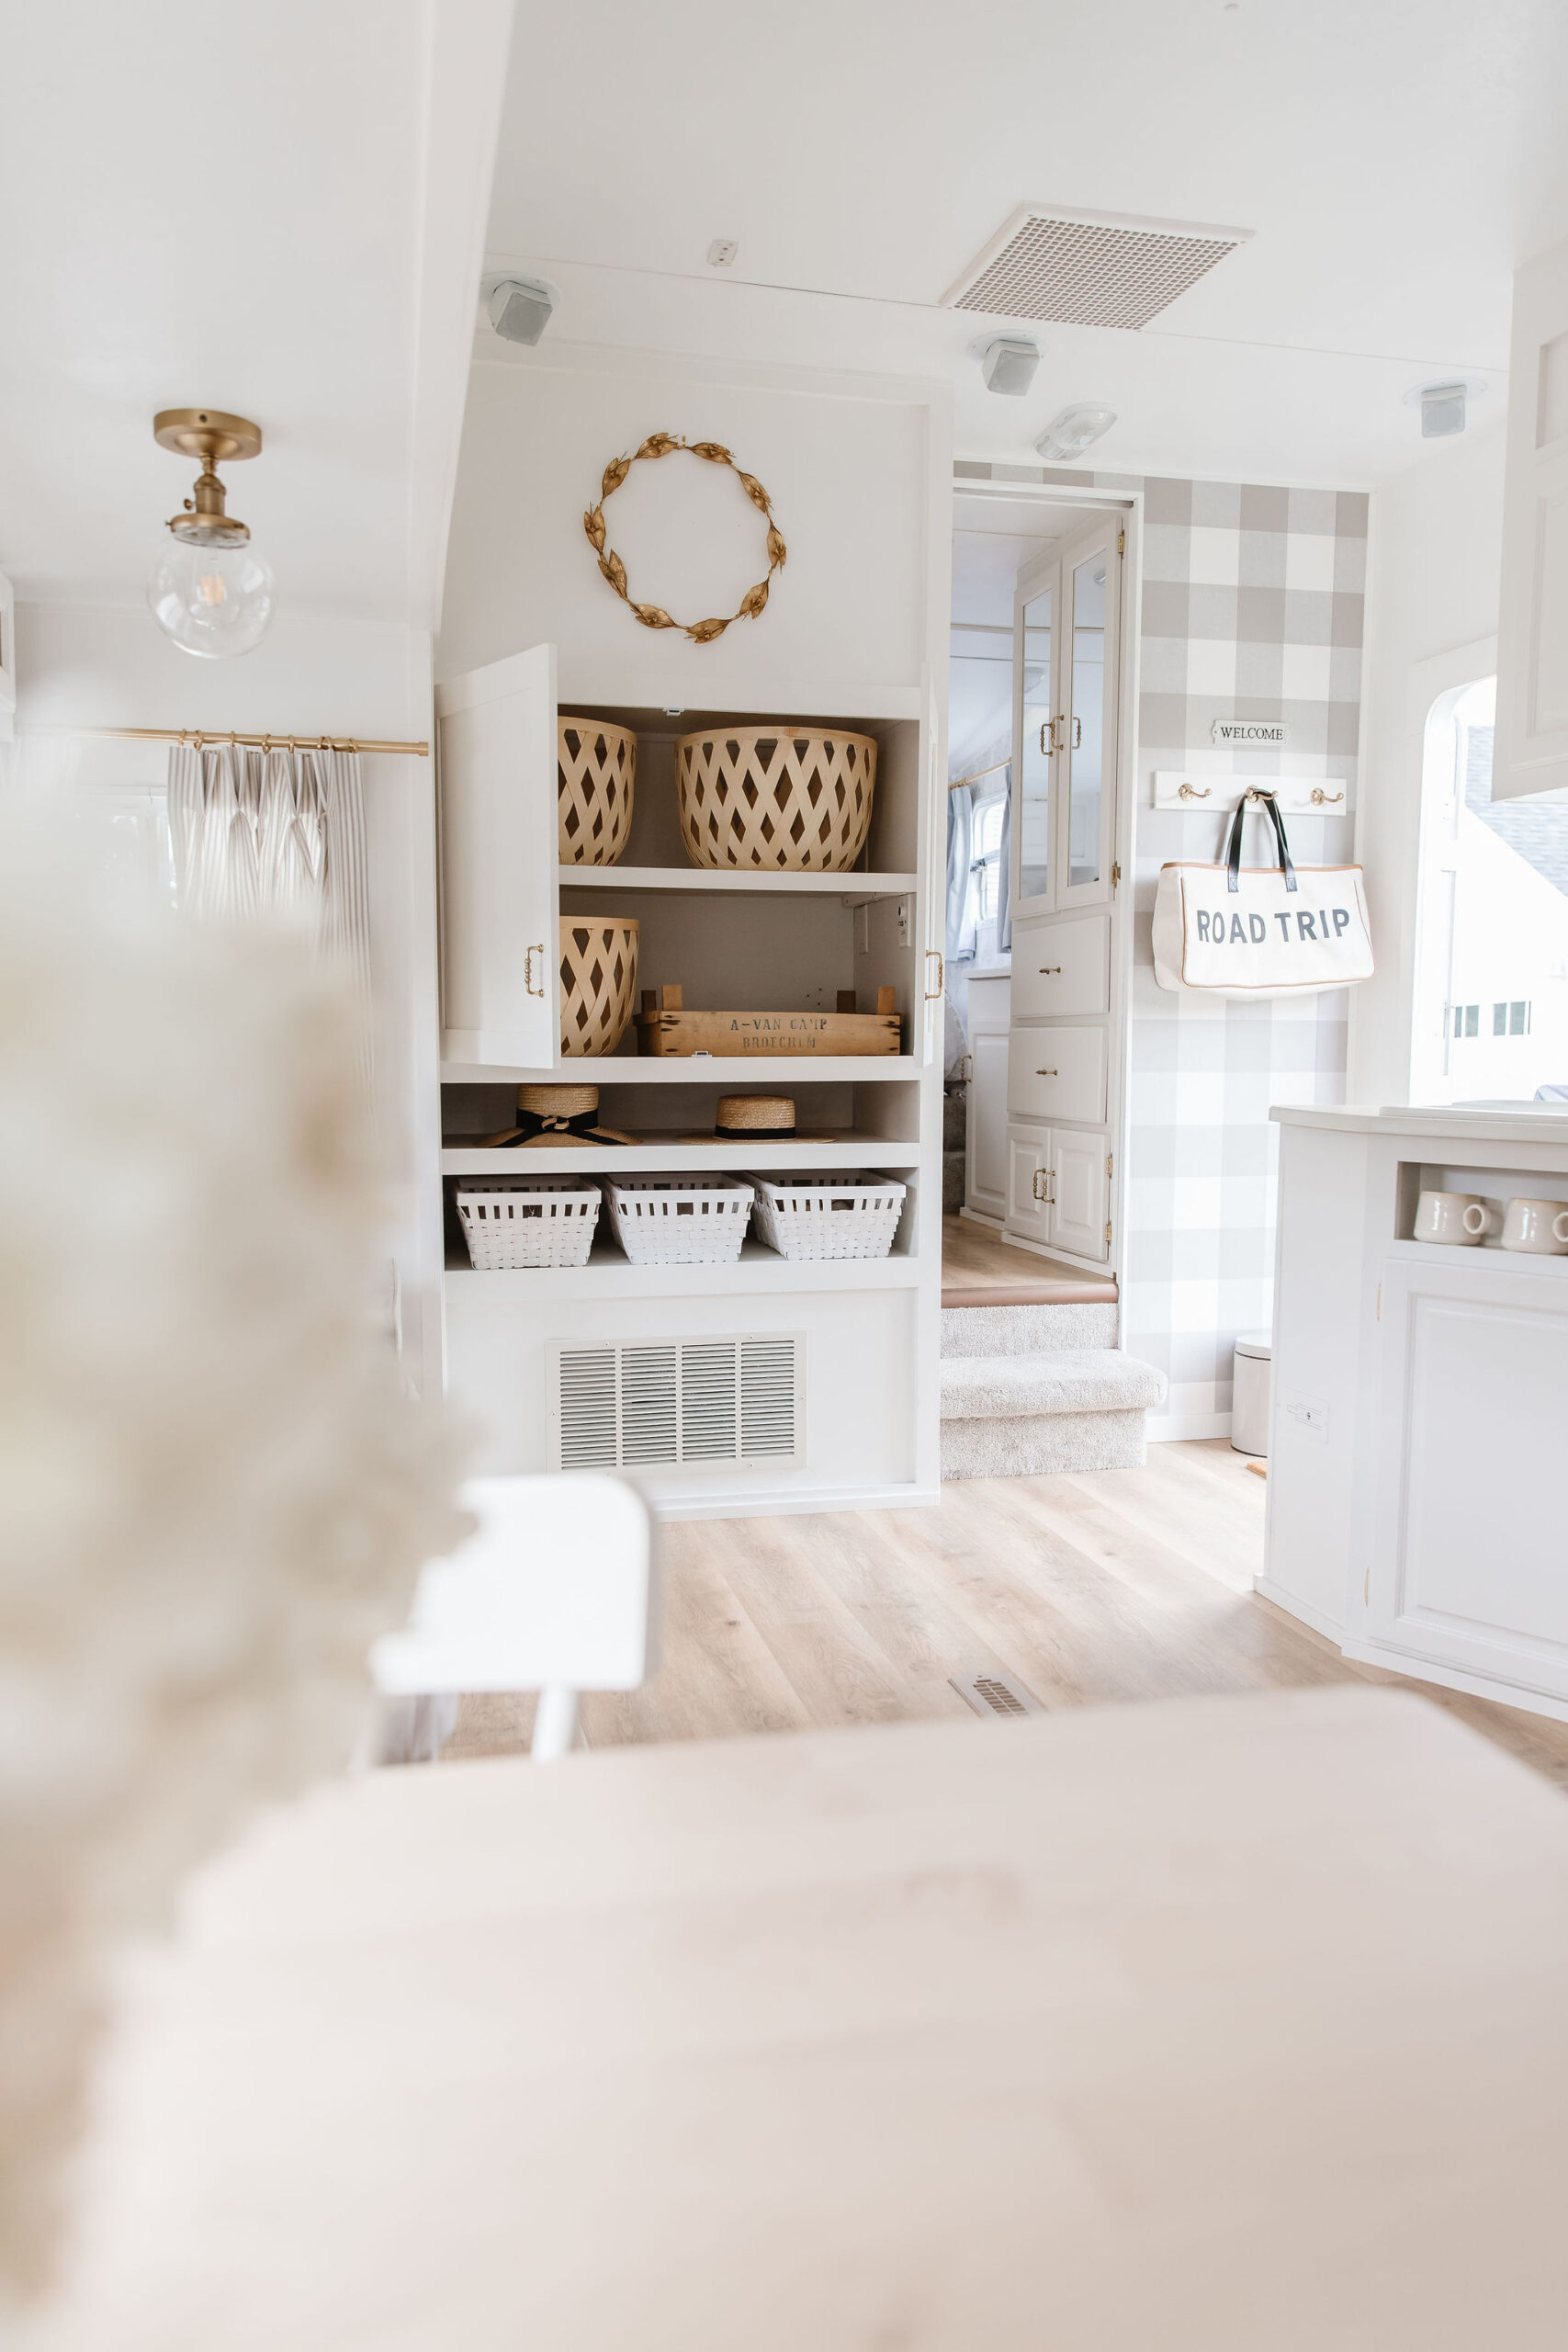
The couch was also from IKEA and is slipcovered which is essential. I have boys after all. I had some leftover plaid wallpaper (from Target originally) from our laundry room renovation and it worked perfect in here to add a bit of texture, warmth and interest. All of our wallpaper was installed by LL Applications here in Kelowna.
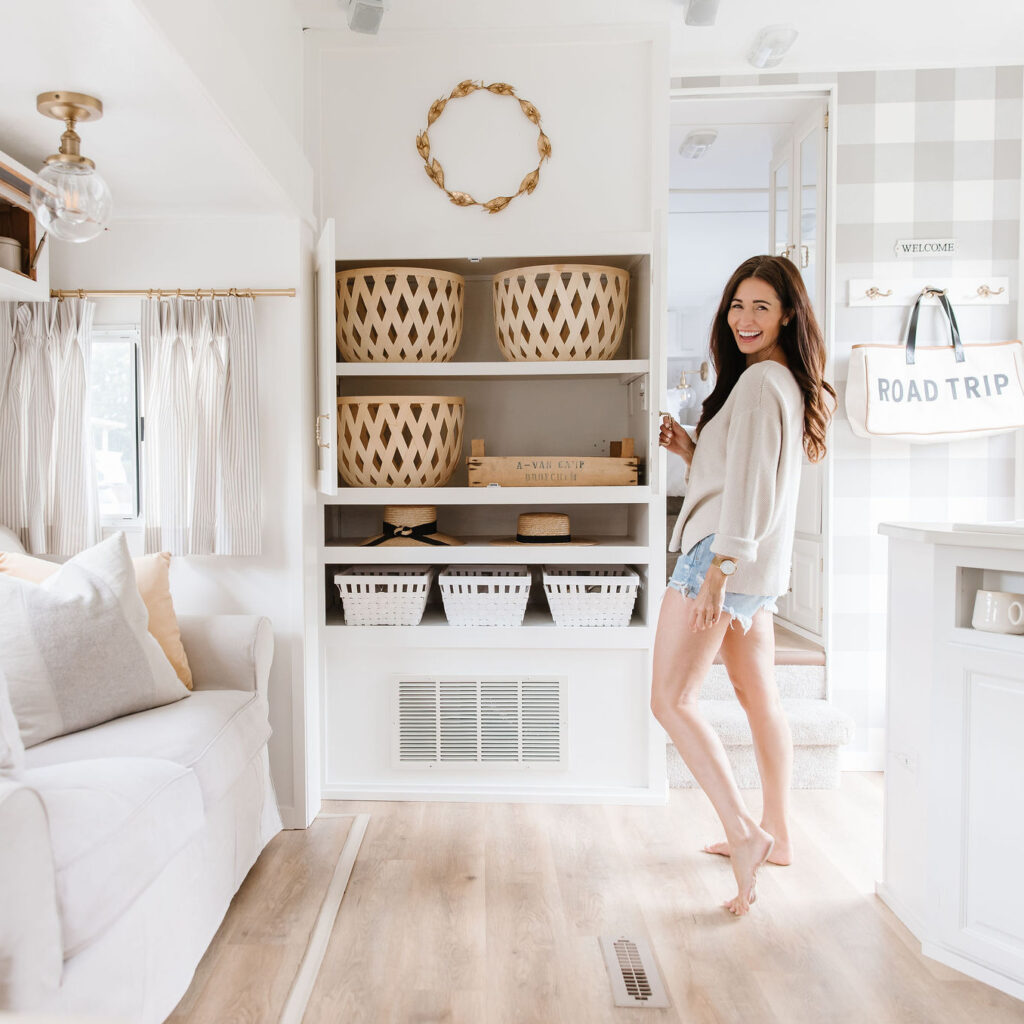
The original living area had a massive TV which we would never use, so we took it out and my friend Tifni from Refined Furniture built a cupboard for our food. Because: PRIORITIES! The baskets inside the cupboard are from IKEA and the cute vintage Belgian crate is from my friend Maria at Dreamy Whites Lifestyle. The gold wreath above is from The Cross (was originally on a stand and I took it off) and the white baskets are from IKEA.
Camper Renovated Kitchen
Sigh. I bought a peel and stick backsplash from Amazon and loved it at first. However, when the temperatures soared it started to peel off and shrink. We have since stapled it in place for now until we figure out another solution. Many people have had success with this, we just weren’t one of them!
We kept the original sink (I will eventually spray it with a Tub & Tile spray paint that you can get at Home Depot) but replaced the tap. Here is the one I used, I love the brass and it’s great quality that will last.
Hooks & Hardware
All of the cabinet hardware and hooks in the space are from Emtek in Antique Brass. I love their products and we had a few extras from our build that we were able to repurpose. It really adds to the vintage vibe of the trailer.
Camper Bedroom
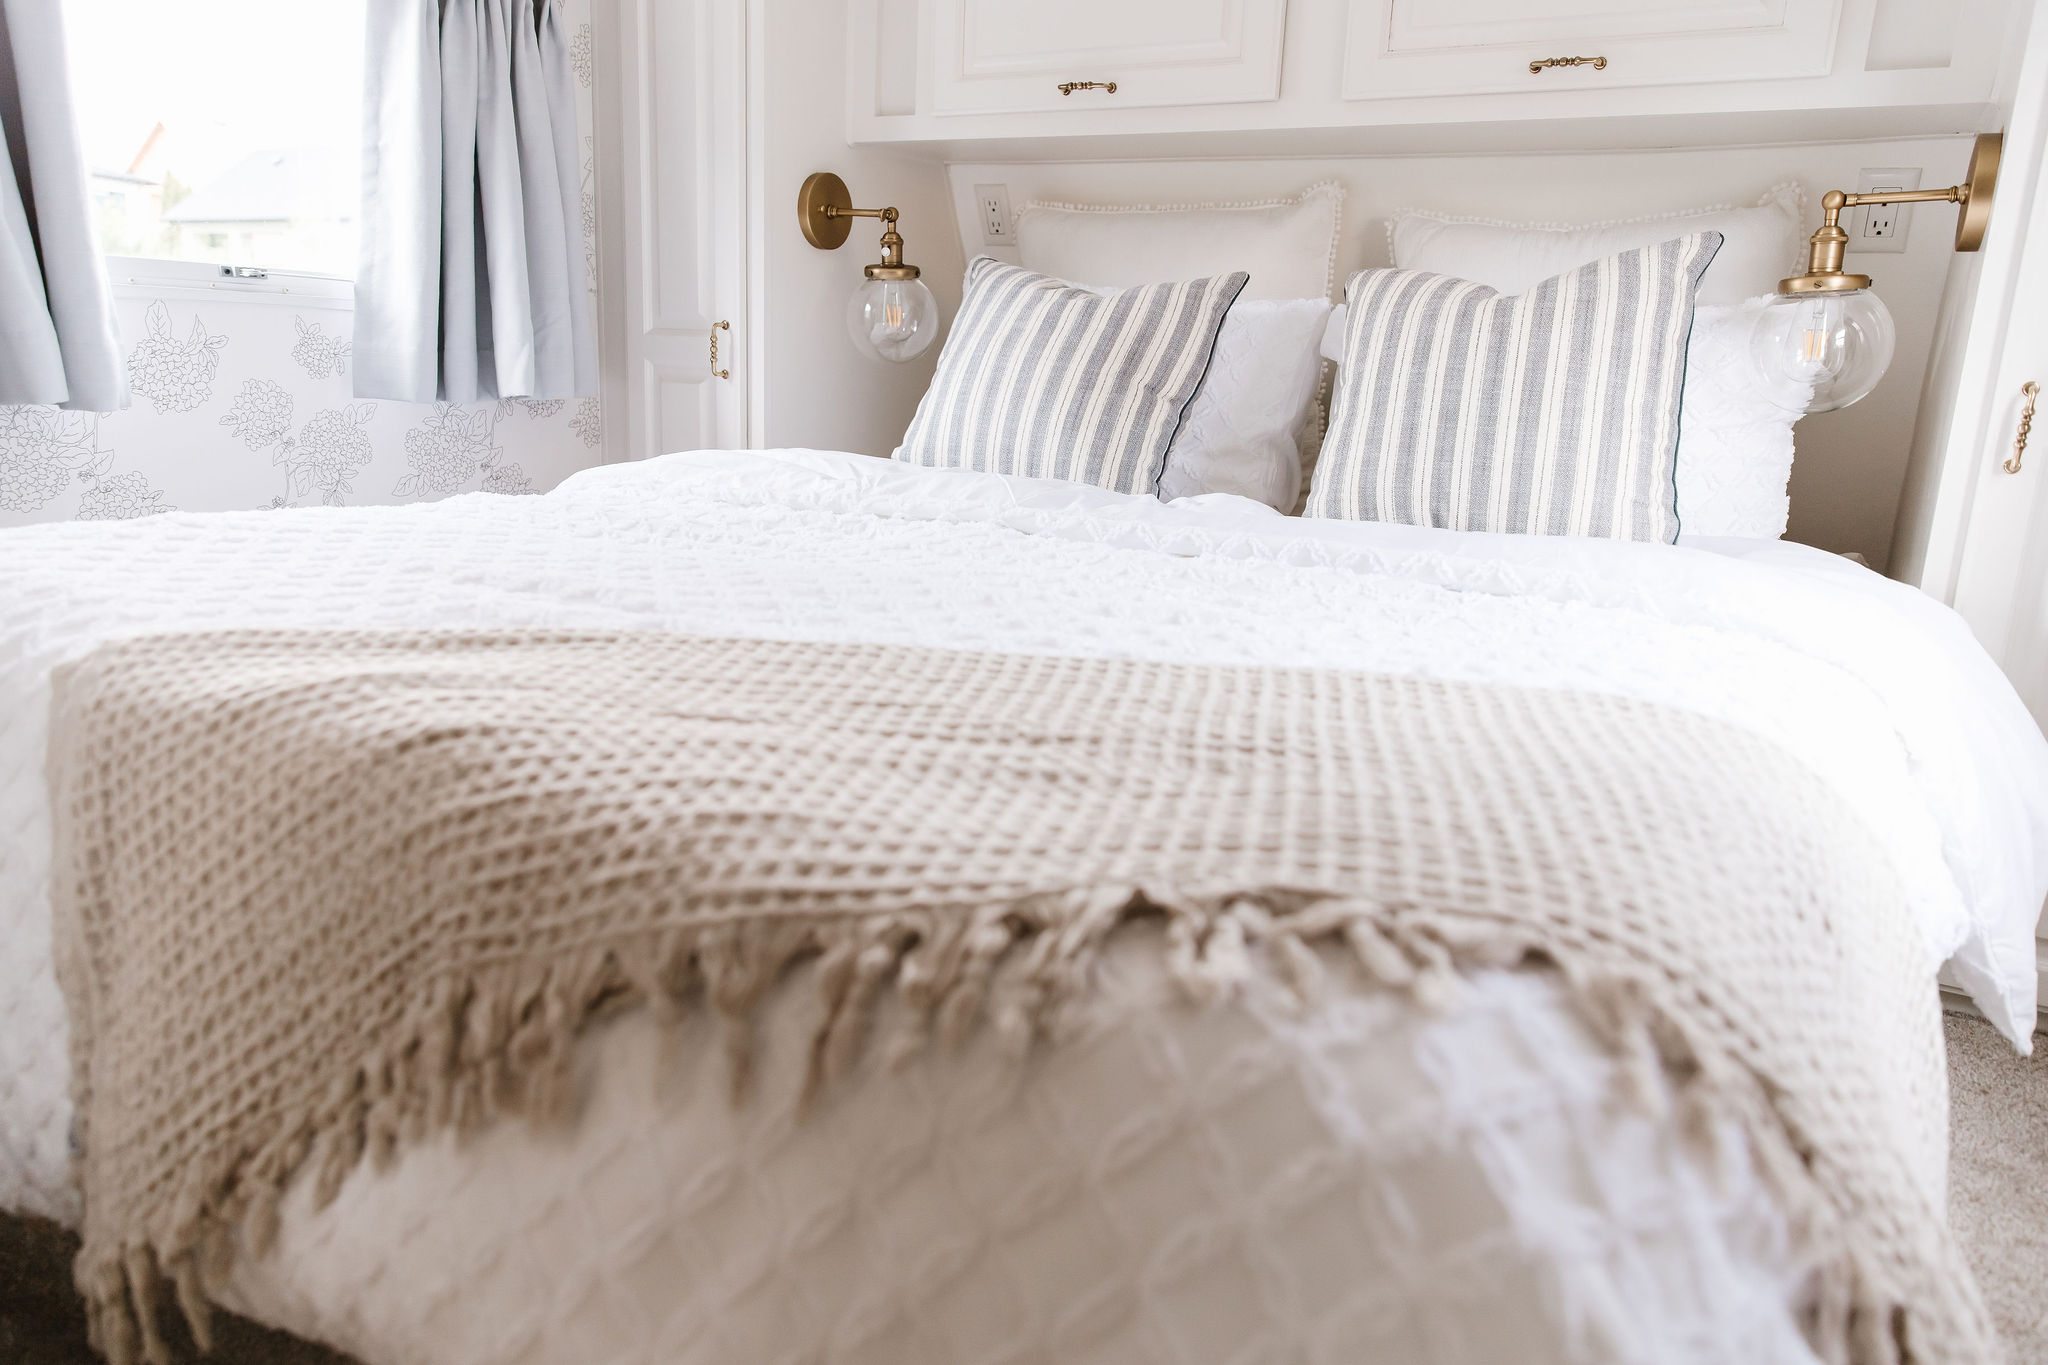
We added wallpaper from Urban Walls (this is the Hydrangea print in grey, the pasted version) to cozy up the bedroom, some cute grey/blue curtains from Q Design Centre, white bedding from Homesense (how much am I going to regret that haha) and striped throw cushions from Q Design Centre. I found a petite laundry hamper at Homesense and added one of my favourite pictures of the boys for the sweetest image to wake up to each morning.
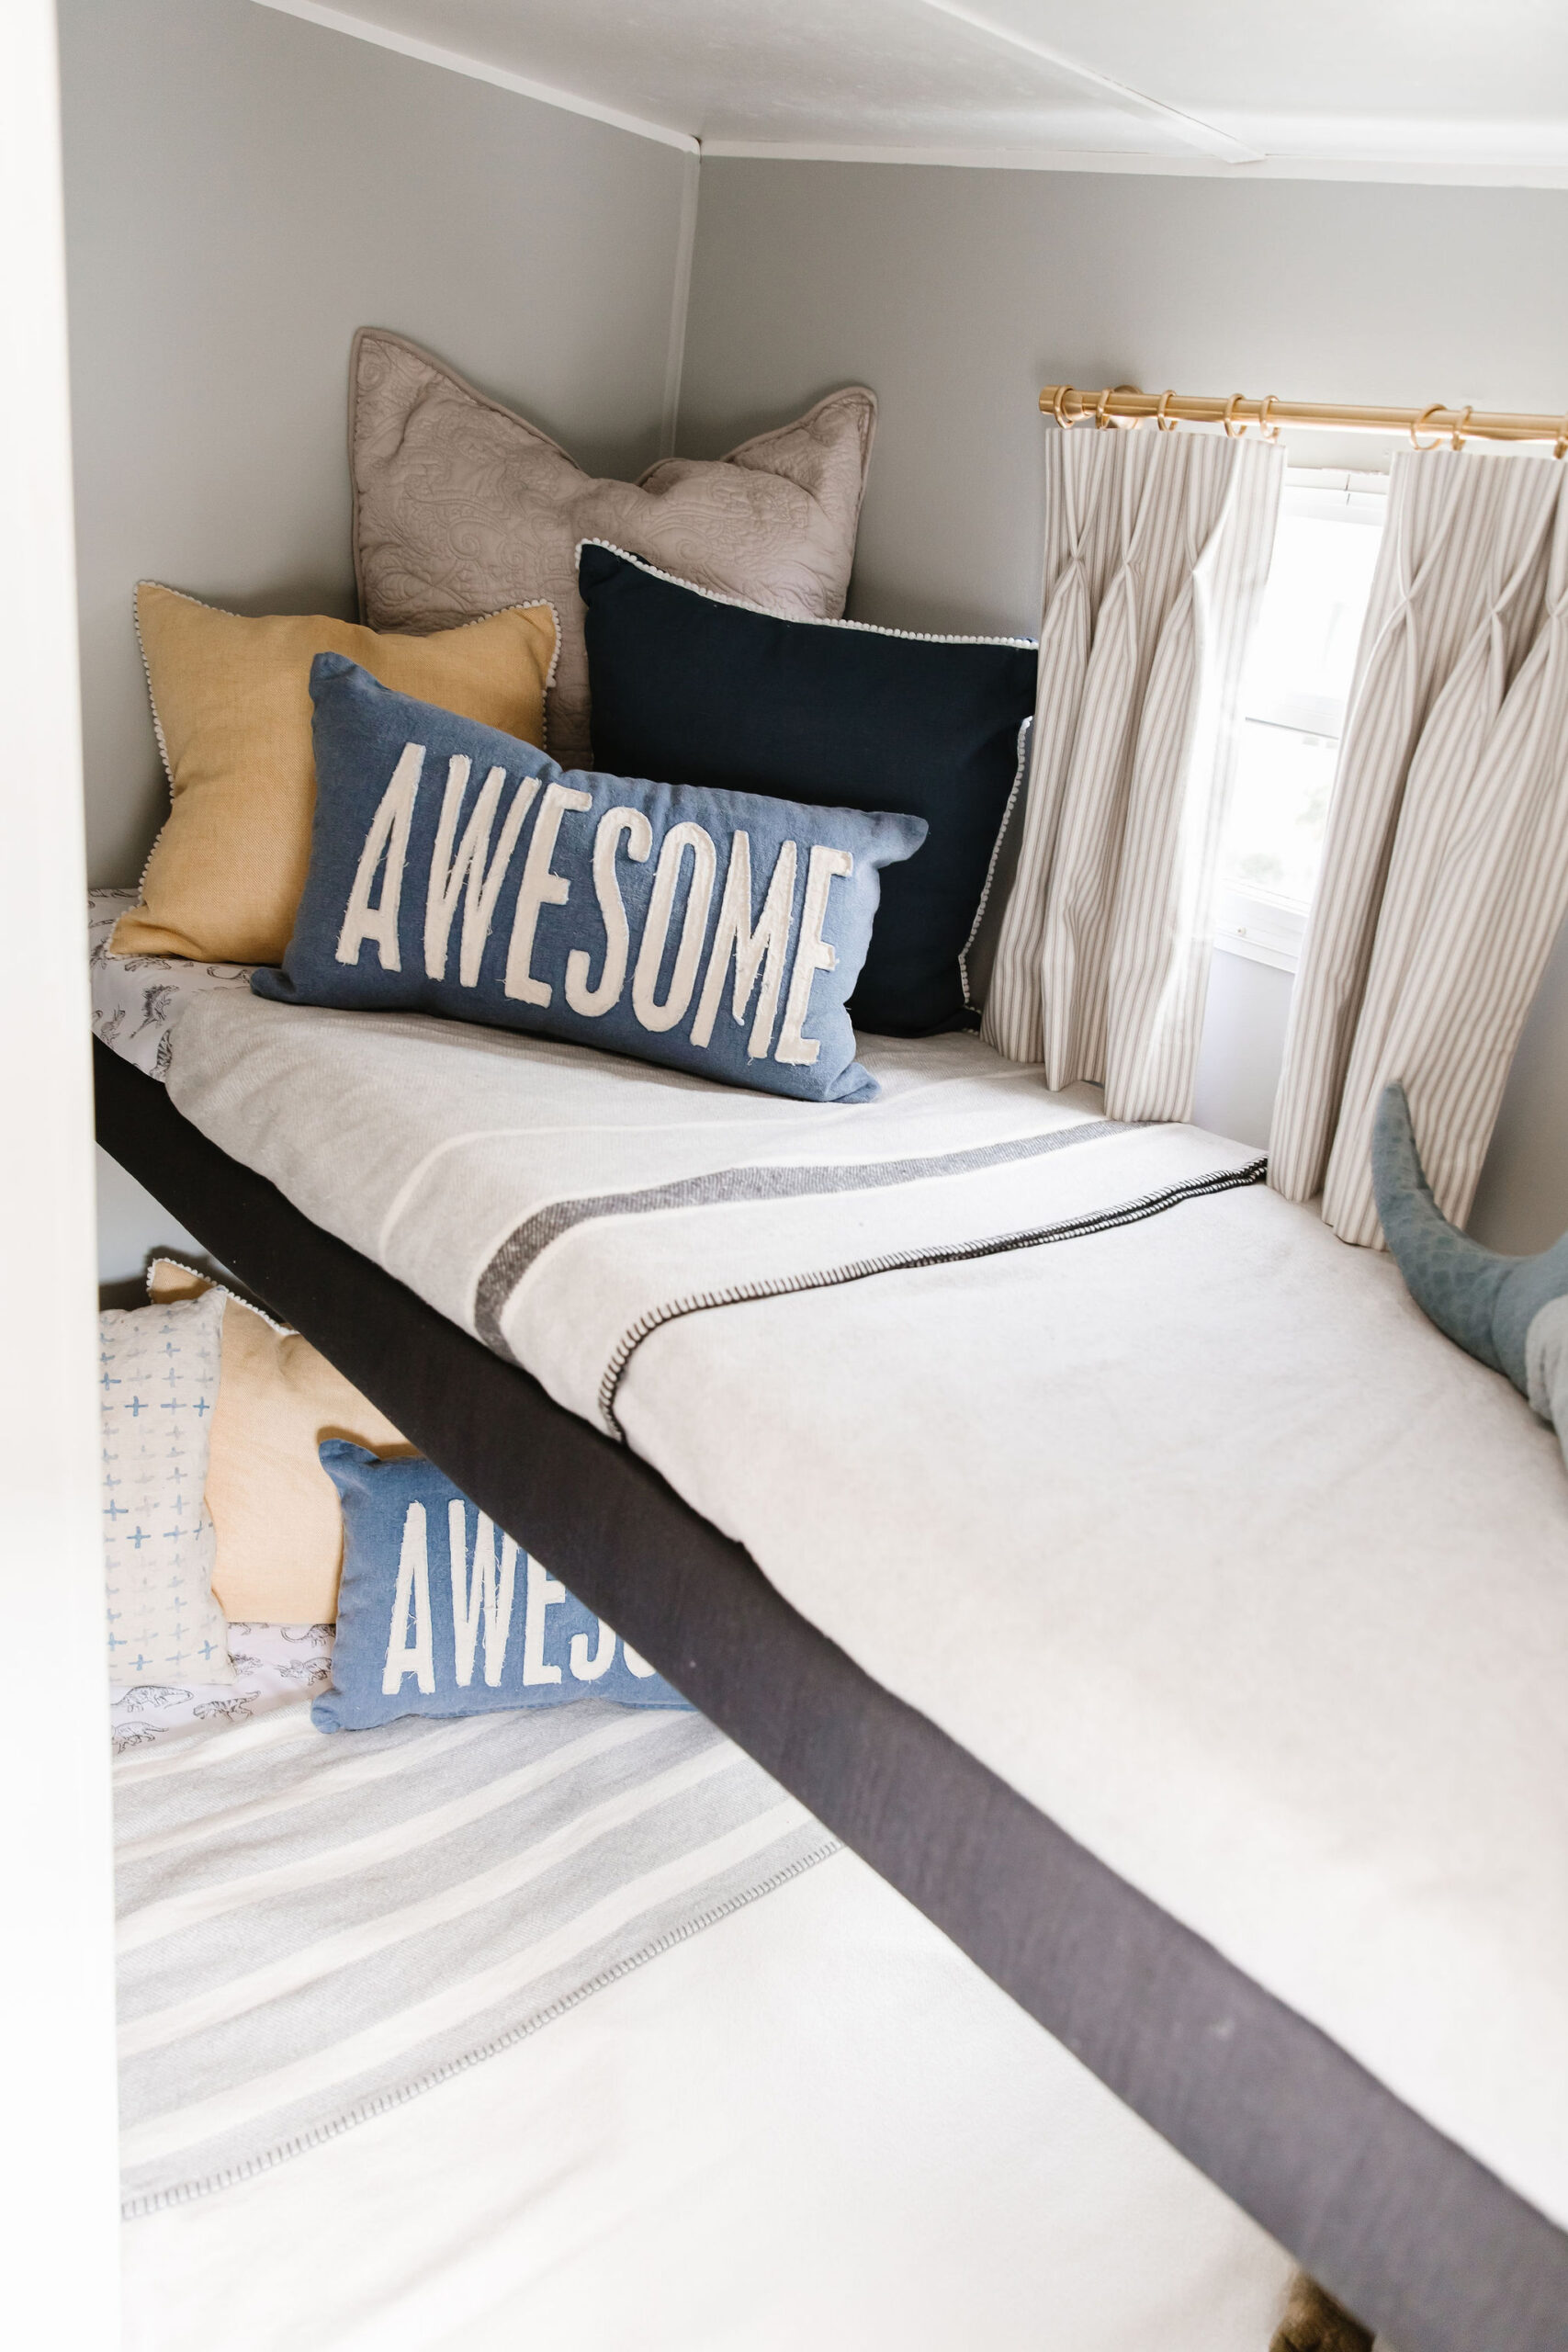
The boys’ bunk beds at the back also got a little refresh with that gorgeous accent wall (Benjamin Moore Half Moon Crest) and fun linens and pillows for a space just for them! The pillows and linens are a mix of Homesense and Q Design Centre (velvet and pom pom ones).
Camper Bathroom
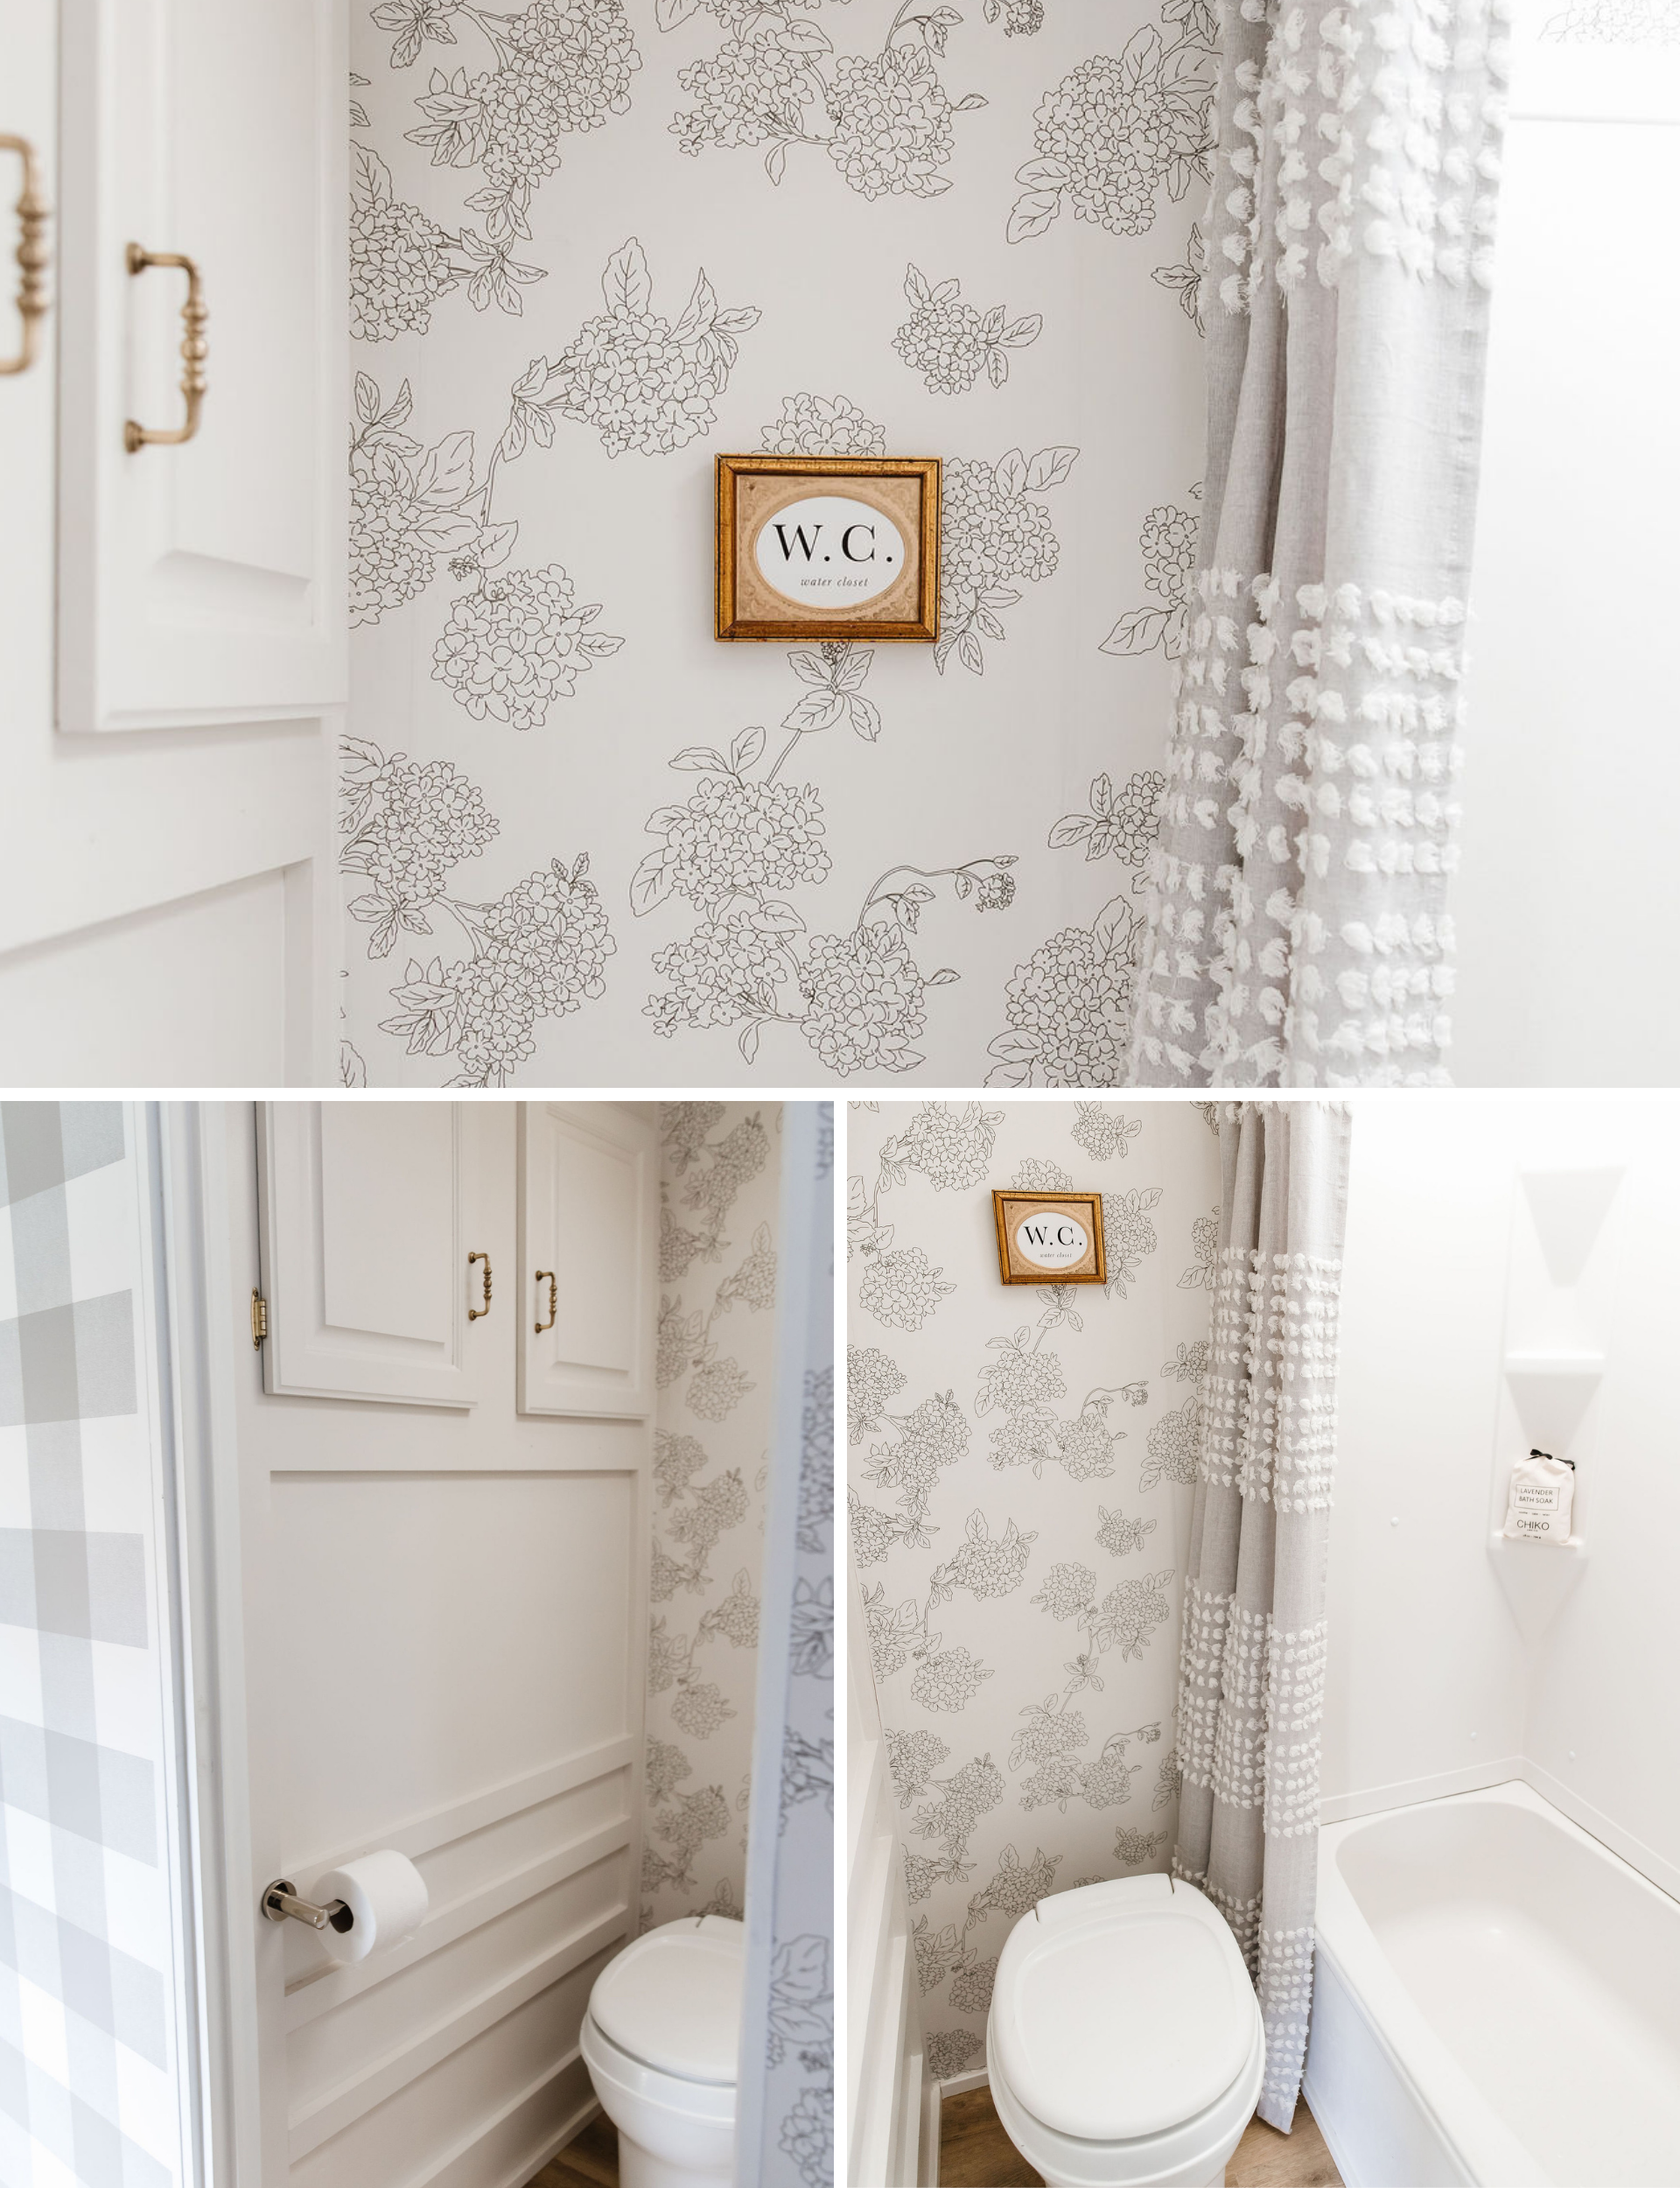
The original camper bathroom had a sliding glass door on the tub which was absolutely impossible to clean and so awkward to get in and out of. Charles ripped that out and installed a simple fixed bar with a curtain (Homesense). We put the same hydrangea wallpaper from Urban Walls in here and I finished it off with a little framed print that I made out of a vintage frame that I found at Value Village (score!).
We replaced the toilet paper holder which was falling apart: this one is from Emtek. Charles simply painted the bathroom sink countertop; this doesn’t always wear perfectly so we decided to just spray paint the orange counter trim in the kitchen and kept the original countertop there instead with all the cooking we do. The little jars are from Homesense and the “Hello Beautiful” decal is from Urban Walls.
Our Camper Renovation Decor
I refinished the edge of the boys’ bunks with a staple gun and some upholstery fabric remnants I purchased at a local fabric store.
- Decorative pillows: Homesense & Q Design Centre
- Artwork: Vintage
- Bedding: Homesense
- Gold wreath: The Cross
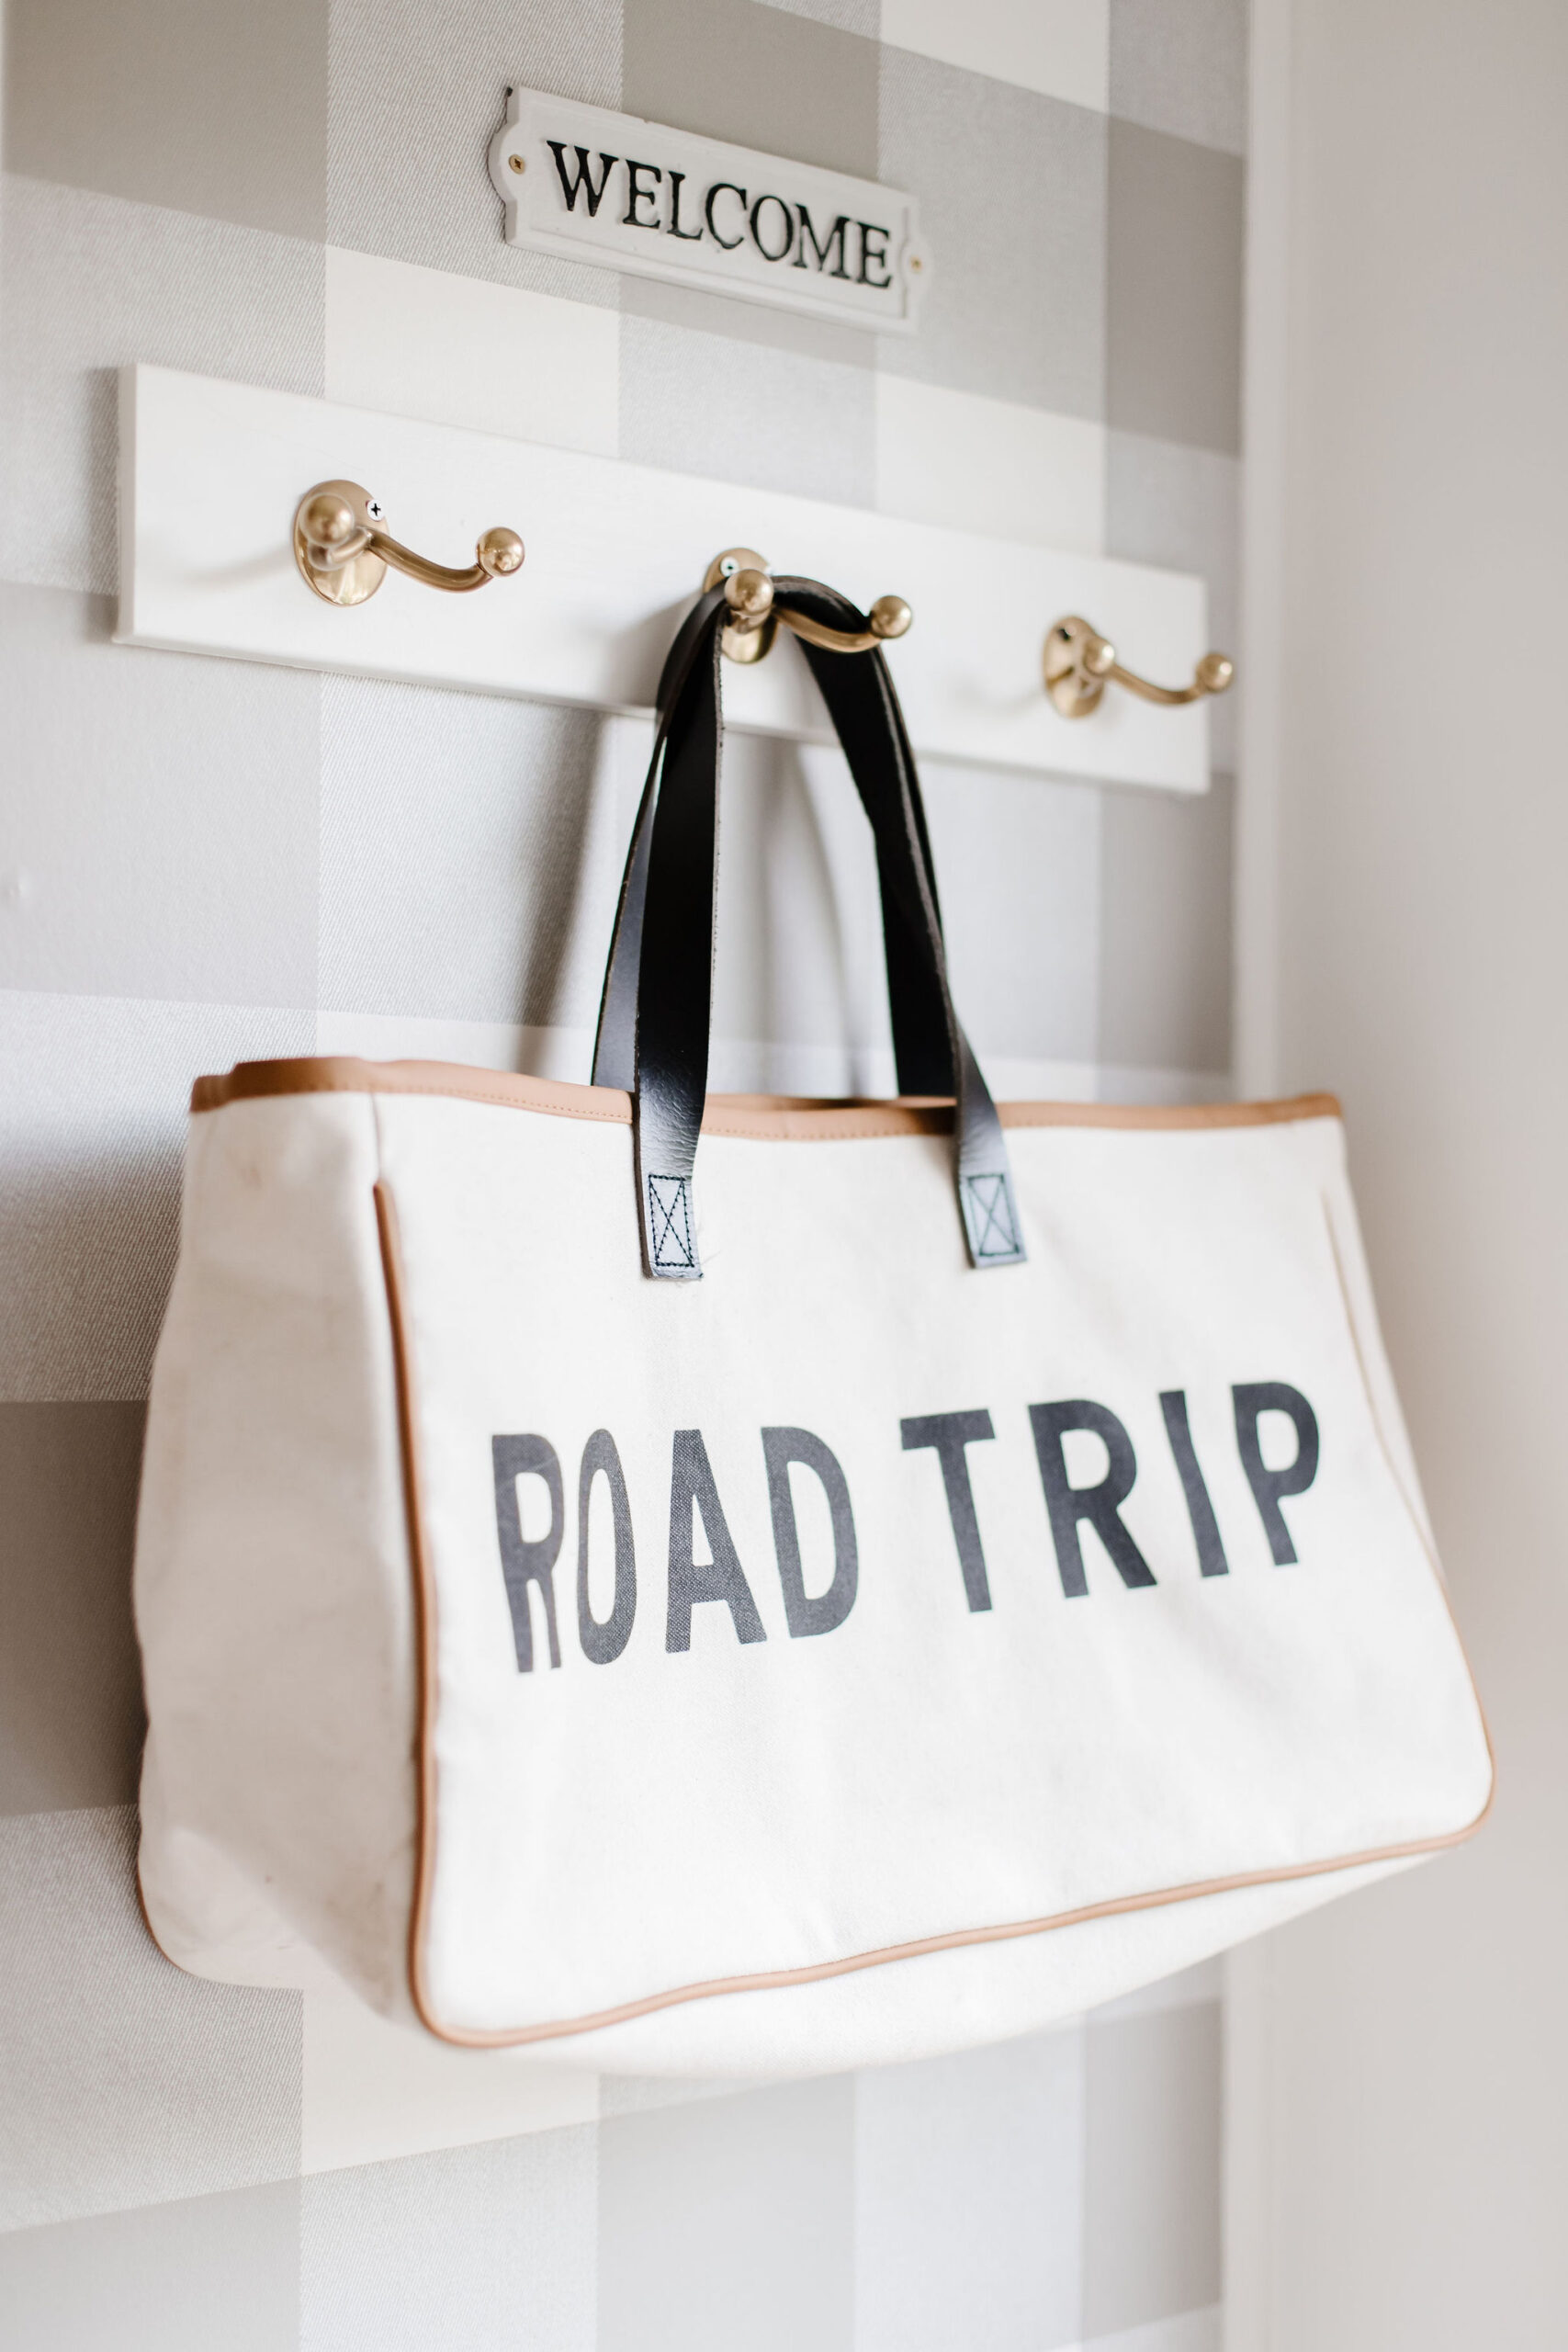
- Welcome sign: The Cross
- Kitchen Crock: The Cross
- Kitchen Rug: Wayfair
- Bathroom jars: Homesense
- Hooks & hardware: Emtek
Emtek, Q Design Centre & Urban Walls all contributed product for this renovation project.






This is lovely! I watched same Reno her birthday present and was happy to see another! Simply beautiful! Enjoy with that sweet family of yours! 🤍
This looks beautiful! Well done.
Just a question about the mice thing. I want a camper but I hear so many stories that it is impossible to keep mice out. Did you find a way to block possible entrances?
Hey Olivia!
For us, we just try to keep it as clean as possible and remove ALL food after each trip and do some deep cleans. When sitting and not in use, we store our camper outside our home on the street and not in a wooded/grassy area where mice could easily get at it. We also check interior and exterior areas before and after our trips to look for small holes and patch anything up we find! Hope this helps. xx Tori
This is my style of camping!! Tori, it is Beautiful!!!
Thank you so much Wendy!
Tori. That turned out beautiful. You are so talented. I wish I had that kind of vision. Love all the colours and the wallpaper.
What an awesome job you guys did. We would like to get an RV one day to travel in our retirement. Definitely will give me some ideas.
You have such a lovely family. 💜
Thanks so much Janet! I really appreciate your message. xx Tori
This is so gorgeous, cozy and “soft”. Can I ask what you spent on supplies, replacement furniture and reno materials? Understanding that Charles labor is not included. lol.
Hi Lori! We didn’t keep track of it to be honest, but probably around $3,000 not including window coverings? Those can vary a lot.
It looks amazing! I’m wondering what kind of RV you have?
Hi Amie! It is a 2005 Jayco Eagle 5th wheel
I loved following along with your Reno! It’s so beautiful! My hubby won’t let me paint the cabinets in our trailer, but he did put the peel and stick tiles up. Looks so much nicer. I’m curious to see how it holds up in our cold winters here on the eastern slopes of the Rockies. We did hit +40 for a couple of days this summer, but they didn’t fail. Had a thought about yours. What if you used a thin layer of silicone to adhere them? Or construction adhesive?
Hi Nicole! Thank you and I hope that your tile sticks better than ours! It shrunk too, so we had to just rip it out. Not sure what I will do there? Possibly try another brand?
Hi, love the reno… want to do one of my own… did your trailer have plastic corner beads and trim? Ours does and I’m worried about oainting over it if it’ll peel off.
Ours does and I just painted up to it!
It’s just so beautiful!! love it! You are very talented, everything is perfectly done. Enjoy!!
Thank you so much Lesley! xx Tori
Wow turned out so well!!! Love how it’s styled! We reno’ed our RV this year too so wanted to mention…we used real tile backsplash in the kitchen (basic white subway tile) and it worked great! Have been on tons of trips and no cracking/no issues.
Hey Kristine! Thanks for the tip. That’s awesome. Cheers, Tori
You did a great job renovating your camper! It looks so fresh!! Can I ask where the white chairs in the kitchen are from? (thanks)
Thanks so much! They are from Ikea!
Hi Olivia!
Love love your trailer! Did u purchase a regular home couch or a RV couch?
I purchased a regular Ikea couch!
Wow Tori! Absolutely beautiful as all things you do. I love the fresh white aesthetic and as a mother of two sons also, I don’t think its too feminine . Way to go! Truly inspiring .
Cheers
Diana
Thank you Diana I appreciate it!
I really love your shower curtain! Do you know where it is from?
Hi Ashley, Homesense!
My goodness, Tori & Charles, your camper turned out absolutely BEAUTIFUL!!! So perfect for your Family & enough beds for the boys to have their buddies come with you guys!!
I LOVE LOVE LOVE it!!!
Such a Wonderful designer Tori!
You really take after your Momma
Hugs from Aunty Jackie
xoxo
🌻🌻🌻😘😘😘
Thank you so much Jackie! It truly is the perfect little home away from home! xo
How did you get the couch in the RV? I love the Reno!
Hi Leah, we purchased it new and assembled it in the RV. Thanks! Tori
Absolutely Beautiful, I’m doing a remodel on my RV and I love your tips. Can I ask where you purchased the lighting with pull chains or on and off switch.
Hi Michelle! Thanks so much! They are from Amazon!
Here is a link:
https://rstyle.me/+z6PMncu5FL2jOe1jUIhlbQ
Hi there – such a beautiful renovation on your trailer! Love how bright it is. We are currently tackling our own and stuck on flooring – wondering if you have had any issue with yours cracking at all with the extreme cold weather that can happen in the winter. We are also in the Okanagan, so just looking for some insight! Thanks 🙂
Hi Sarah no we haven’t – we have a vinyl plank in there and it has been amazing!
Hi Tori!
Love this RV so much! How has it travelled on the roads? Has everything stayed sturdy? Do you move it often or try and keep it close to home? Wondering how it would do on the hope Princeton or coquihalla 🙂
Thanks,
Chantelle
Hi Chantelle! Thanks so much! We move it often and everything has been fine!
Stunning’ – we have the same camper and now I’m inspired. Was your wallpaper peel and stick from target ?
Hi Kari it is peel and stick but from another small company!
Hey Tori, love your camper renovation + it has inspired us to do ours this summer! Question about your bathroom… was your tub/shower surround always that white or did you paint it? If so, with what product? Ours is a similar age of yours and it’s all quite yellowish.
Thanks! xo
Hi Kim! We didn’t paint it. It was already like that! Good luck that’s not an easy task!
Gorgeous! Where are the curtain rods from?
Thank you! Curtain rods are from Q Design!!
Absolutely beautiful! What a well done space! I have a question about the boys’ bedroom – is it two beds or 4? I have three kids and my husband and I have always wanted a camper, your transformation makes me wanna go out and get one!
Hi Jessica! Thank you so much!
It is a bunk bed space with two beds for my two boys!