I was so excited to finally try making my own pita bread recipe, and it was a hit! You can make your own too with this simple recipe.
Pita bread is actually pretty easy to make – but takes a bit of time. Of course, like most things, homemade trumps store-bought and this pita recipe is no exception.
If you have bread flour I would suggest using it for this recipe. I made them with all-purpose flour and they were great (bread flour is a bit stronger as it contains more protein if you were ever wondering what the difference is). Alternately you can sub up to 1/2 of the flour for whole wheat flour. I wouldn’t recommend trying these with gluten-free flour.

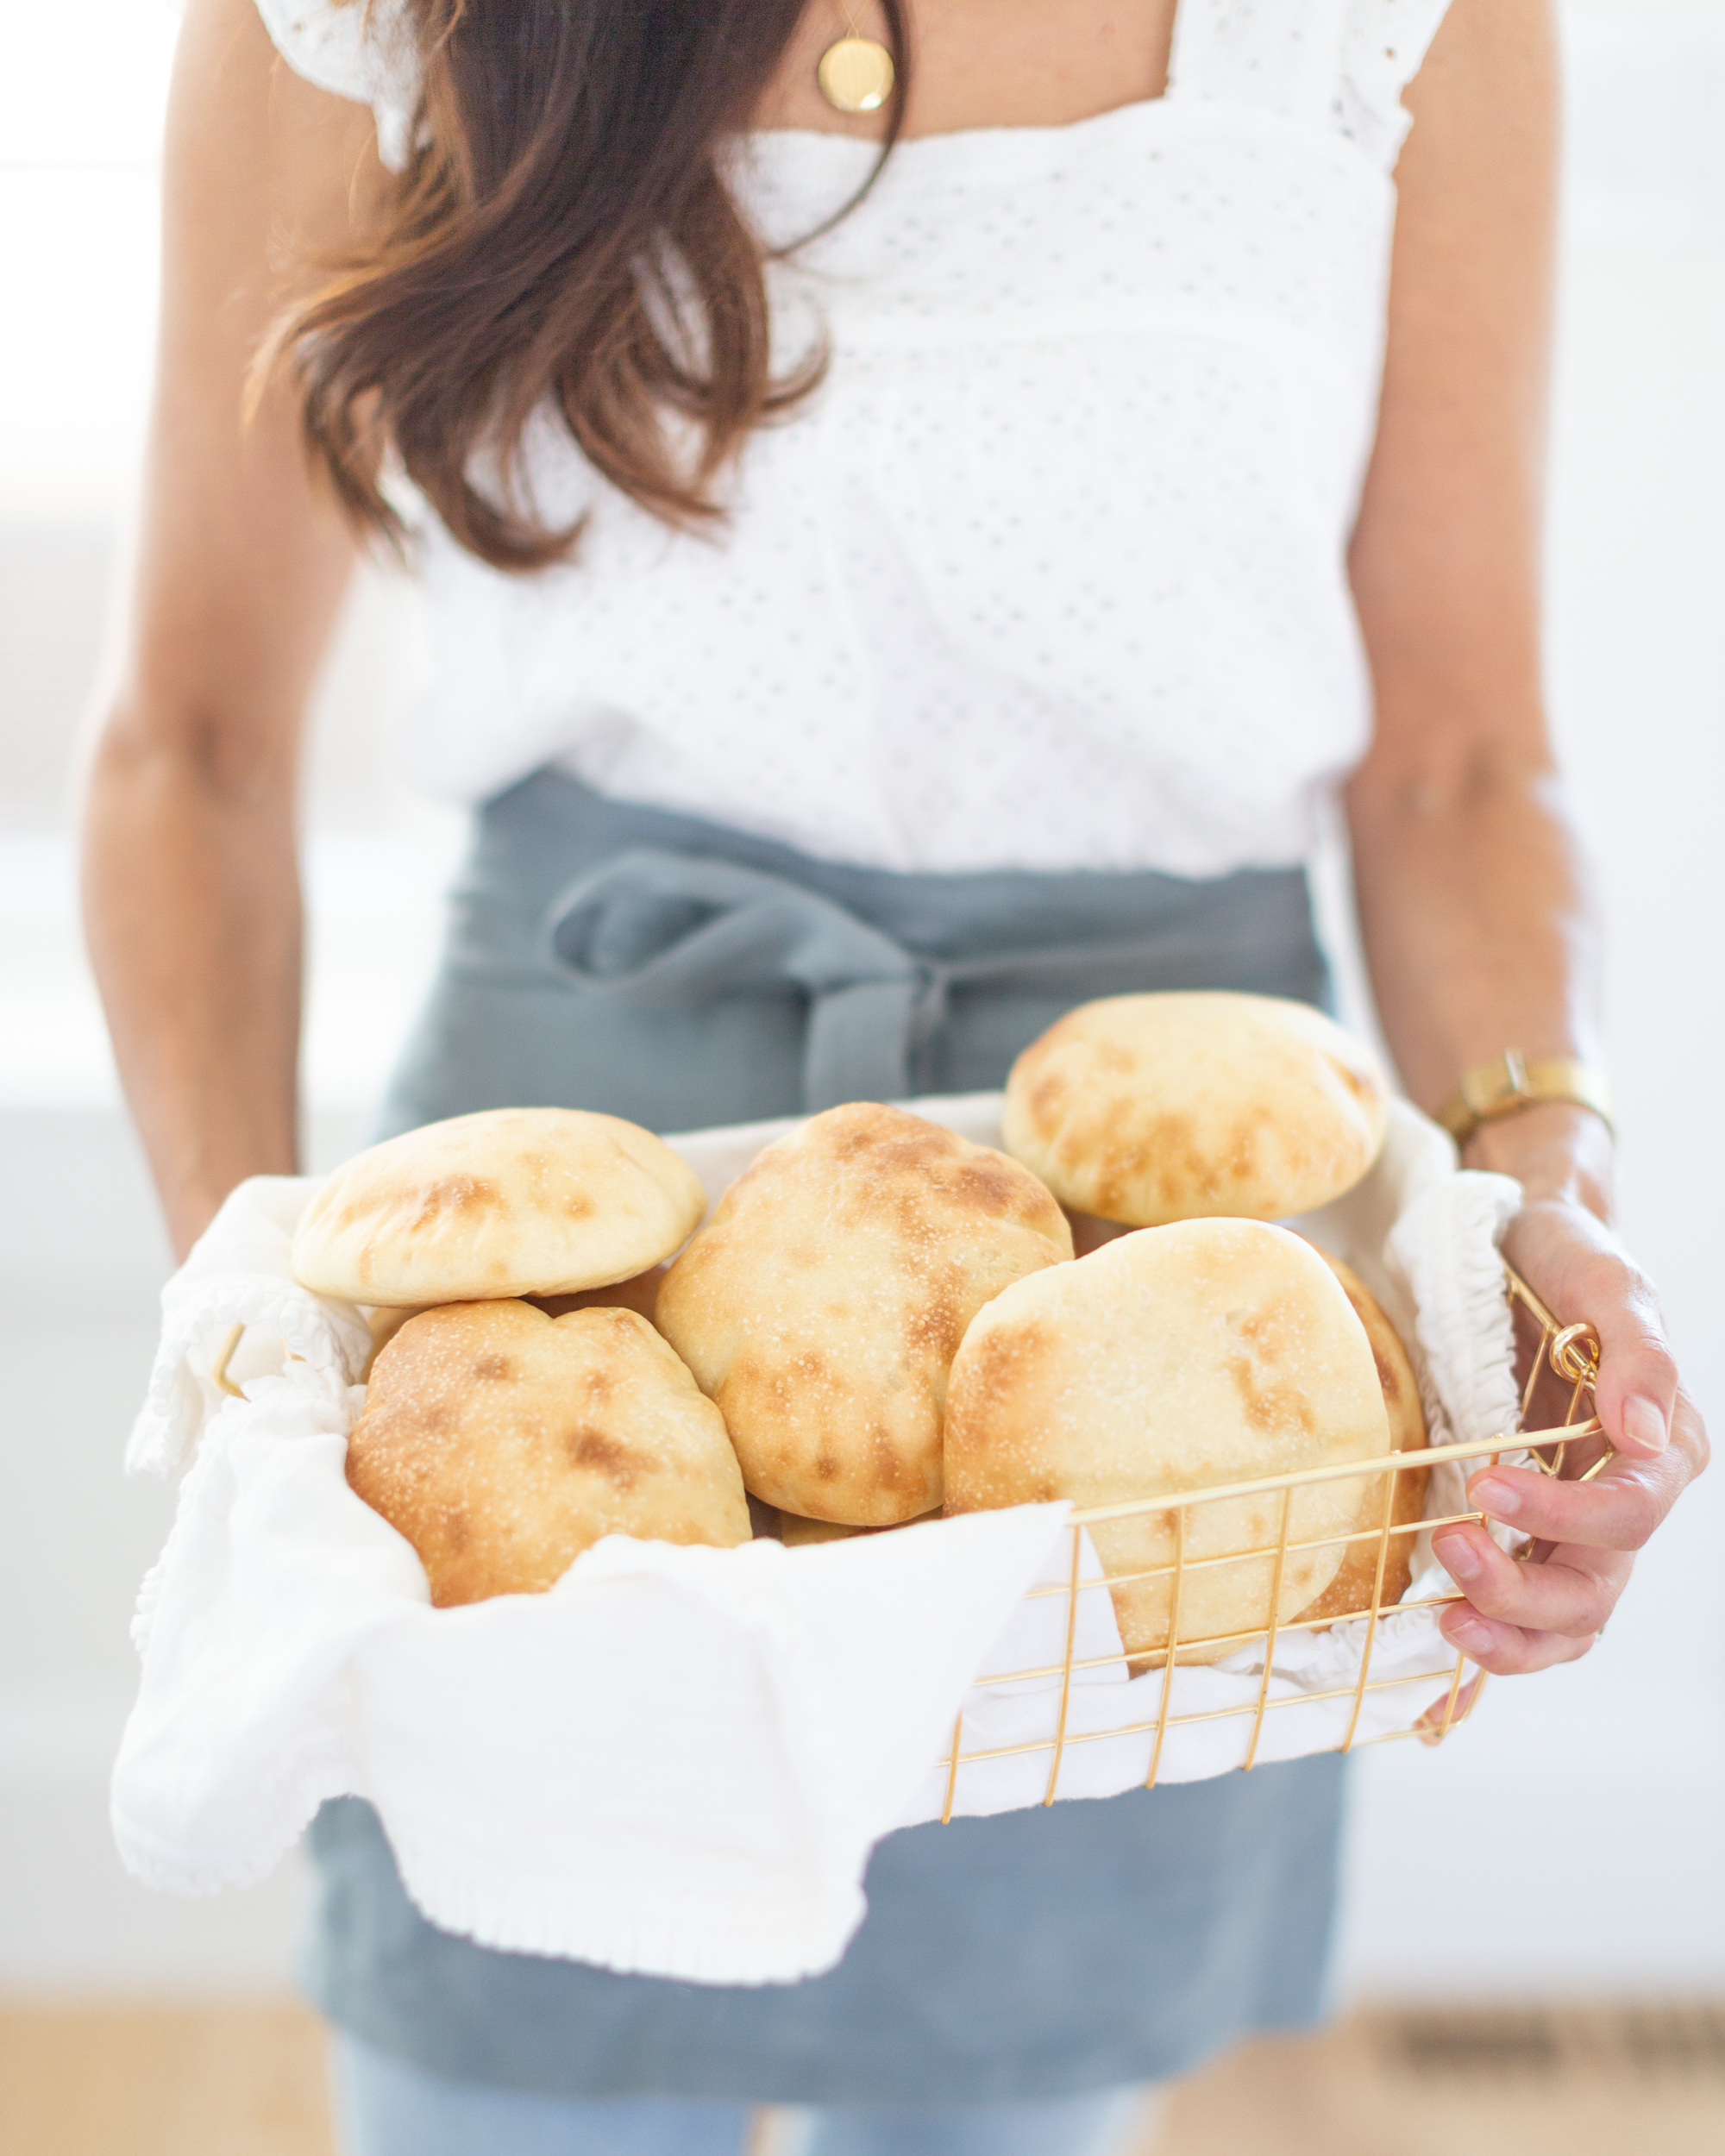
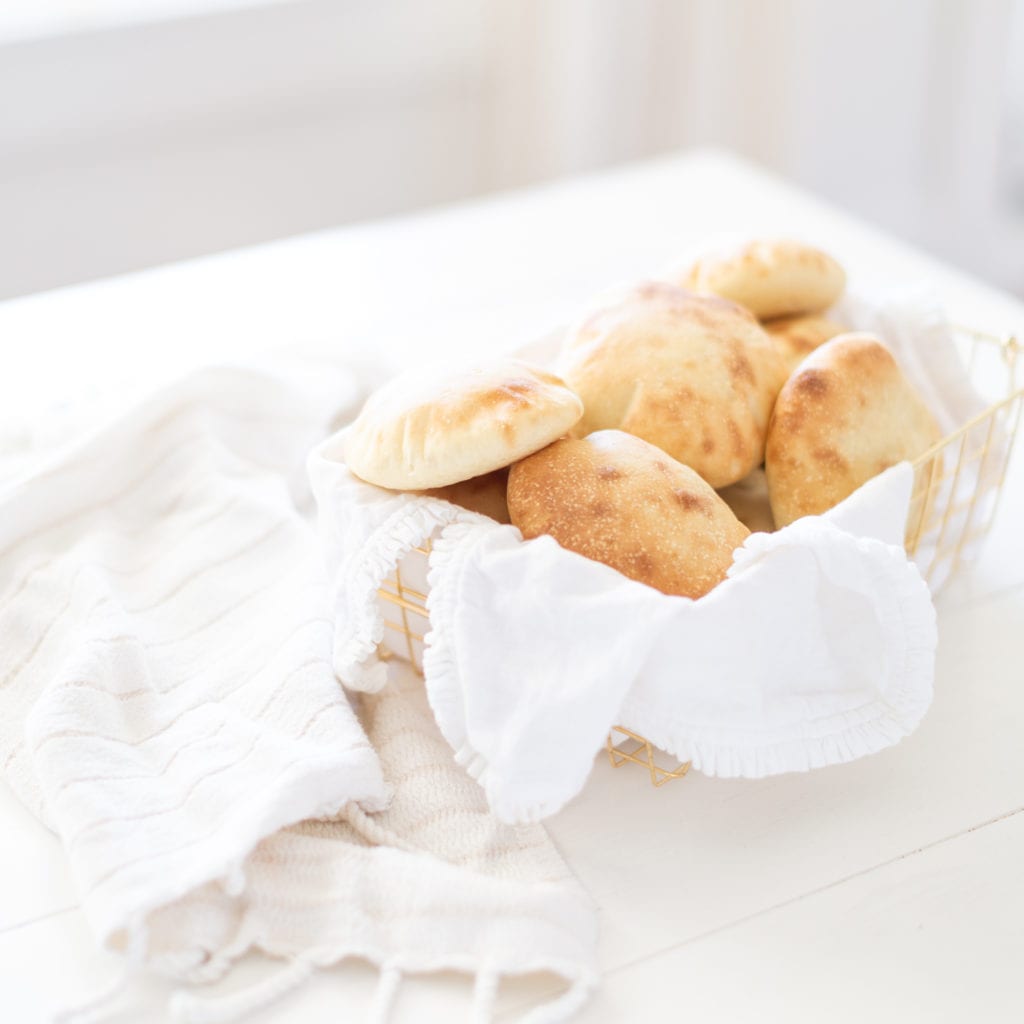
You can make 16 small pitas or 10-12 larger ones: it’s up to you! It really depends on what you’re using them for. Be sure to cover your pitas tightly with wrap before they rest or proof prior to baking otherwise they will dry out.
Serve these with homemade hummus (try this roasted zucchini version) or tzatziki and a big Greek salad for a nice light plant-based dinner or lunch that will impress the pants off of anyone! If you want to go next-level try your hand at a Mezze Platter and throw these pitas on!
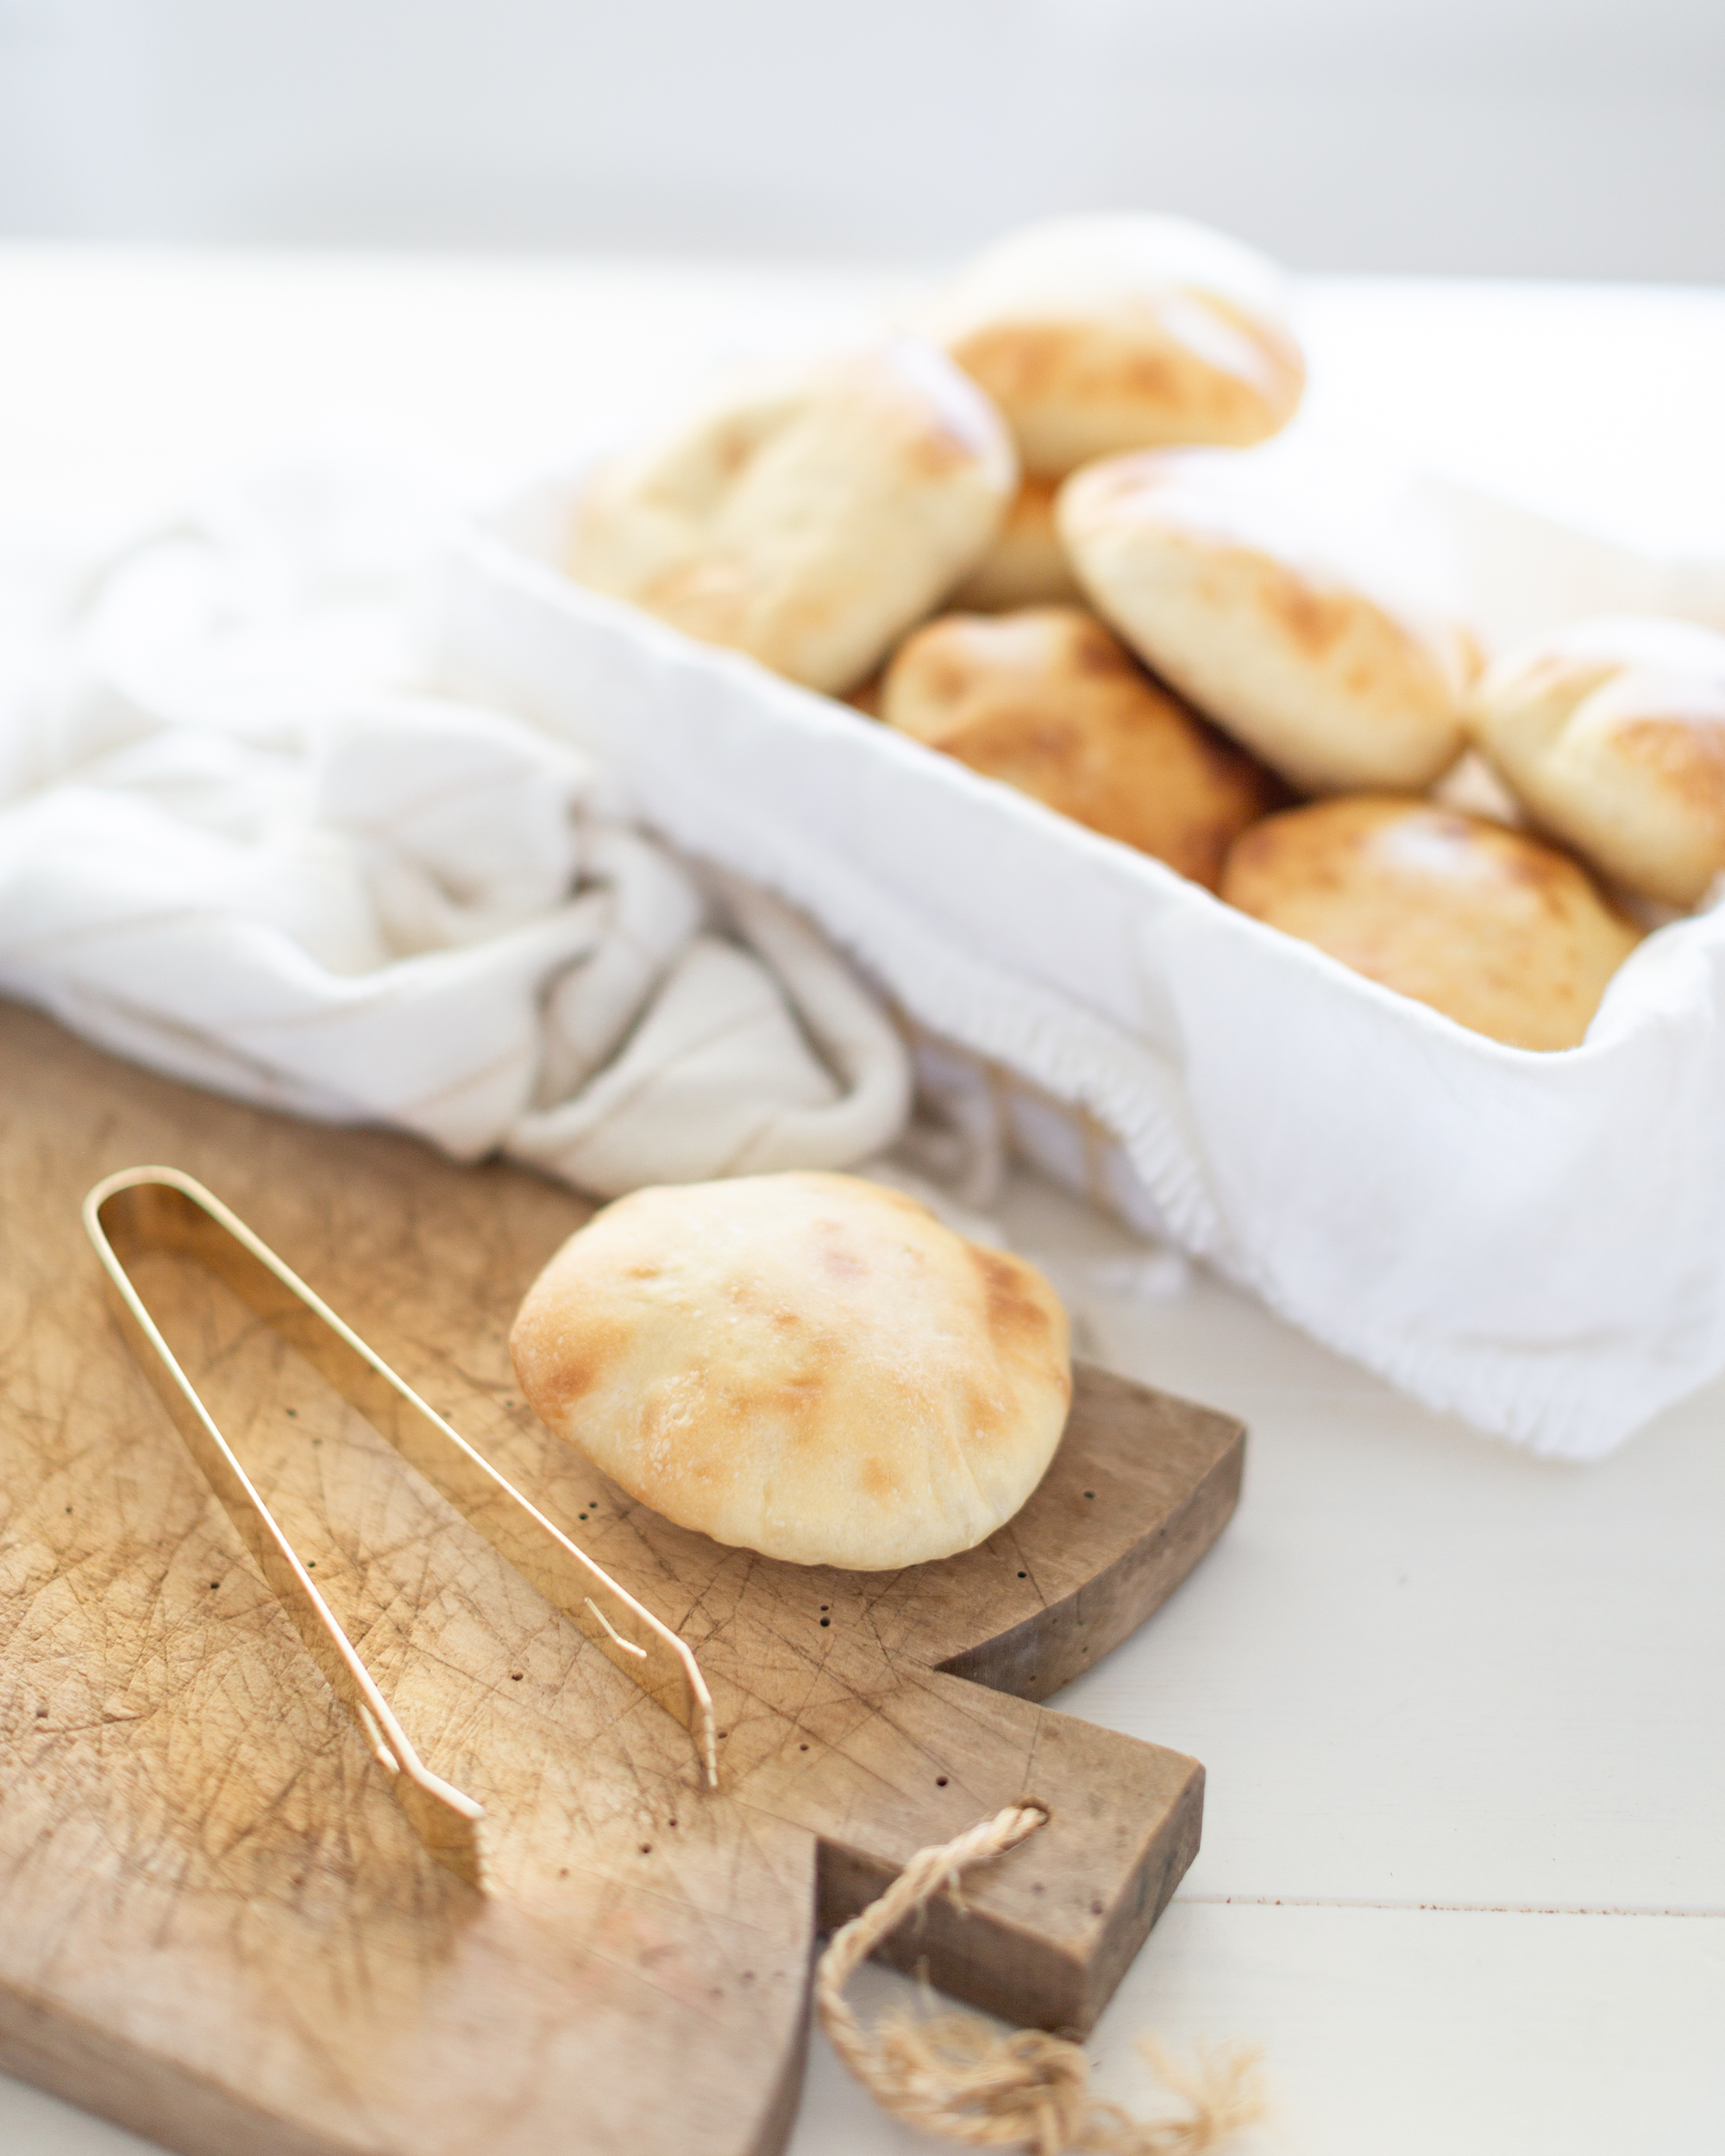
They are so much fun to watch as they bake. In a matter of moments they puff up like magic! The kids loved them. As the dough expands during baking it creates a pocket inside that you can stuff with anything you wish (falafels come to mind but the kids loved peanut butter and jam). If they don’t all puff up don’t worry, the ones that don’t puff up are still delicious served with a dip since you can also eat these whole.
Happy baking!
Pita Bread

Pita Bread
A simple recipe for fluffy homemade pita bread.
Ingredients
- 2 cups lukewarm water
- 1 1/2 tablespoons sugar or honey
- 2 1/2 teaspoons active dry yeast (or 1 package)
- 1 1/2 teaspoons salt (sea salt or kosher preferred)
- 1/4 cup extra virgin olive oil
- 4 cups flour* (plus around 1/4 cup extra for kneading)
Instructions
-
In a large bowl, whisk together the water and sugar to dissolve. Sprinkle in the yeast and let it sit for around 10 minutes (until it activates - it will foam up).
-
Add the salt and olive oil to the yeast mixture, stir, and add the 4 cups of flour. Stir with a wooden spoon until it gets too difficult before transferring the dough to a clean, well-floured surface.
-
Knead the dough using the palms of your hands until it is smooth and elastic but still sticky, adding a but more flour as needed to prevent the dough from sticking to your hands (around 1/4 cup or a bit more). Form the dough into a smooth round ball, place in a clean medium greased bowl, cover with a clean dish towel and let it sit in a warm draft-free spot until doubled, around 2 hours.
-
Line 2 large baking sheets with parchment paper. Gently deflate the dough and divide the dough into 12-16 balls of dough (depending on how large you want your pitas to be). Form each piece of dough into a smooth ball and, using a rolling pin, flatten slightly until the pitas are 1/4-1/2" thick. Repeat with the remaining dough and place the flattened pitas on the baking sheets, about 1" apart. Cover with plastic wrap or a slightly damp clean dish cloth and set aside to rest for 30 minutes. Meanwhile, preheat the oven to 500F
-
Once the pitas have rested, bake for 8-10 minutes, until puffed up and very lightly browned. Serve immediately.
Recipe Notes
*bread flour is preferred, but I tried it with all purpose flour and it worked fine. You can also use up to 50% whole wheat flour to replace the all purpose flour.


I am excited to try these. I have tried several other recipes and they didn’t turn out this good. I wish you had saved your video showing how you formed them into the little balls. Maybe that is the trick.
Can you mix this in a stand mixer?
I used my Kitchenaide and it was fabulous. I’ve made a lot of pita bread, using different recipes, and this is definitely a winner. To top it all off, this was one of the simplest to bake. They all rose beautifully, and were all cooked at the same time so perfect for a family dinner. No standing over a hot oven, baking one at a time!
Any idea how to change the recipe to use sourdough starter instead?! I’m so bad at trying to figure out the math. Can’t wait to try these! Thanks for posting!!
Hi Carolyn I don’t know as I haven’t tried – I would probably try with 1/2 cup or so of starter and cut back the water to 1 1/2 cups… and maybe gradually add the flour as you may not use it all? Would love to hear if you try!
Tori
Just making these now and 4 cups of flour seems like a lot. Just checking it’s not a typo?
Hi Cloe sorry the typo was the water – it is fixed now. My apologies!!!
Tori
I made these tonight. They were delicious but none of them had a pocket…any idea why that would happen?
Hi Jody that’s strange – I wonder if you needed to let them rest a bit longer? Did you bake them at 500F? It’s the rapid temperature shift that helps form that pocket!
I made this with half all purpose and half whole wheat. Turned out awesome! Thanks for the recipe.
Hey Sharon! Happy to hear you enjoyed! Thanks so much for sharing.
I’ve tried several other pita bread recipes and your blows them out of the water! These are incredible.
Bravo!
Hi Erin! Thank you for the amazing review of this pita – I am so appreciative! I’m also happy you’ve found a recipe you love. Enjoy! Tori
Took a chance and made these first time to serve to company! SO AMAZING! They turned out perfectly. And perfect with our Greek dinner.
Thank you Tori!! Easy to follow recipe and they puffed beautiful. (I was so excited to see pockets! And our guests asked for your recipe!)
Love this recipe. So easy too! Can I sub gluten free flour for the all purpose?
Hi Teri unfortunately it won’t work. Check out A Couple of Celiacs for some fabulous gluten-free bread recipes!