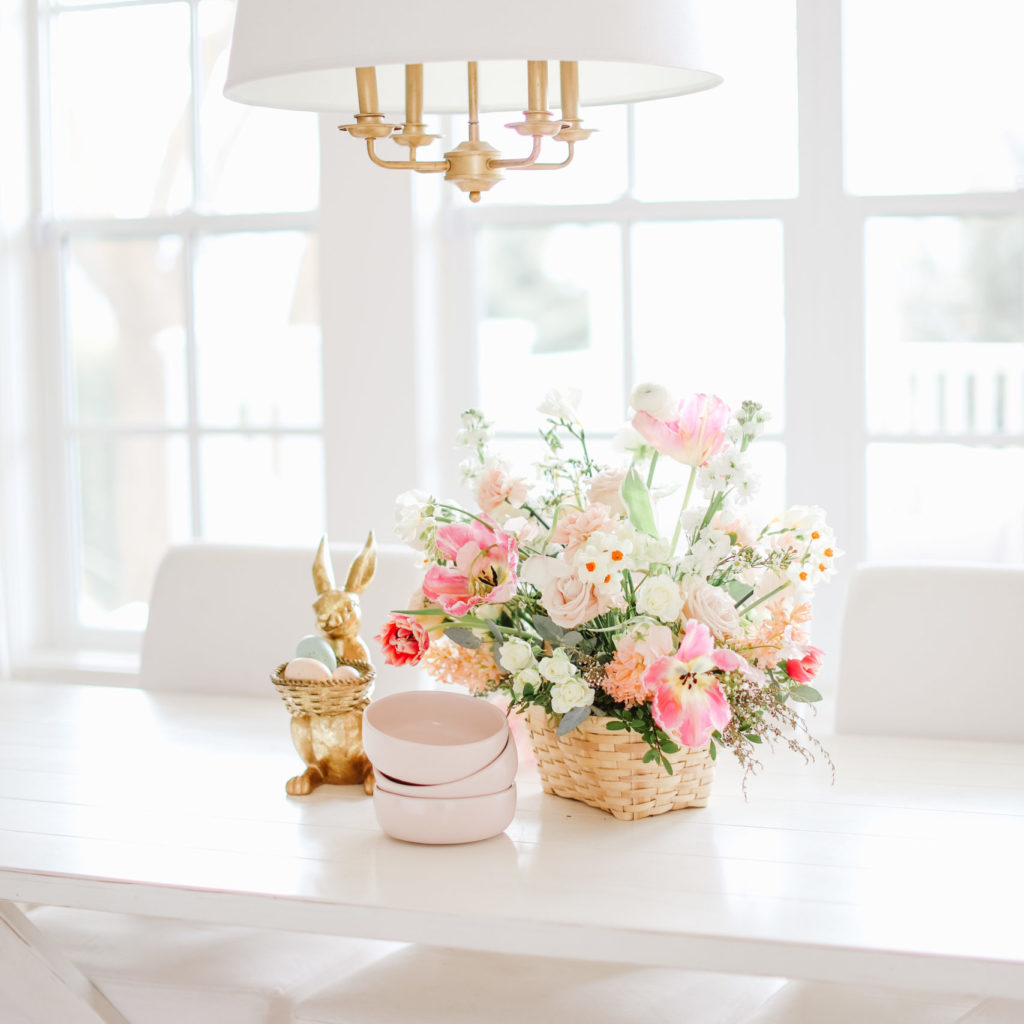
Laurence from FleuRich Creations is on the blog today walking you through a stunning Spring Basket just in time for Easter. Tune in to Instagram this afternoon at 3pm PST as Laurence and I go LIVE together and make our own spring baskets. Okay enough out of me, take it away Laurence!
Hello everyone! This is Laurence from FleuRich Creations, a floral design company based in Kelowna, BC. My love for pretty flowers has grown into a passion-filled business that I am incredibly grateful for. My team and I design florals for weekly arrangements, weddings and events. When fresh flowers do not surround us, we are busy growing our knowledge for sustainable design practices.
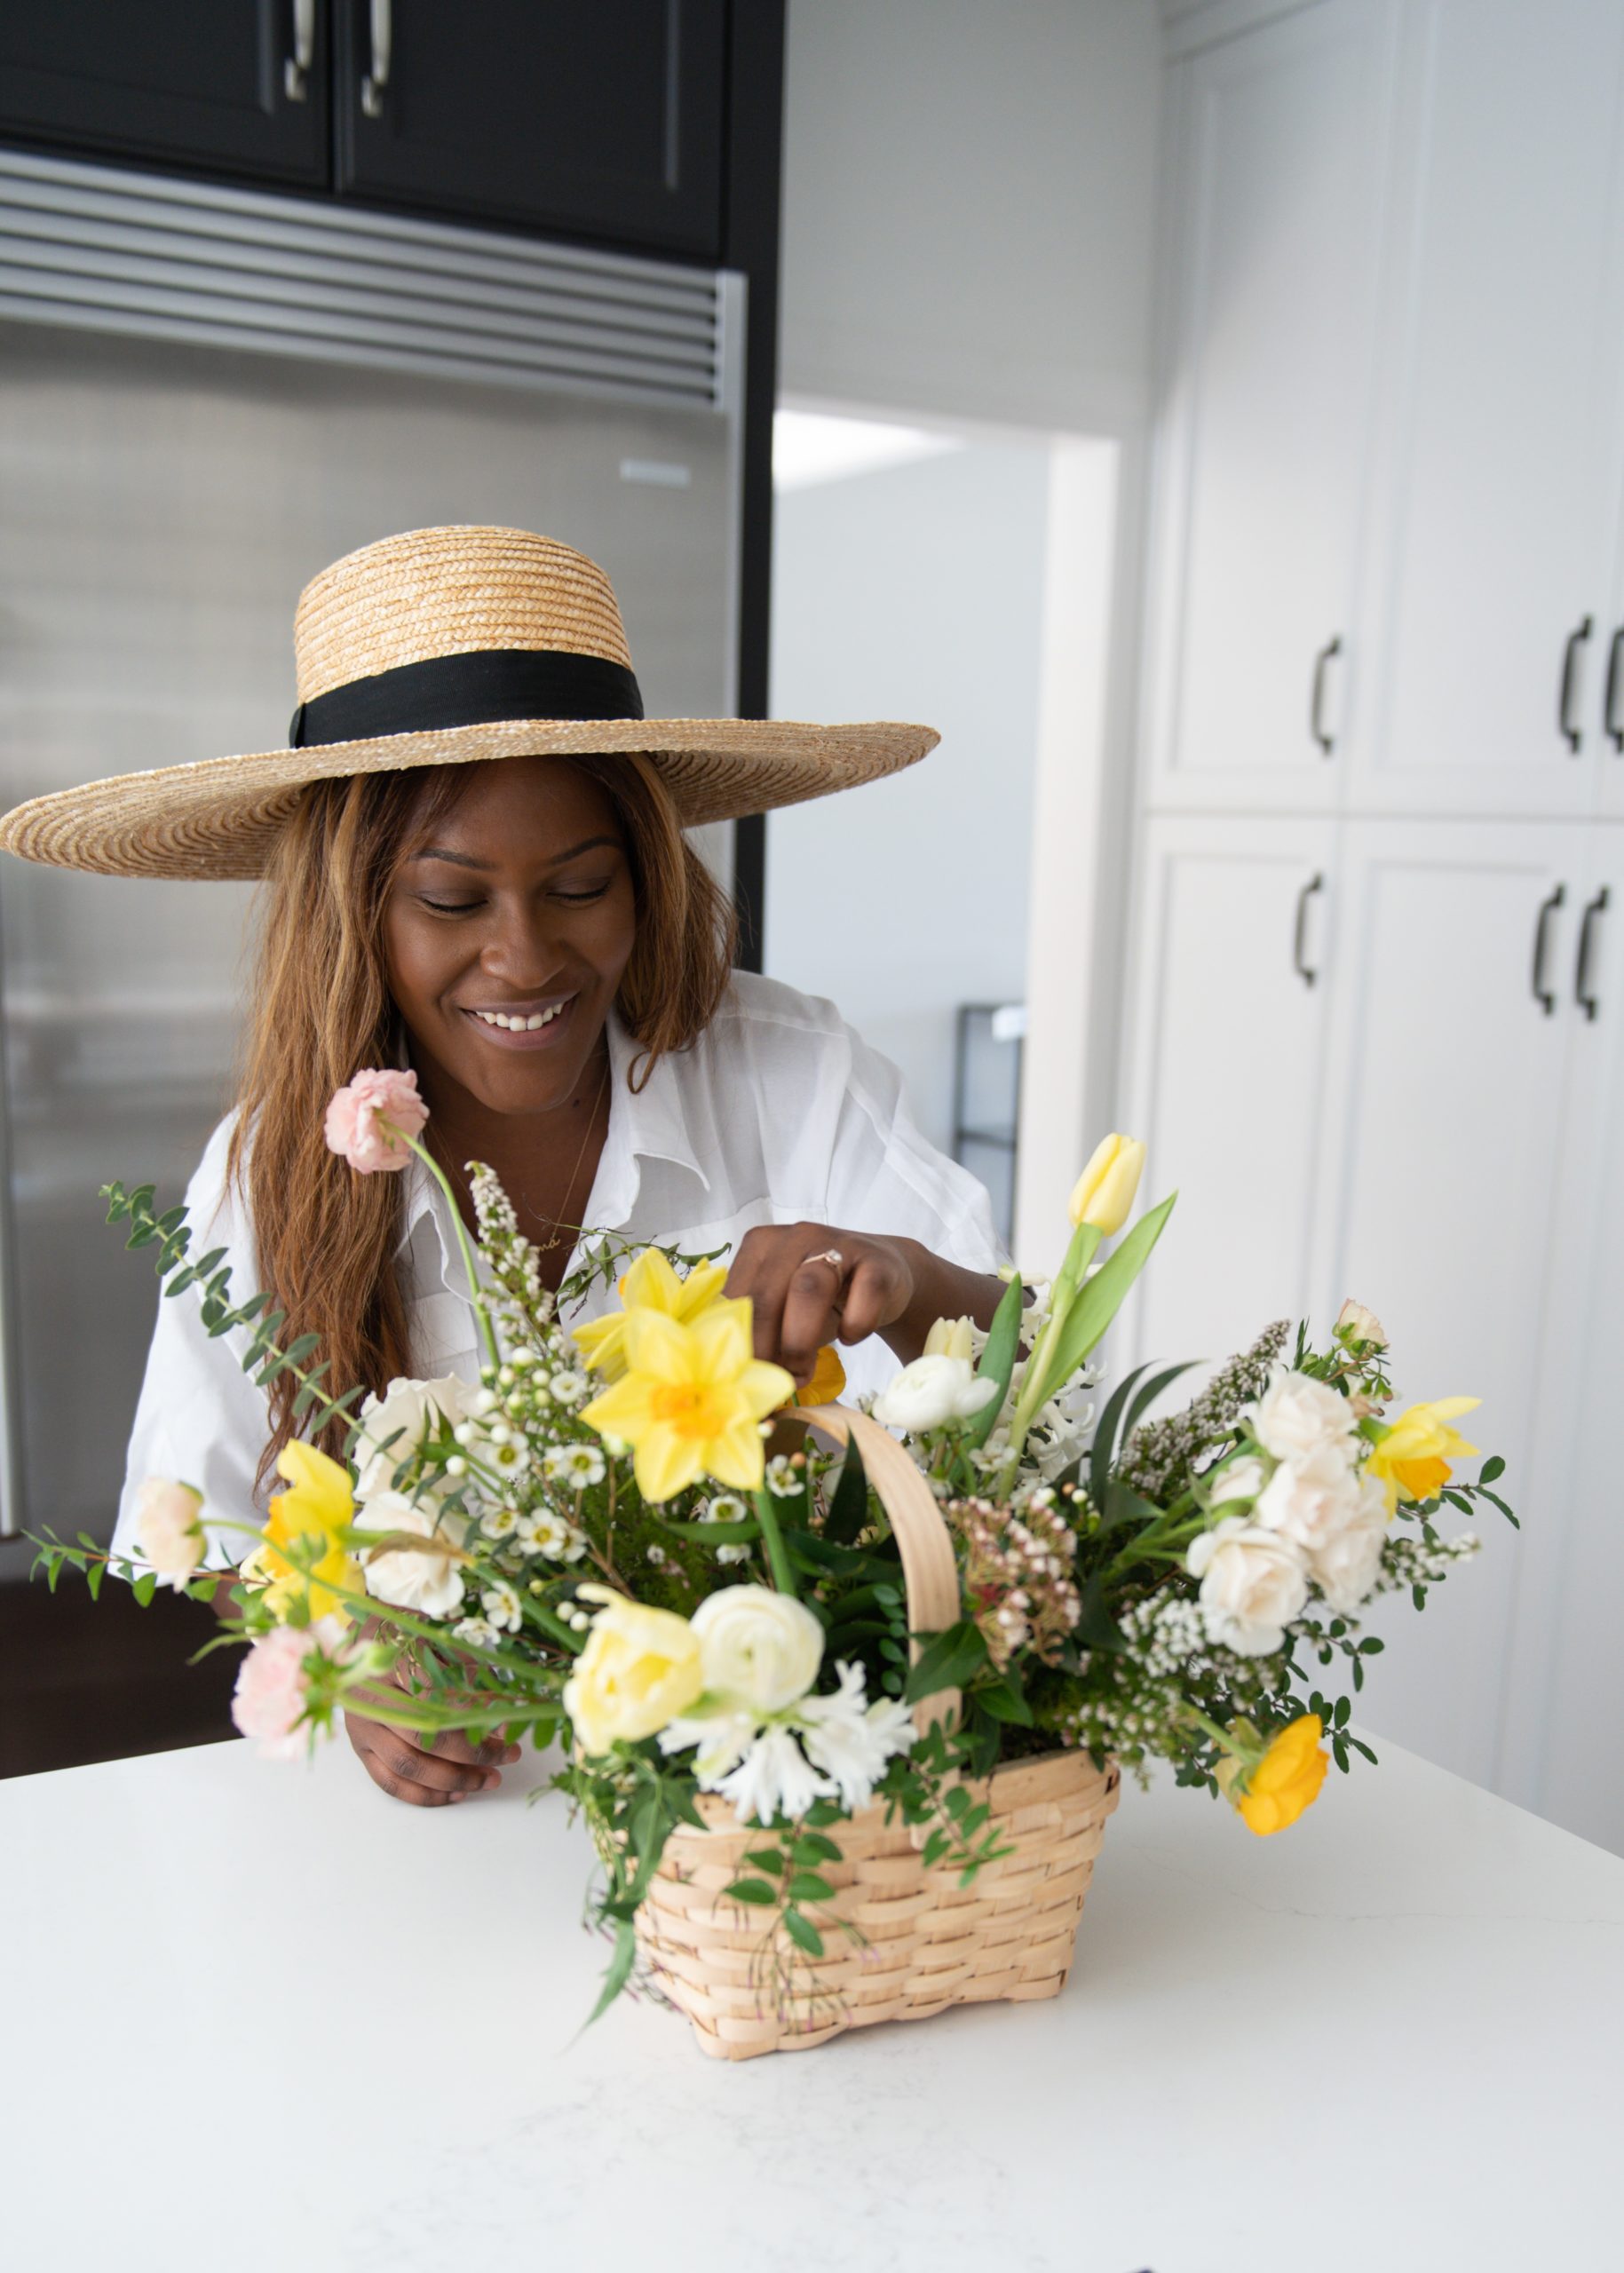
Today, I’m excited to help you create your very own spring basket arrangement. Just in time for Easter! We are all about letting our creative juices flow, I hope this inspires you to do the same. Let’s get started!
Seasonal Flower Inspiration
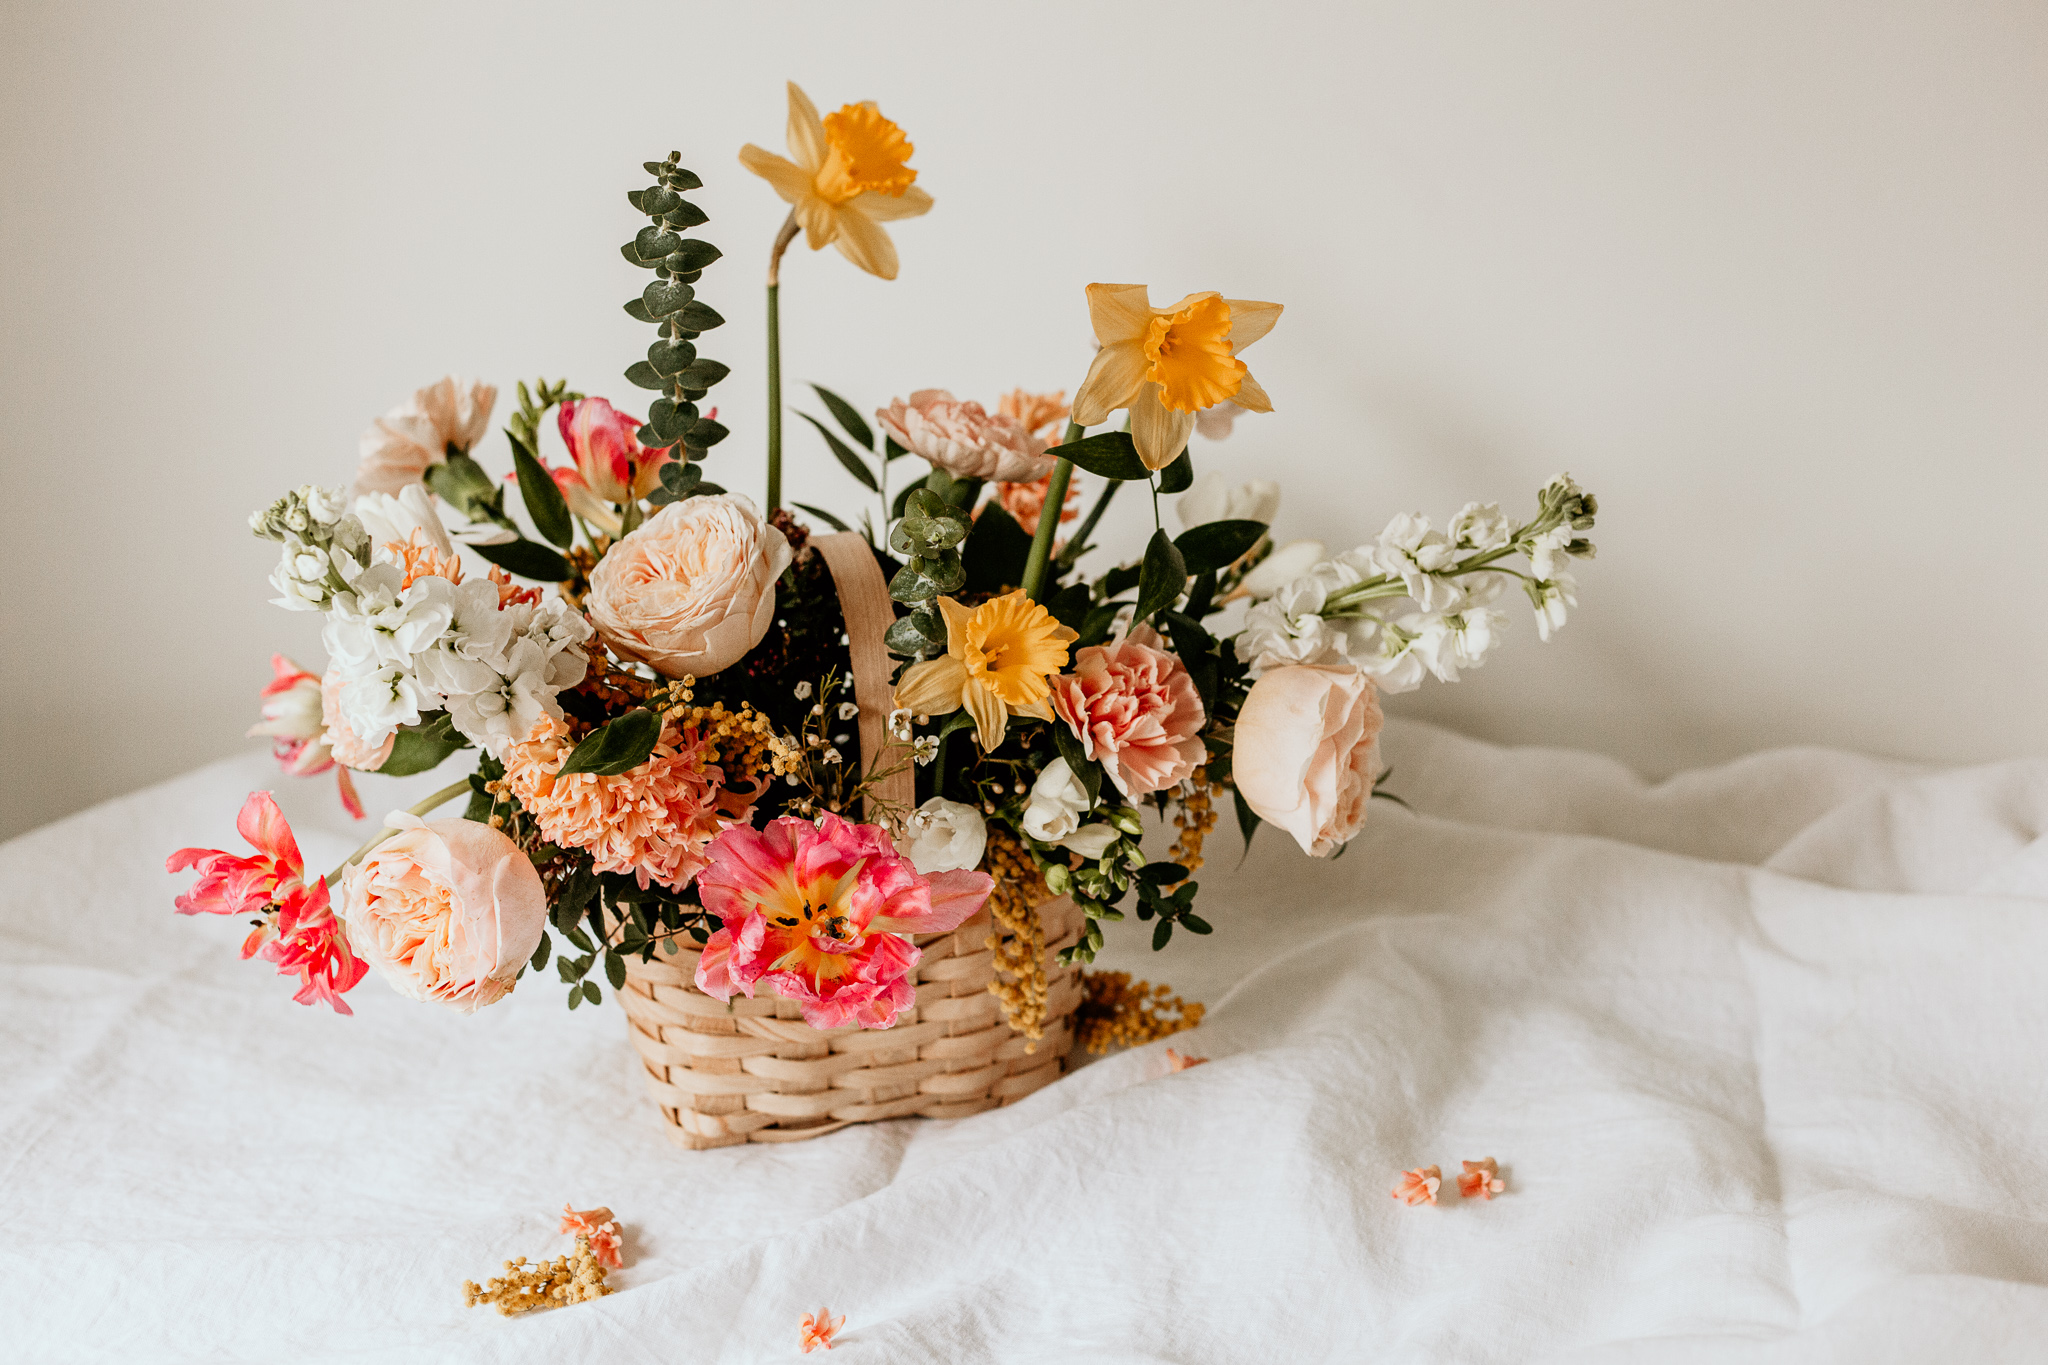
Spring is my favourite season! If I can think of one word that describes best, my inspiration for arrangements this time of the year is ”growth”. The way a tulip stretches towards the sun and a daffodil’s head is all cheery looking. Spring brings everything back to life, and that is how I like my arrangements to look after months of whites and greys. Who can use some colour in their house? I know I do!
I’m going to walk you through the steps I took to create a foam-free basket arrangement. Remember, this is supposed to be fun and creative. I encourage you to make it your own if you desire!
Materials Needed for a Flower Basket
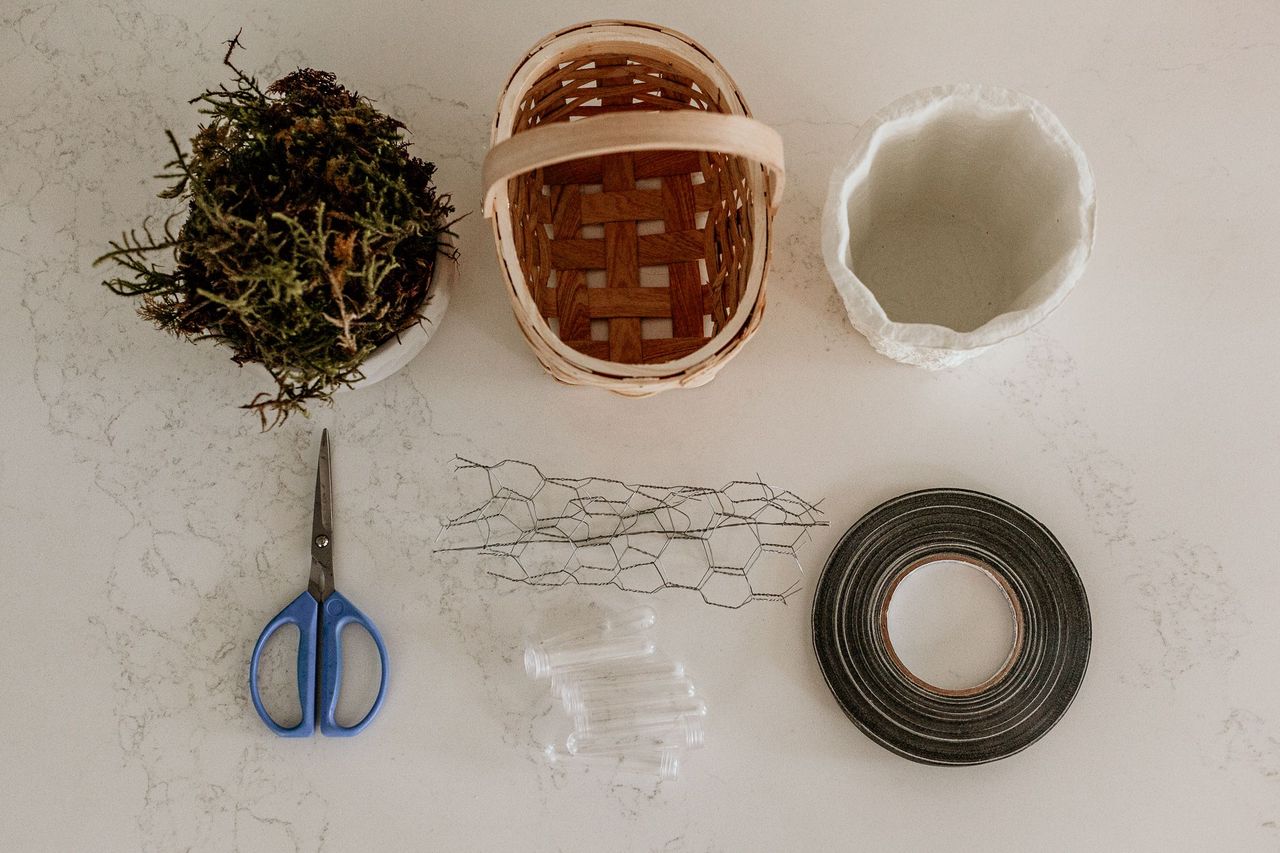
You can get most (if not all) of these supplies at a store like Michael’s or another similar craft store.
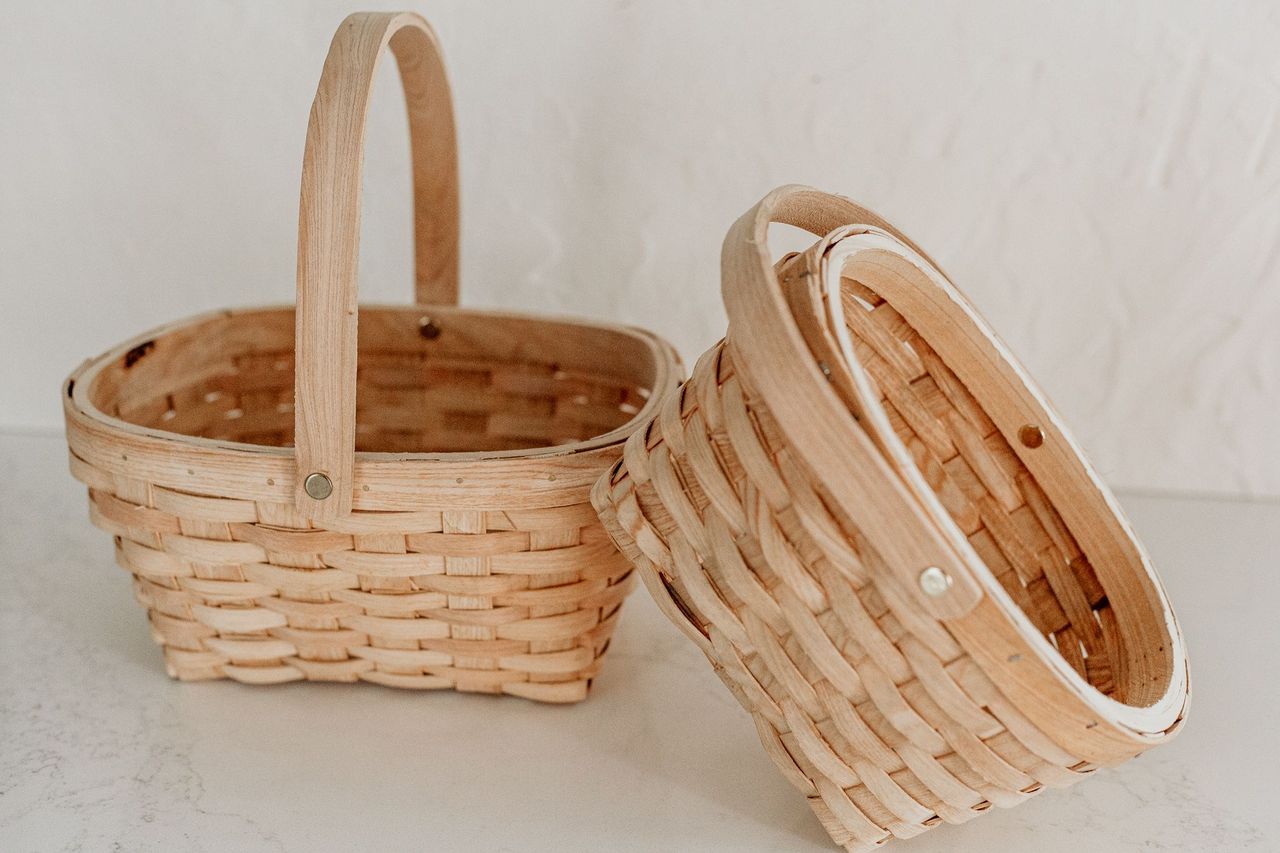
- Basket
- Floral clippers
- Floral tape
- Paper maché or lightweight pot
- Chicken wire
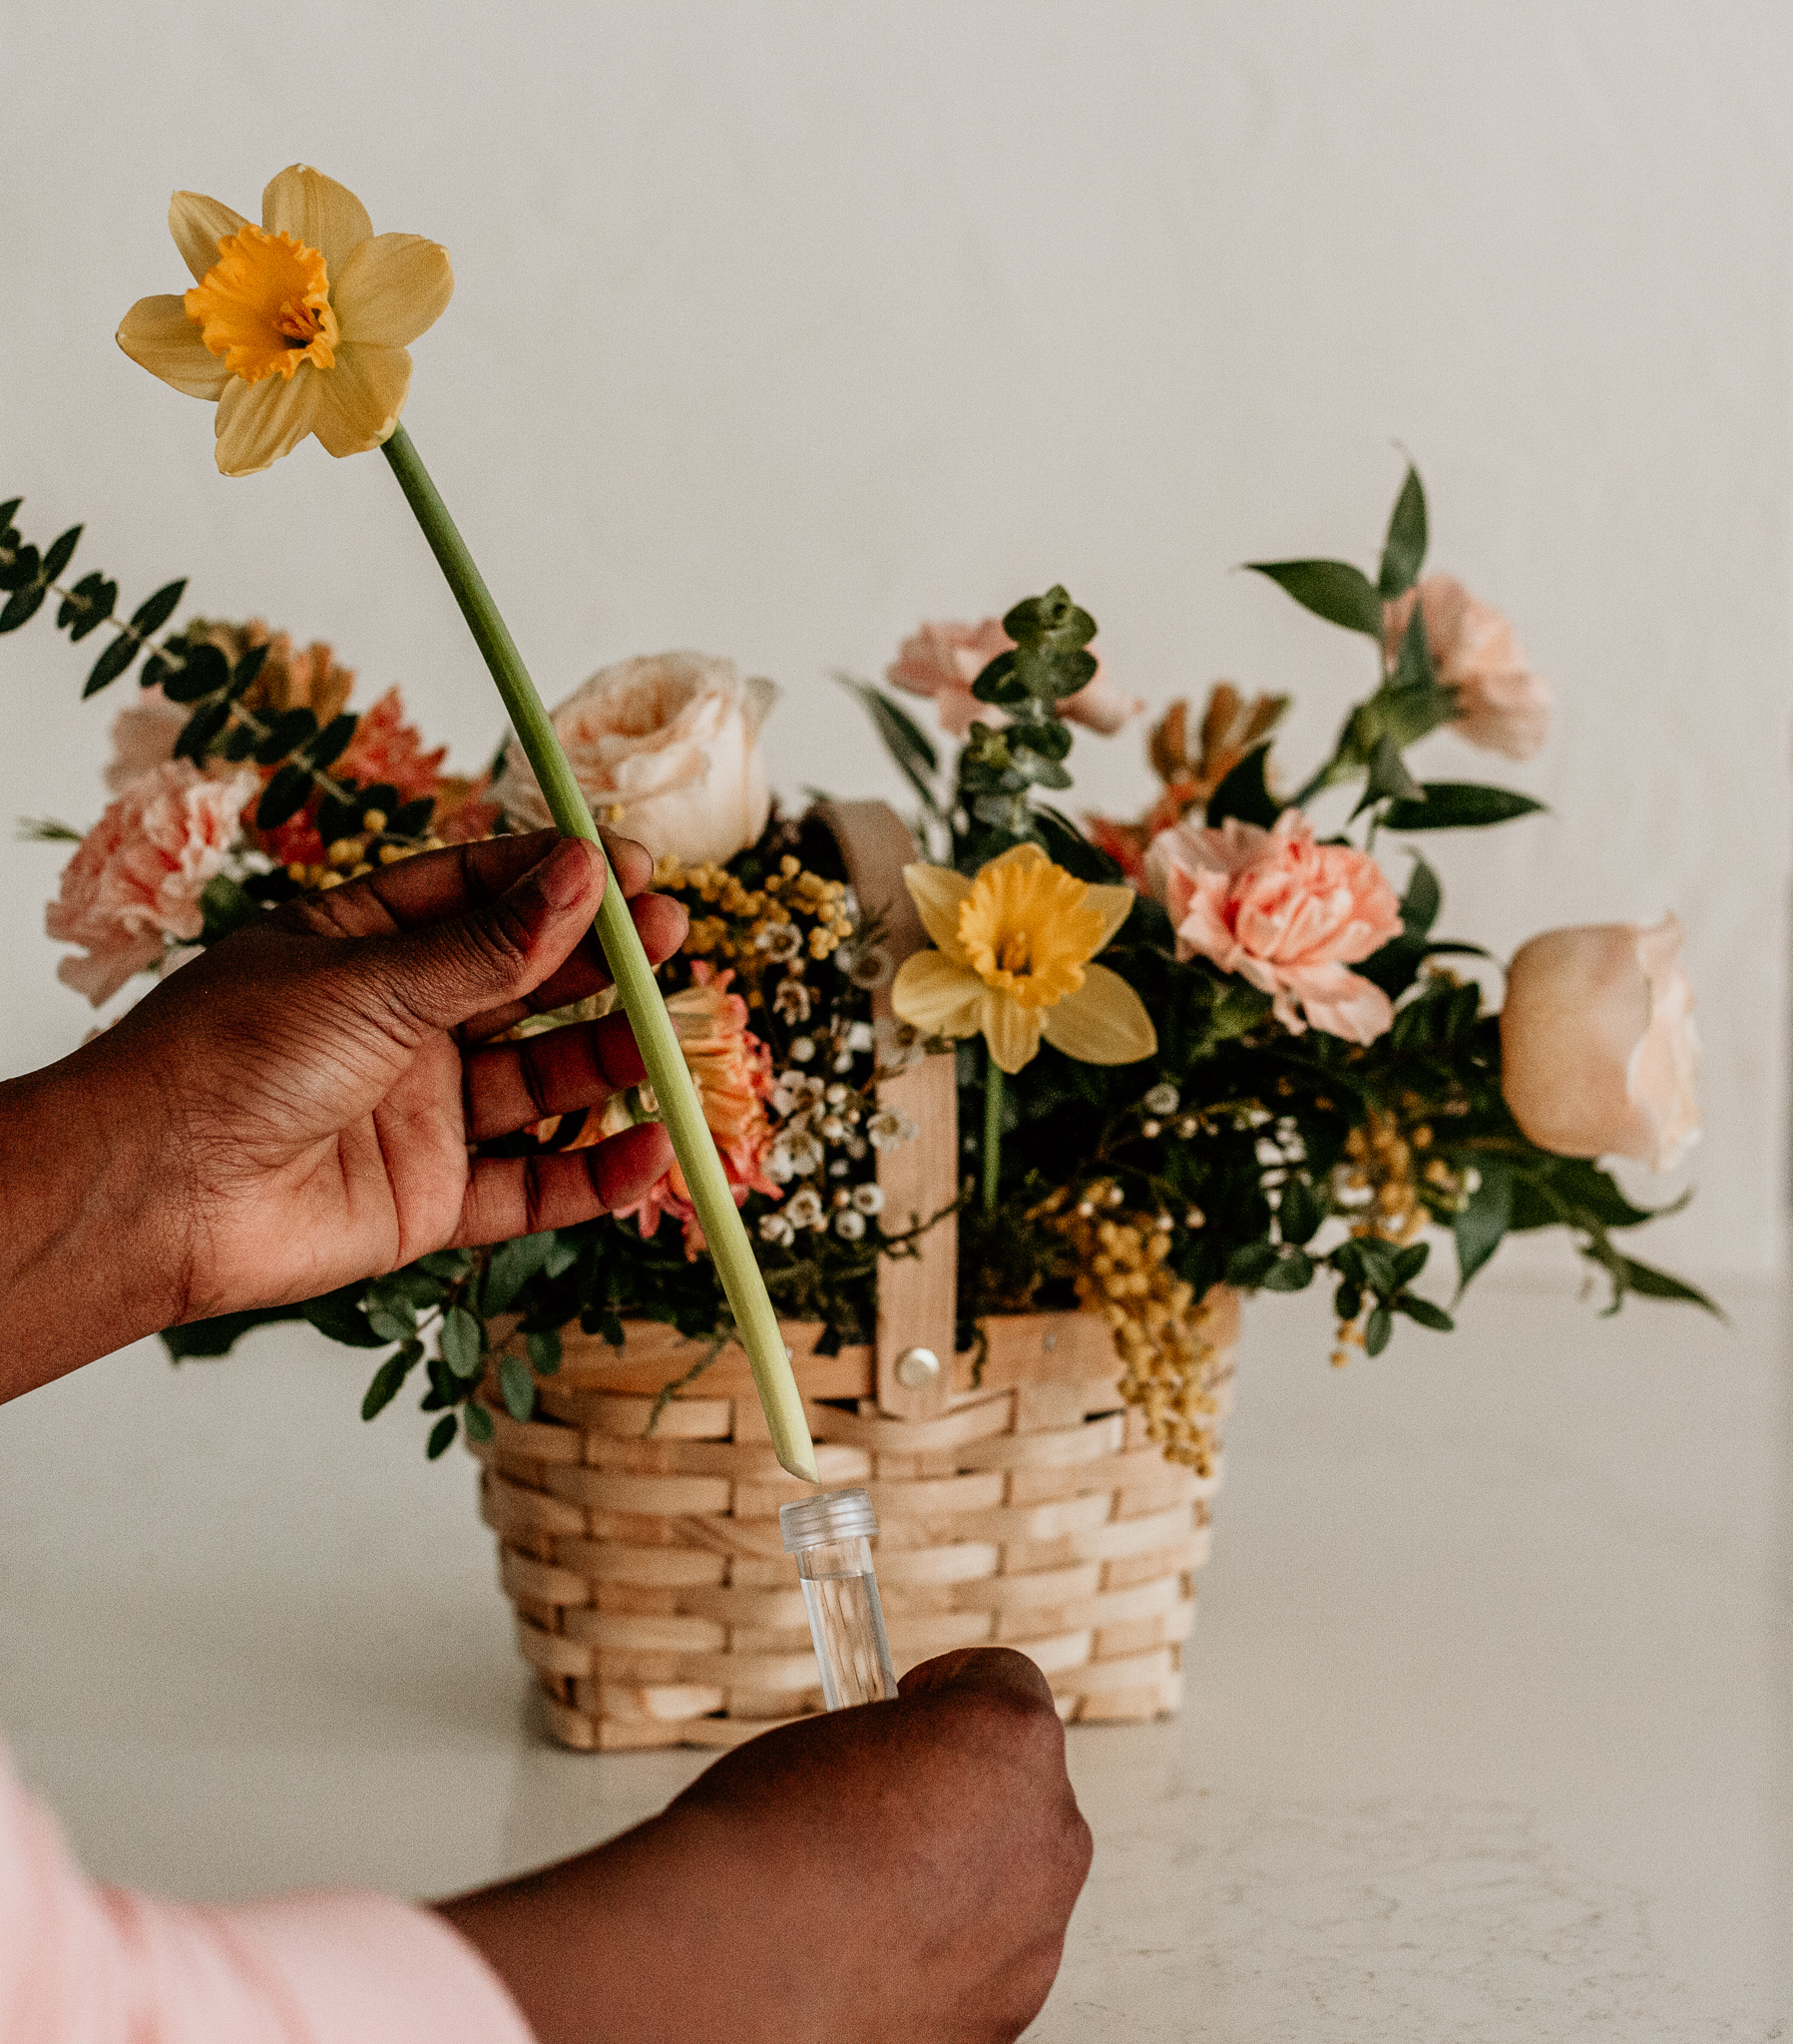
- Floral tubes
- Moss
Anatomy of a Spring Flower Arrangement
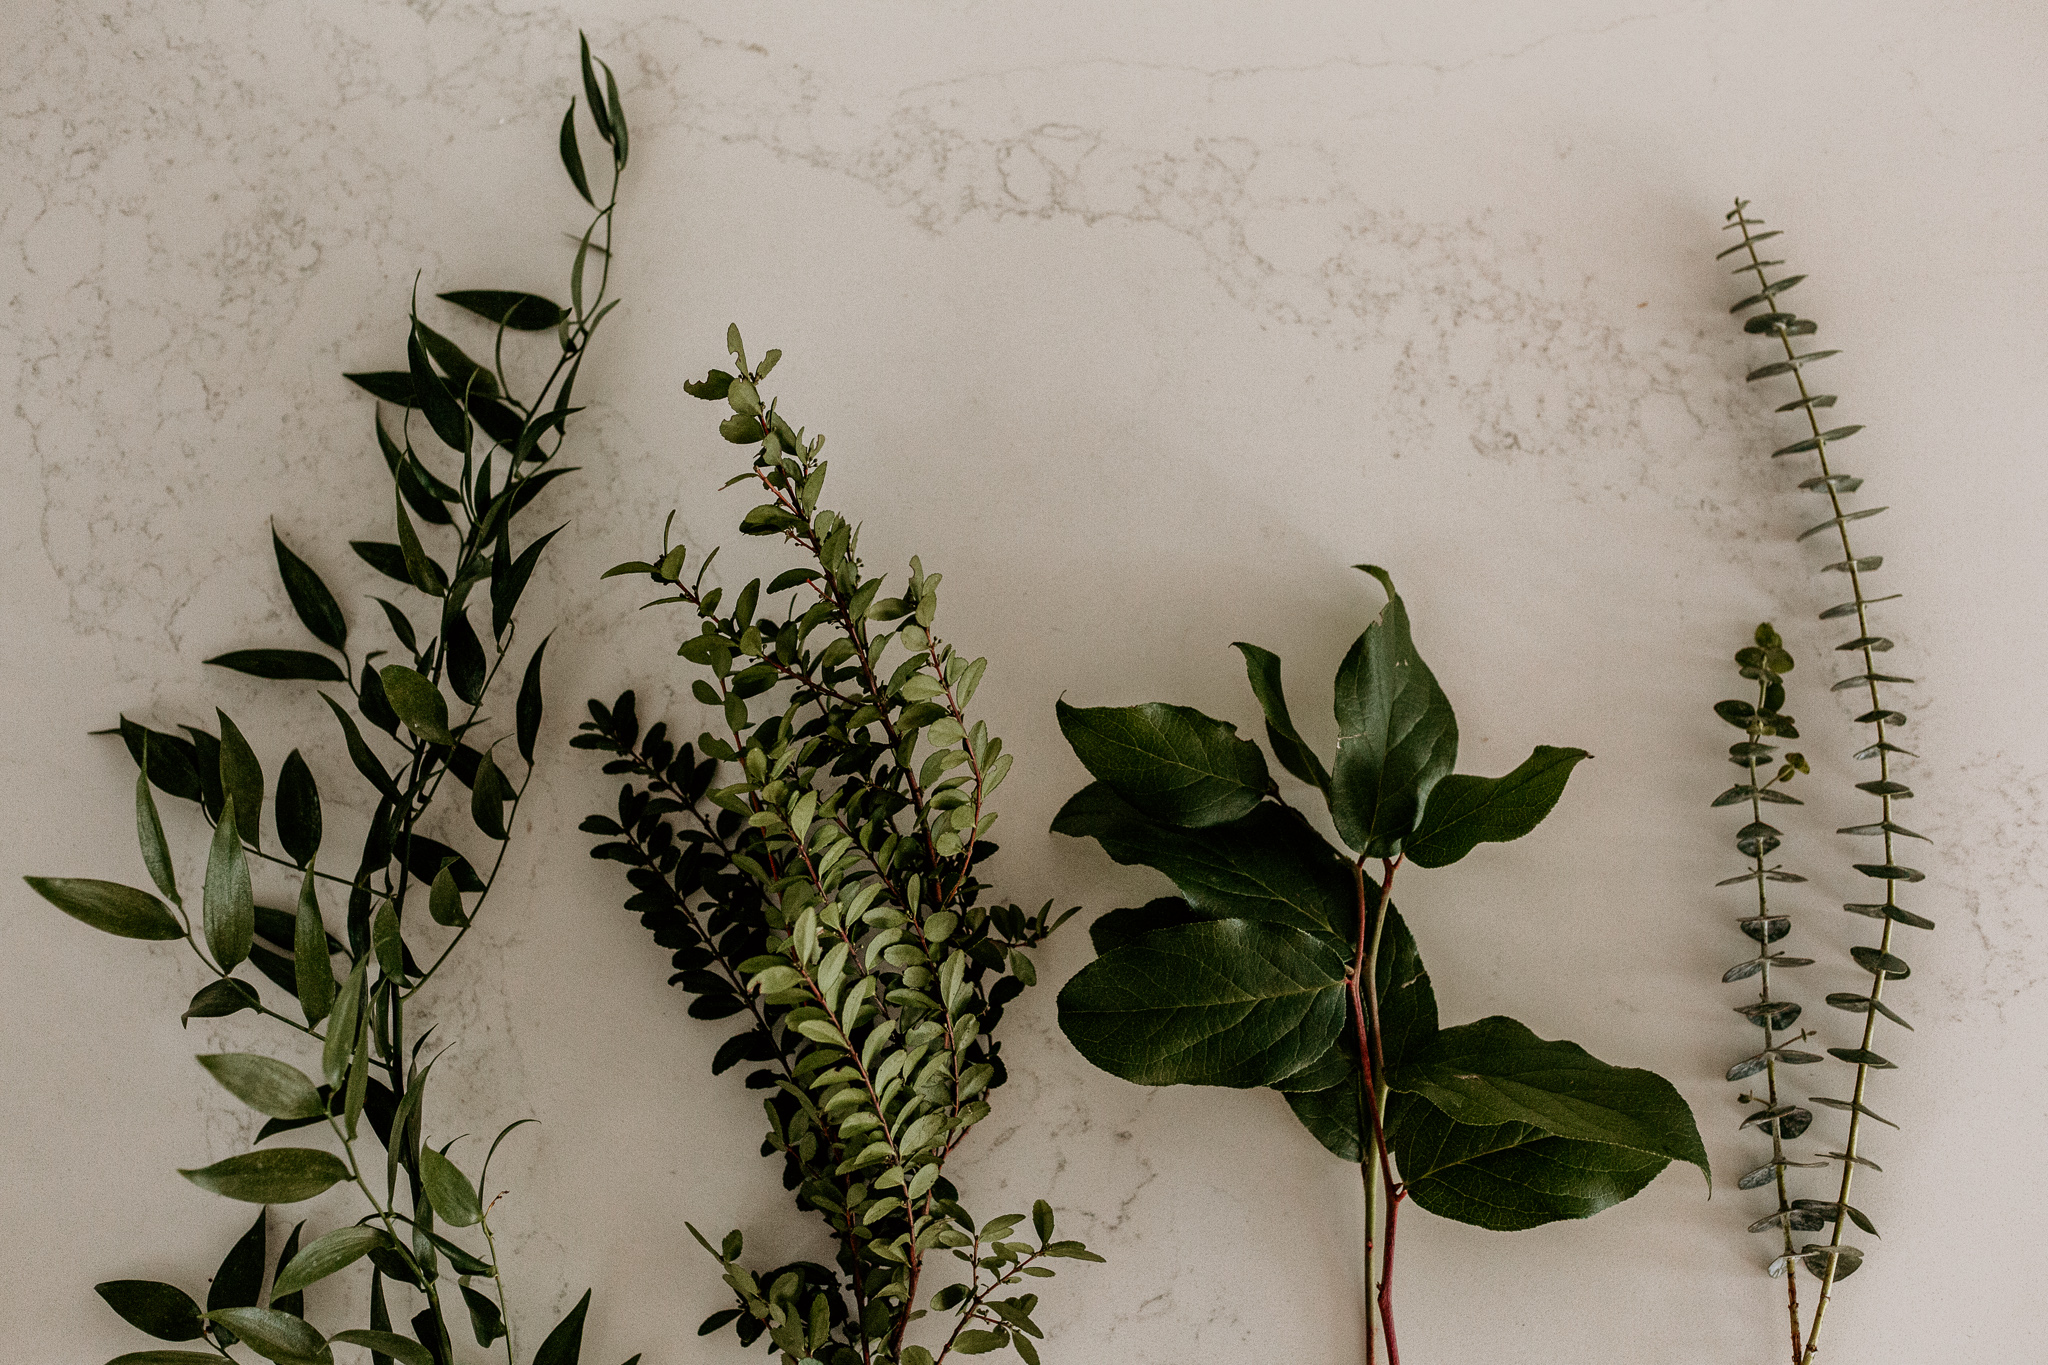
- Boxwood
- Italian Ruscus
- Salal (or Lemon leaf)
- Eucalyptus
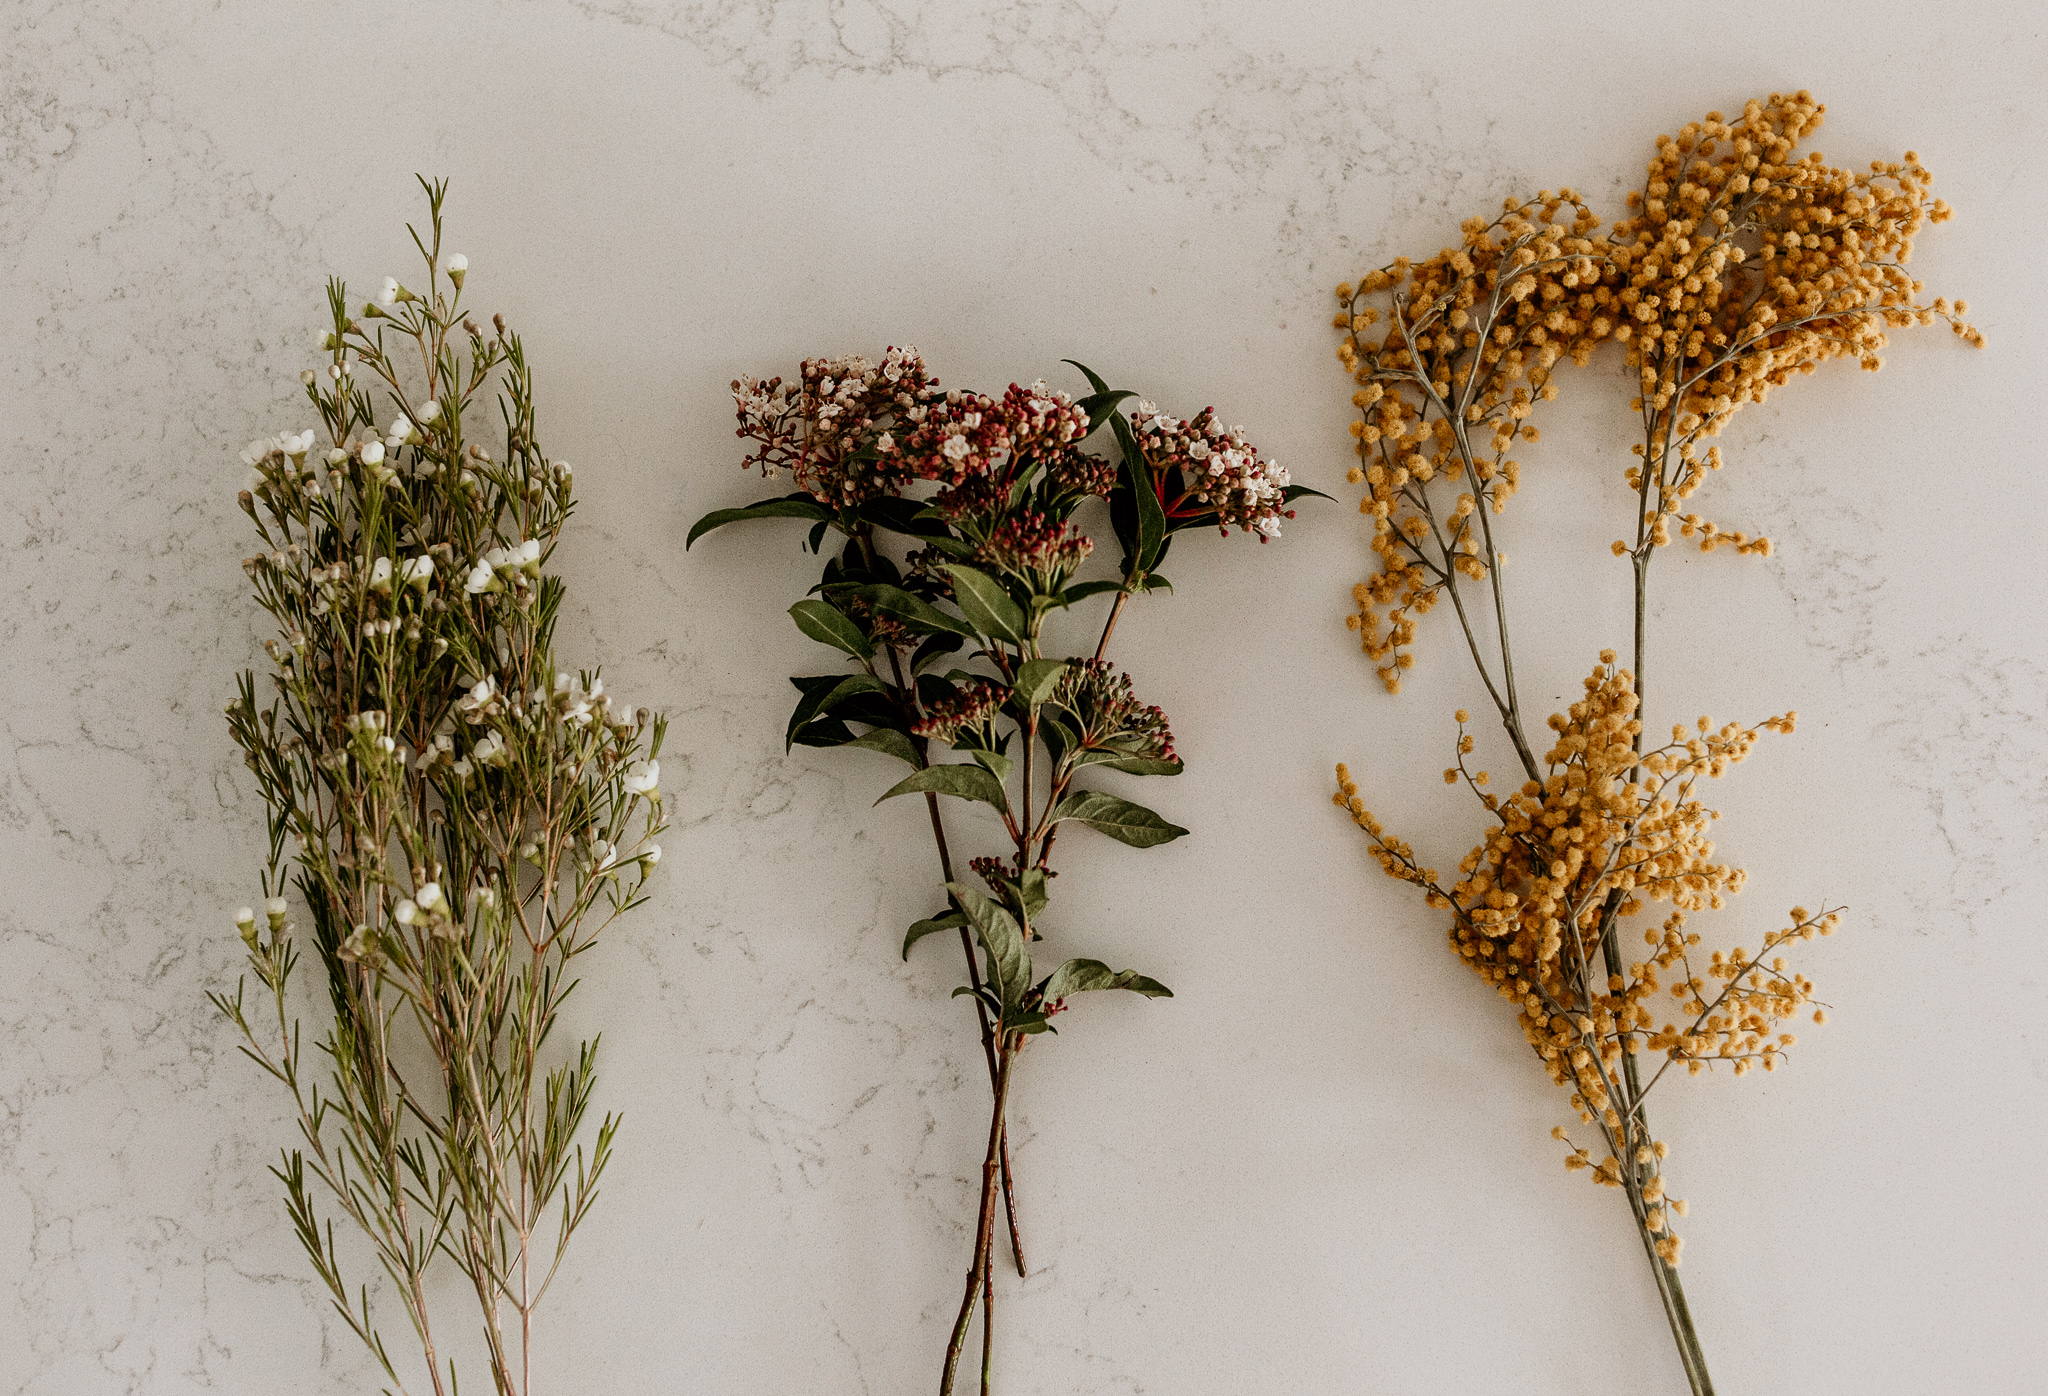
- Waxflowers
- Flowering Acacia
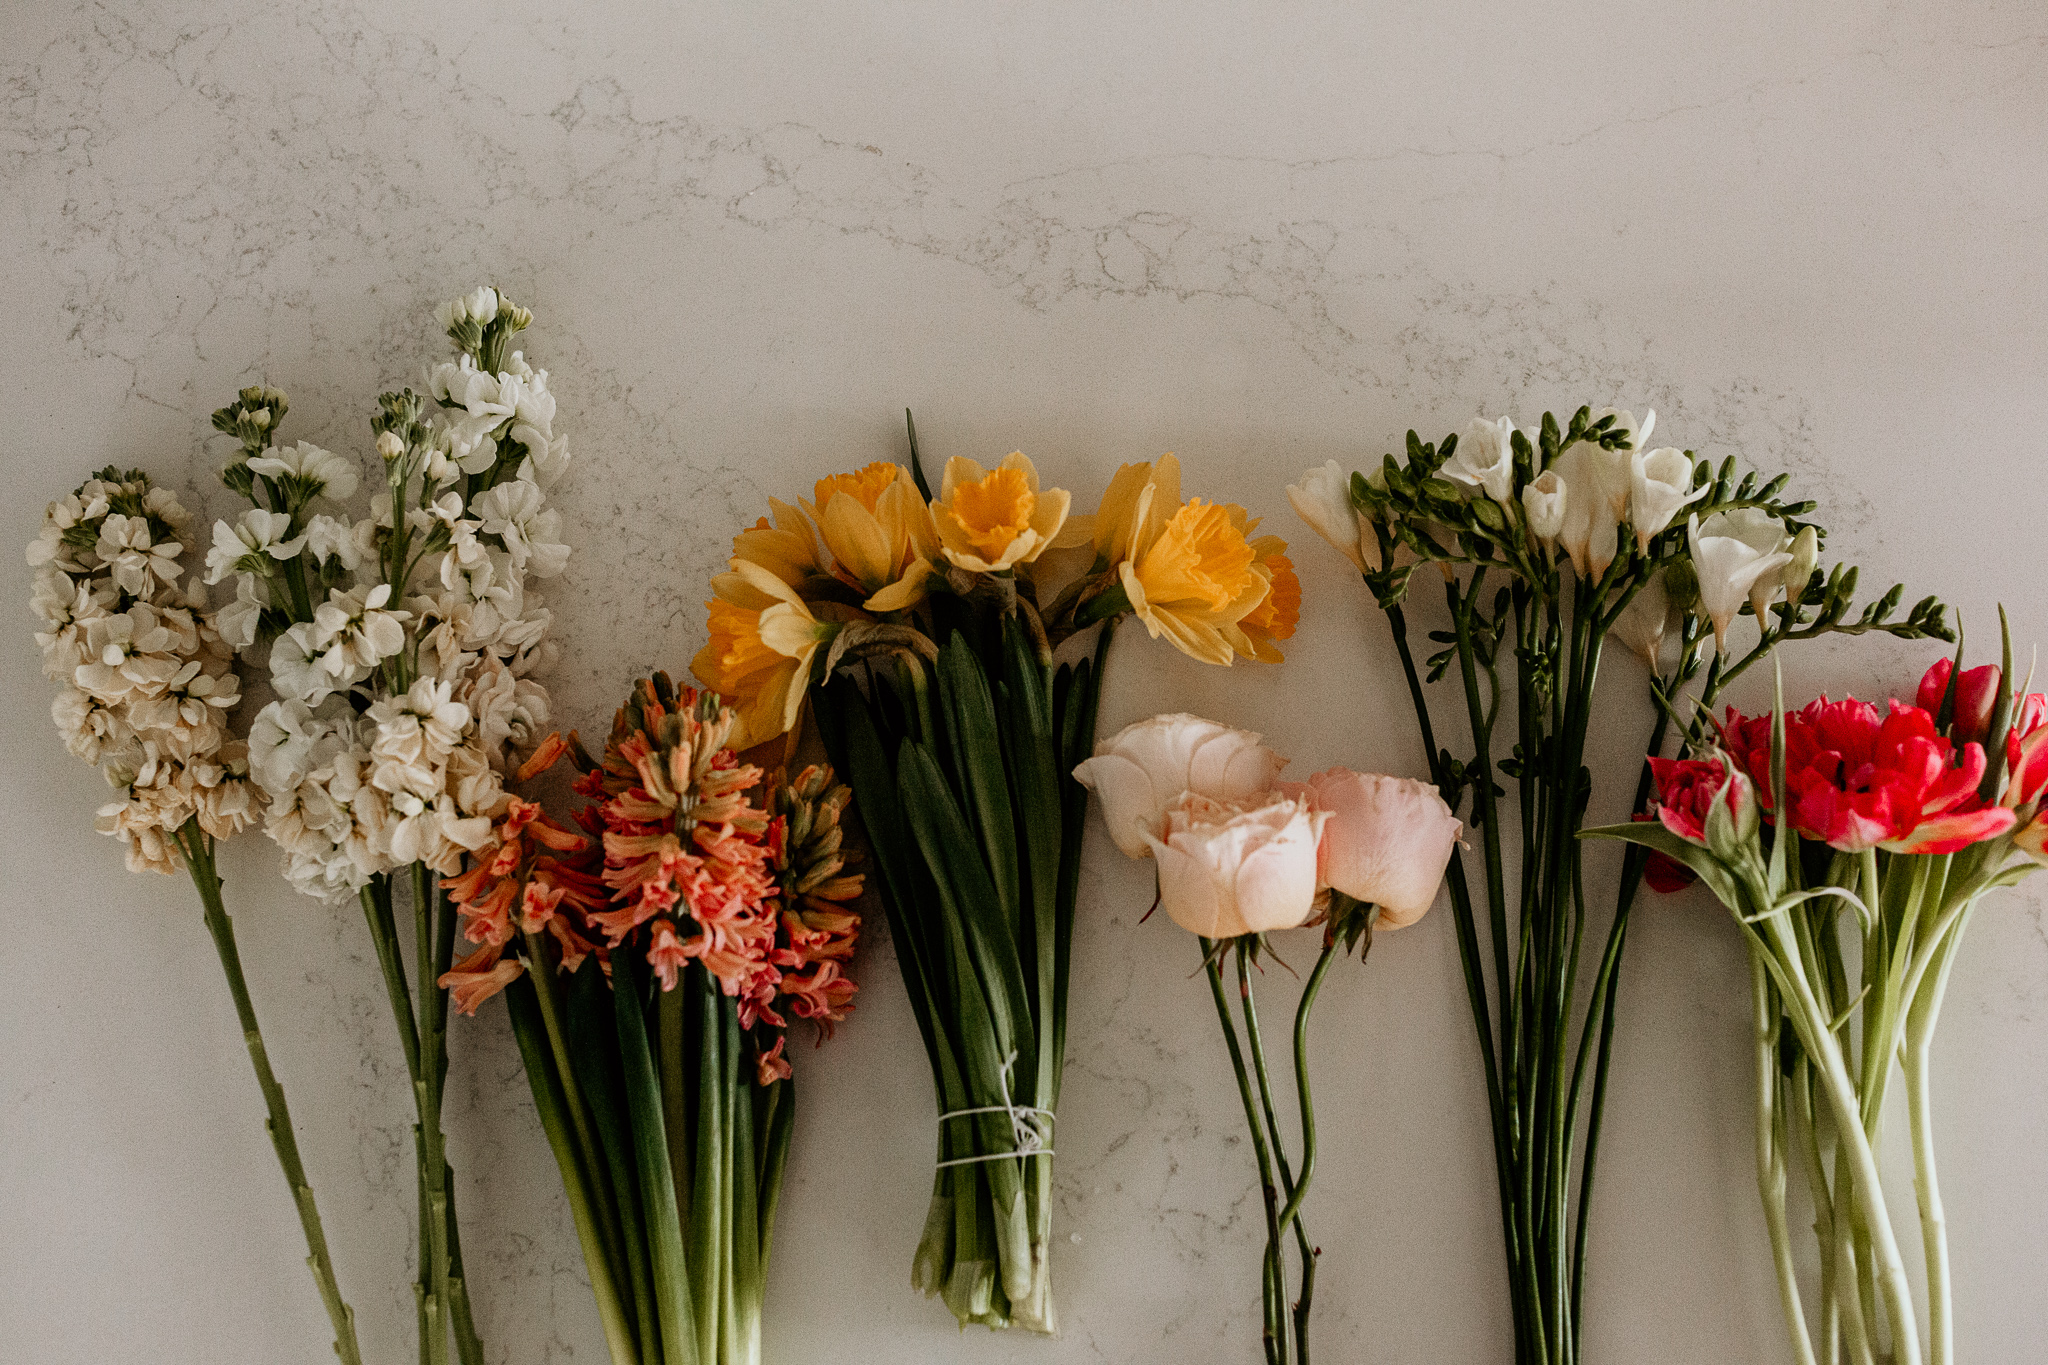
- Freesia
- Carnations
- Garden Roses
- Hyacinths
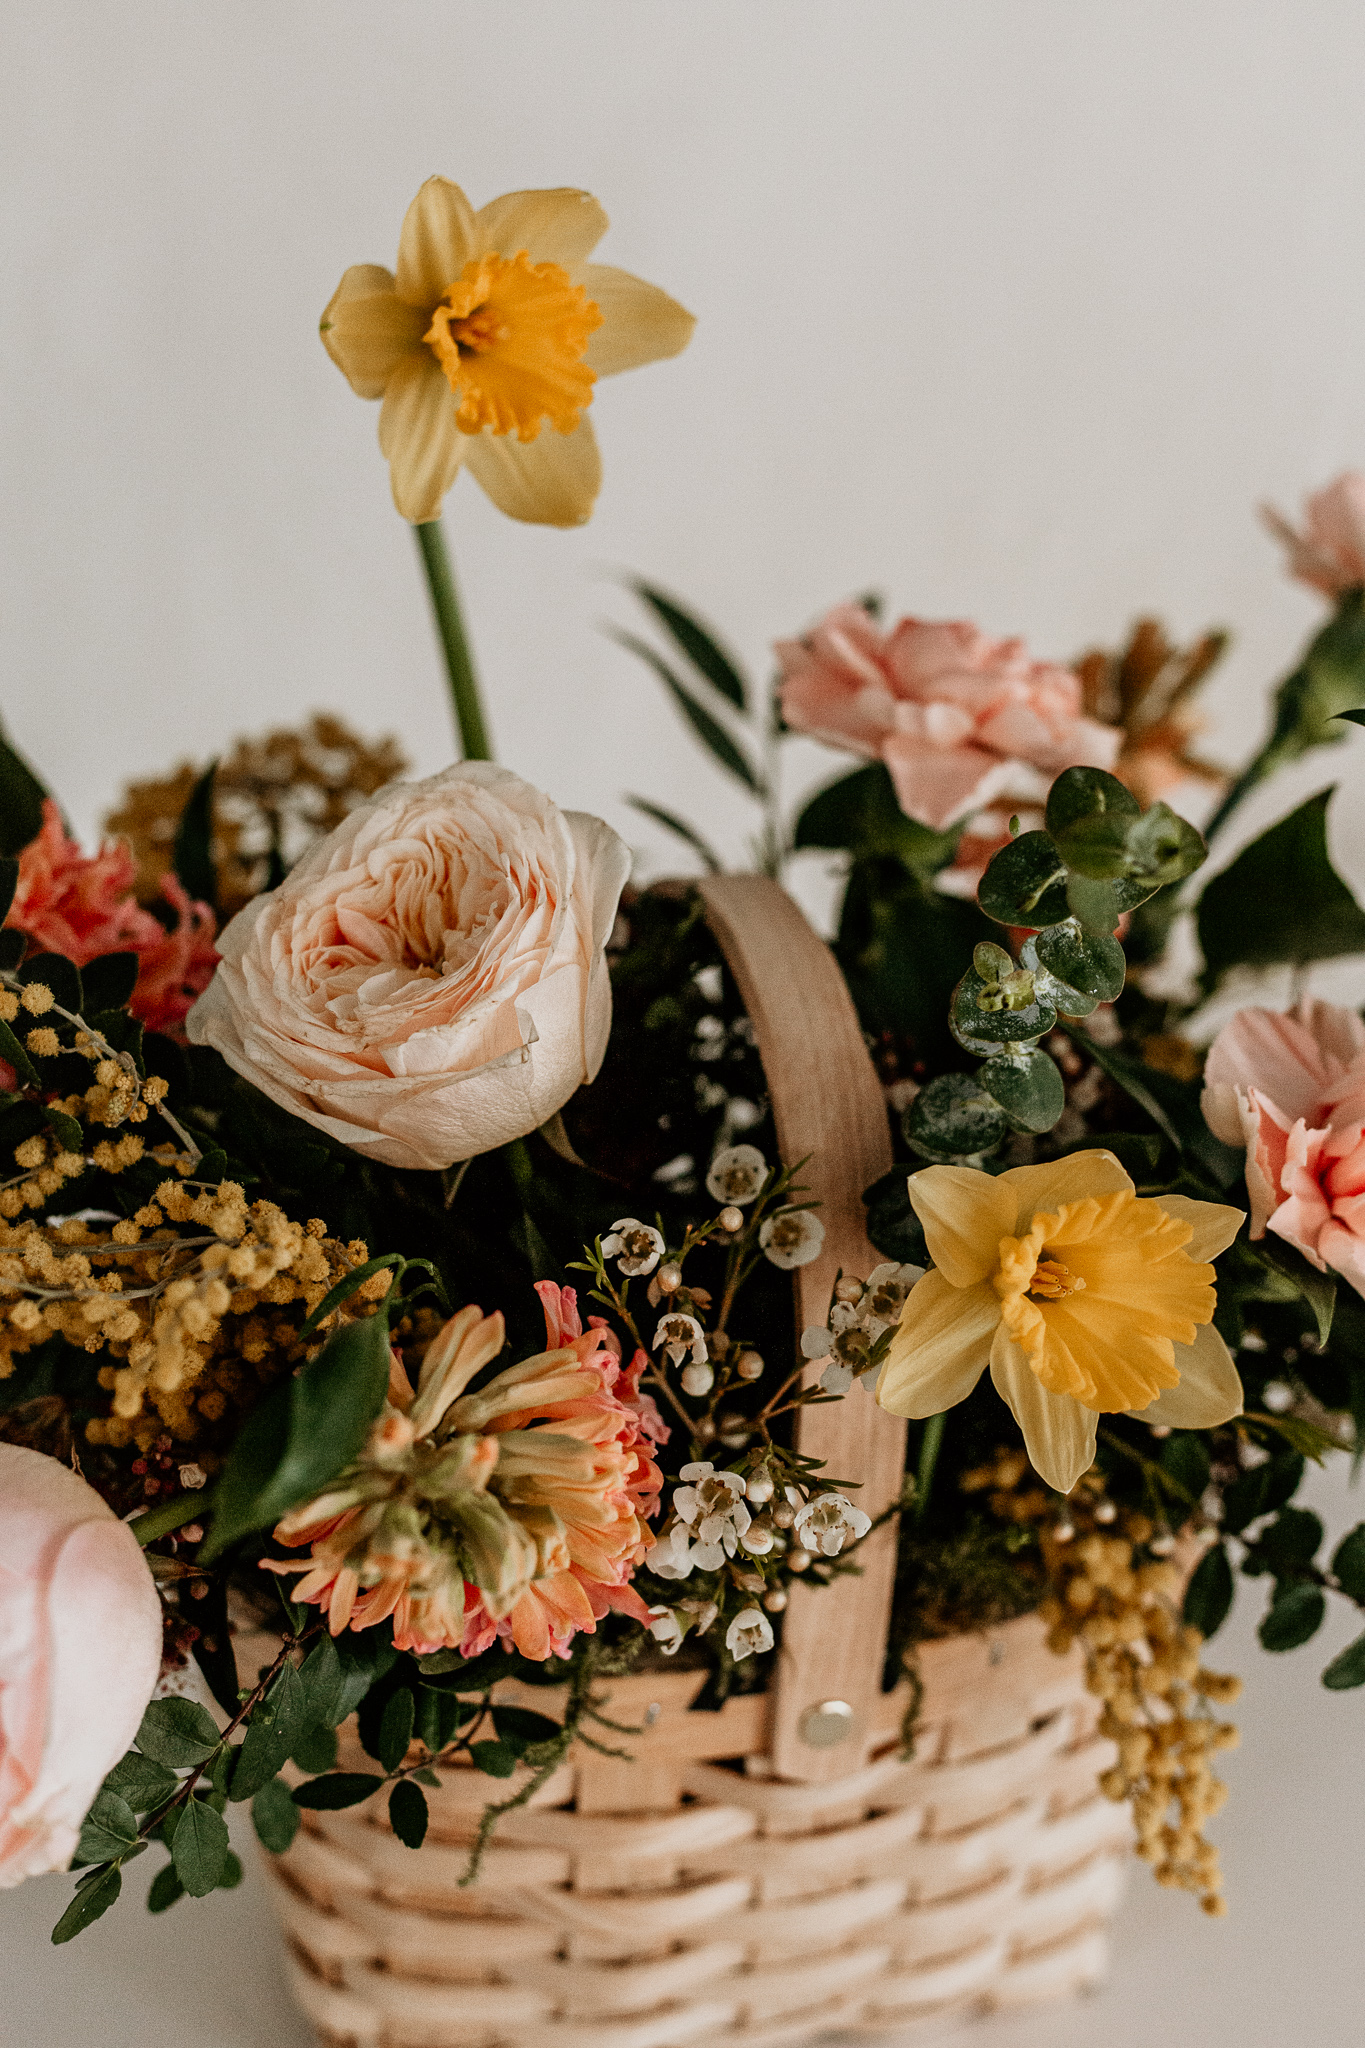
- Daffodils
- Stock
- Tulips
Your Base
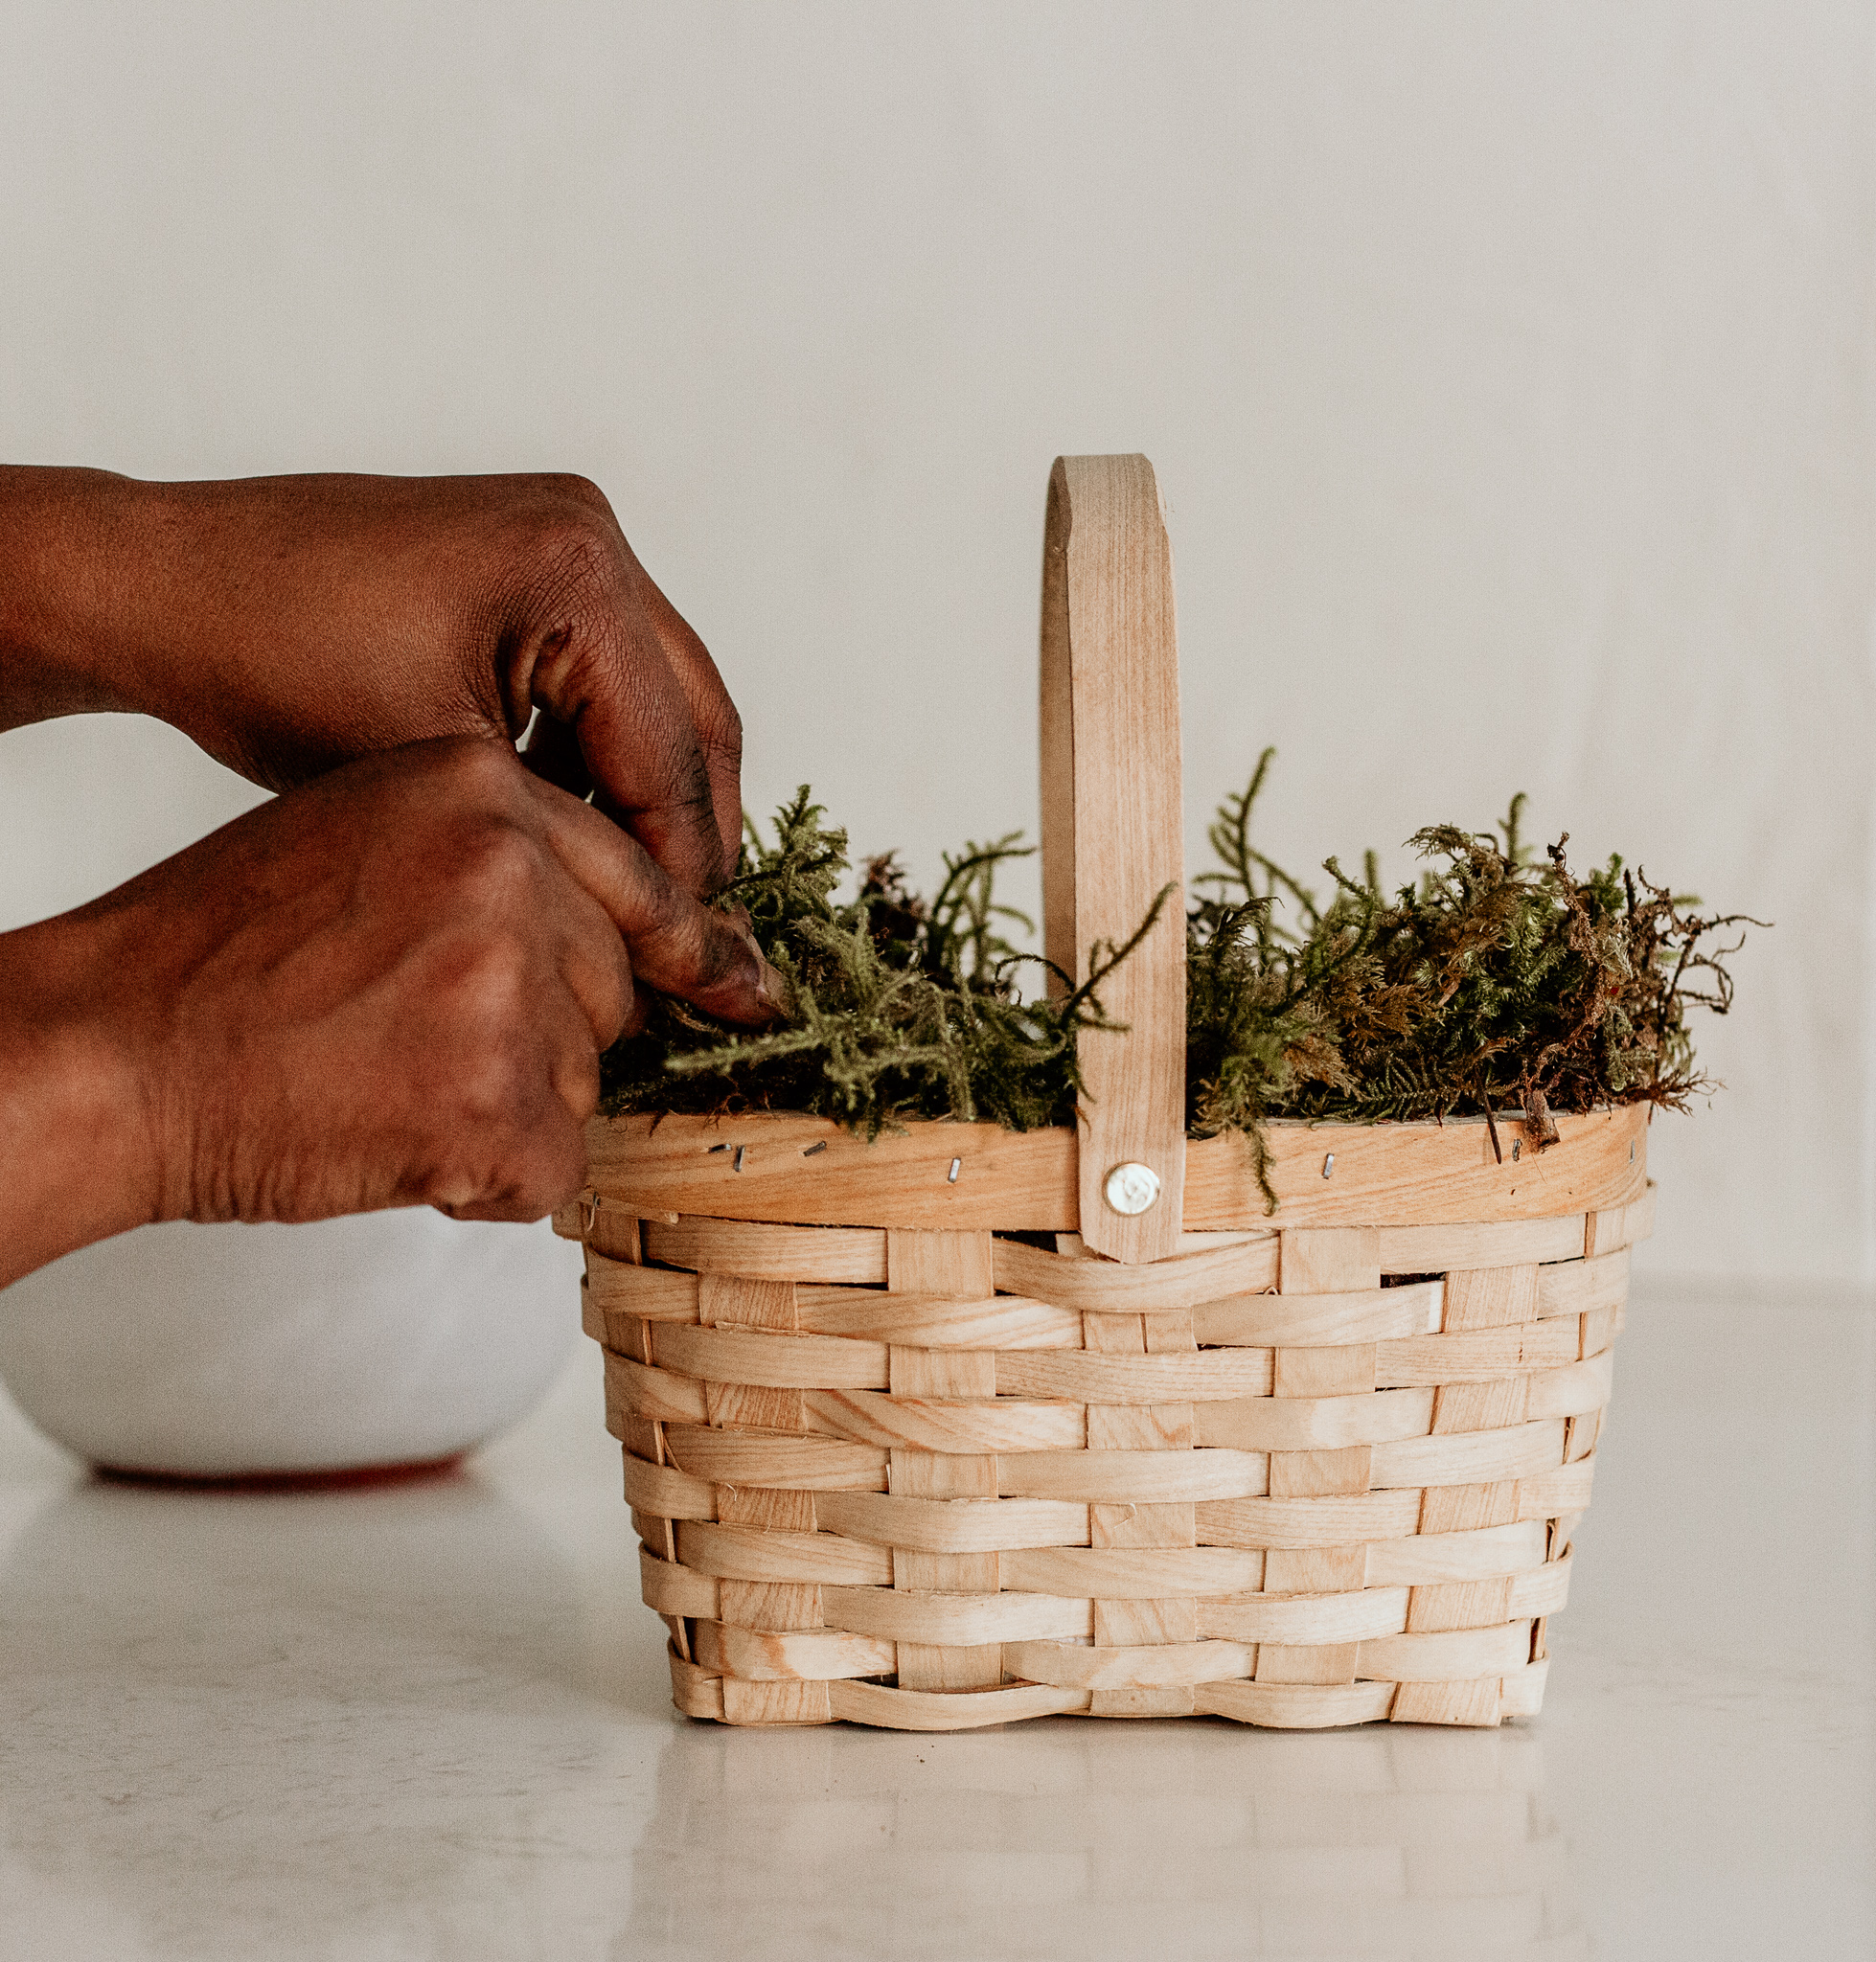
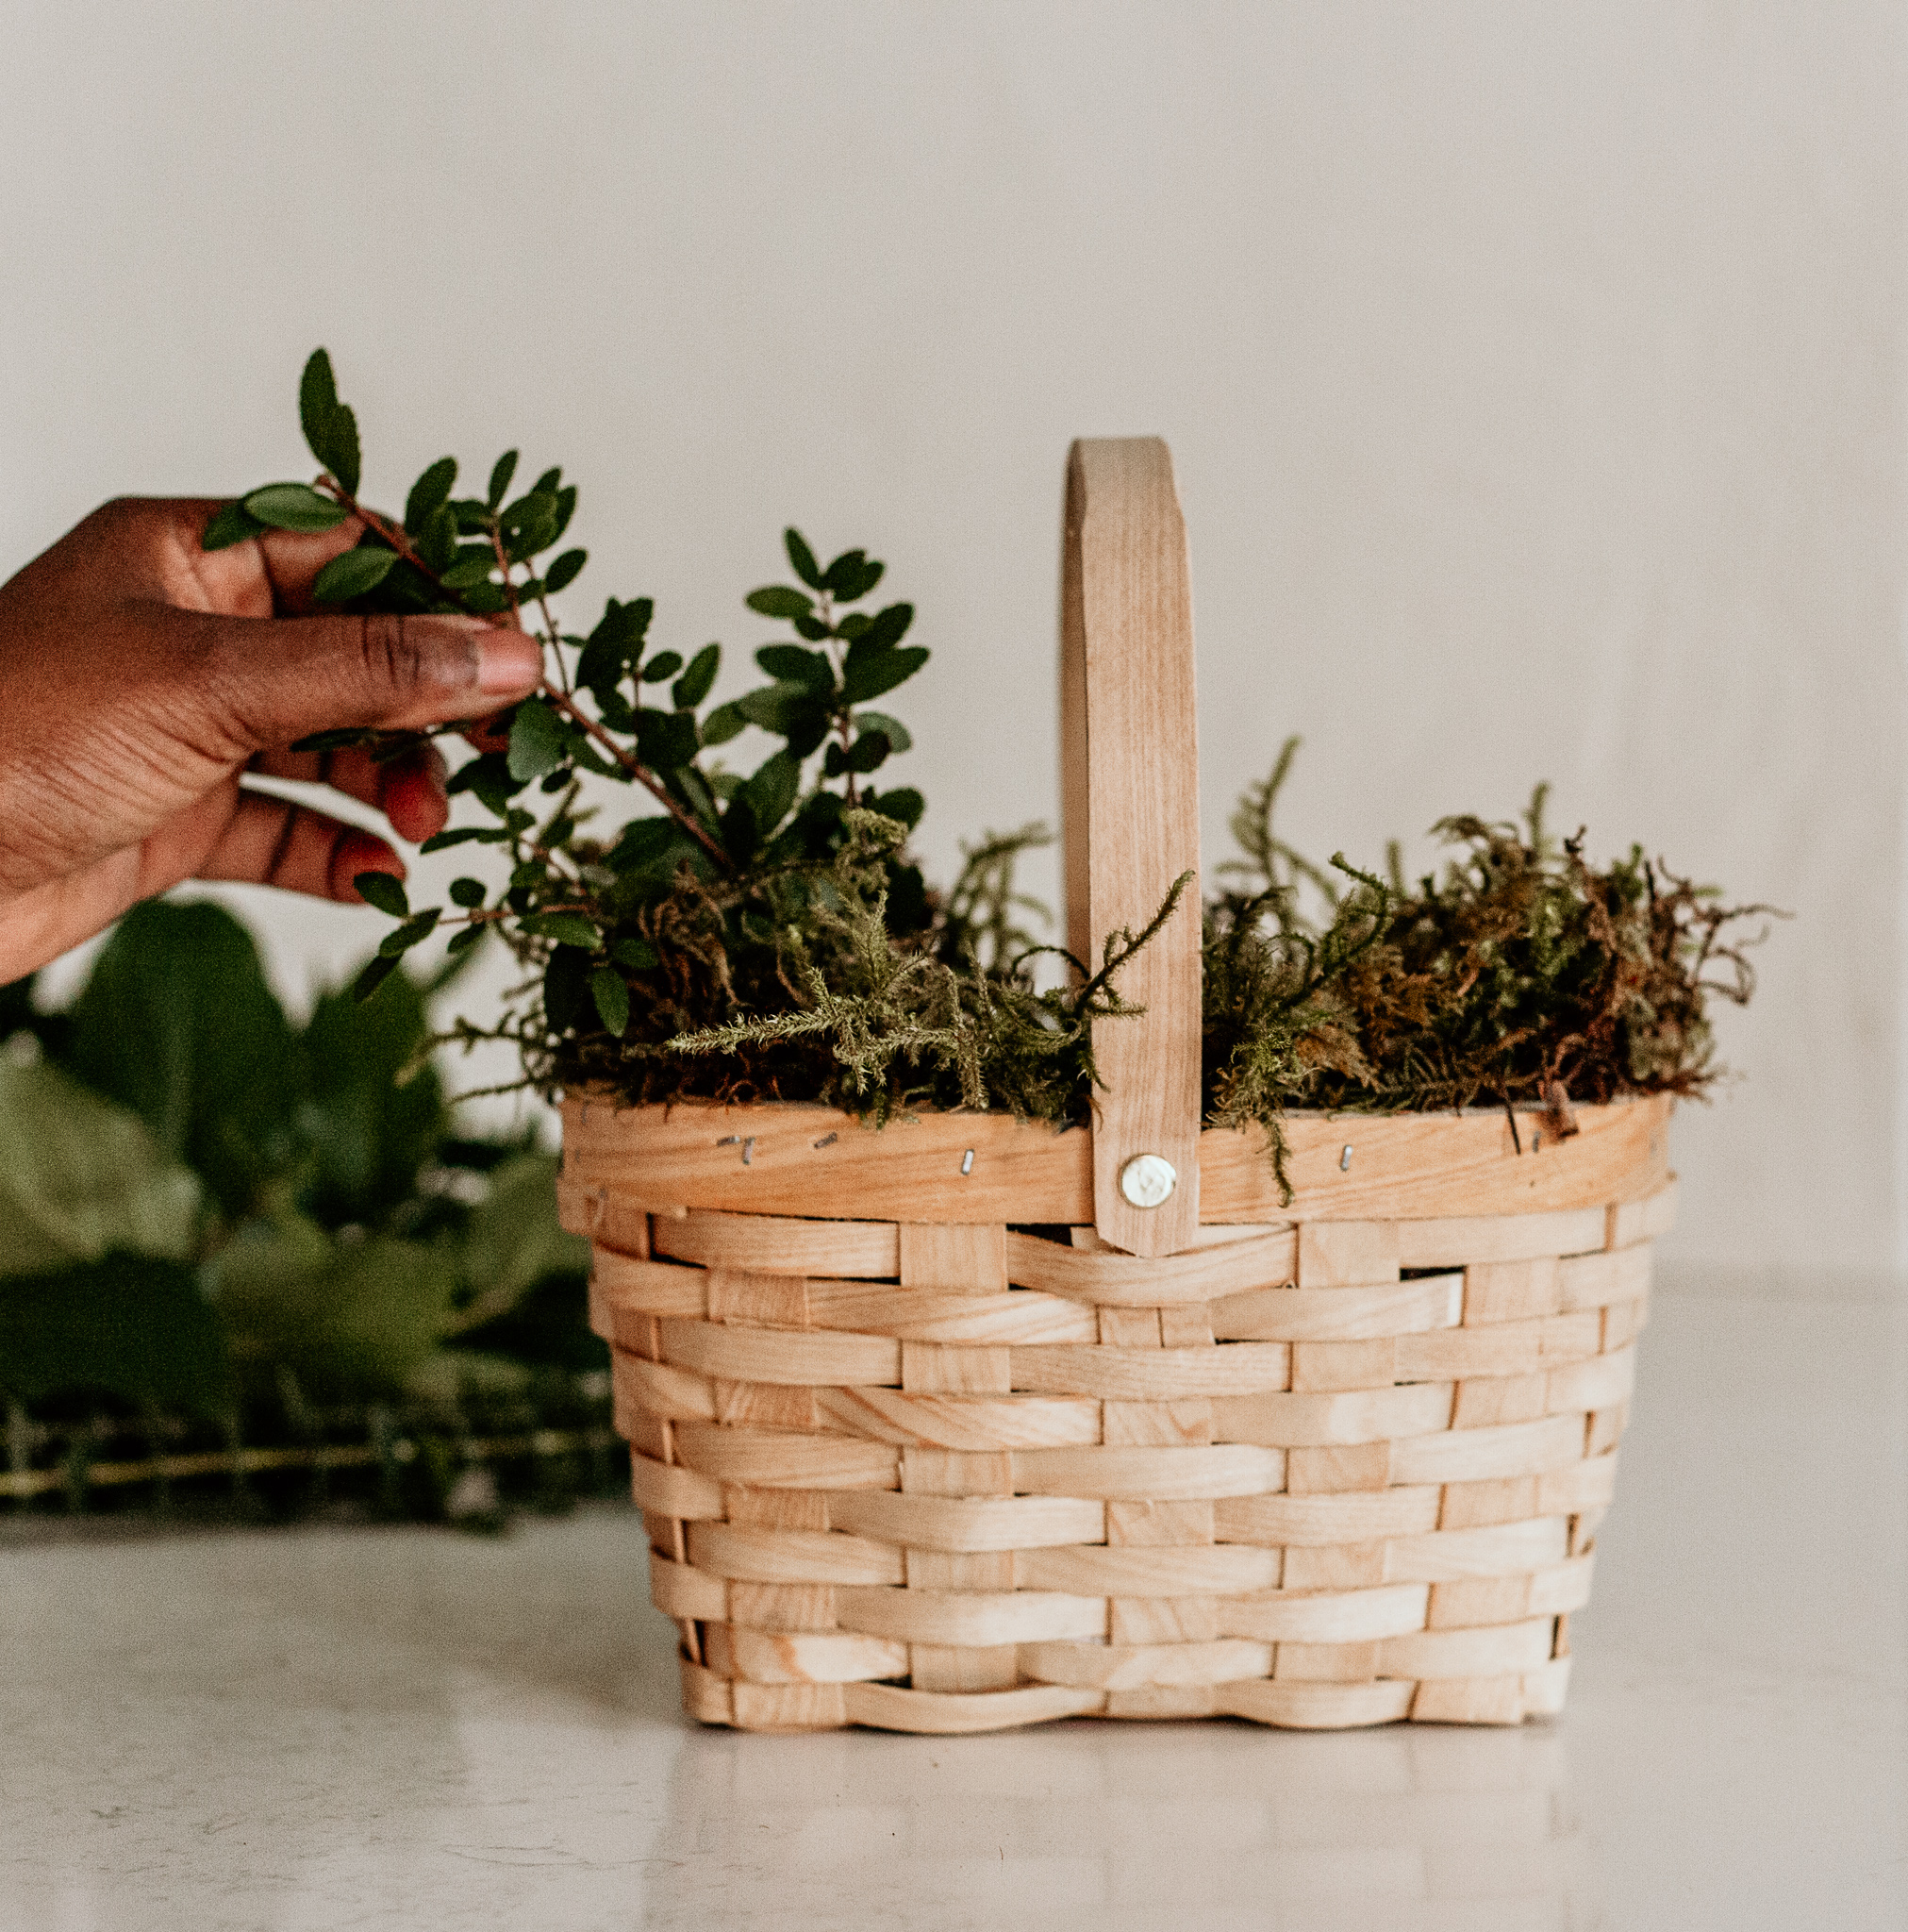
Mould the chicken wire into the pot and use waterproof floral tape to secure it. I suggest going across a couple of times then fill the pot with water.
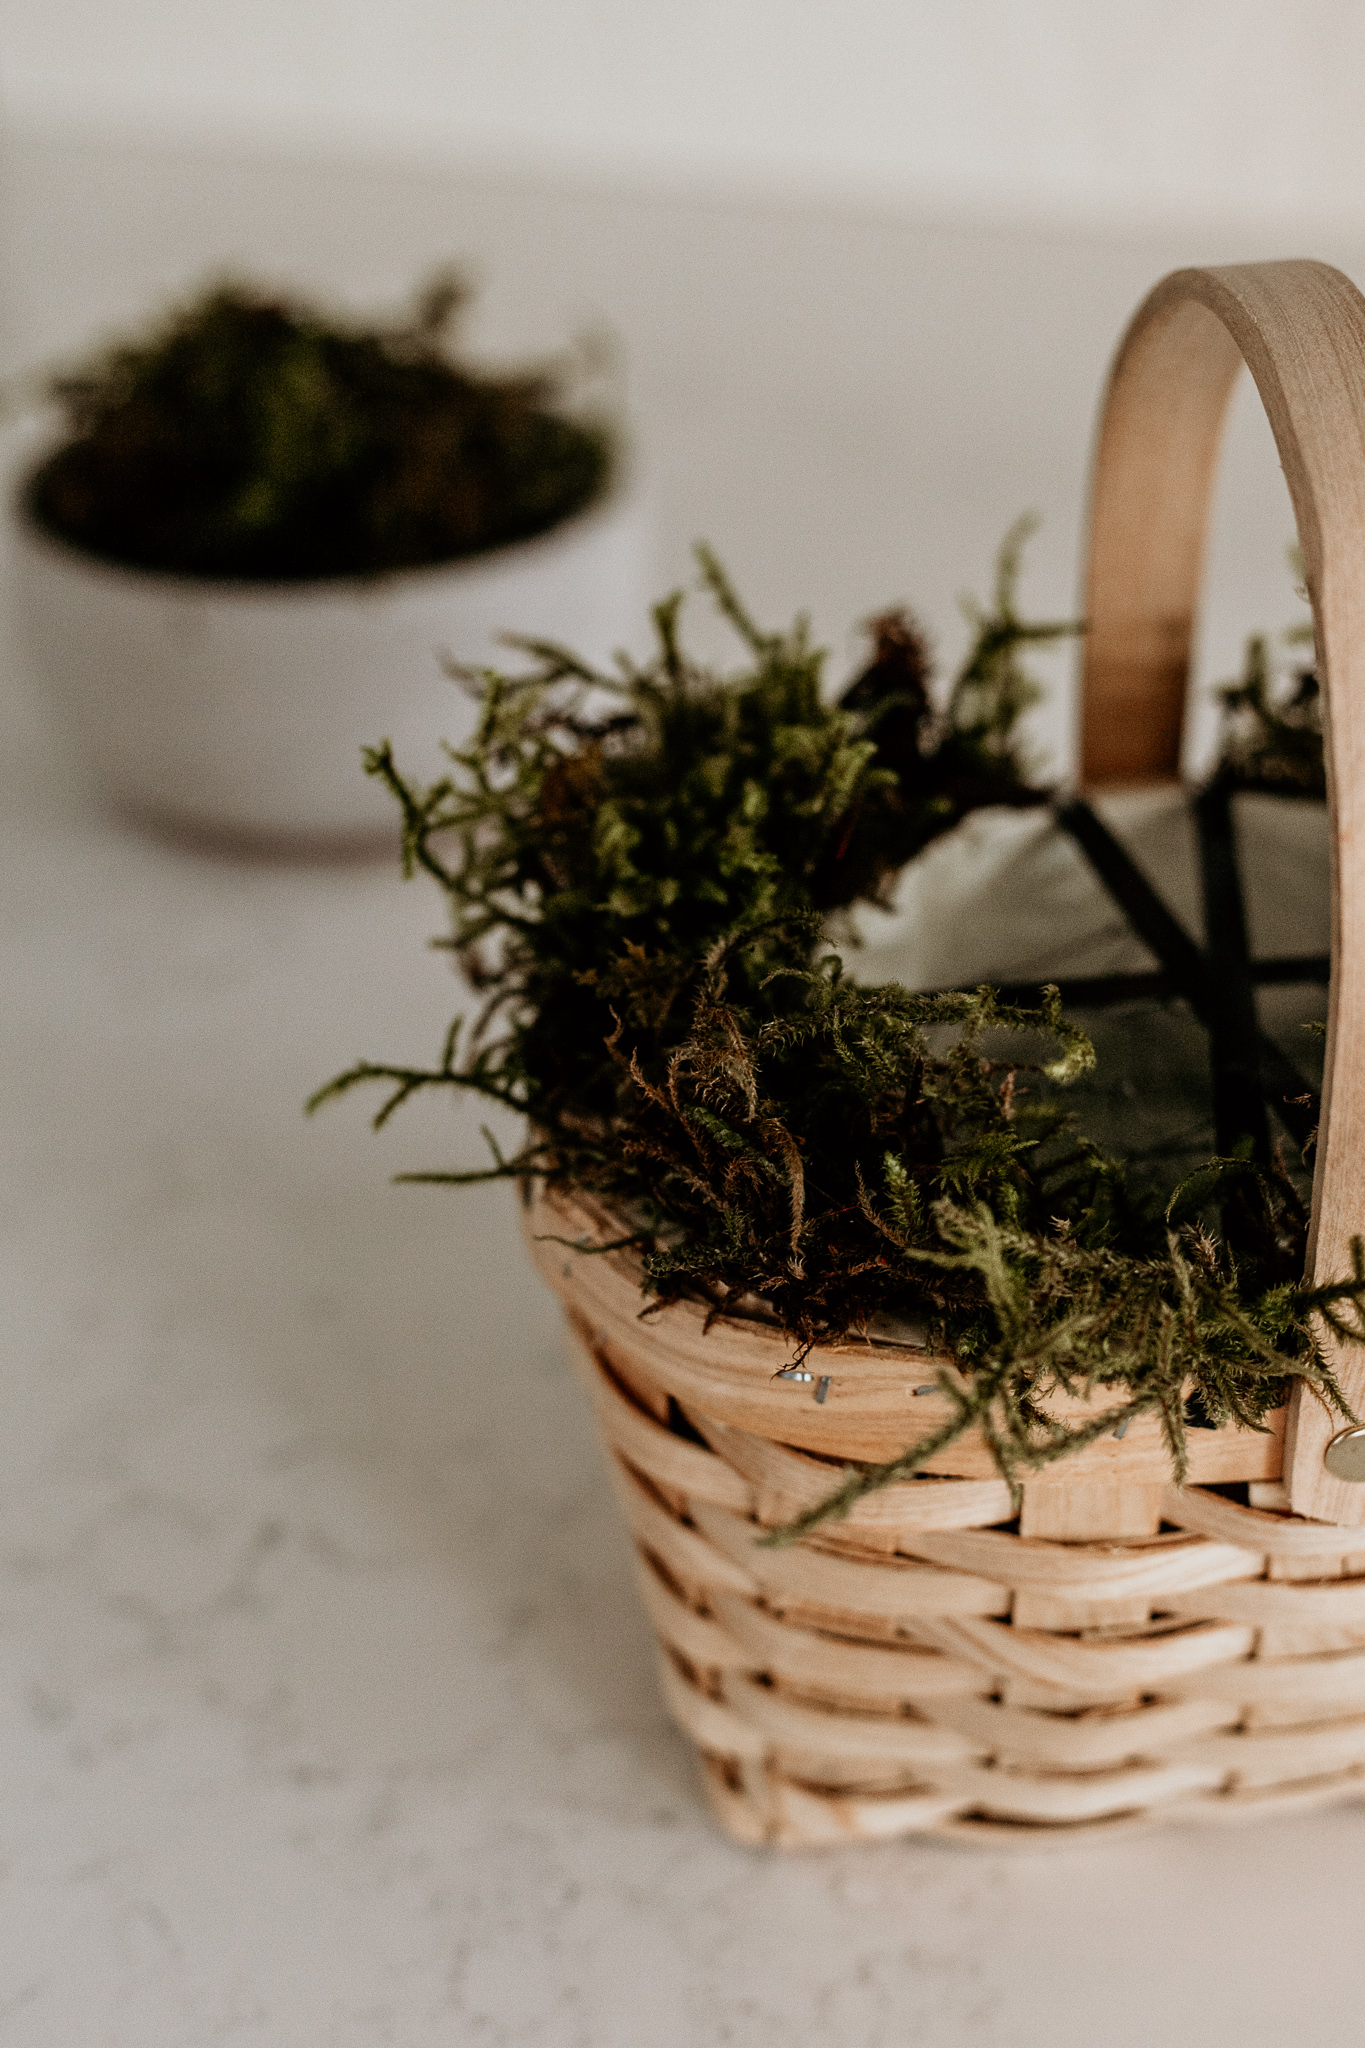
Once I place the pot in the basket, I insert fresh moss between the two to fill the gap. It gives it an organic look, which I love, but it also hides the mechanics. You can use preserved moss as well; be careful not to leave moss residue in your water.
Adding Your Greenery
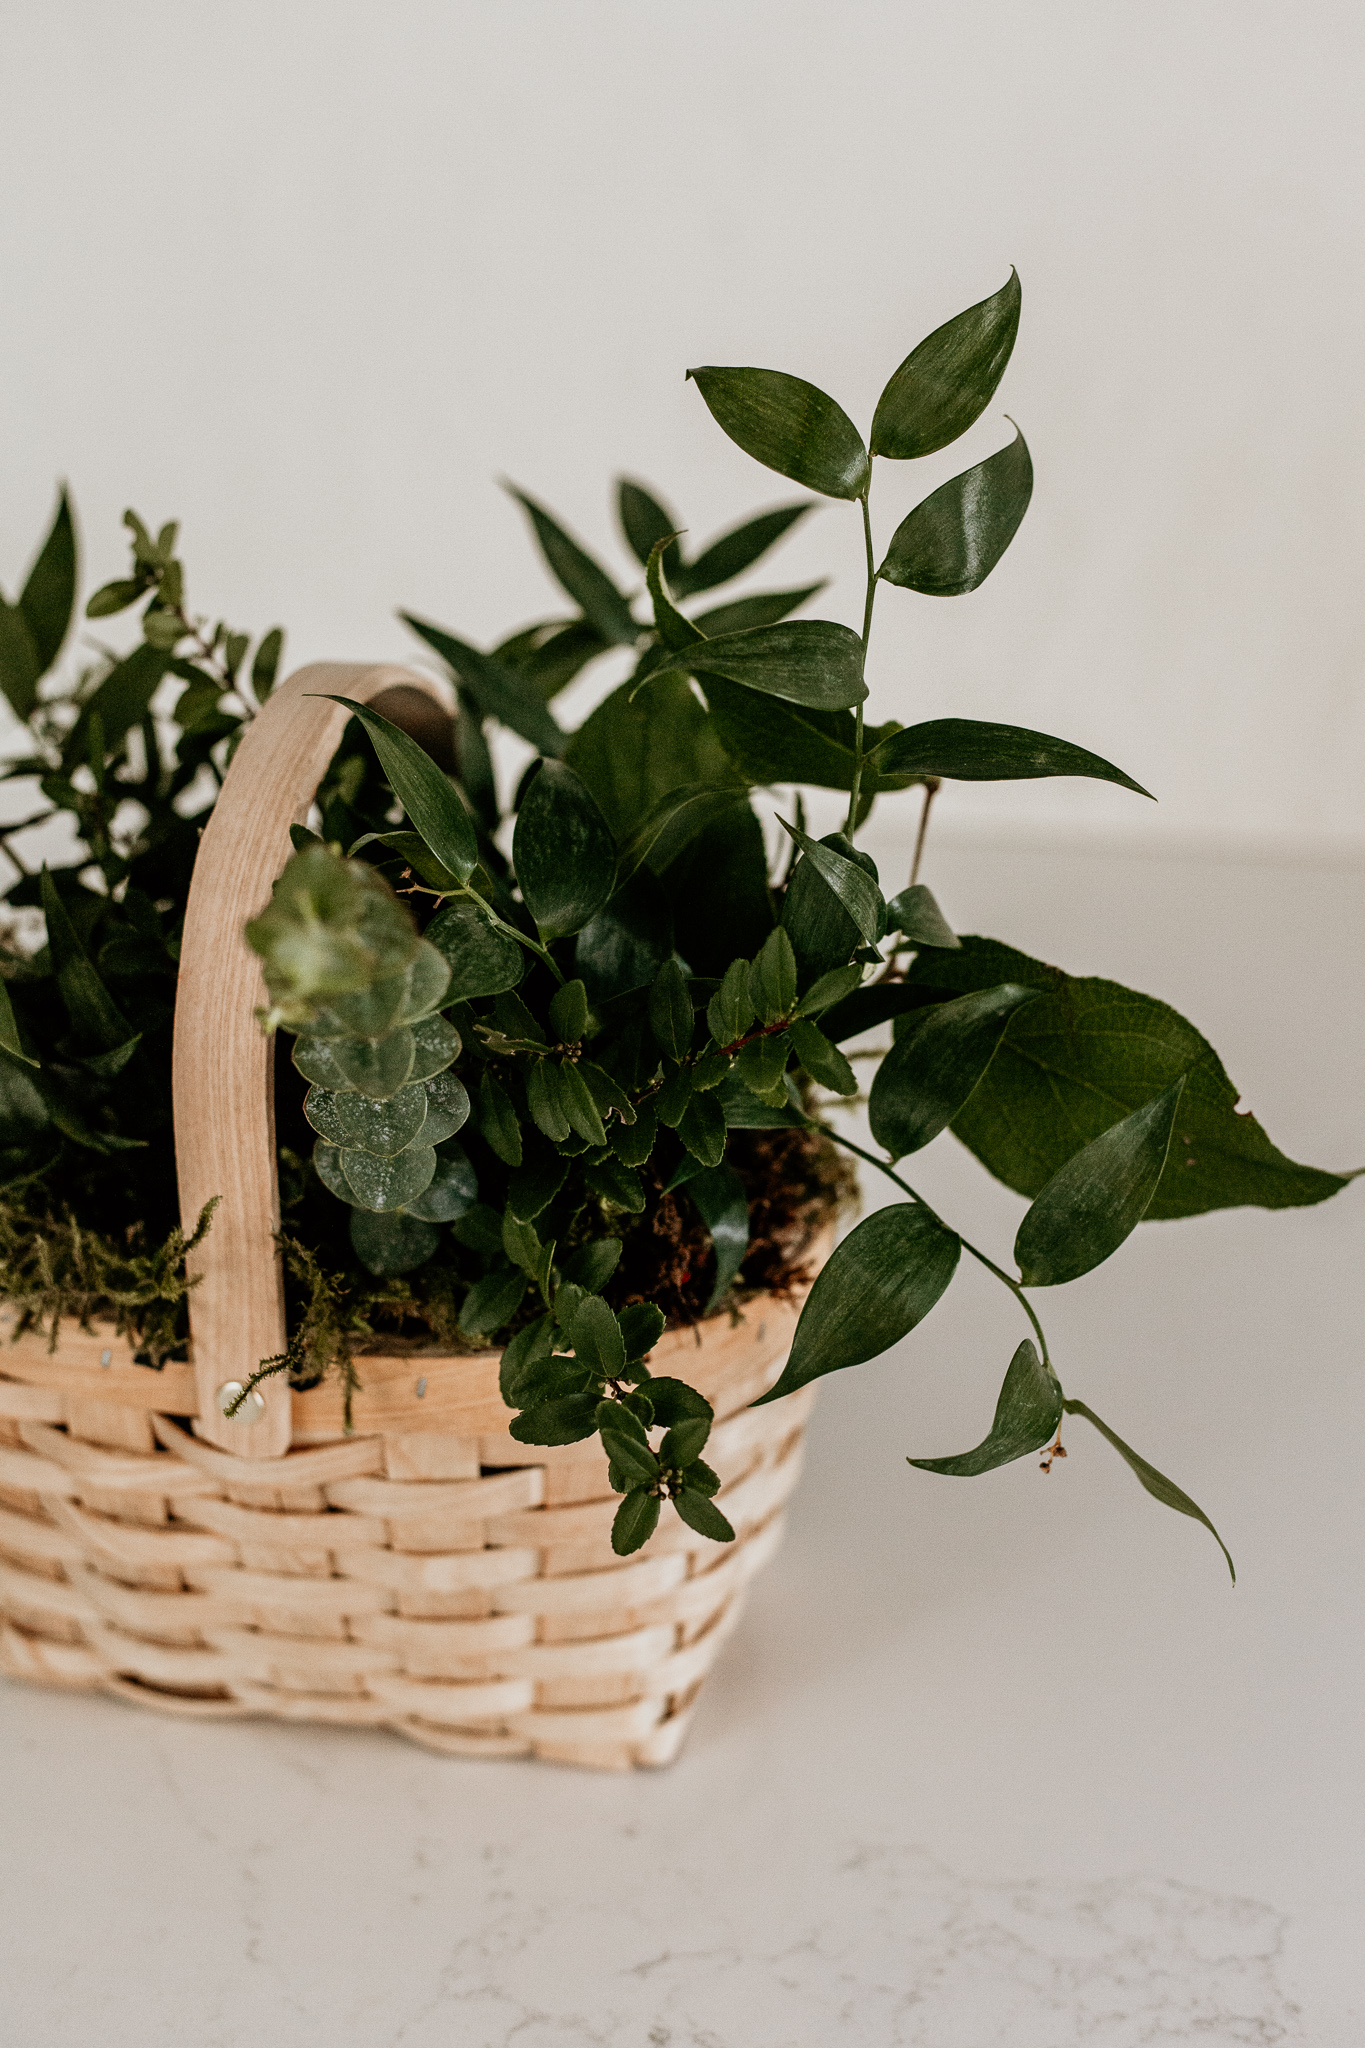
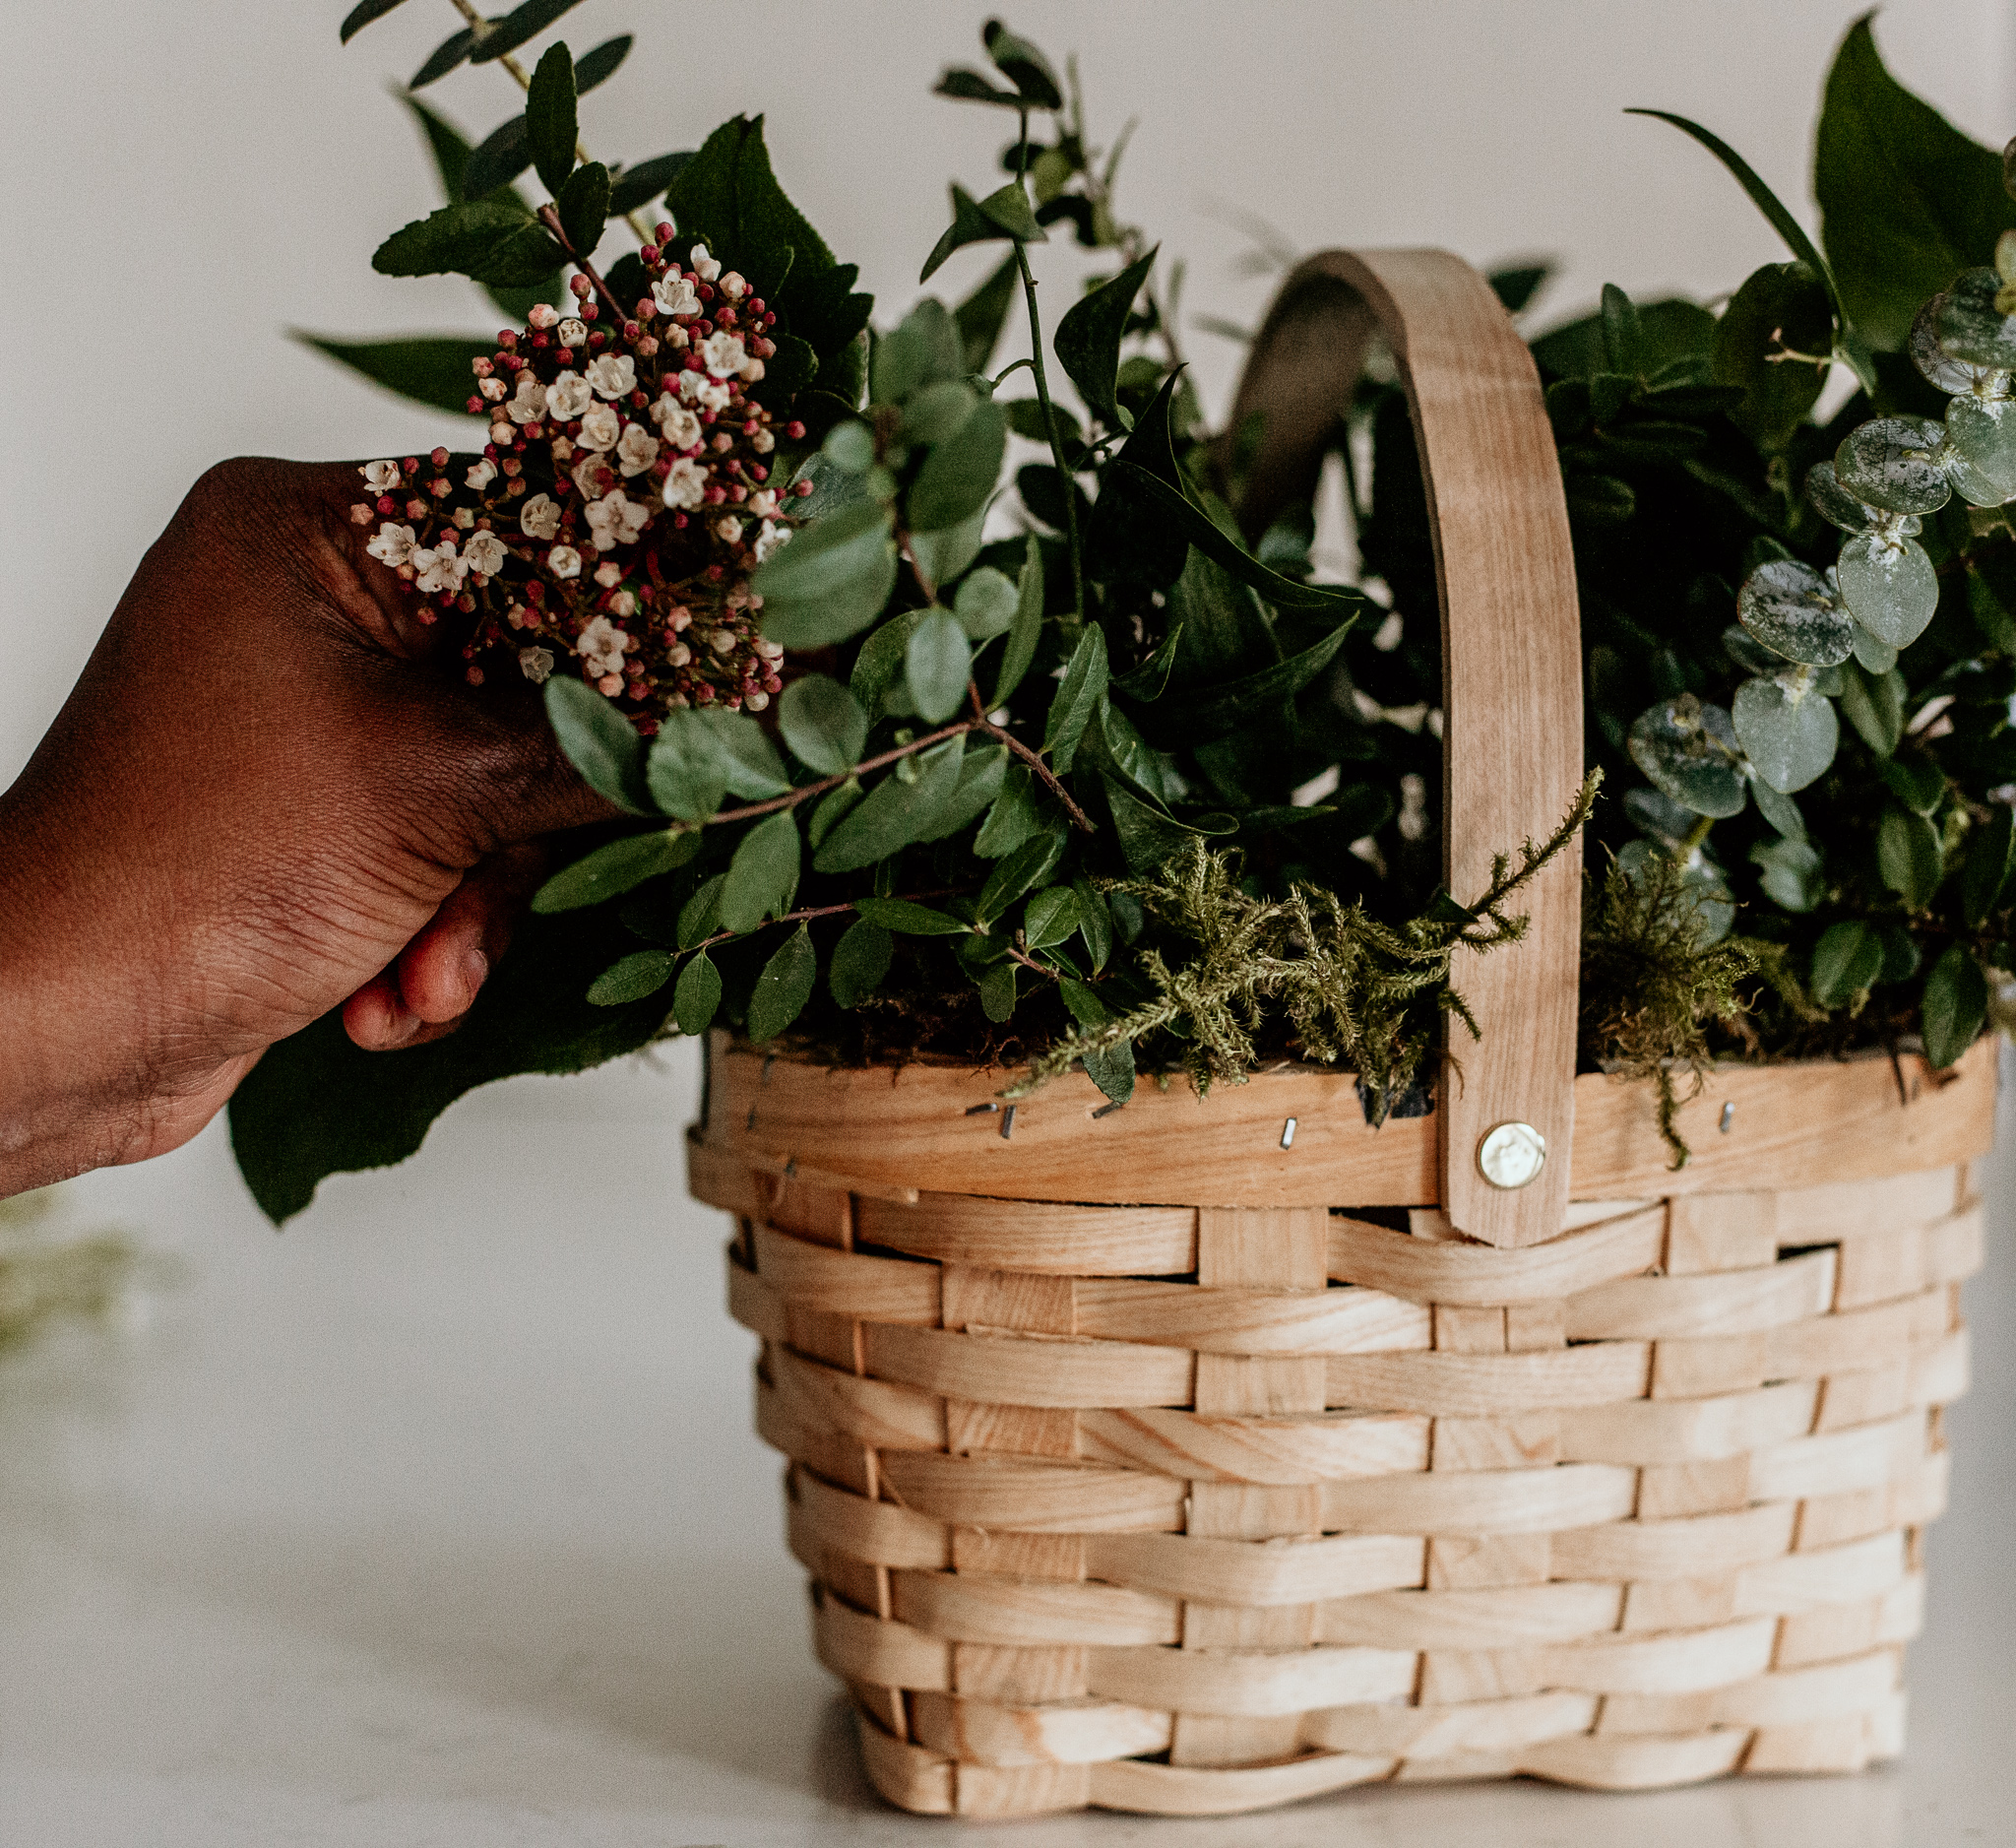
I like having different types of greenery handy. Sometimes, I’ll forage some in my backyard. It gives your arrangement some depth and texture. I’m starting with boxwood, then adding Italian ruscus and eucalyptus. Other good alternatives available this time of the year are; jasmine vines, huck berry or varigated pittosporum.
Turn your basket around to ensure you are happy with the greenery base from all angles. A little goes a long way; leave some room for fillers and flowers. If you want to add more greenery, do it at the end.
Filling Your Arrangement
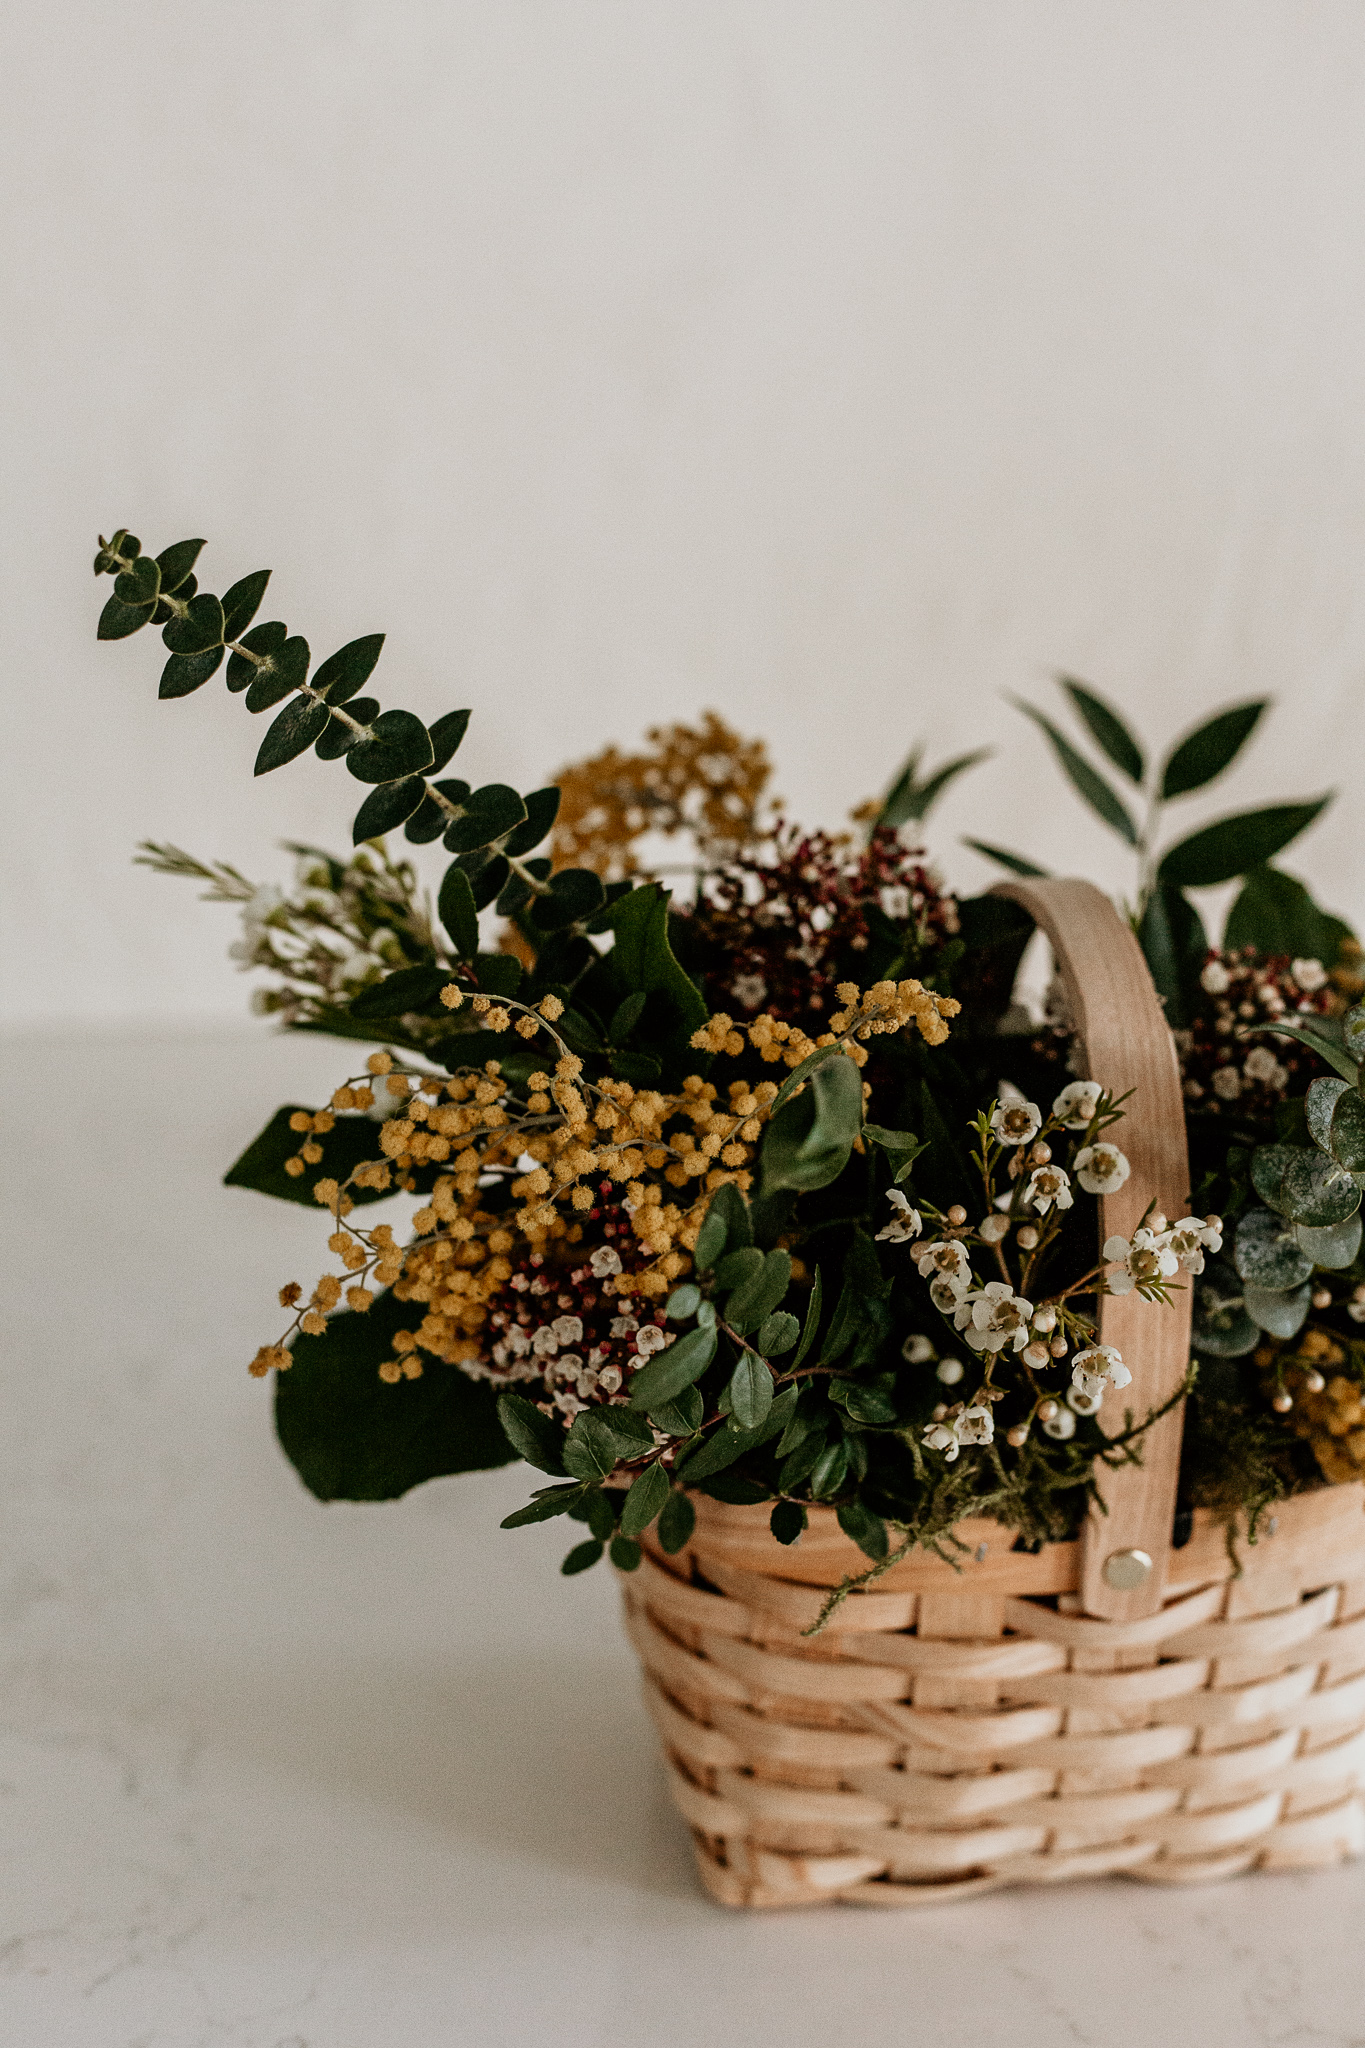
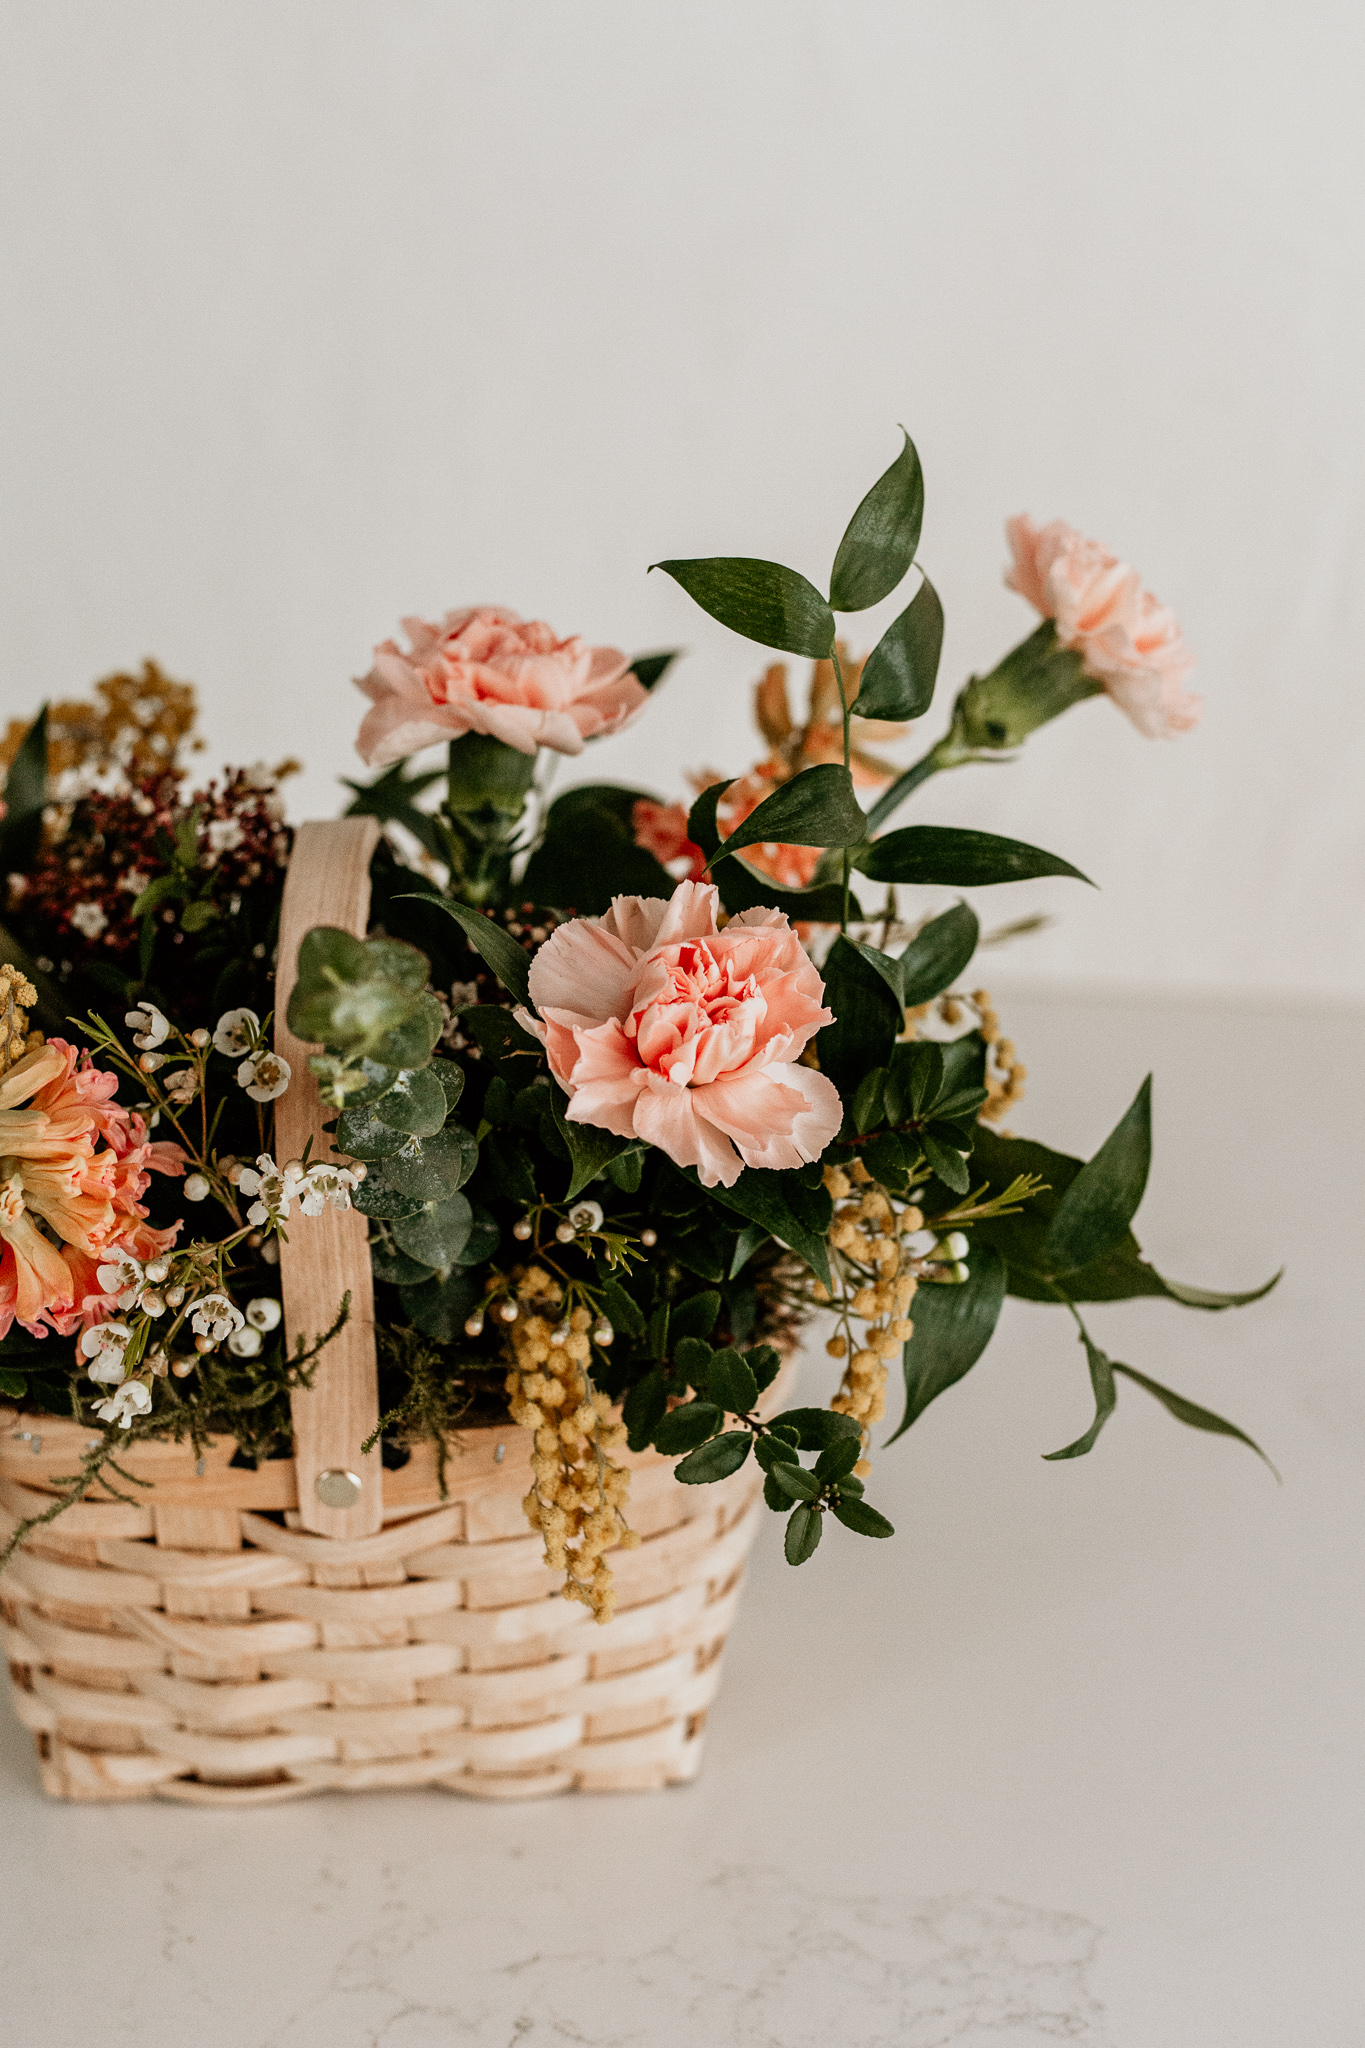
For filler flowers, I wanted a bright colour and a more subtle colour. I went with flowering acacia and waxflower. It brings in vibrance, and the small clusters give it a whimsical look.
I’d suggest adding 4 to 6 stems of filler flowers not to overpower the greenery base.
Finishing With Your Flowers
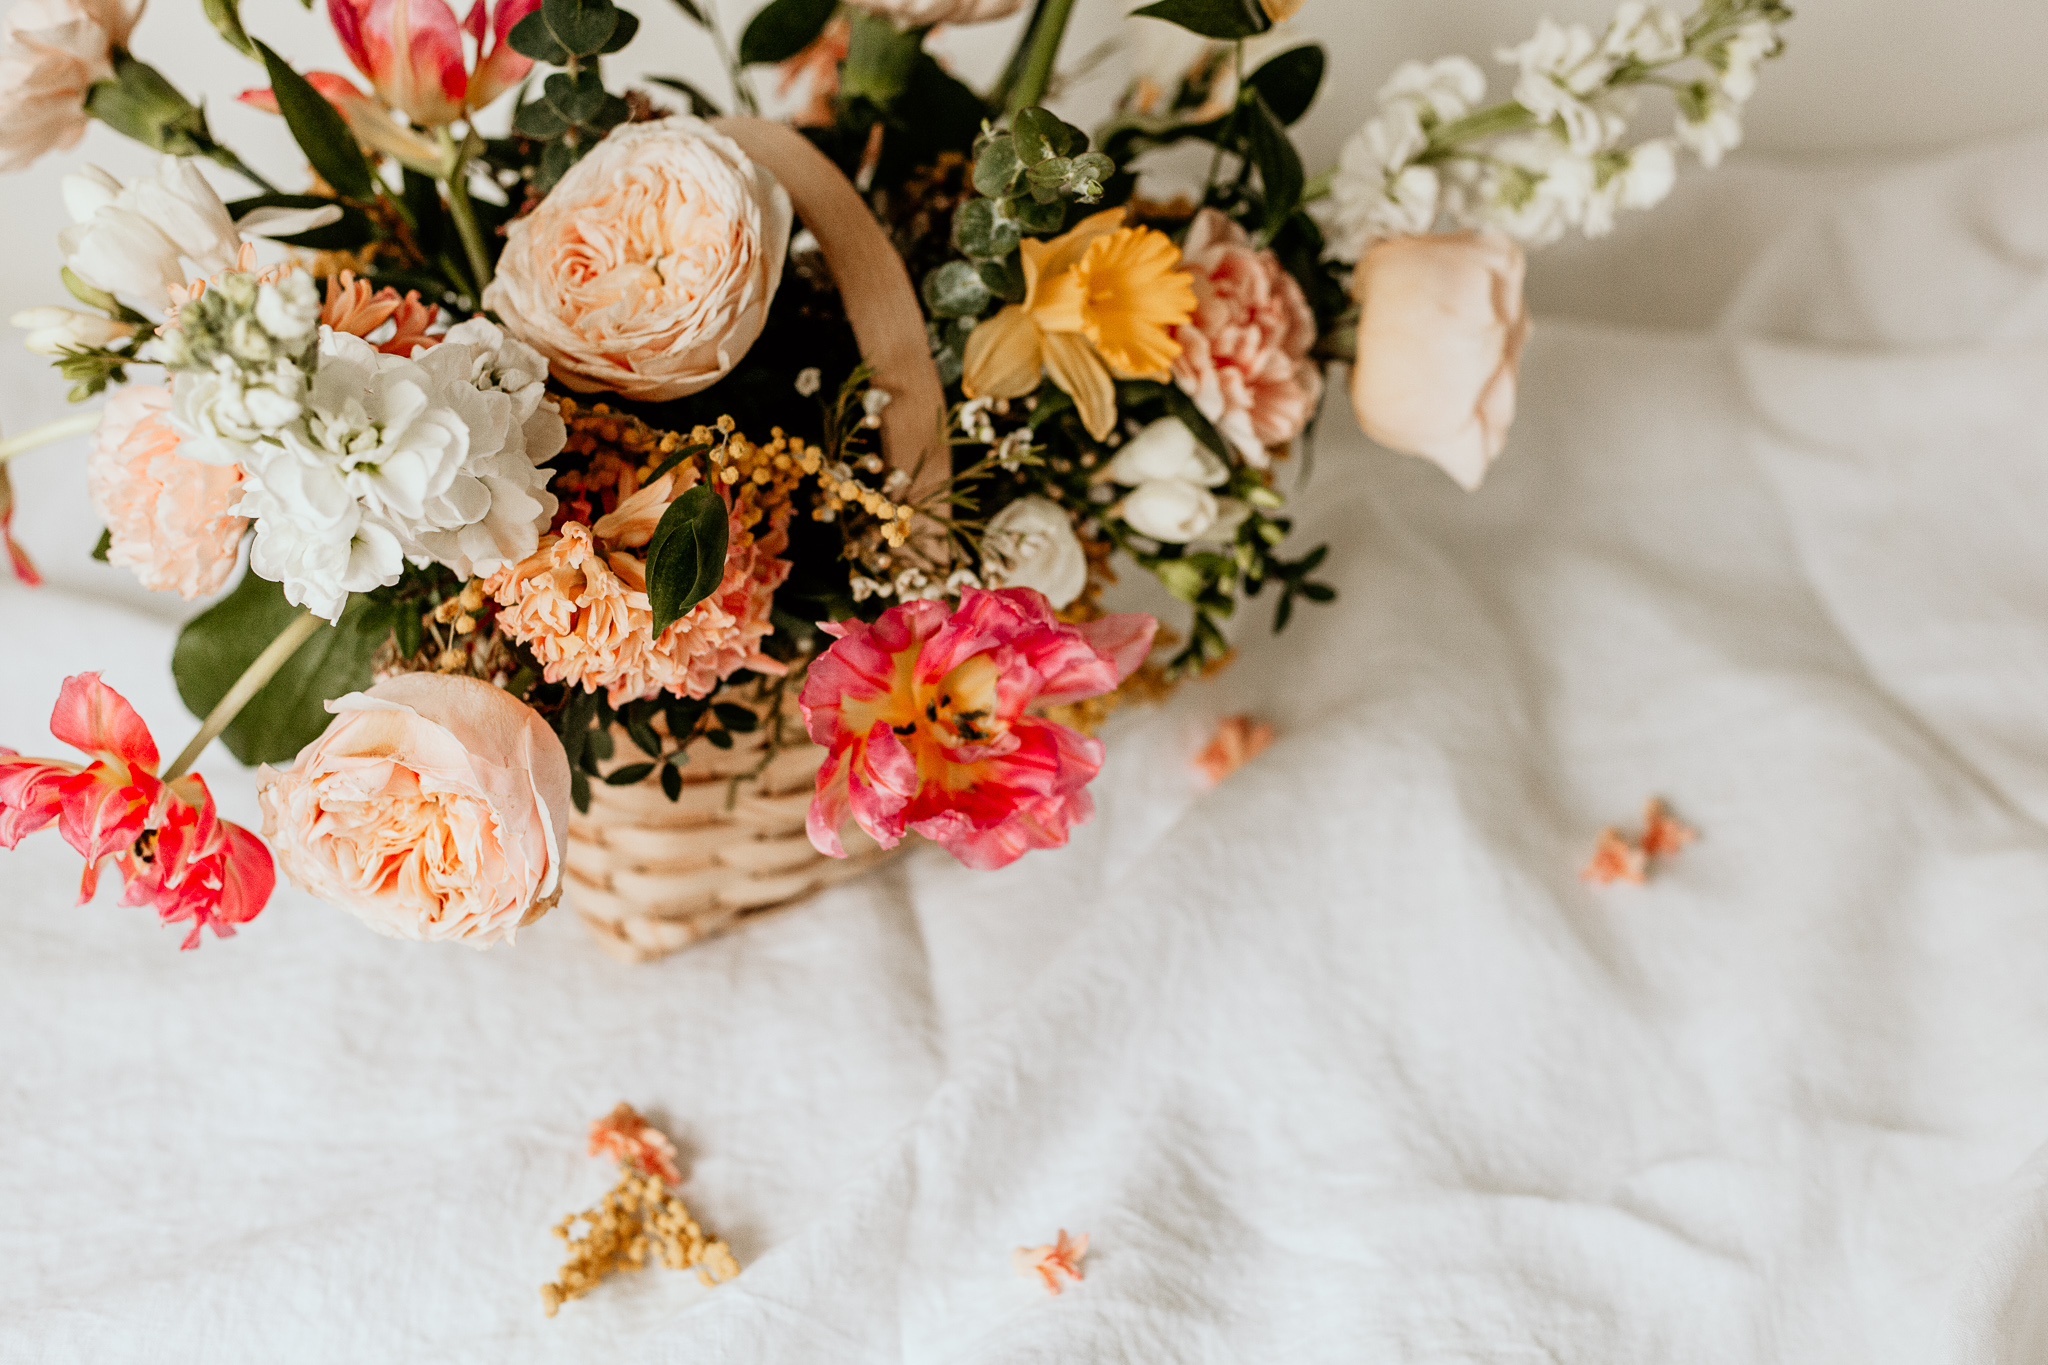
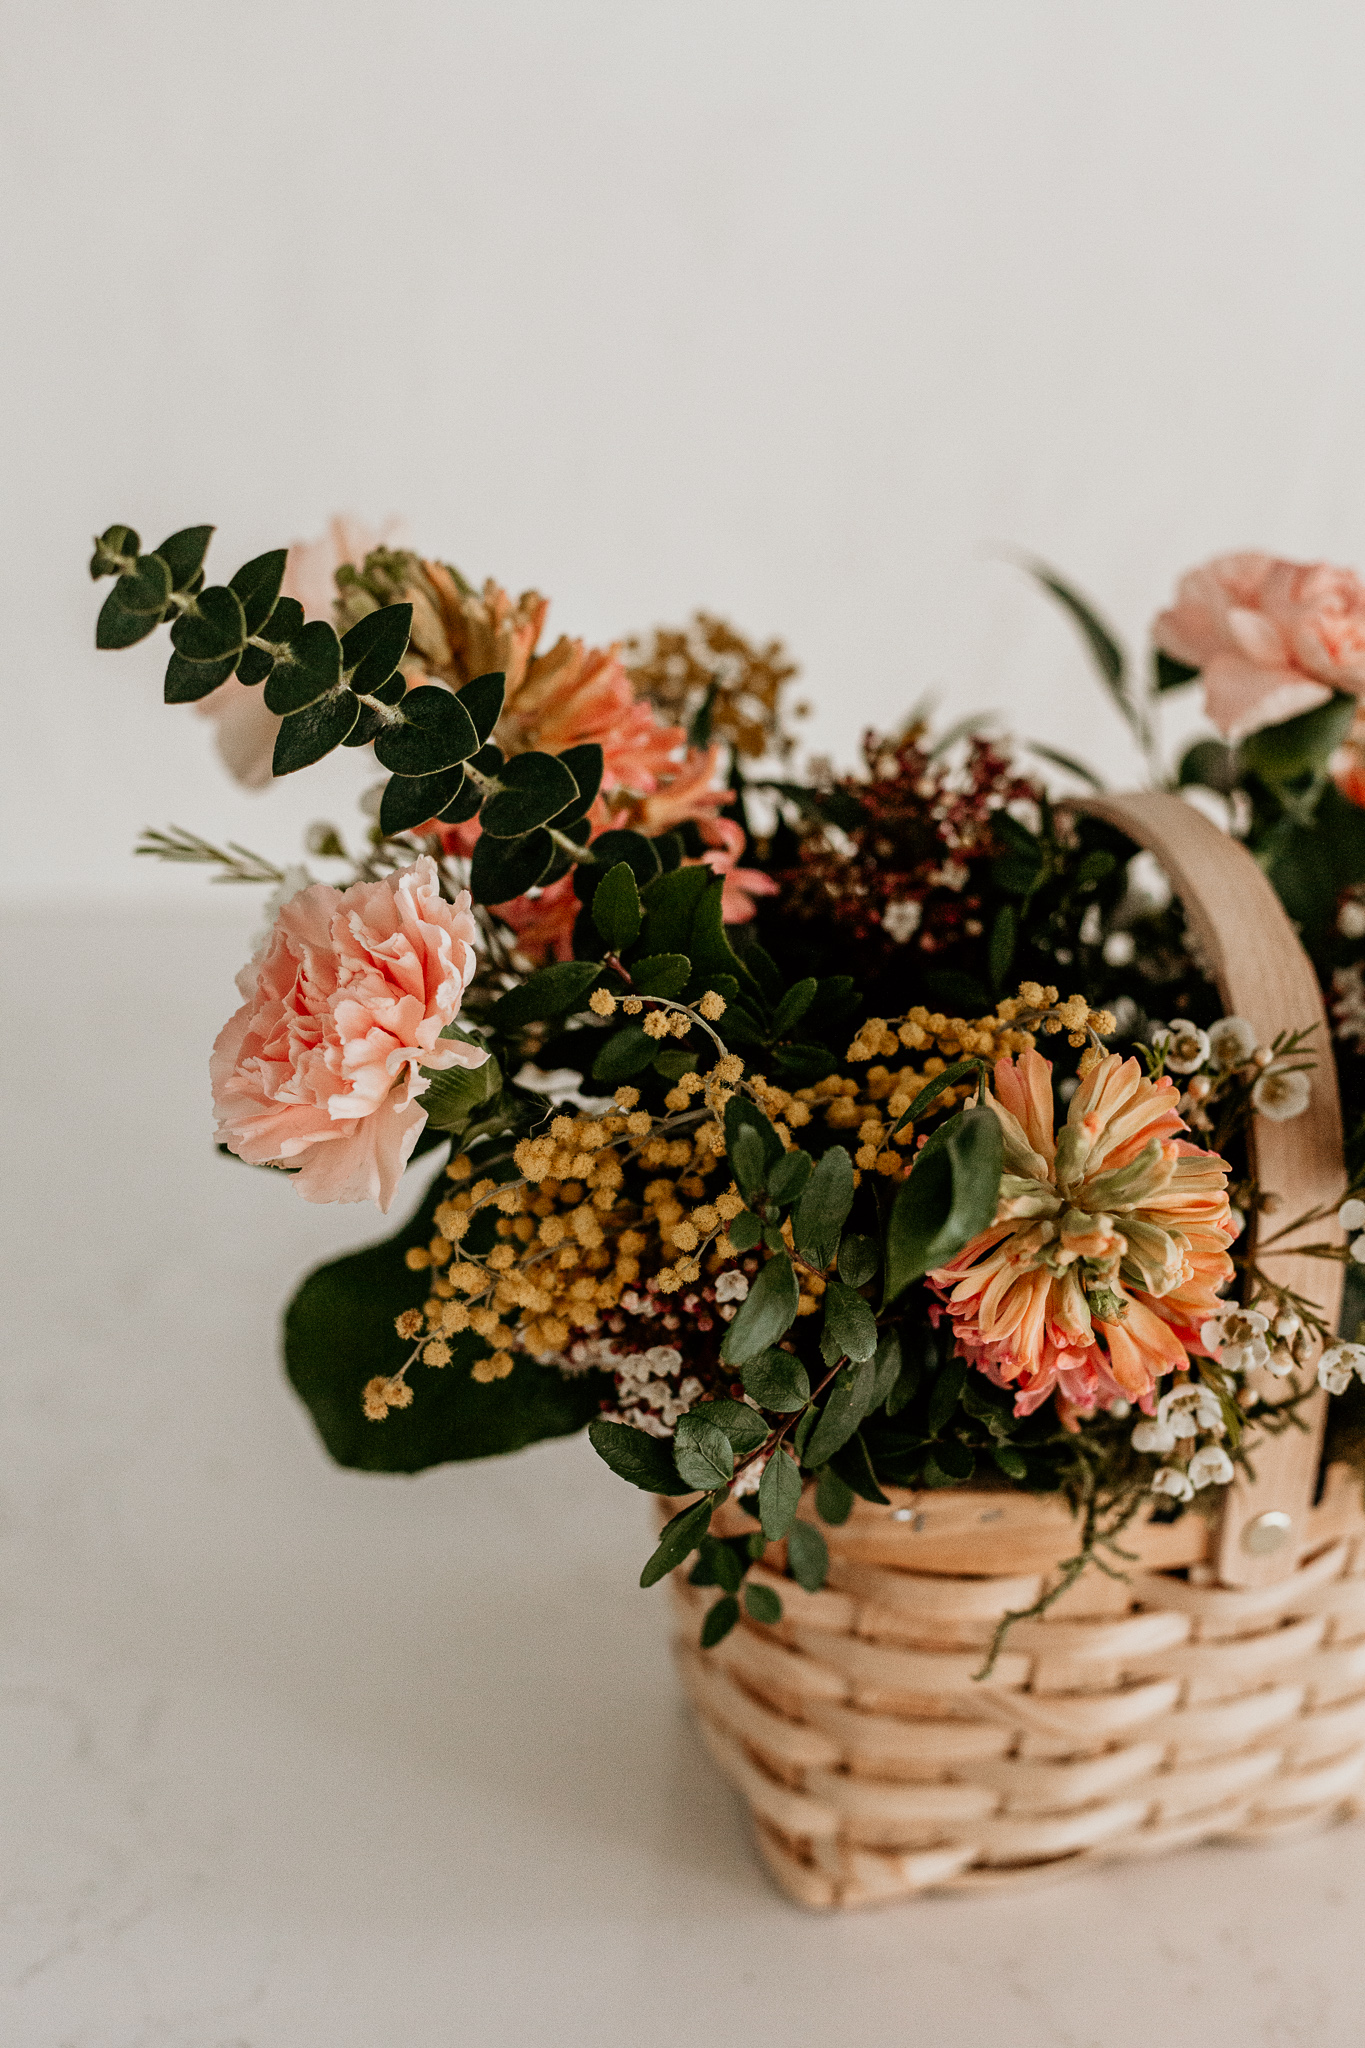
This is where I say, have fun! Ensure your basket handle is upright; that way, you won’t disturb the flowers, and you can move it around as you please. I started with the carnations and hyacinths to determine my shape. They are also the primary colour in my arrangement, and I wanted to make room for them.
Tip! Use your floral tubes if your stems aren’t long enough to reach the bottom of your pot. This can also be a great way to add length to your arrangement.
Finishing Basket Details
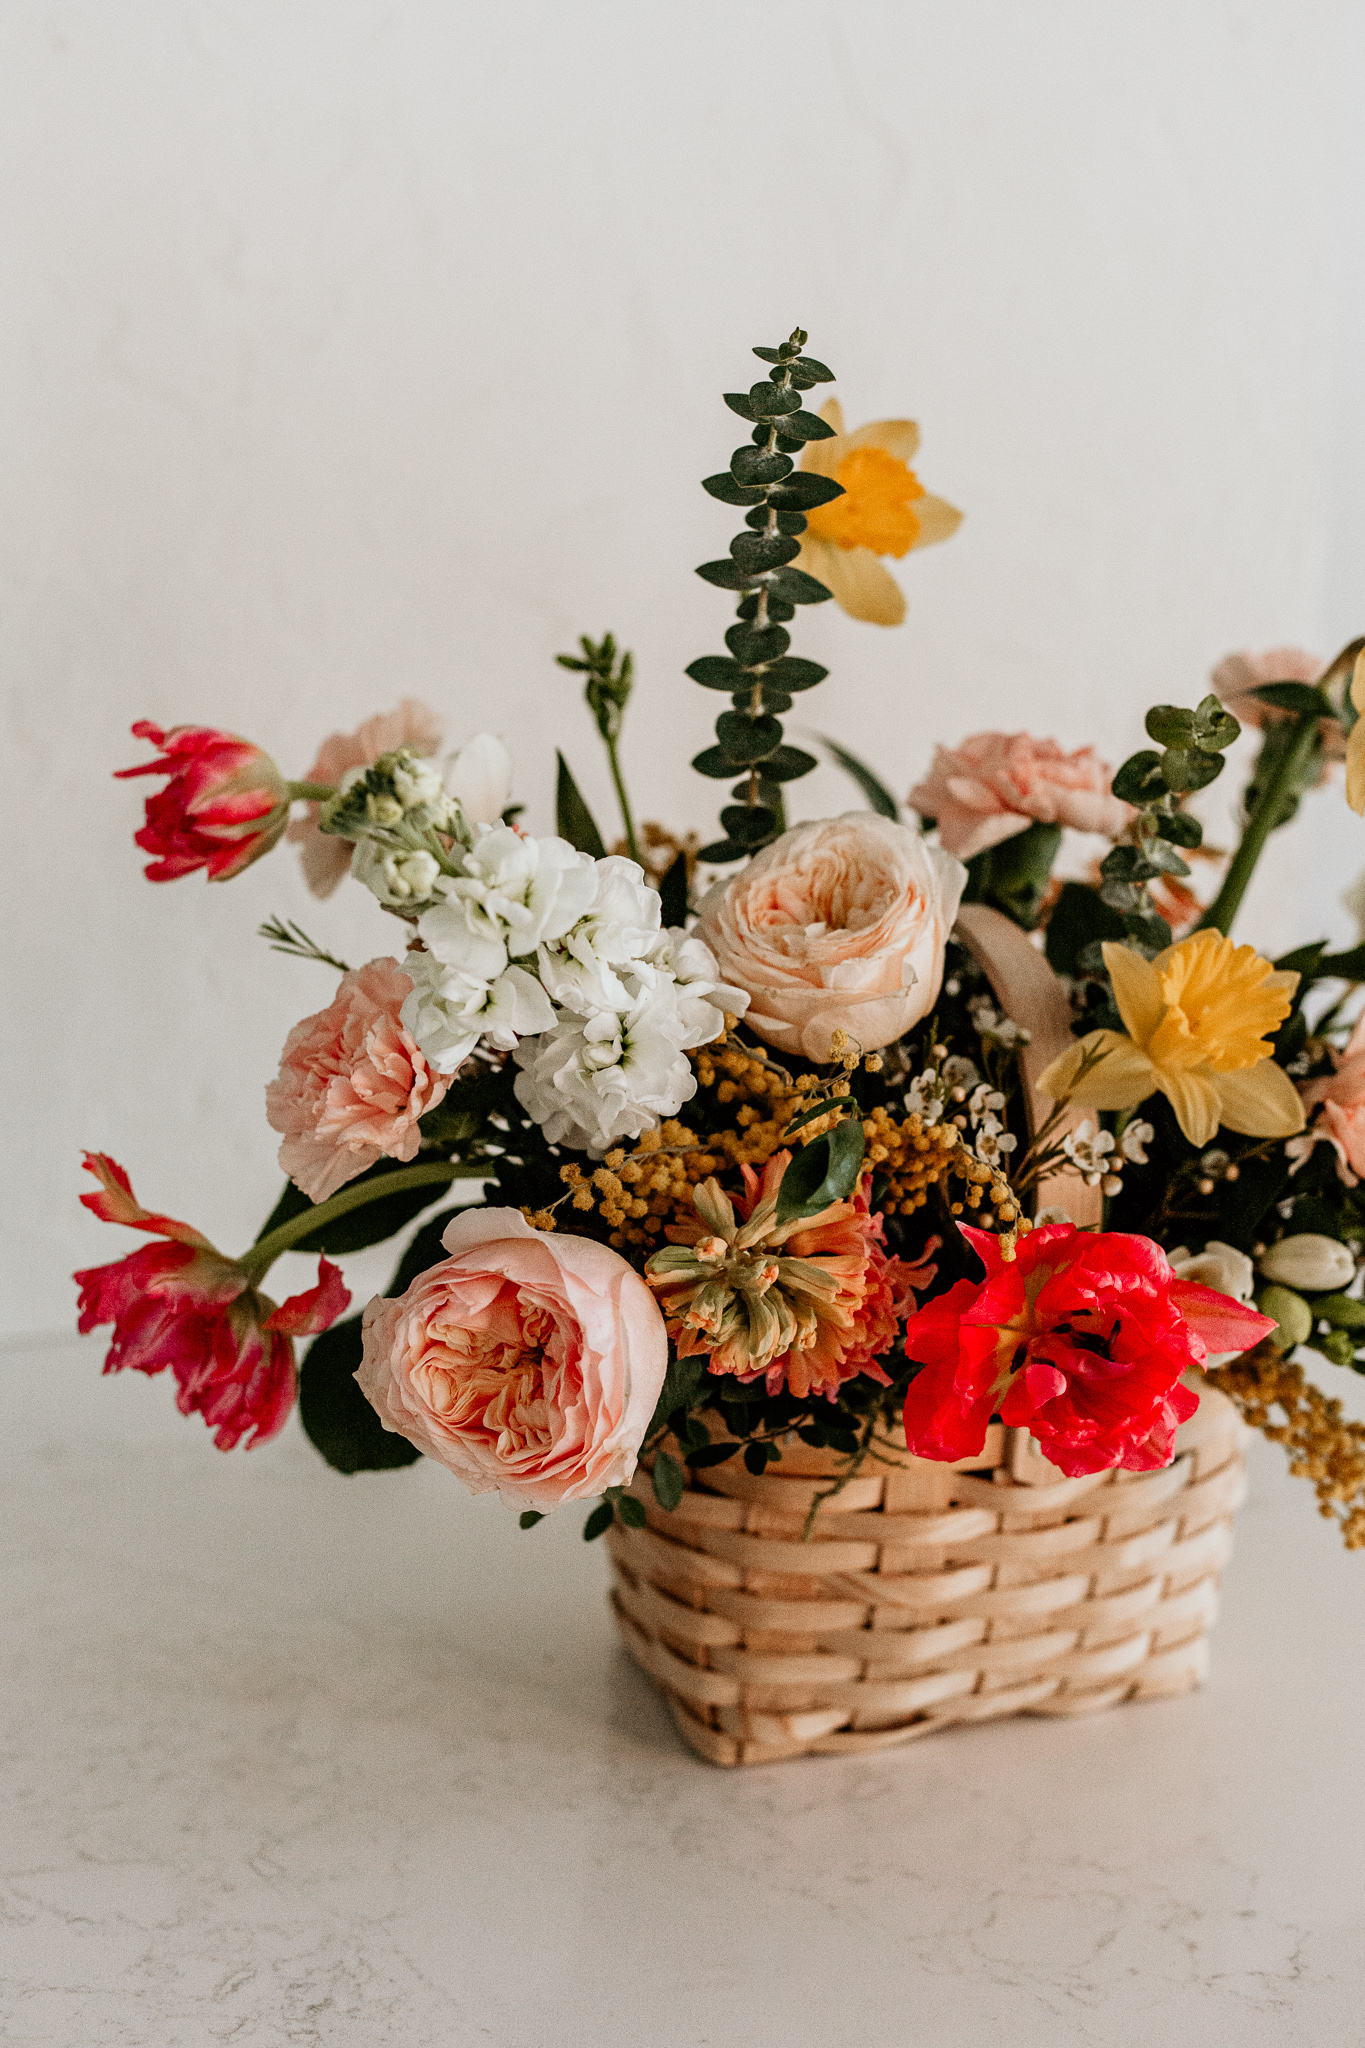
Spring flowers grow tall and show off a little, keep that in mind when you are arranging in your basket. Now is the time to take a step back, play around with the flowers in your basket. Pull some in and pull some out for more depth. Try to leave space for the greenery to show each flower to look like they are just floating around.
Tips for Maintaining a Floral Basket
My favourite tool to use for refreshing flower arrangements is a turkey baster. Insert the turkey baster in your centrepiece, pull out as much water as you can and fill it back up with fresh water. Please take out the wilting stems as they start to lose their life. Keep your base and recreate this arrangement throughout the season.
I hope you enjoyed this quick step-by-step. For a more in-depth video, download my spring basket arranging online class FREE for Fraiche Living subscribers using code TORIEASTER!
Remember to tune in tonight ( March 26 ) at 3pm PST to our IG Live over on @fraicheliving.
Other Spring DIY’s
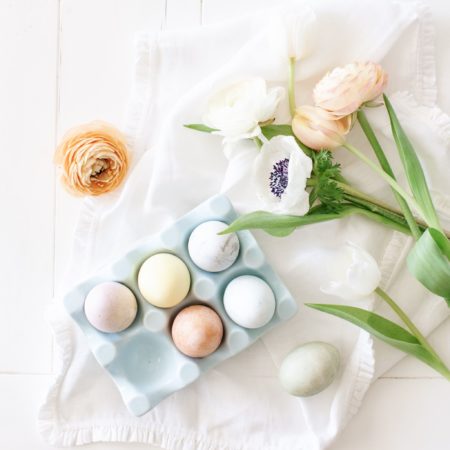
Okay it’s Tori again! How incredible is Laurence? It was such an honour to have her share her talents on the blog today. If you’re looking for more fun spring things, checkout my How to Revive Hydrangea hack, or my Romantic Floral Arrangement blog. You also have time still before Easter to try my Naturally Dyed Easter Eggs!
Make sure to give Laurence a follow @fleurichcreations. Her stunning florals will bring so much beauty and light to your feed – it’s true #flowergoals!
xx Tori



Leave a Reply