Make your table magical for Easter with this adorable and SIMPLE bunny napkin tutorial that will absolutely bring your Easter brunch or dinner table to the next level of cuteness!
Fancy napkins are usually complicated and fussy – totally not up my alley! As a busy mom, I’m looking for simple solutions that can be pulled off in minutes… or preferably seconds! If that is your jam then this tutorial is made for you. Keep reading.
If you can roll up a napkin (my two-year-old can for the record), you can make these bunny napkins. It’s that easy.
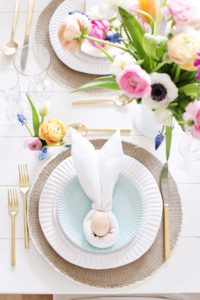
You can add the egg in the middle of the napkin should you wish, though it’s completely optional. I used plastic eggs from Michaels that I will re-use year over year, but if you want to put your own hardboiled egg in the middle that works too. My only suggestion would be to insert the egg at the last minute so that you can still eat it to avoid food waste.
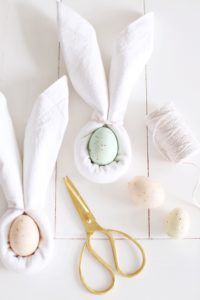
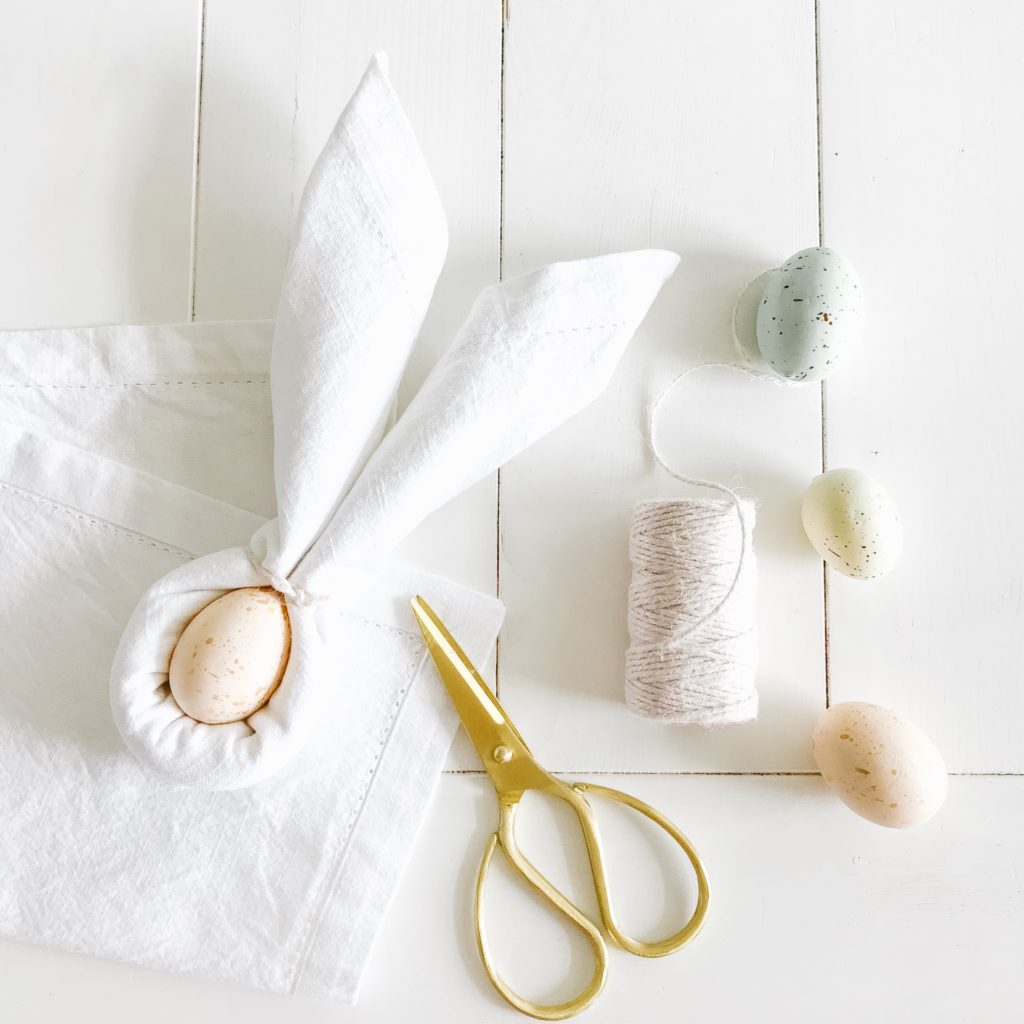
I used plain white napkins that I purchased at Home Sense, but of course use whatever you want (any cloth napkin will work). In addition to the napkins you will need:
- Twine or ribbon (a 5” long piece for each napkin)
- Scissors
- Plastic or foam egg (or a real hard-boiled egg) for each napkin
To make the napkins simply follow these instructions:
- Lay the napkin flat.
- Starting at one corner, tightly roll up the napkin corner to corner.
- Fold the roll in half, bringing the two ends up to meet each other.
- Tie the roll with the twine or ribbon part way up the folded end, leaving a slight gap in the middle (it will leave a hole big enough for the egg).
- Trim the ends of the twine and place the egg in the hole in the center of the napkin, slightly folding the ends out to form ears.
PS: for more Easter fun, be sure to check out our 11 Easter Recipes & DIY’s!


Leave a Reply