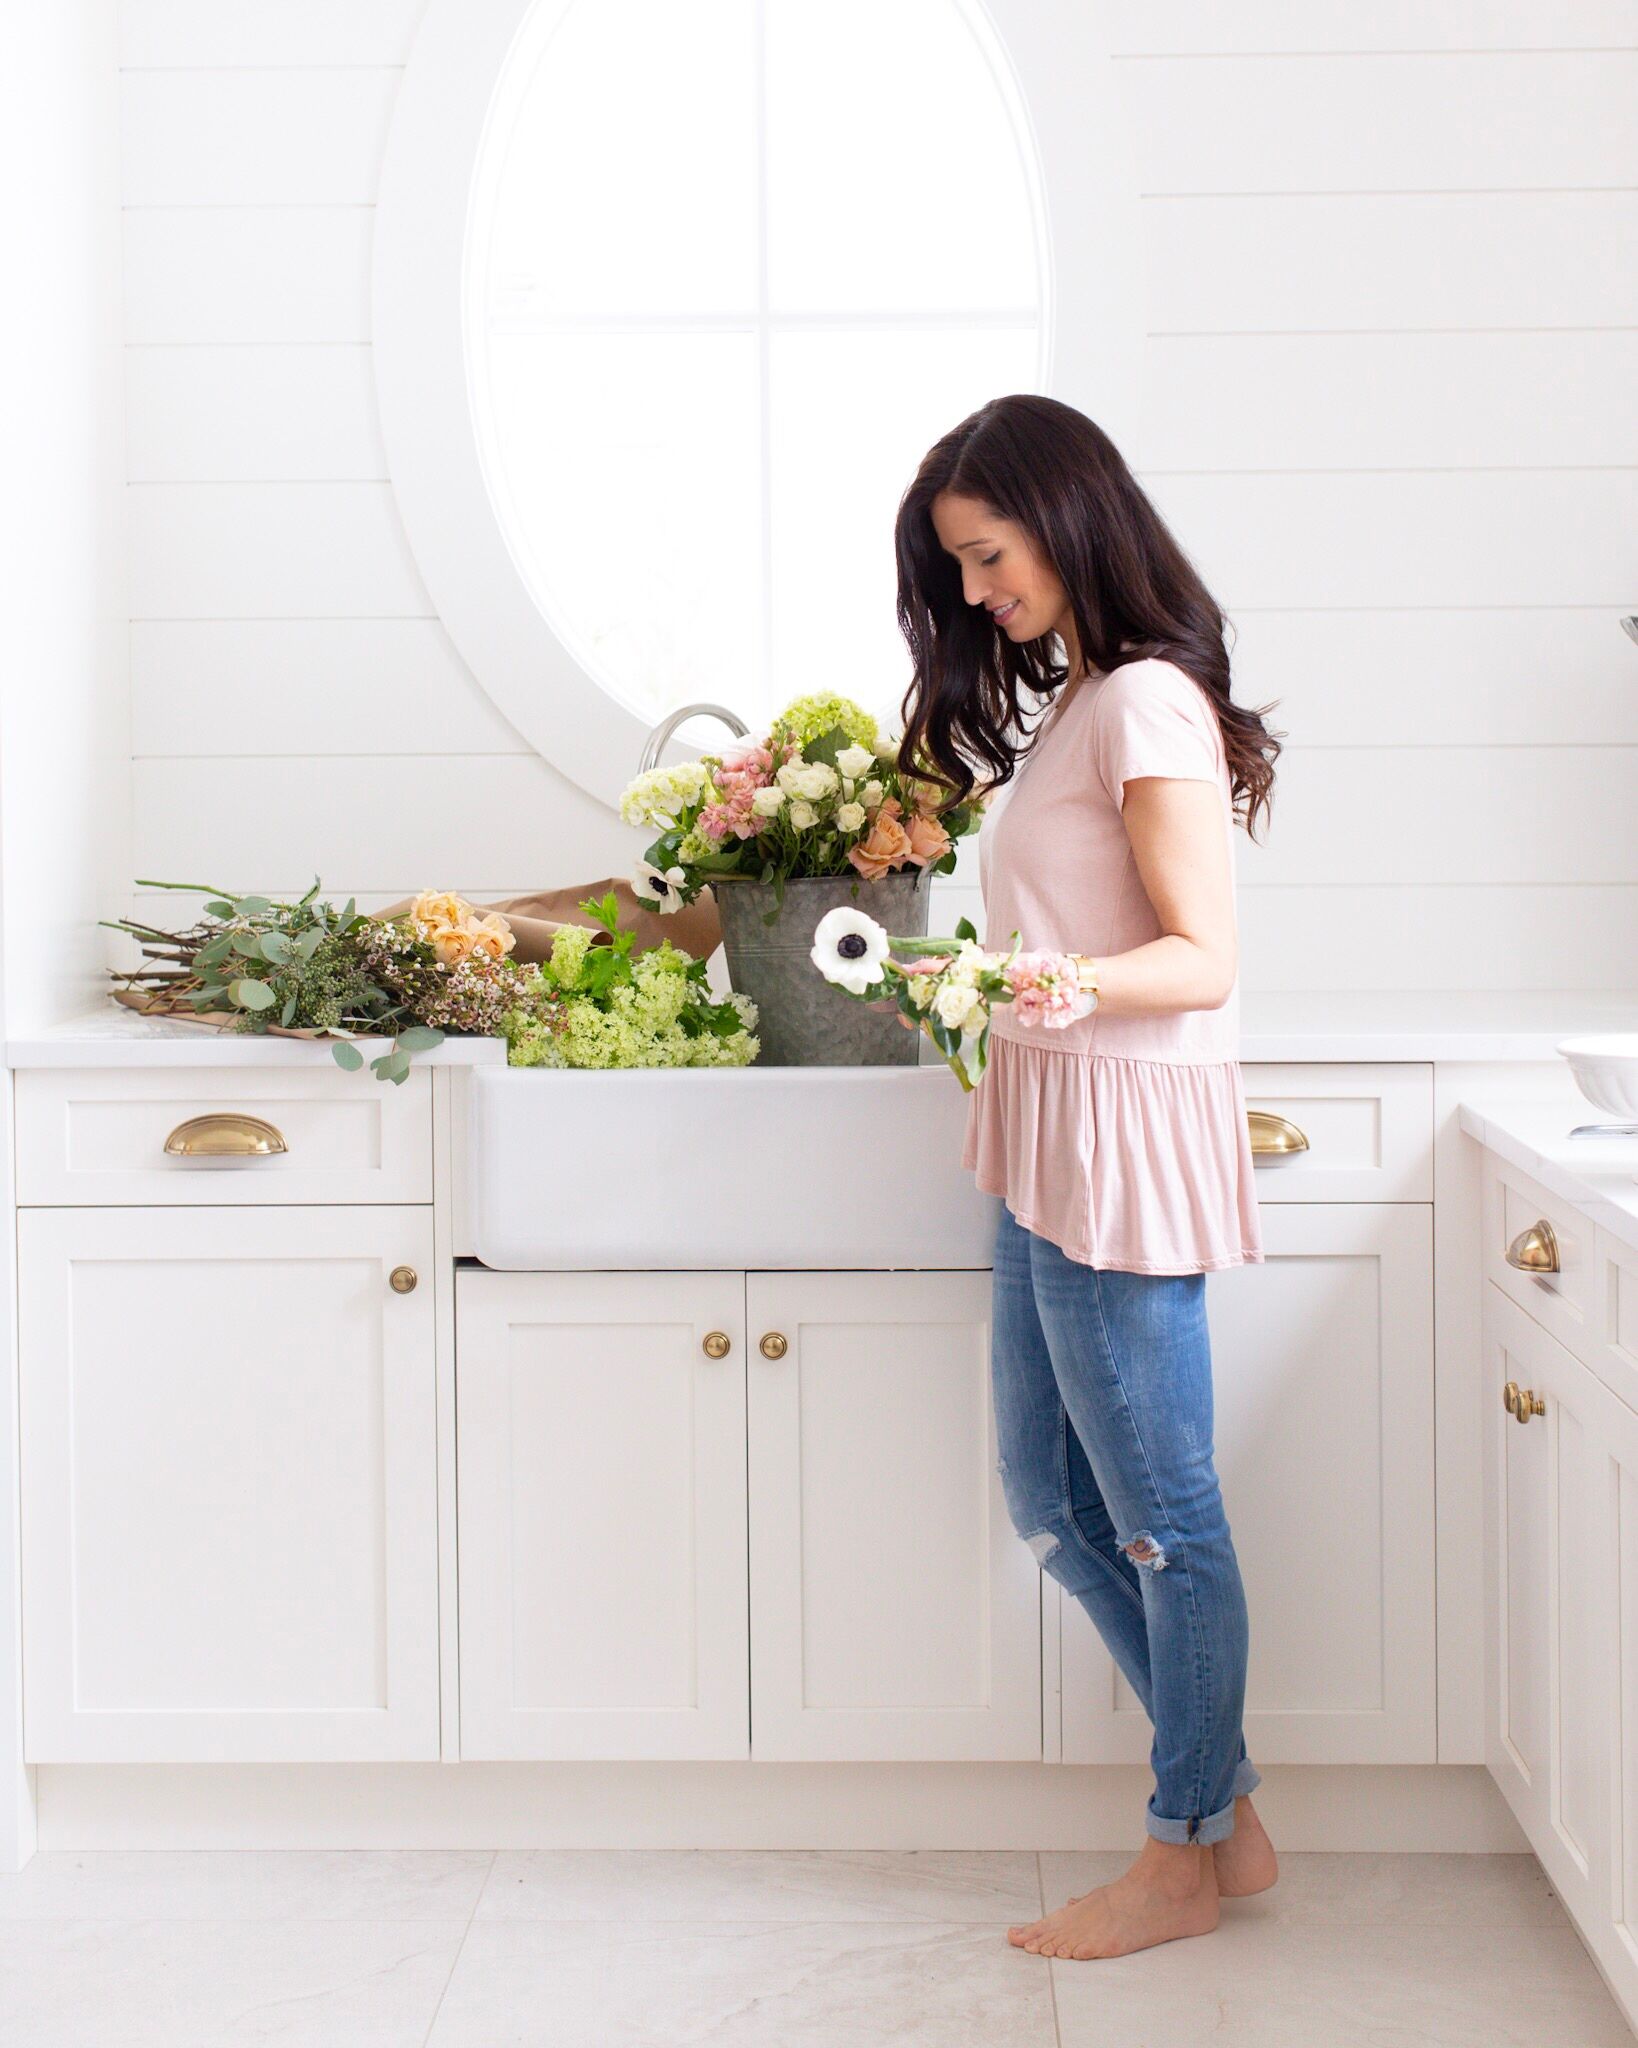
Flowers make my heart SING! Over the years I’ve collected a list of favourite flowers (that continues to expand), and through many not-so-awesome trials of creating floral arrangements, I’ve arrived at a system for creating the perfect arrangement using a plain old bowl, and I’m sharing it with you today!
SHOP THE POST
Flowers are so personal. At least I feel that way! And there are few things in life that make me giddy with joy more than a gorgeous bouquet of flowers. Which is why I spend a bit of extra time when it comes to entertaining on picking out flowers and arranging them nicely for our guests on the table. It seriously takes your entertaining game to a whole new level.
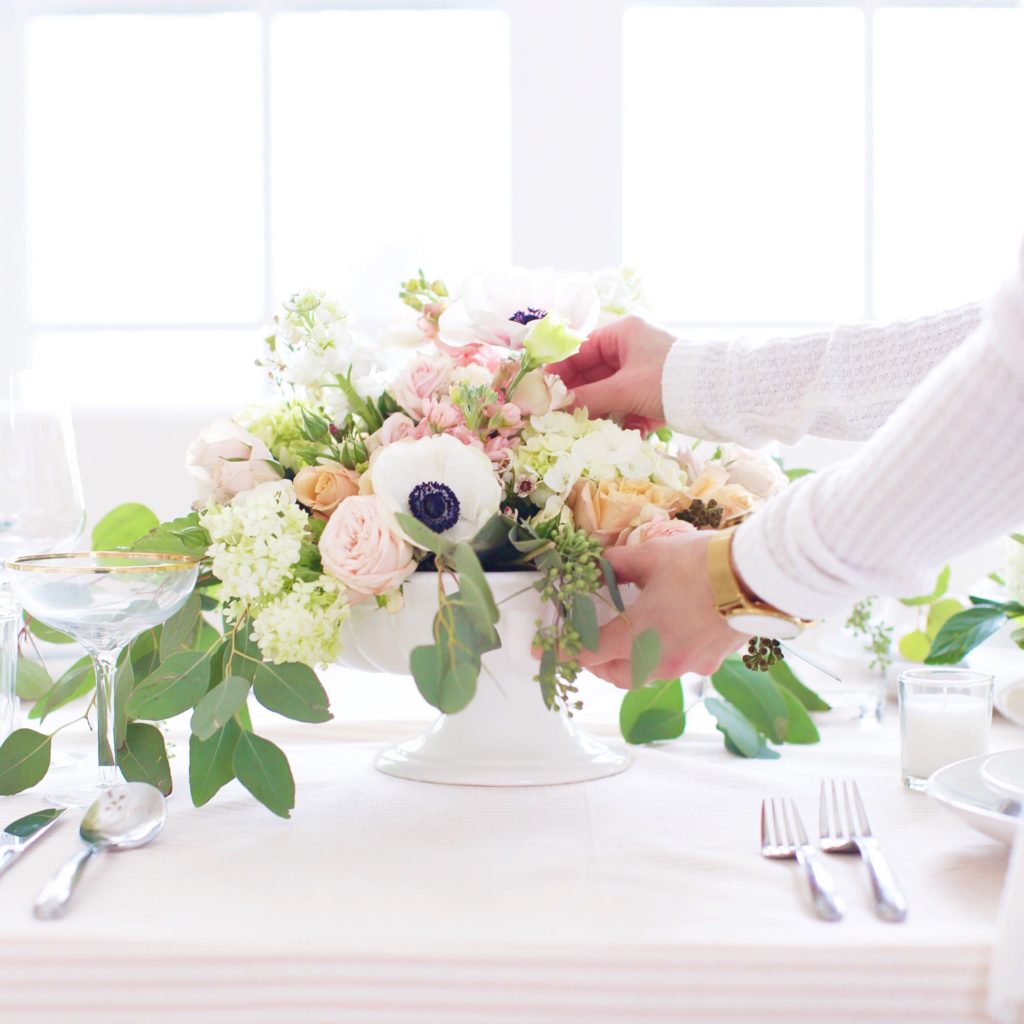
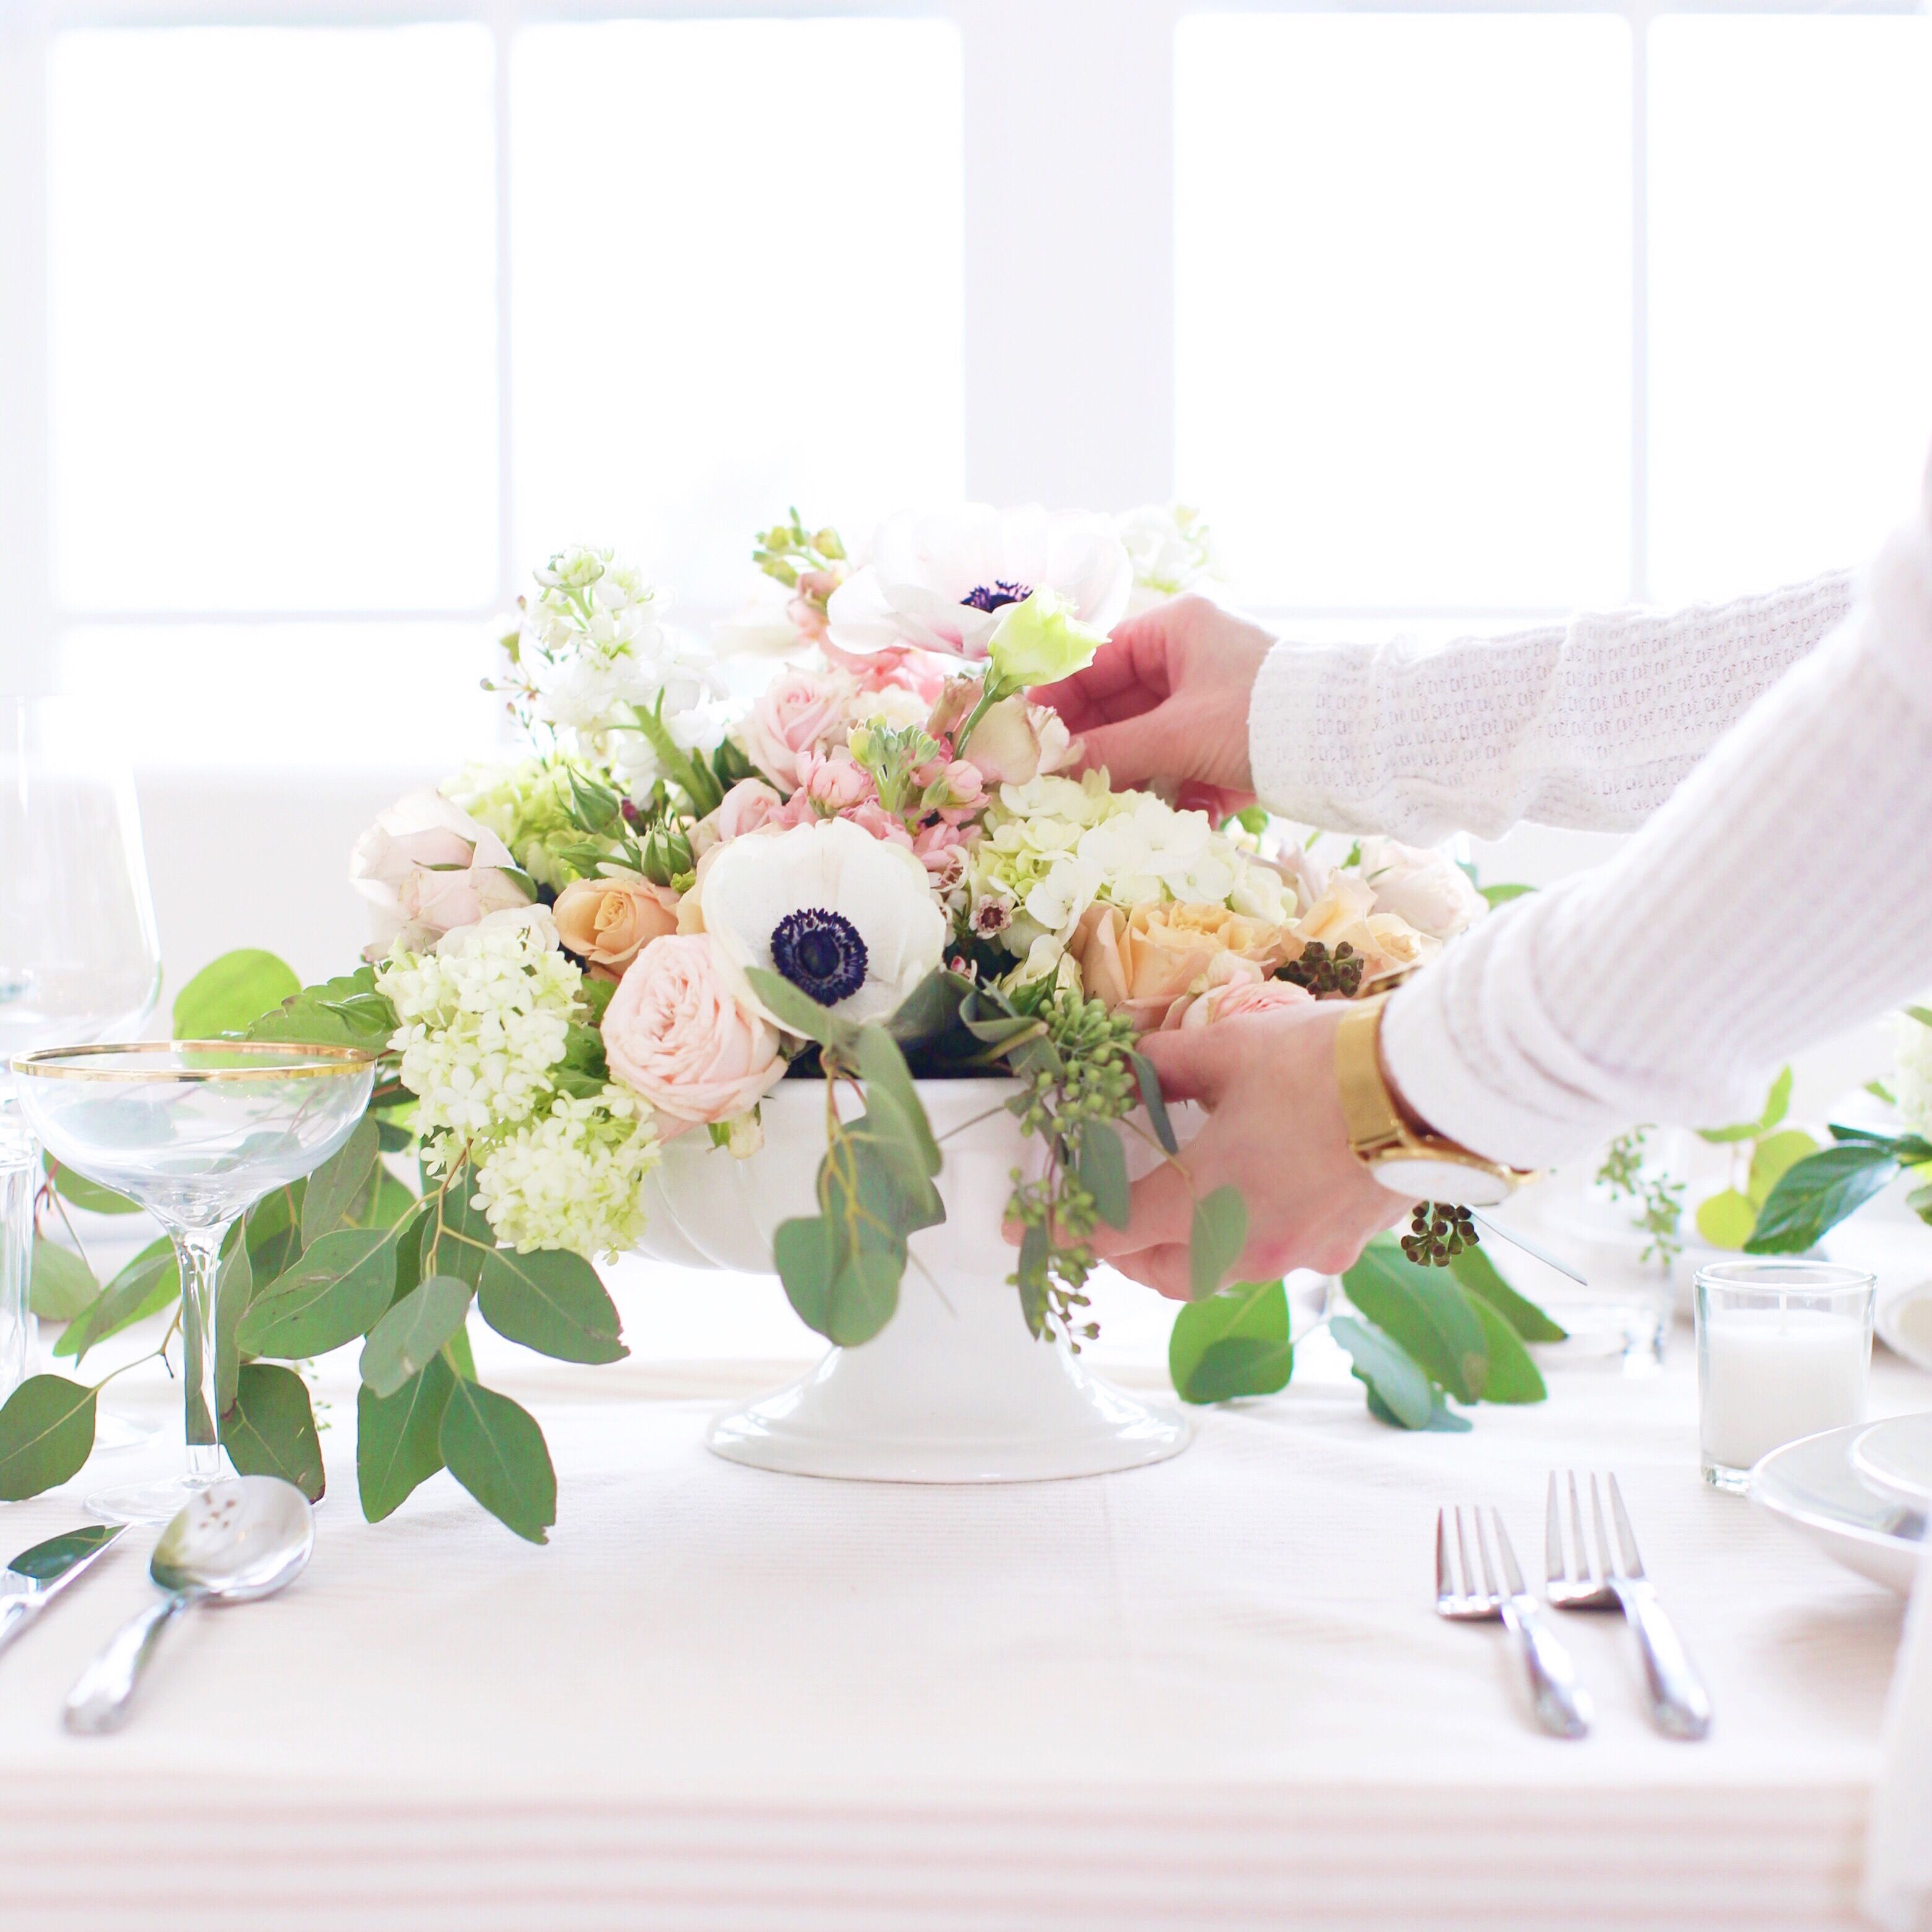
But here’s the deal when it comes to flowers on the table: they can’t be tall. I LOVE a high messy bouquet, but unfortunately the dinner table isn’t the place for such a thing. Why? Your guests can’t see each other. And while that may have its benefits depending on who you’ve invited over (totally kidding), it really doesn’t work when you’re trying to have a conversation over dinner. Which is why a short arrangement is where it’s at.
I found this white pedestal bowl at Homesense for this project, but you can use any nice bowl that you like! There is a trick to getting the flowers to stand up and not flop to one side of the bowl which I will show you below. You can use this flower hack in any vase when you don’t have quite enough flowers to completely fill it but want them to stand up.
My Favourite Flowers
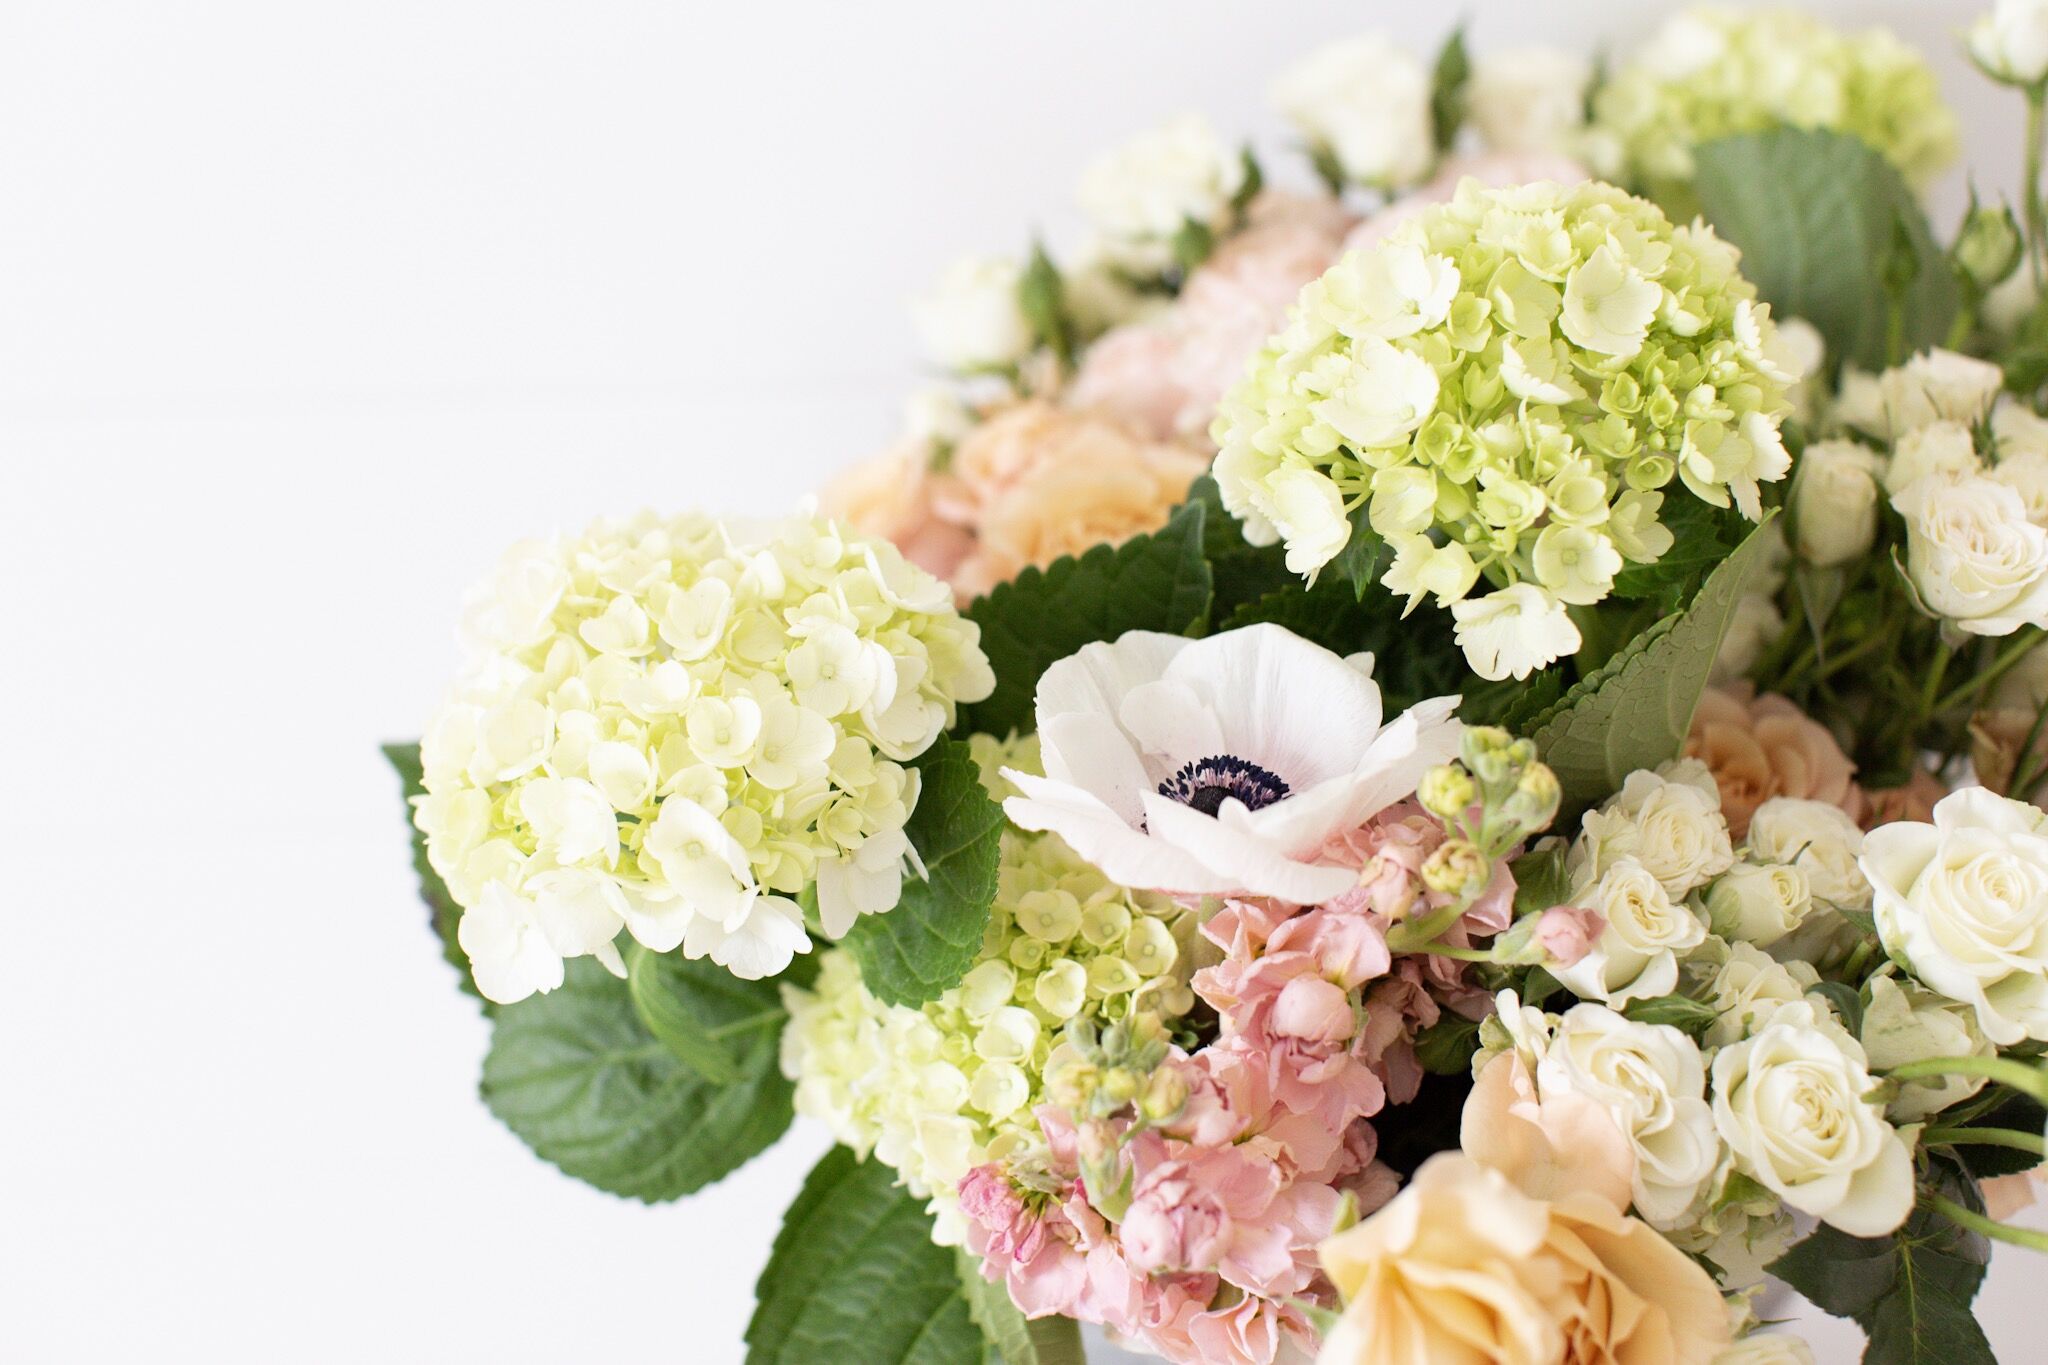
Before we begin here is a list of the flowers that you see in this bouquet:
- Anenomes (the white ones with the black centre, sooooo amazing!)
- White hydrangeas (the larger snowball ones with many small petals)
- Viburnum (they look like a mini hydrangeas and are often lime green or white)
- Stock (the light pink tall stems, so soft and romantic)
- Lisianthus (one of my favs, so romantic – they are a taler stem with soft petalled flowers, I get them in soft pink and white)
- Garden roses (roses that look slightly like a peony with plenty of tight petals – they are a dream, I get soft pink)
- Spray roses (small clusters of roses, I get these in white, soft pink and a salmon colour called Sahara Sensation)
- Wax flowers (I love these in white, they are the small filler flower that looks a bit wild)
- Seeded eucalyptus (I use this in almost all of my arrangements, it is the greenery with the small seeds)
- Silver dollar eucalyptus (the flat, rounded leaf greenery)
If you are local in Kelowna and want the easy way to curate these flowers, head over to Bylands – this is where I get my flowers and they know my style (all you have to say is that you want Tori’s style and they will do it all for you!).
Tip: odd numbers of a given flower work best. For instance, I used 3 anemones as they are so showy and really stand out – too many would be overboard and the odd number is pleasing to the eye.
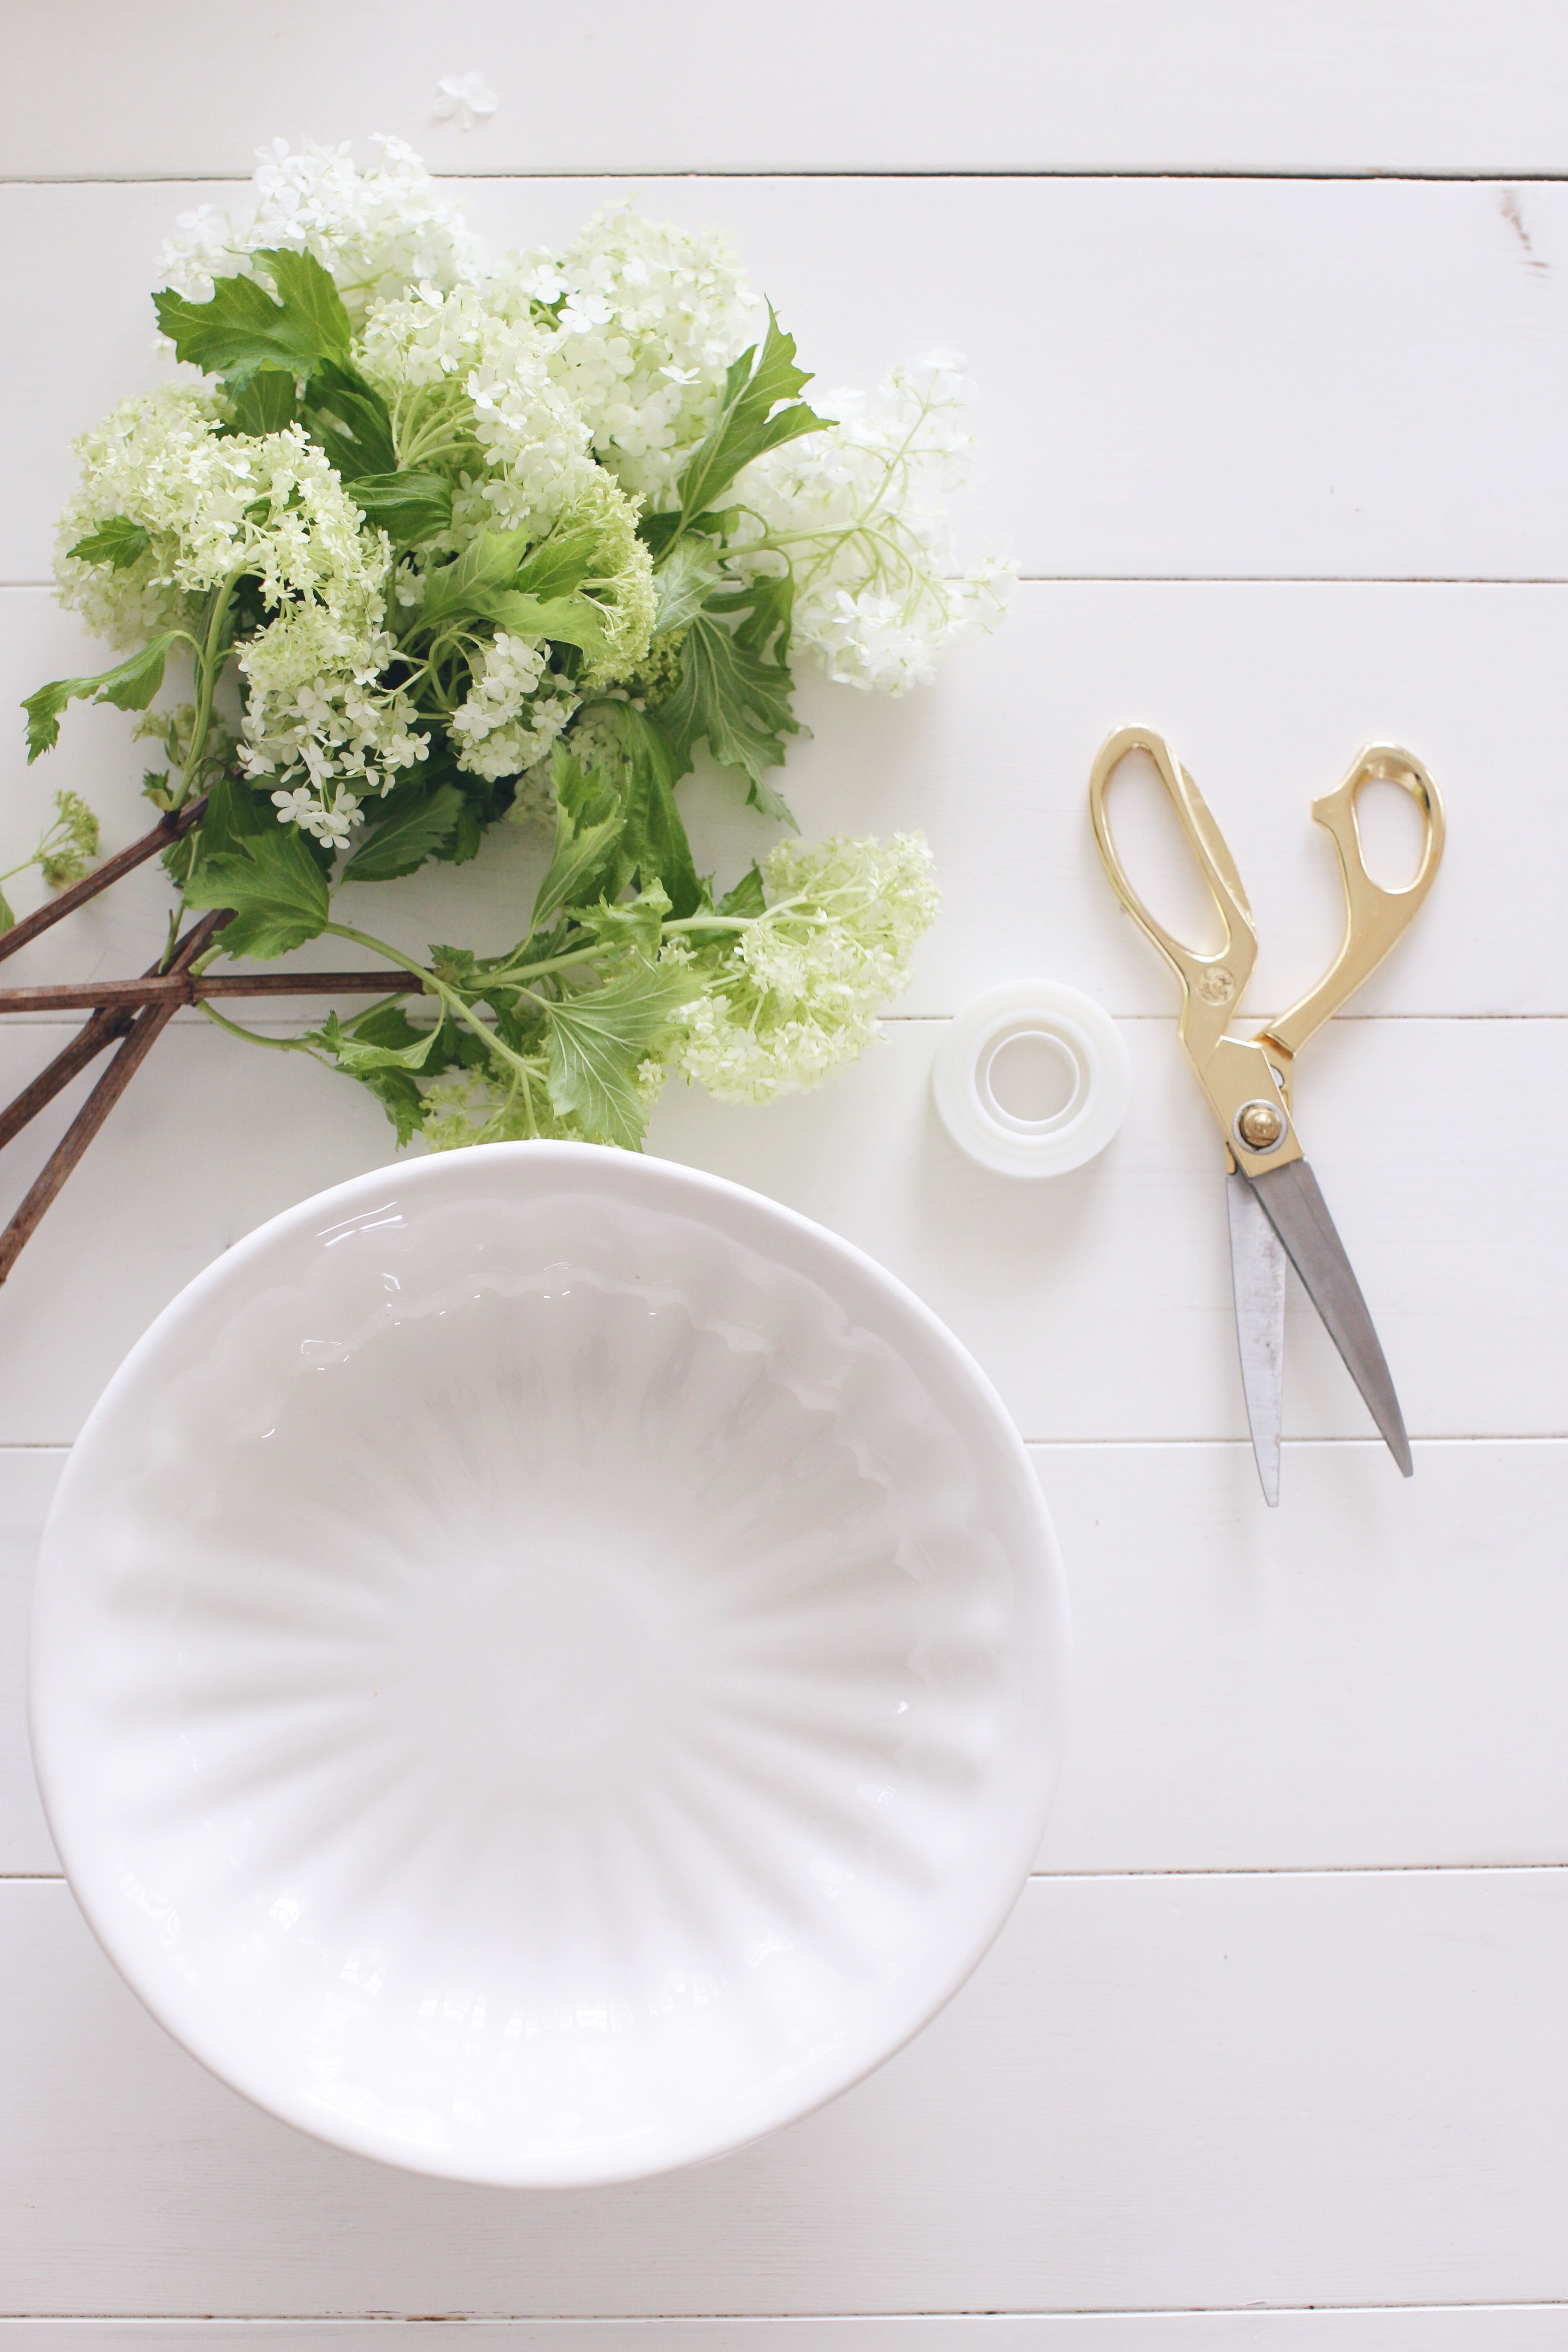
Equipment Checklist
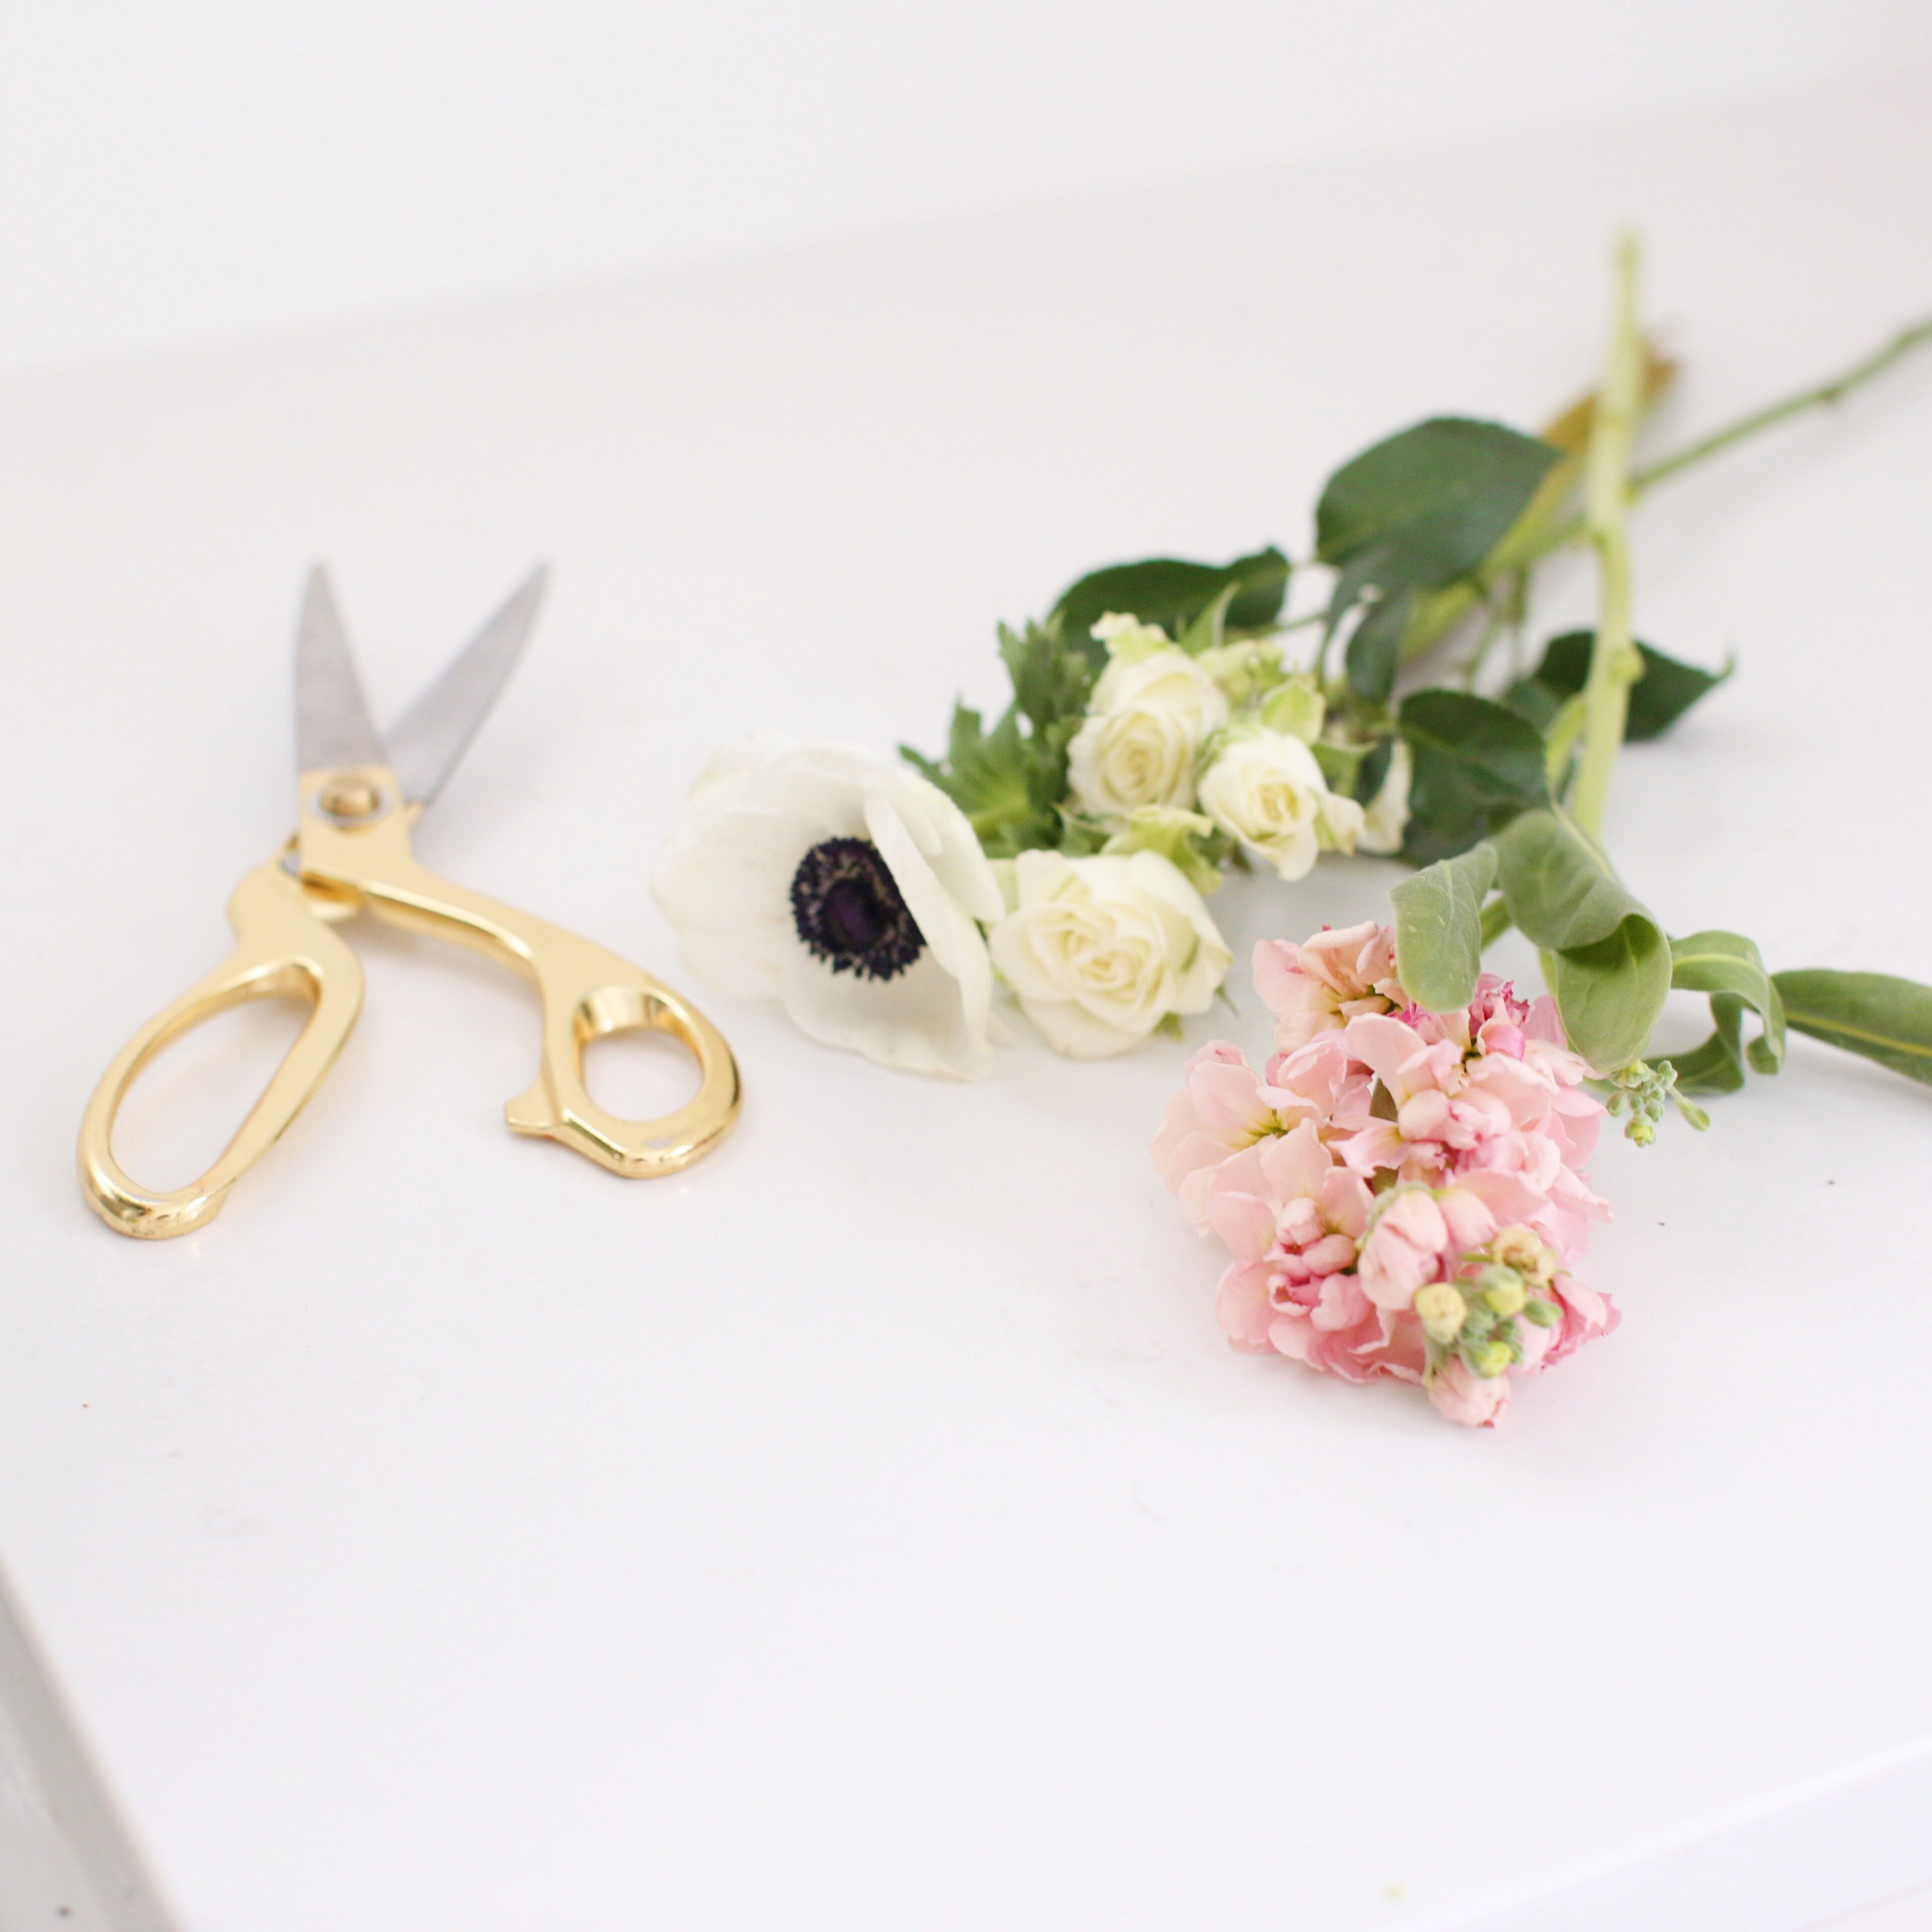
- Sharp scissors or floral sheers
- Clear scotch tape
- Shallow bowl or urn (mine was 10″ diameter)
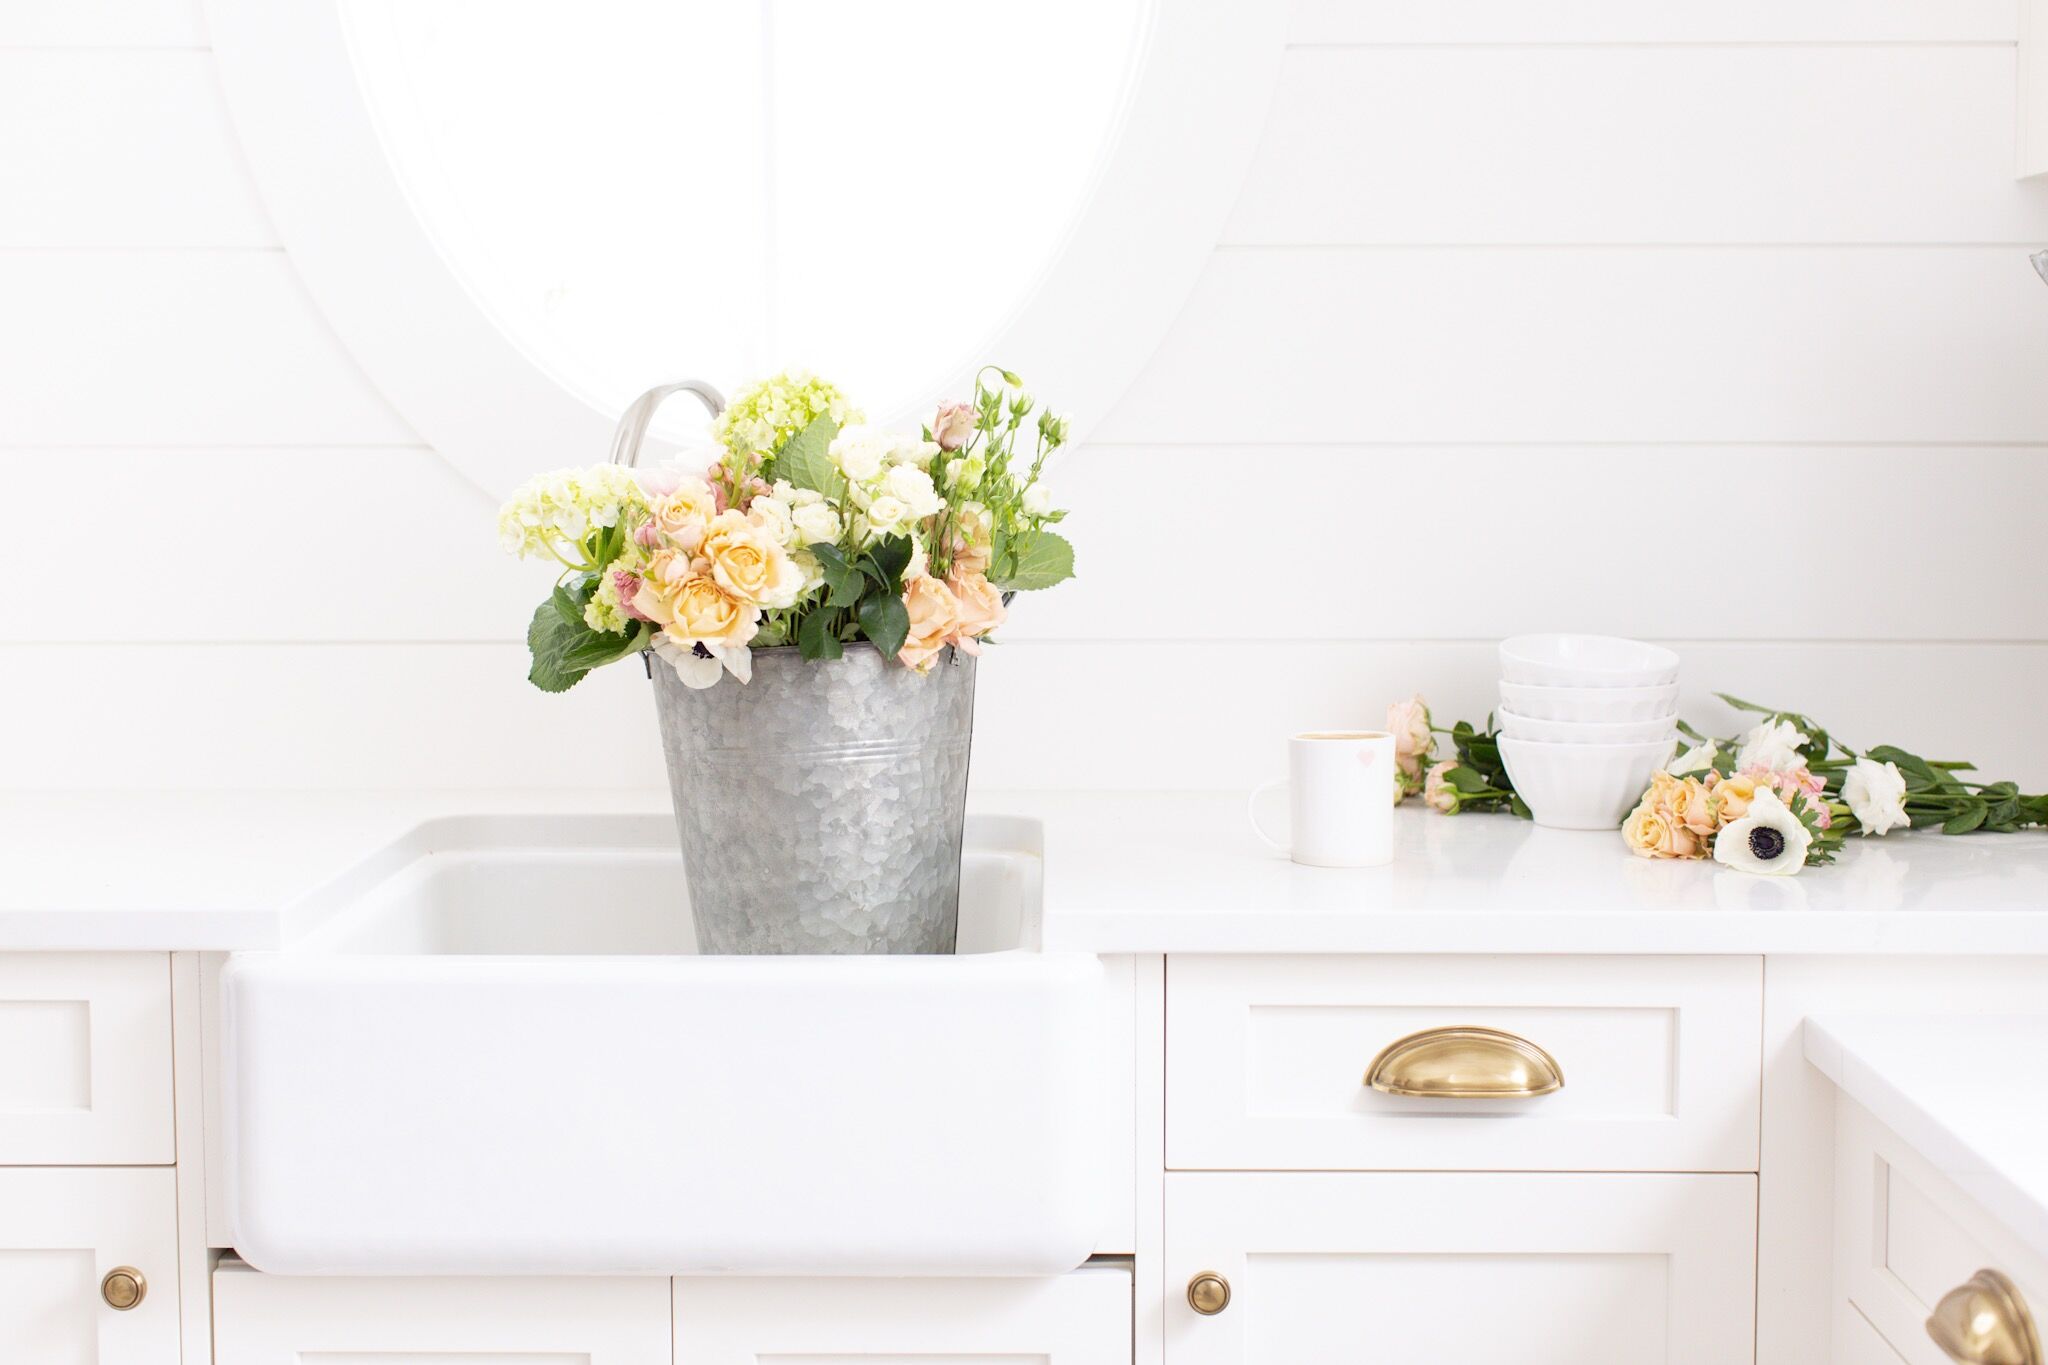
- Flowers and greenery (see above)
Step 1: Prepare the bowl
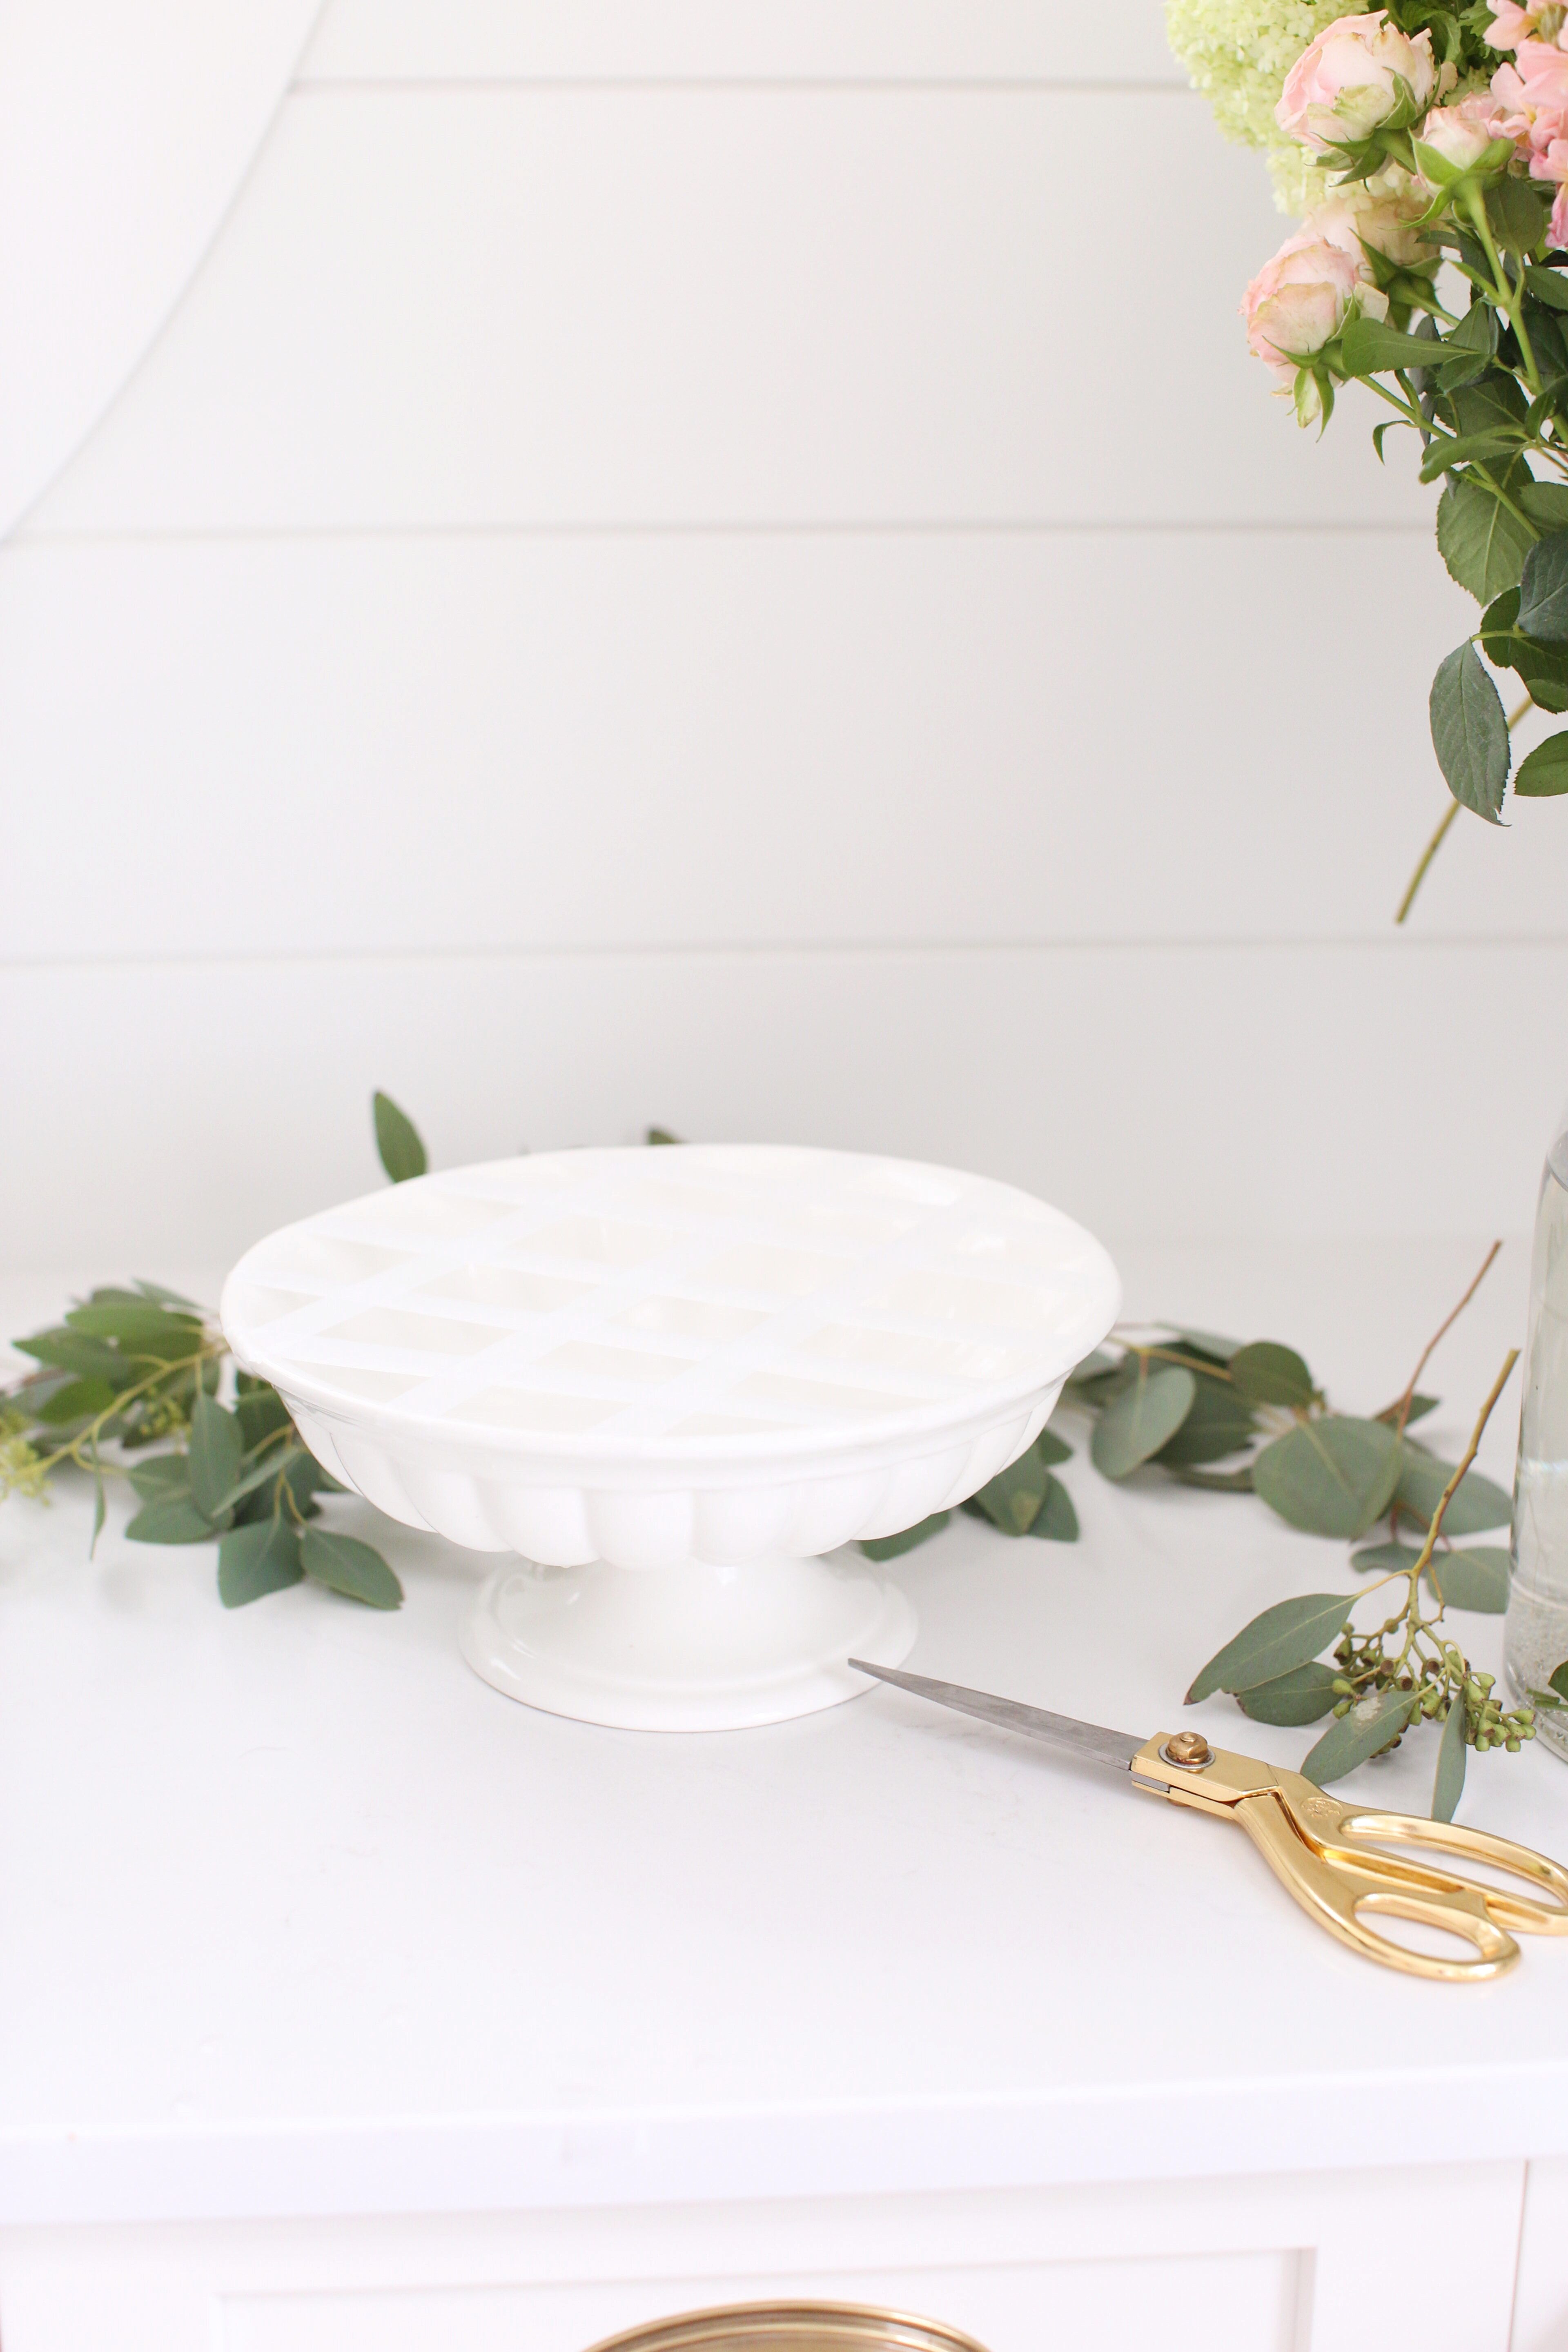
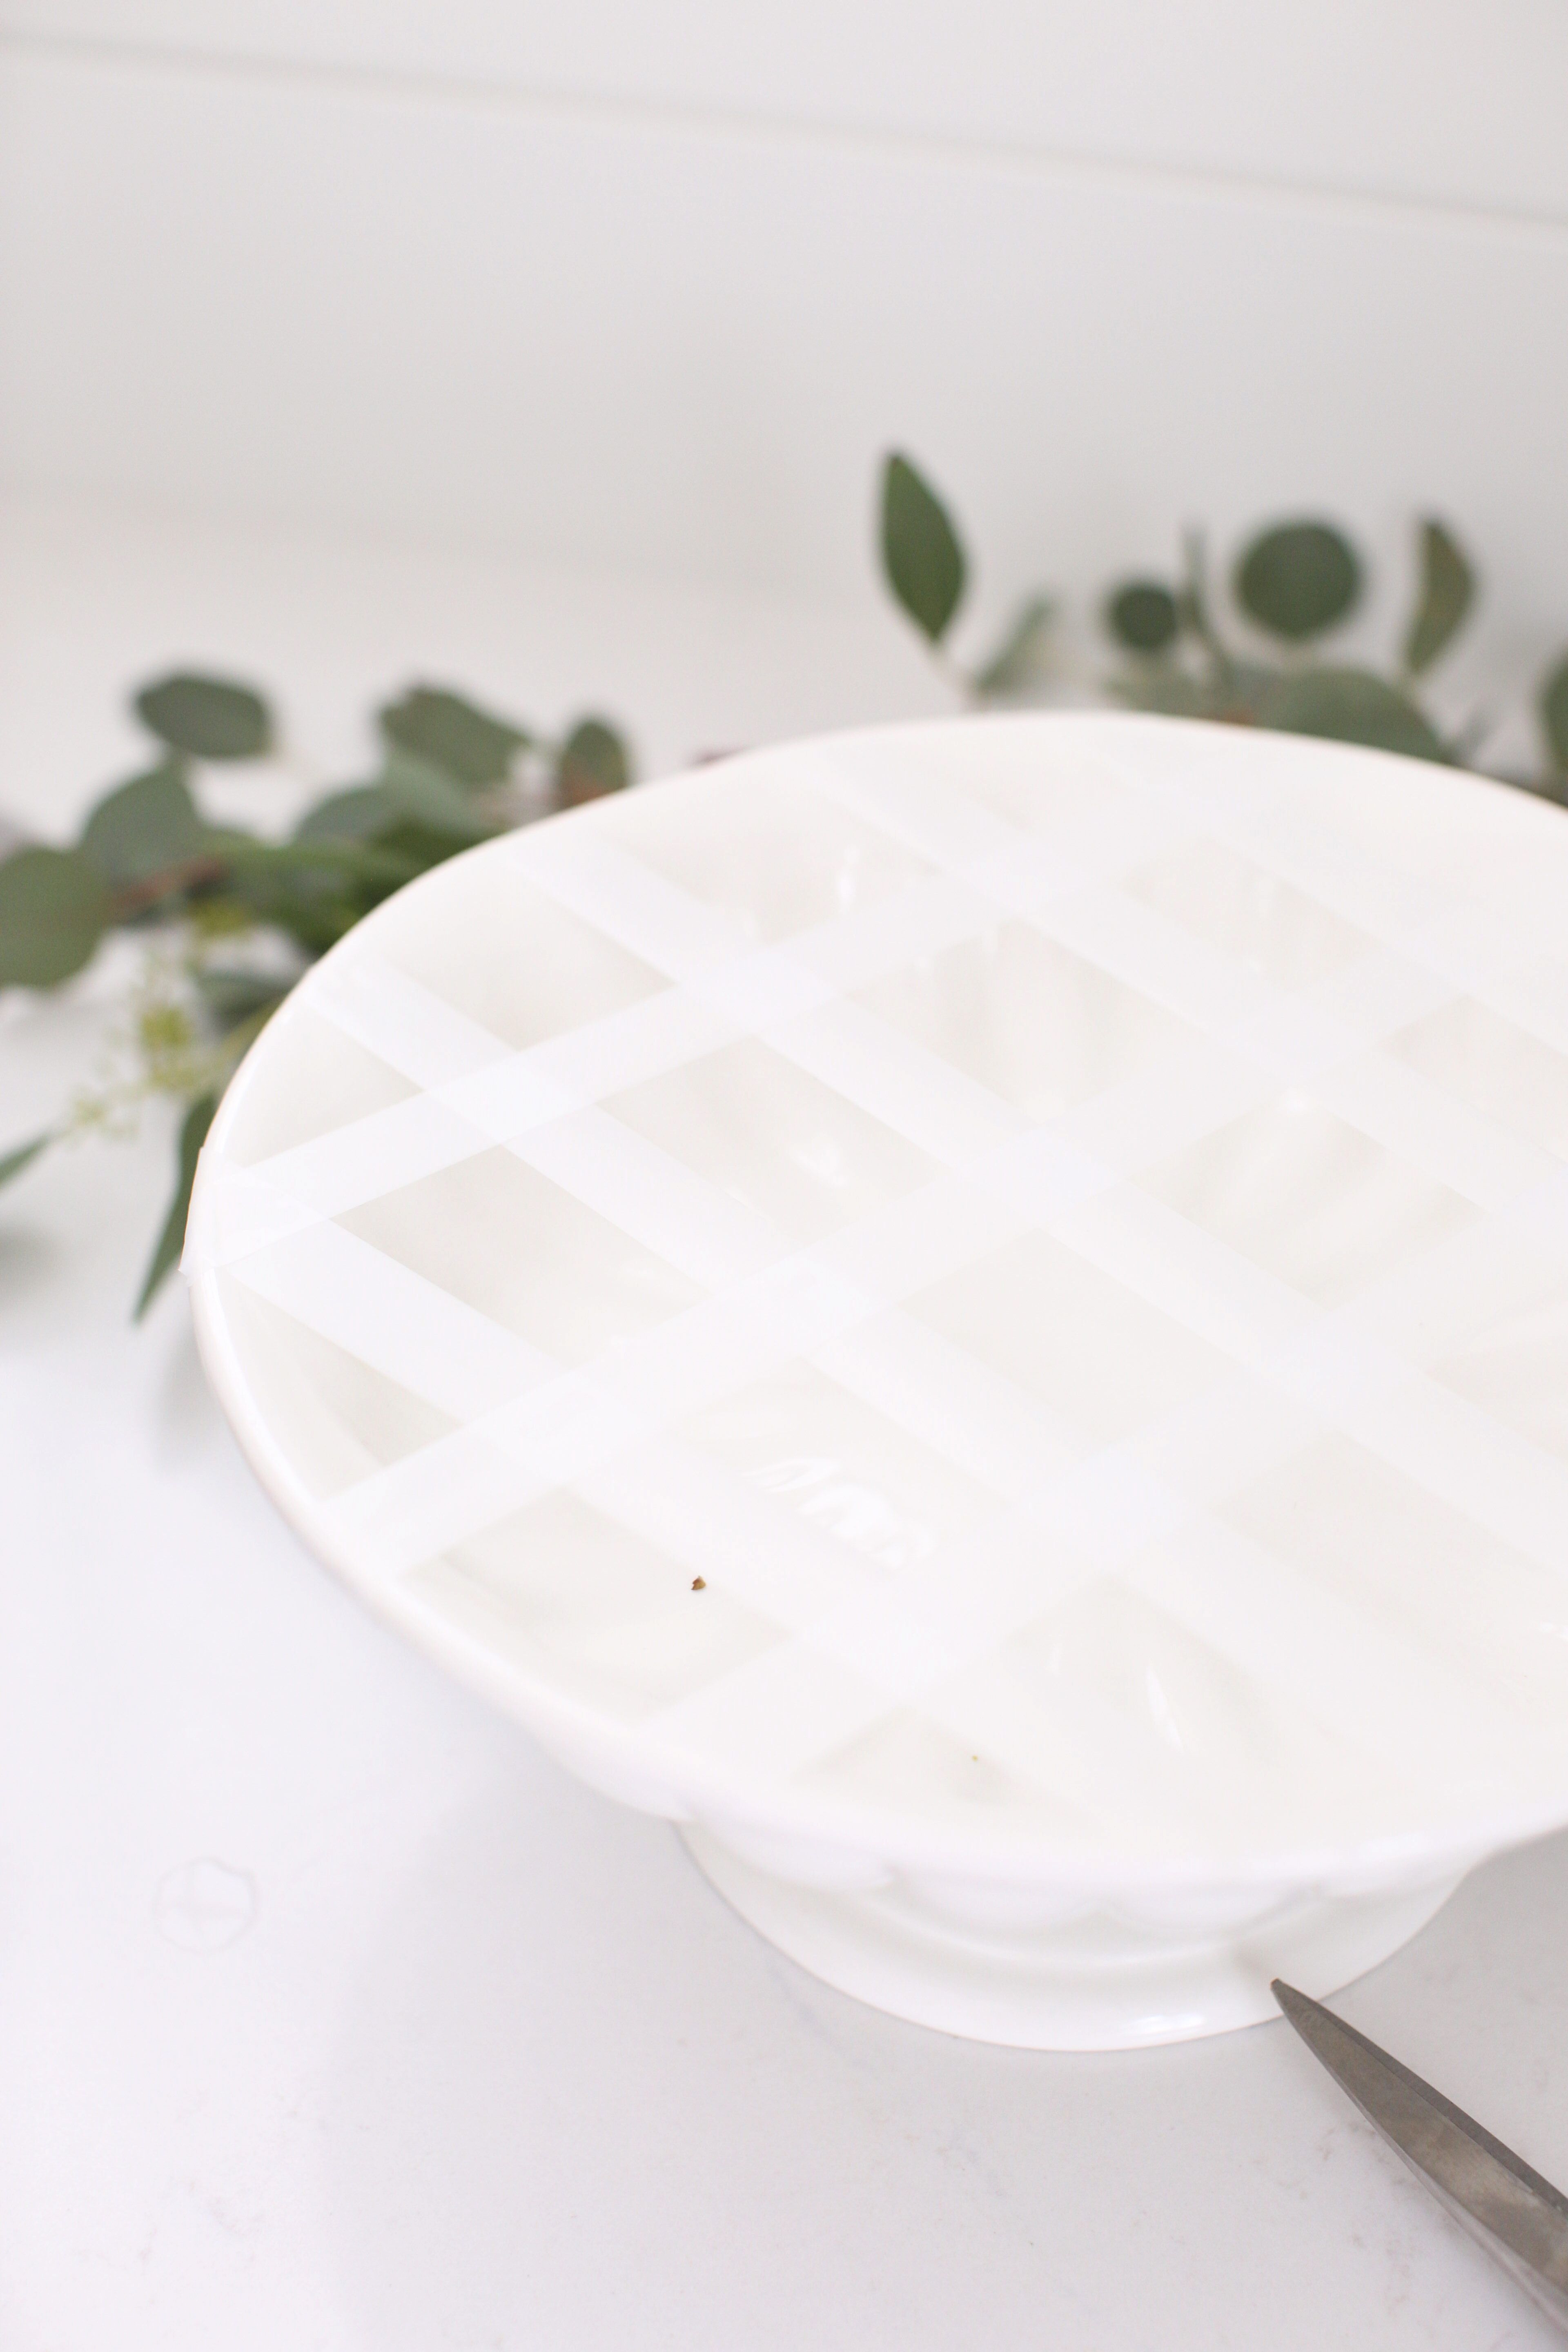
- Using long strips of clear scotch tape, create a cross hatch pattern over the top of the bowl (make sure it is completely dry) by securing the strips along one side of the bowl, leaving about 1-2″ between each strip, then running the strips of tape the opposite direction in the same pattern to create a cross hatch. Be sure to tightly stretch each piece and run your finger around the edges to make sure the tape is secured to the edge. This will help your arranged flowers stay in place.
- Fill the bowl 3/4 full with water and set aside.
Step 2: Place the greenery
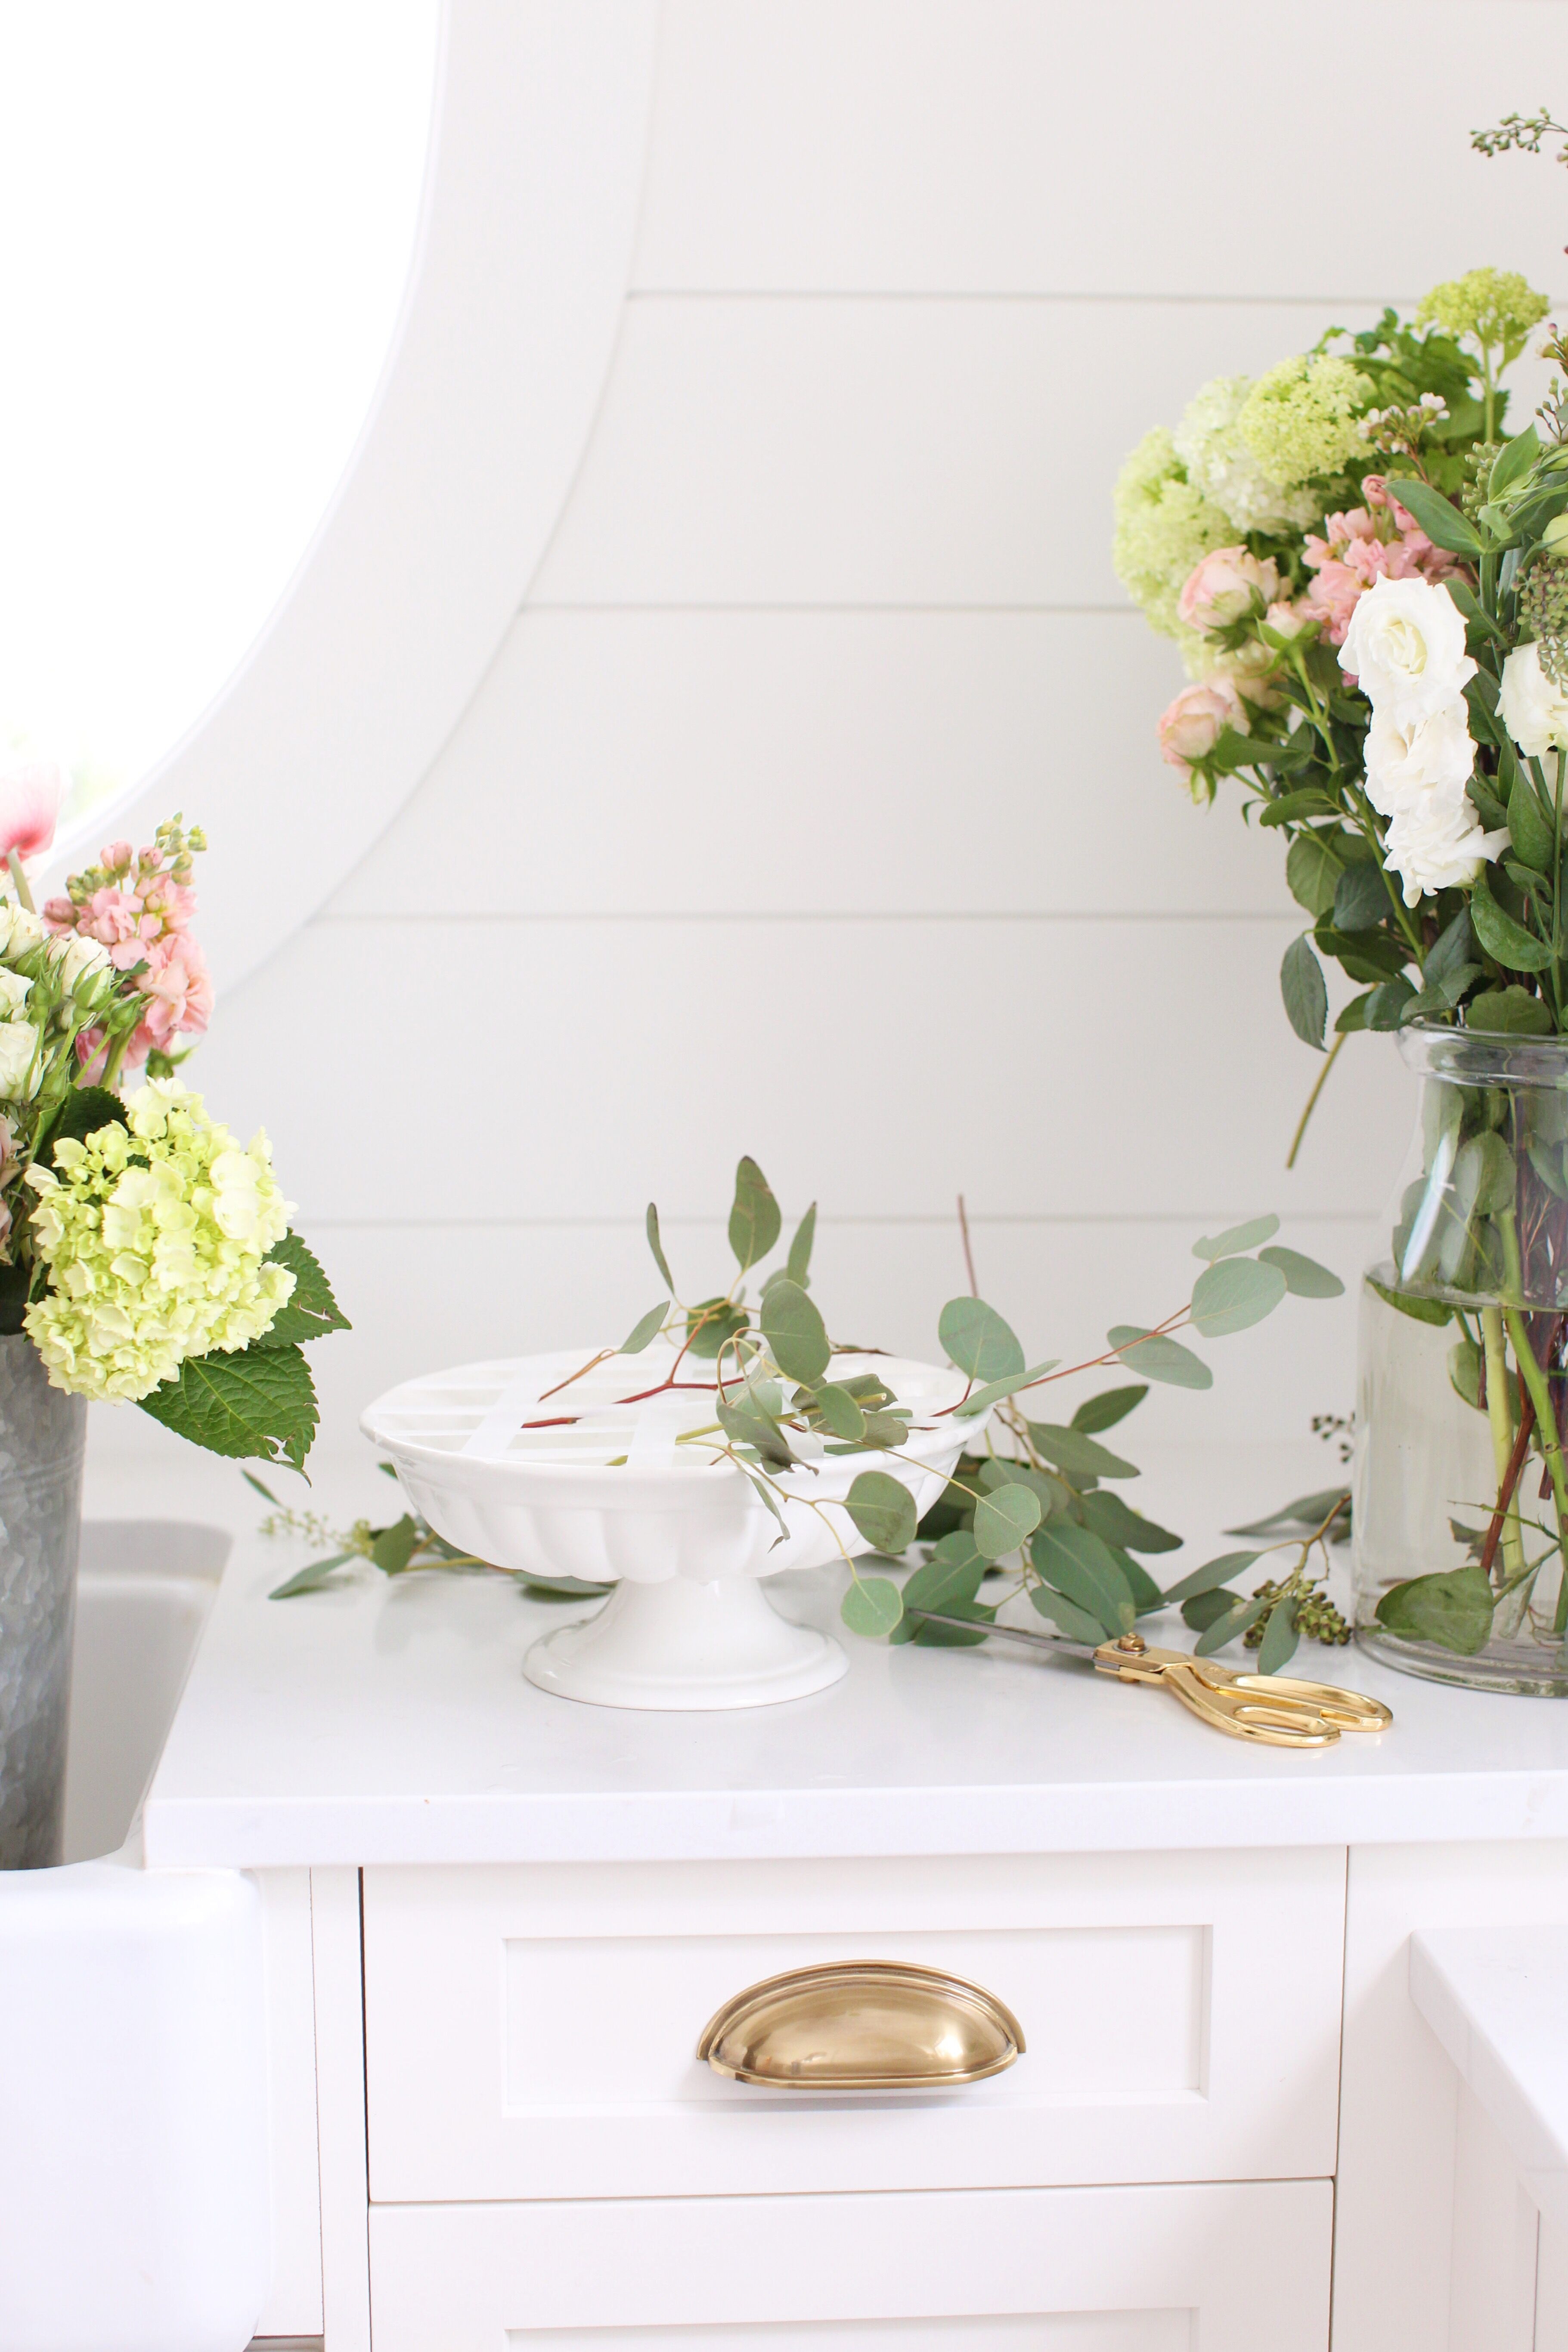
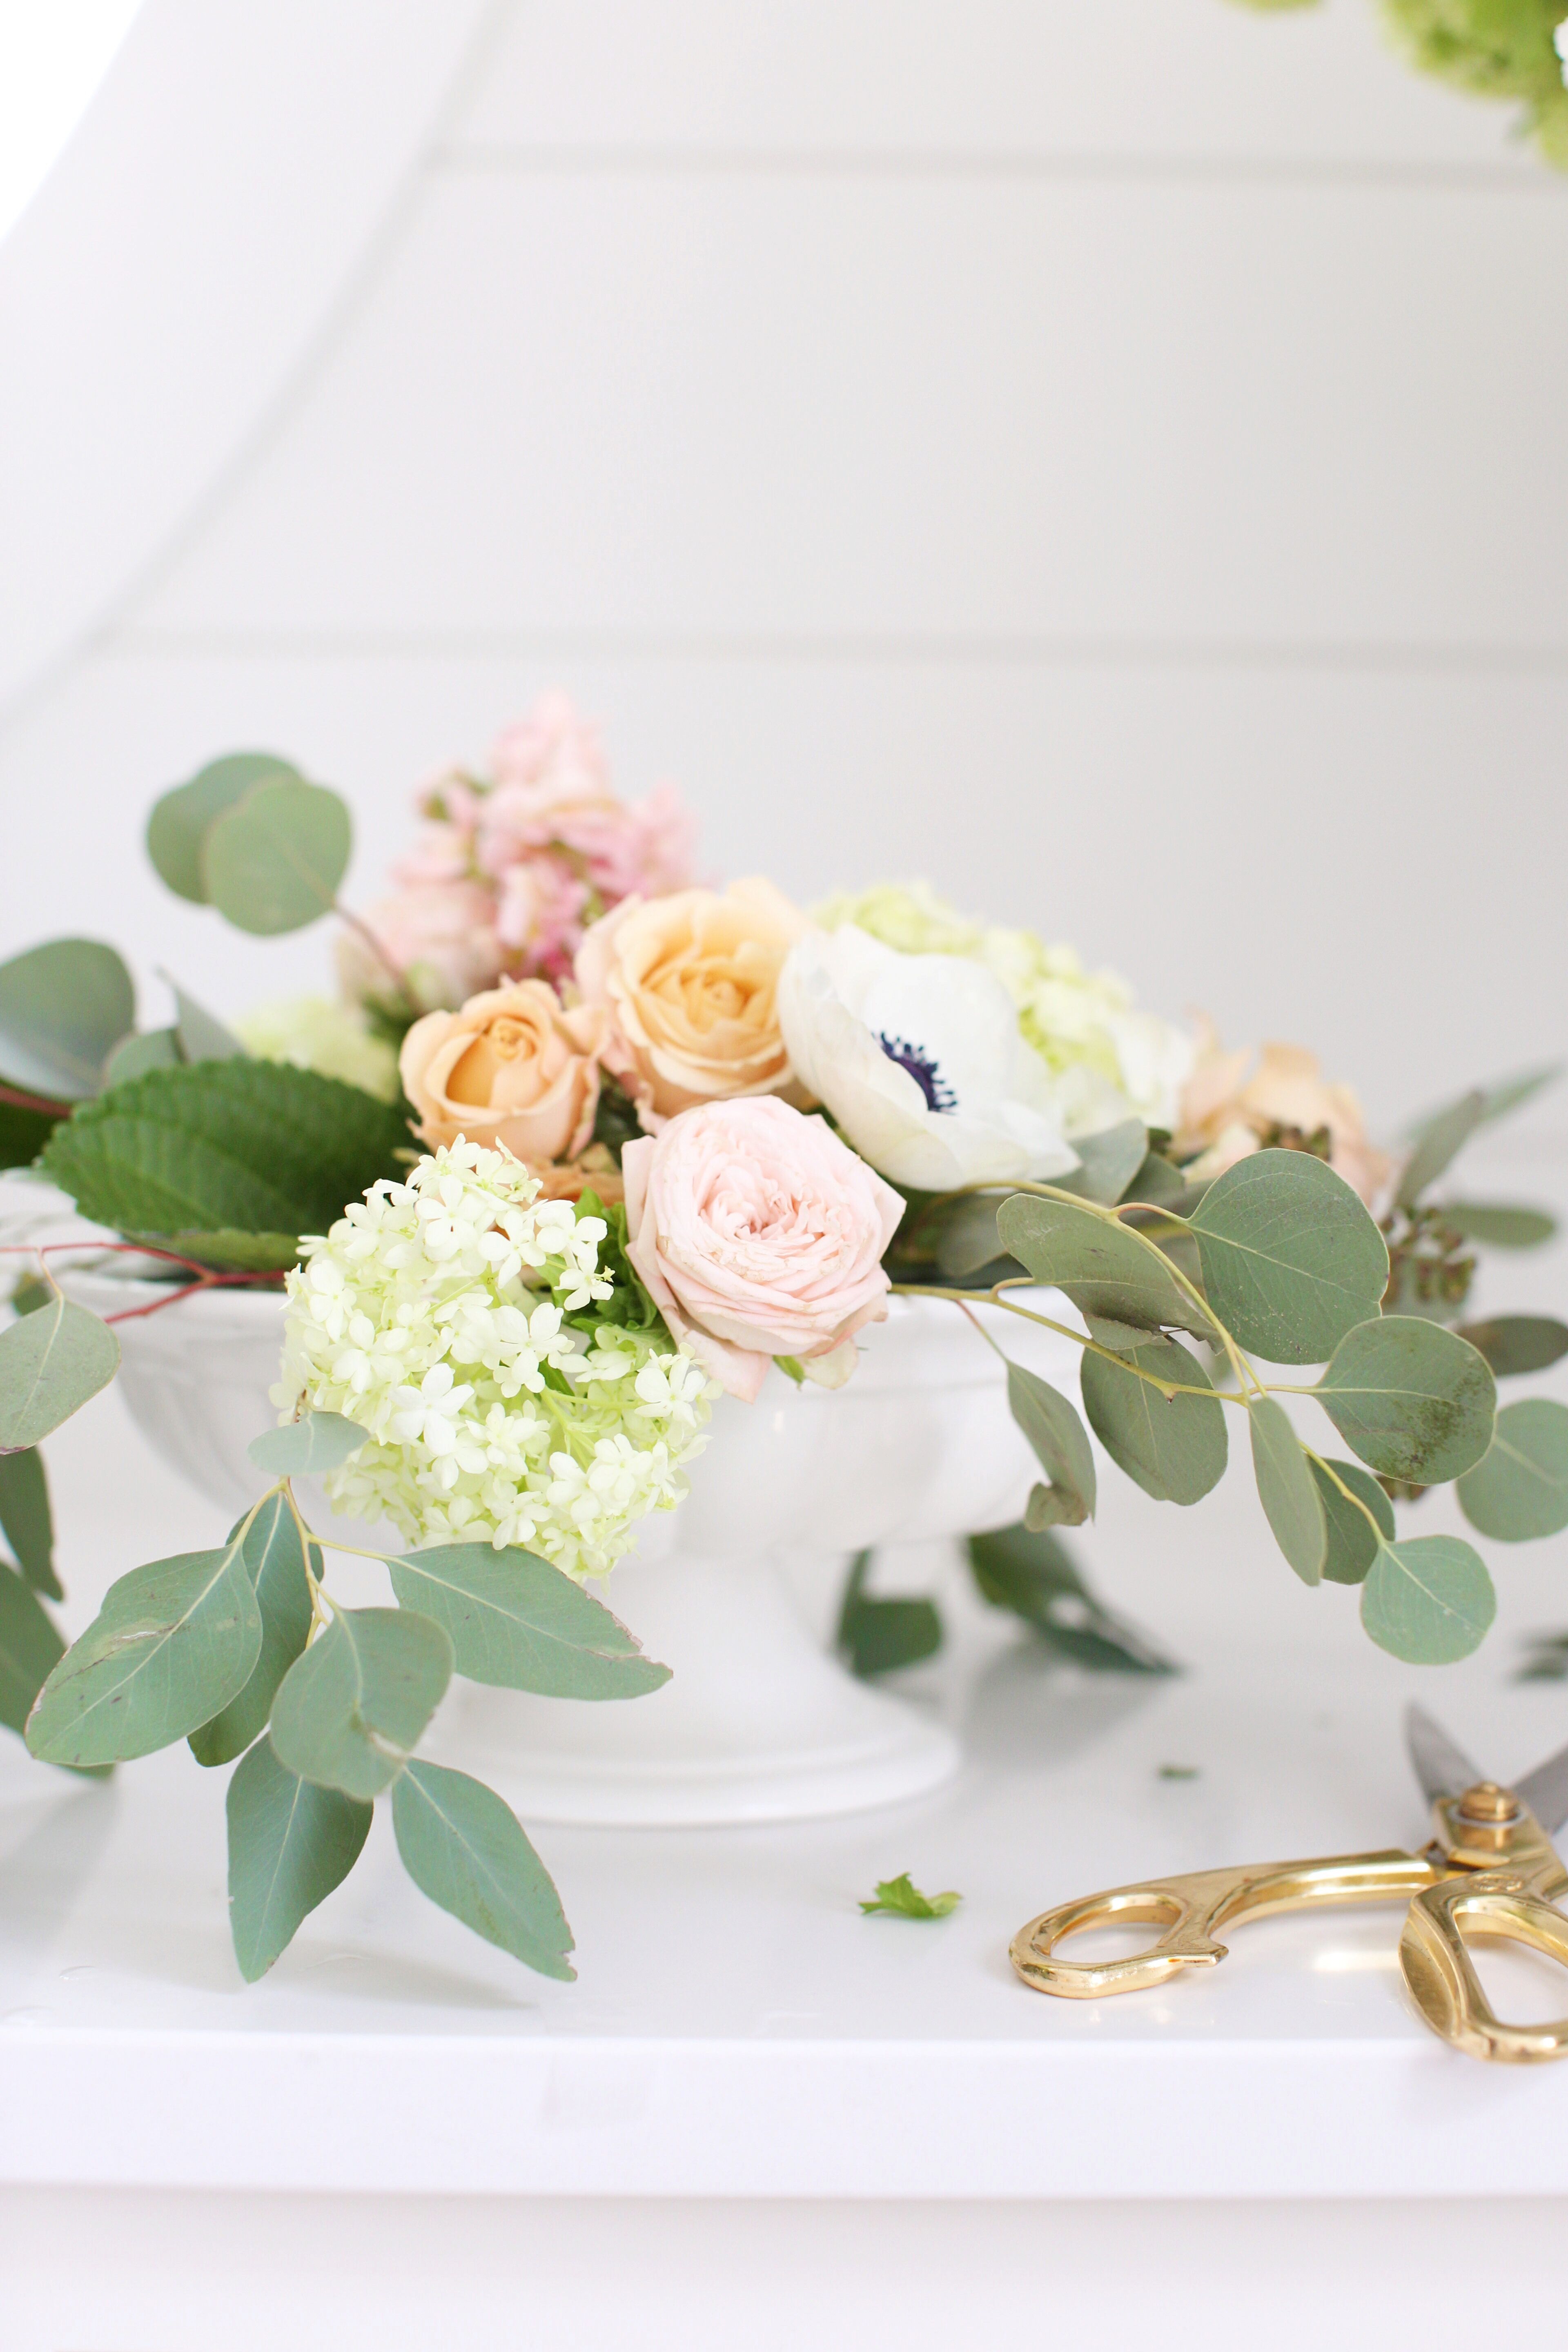
- Starting with your greenery, place the pieces in a random horizontal fashion, cutting down the stems as necessary, so that they somewhat lazily over the sides of the bowl as shown, tucking the ends in under the tape. This will not look perfect at this point and that is ok! You just want to get the main pieces in as a foundation for your bouquet. Repeat with any remaining greenery until you have a loose looking starting point.
Step 3: Arrange the flowers
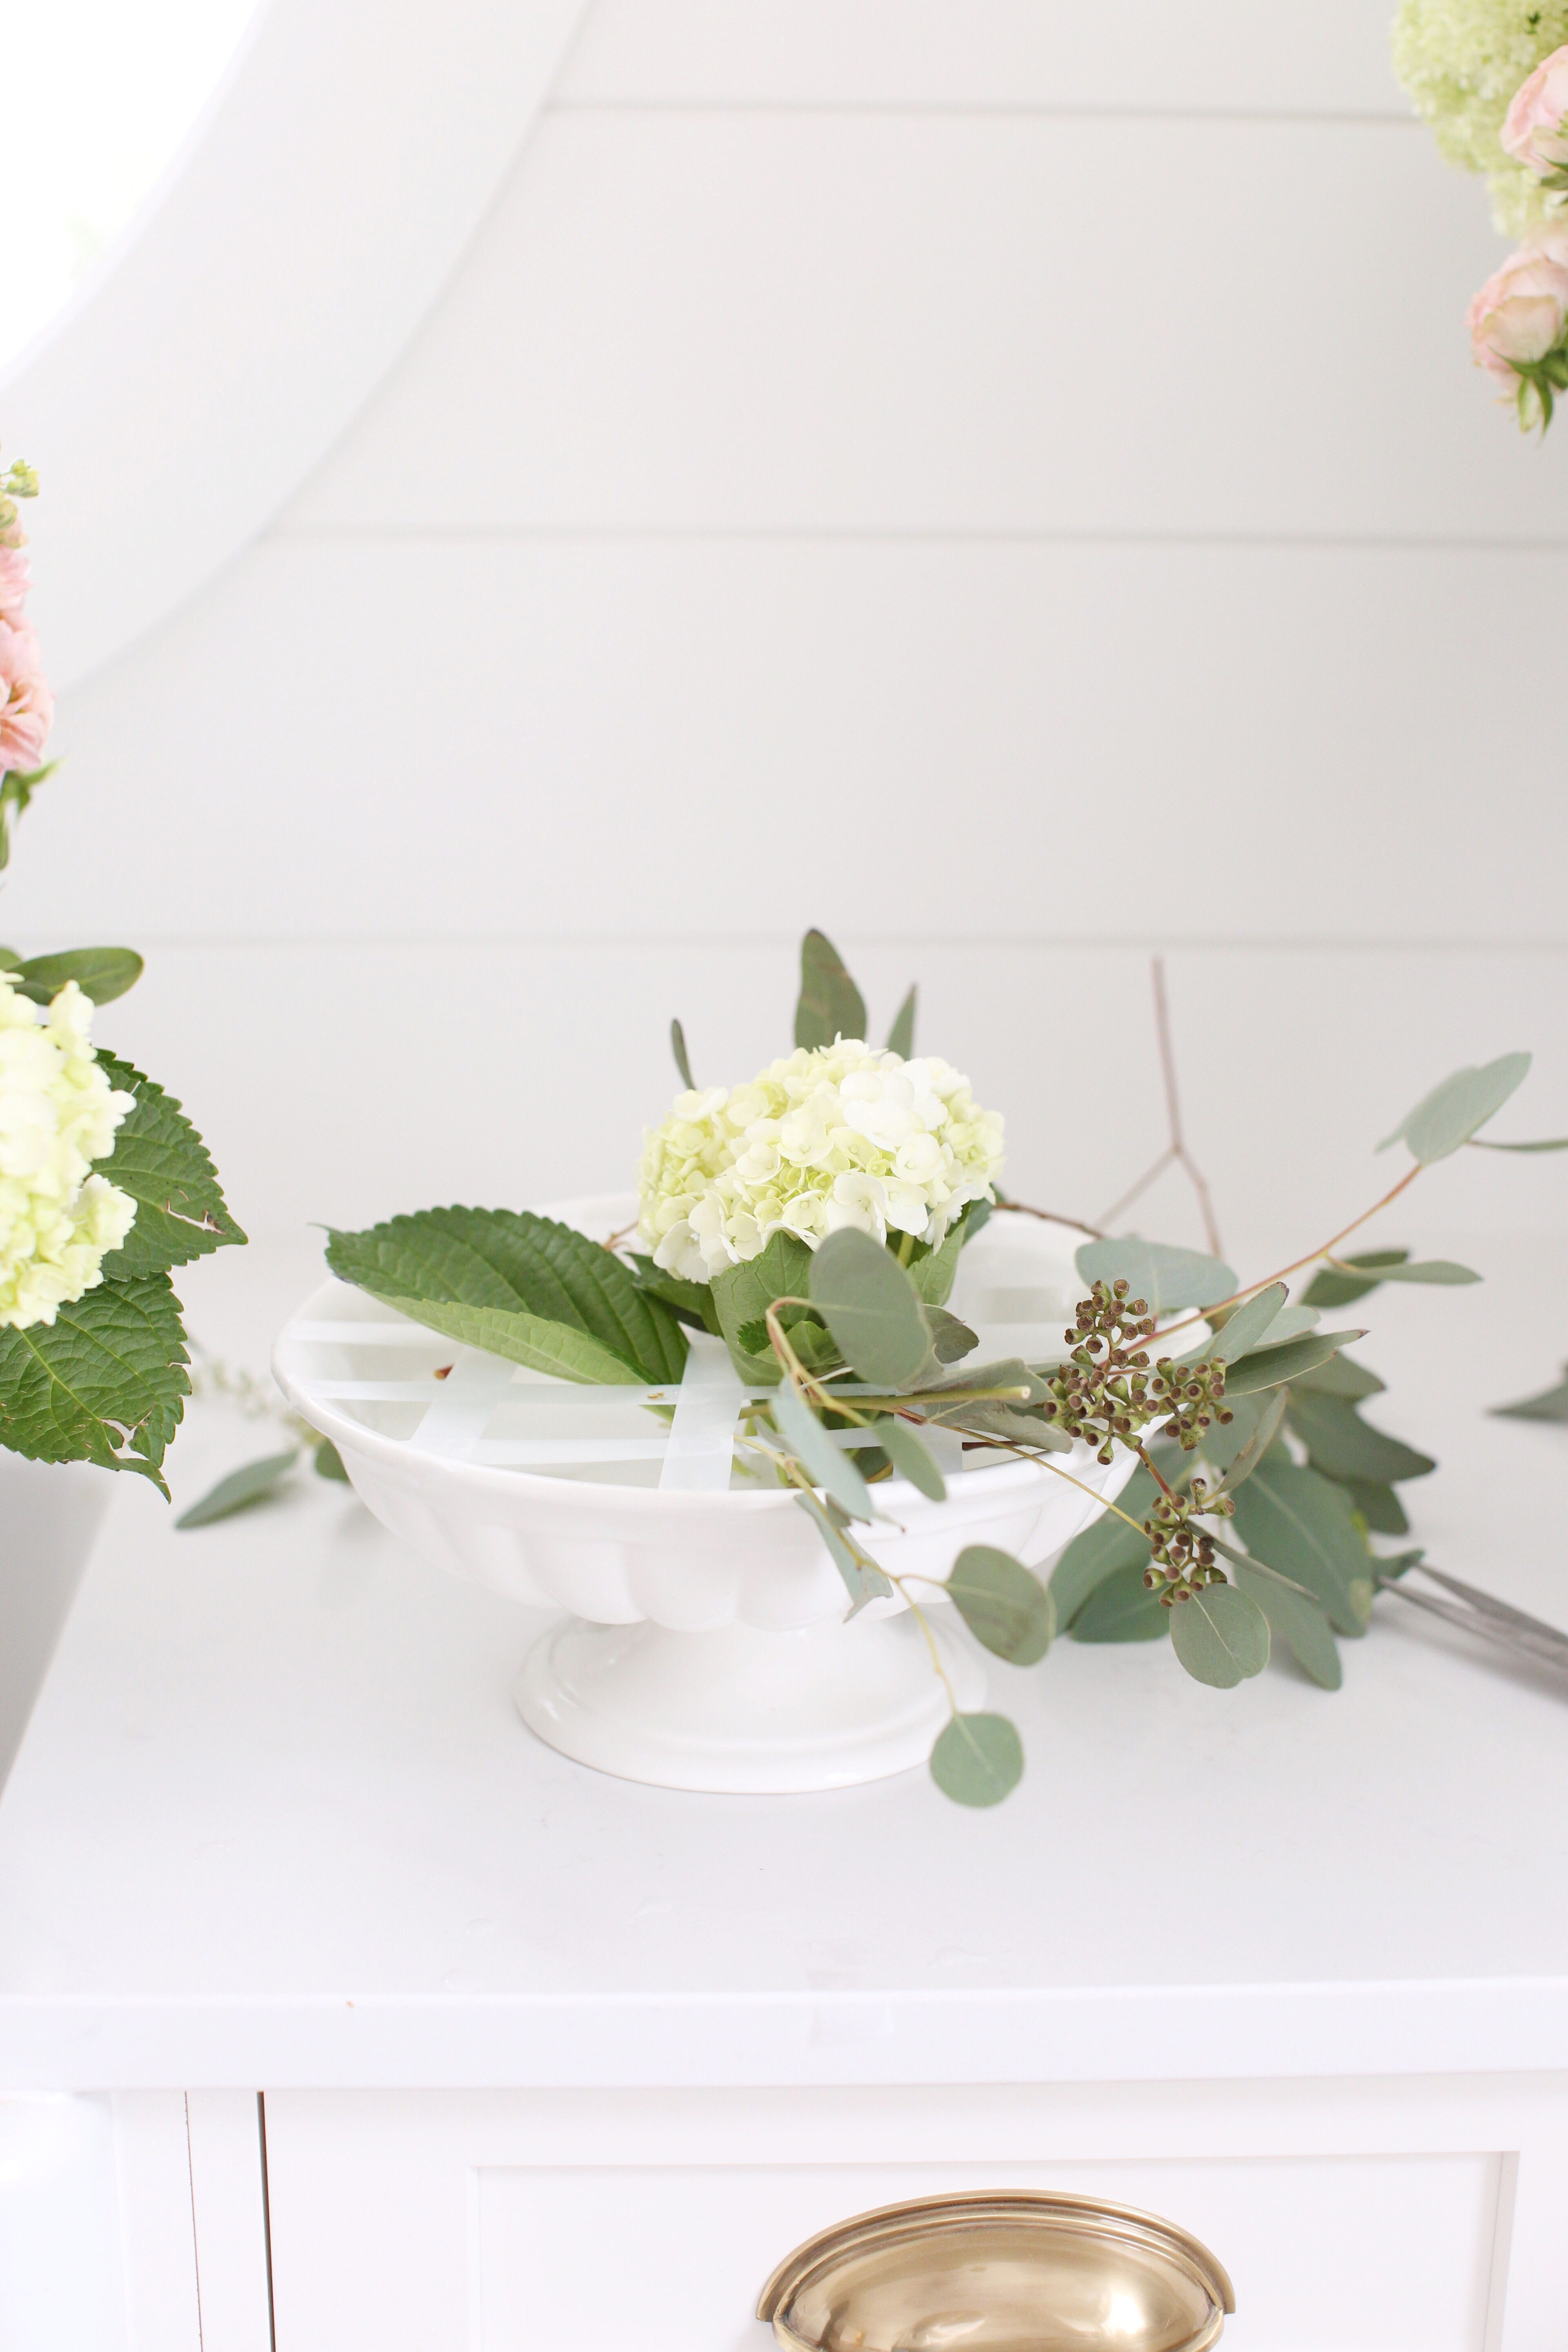
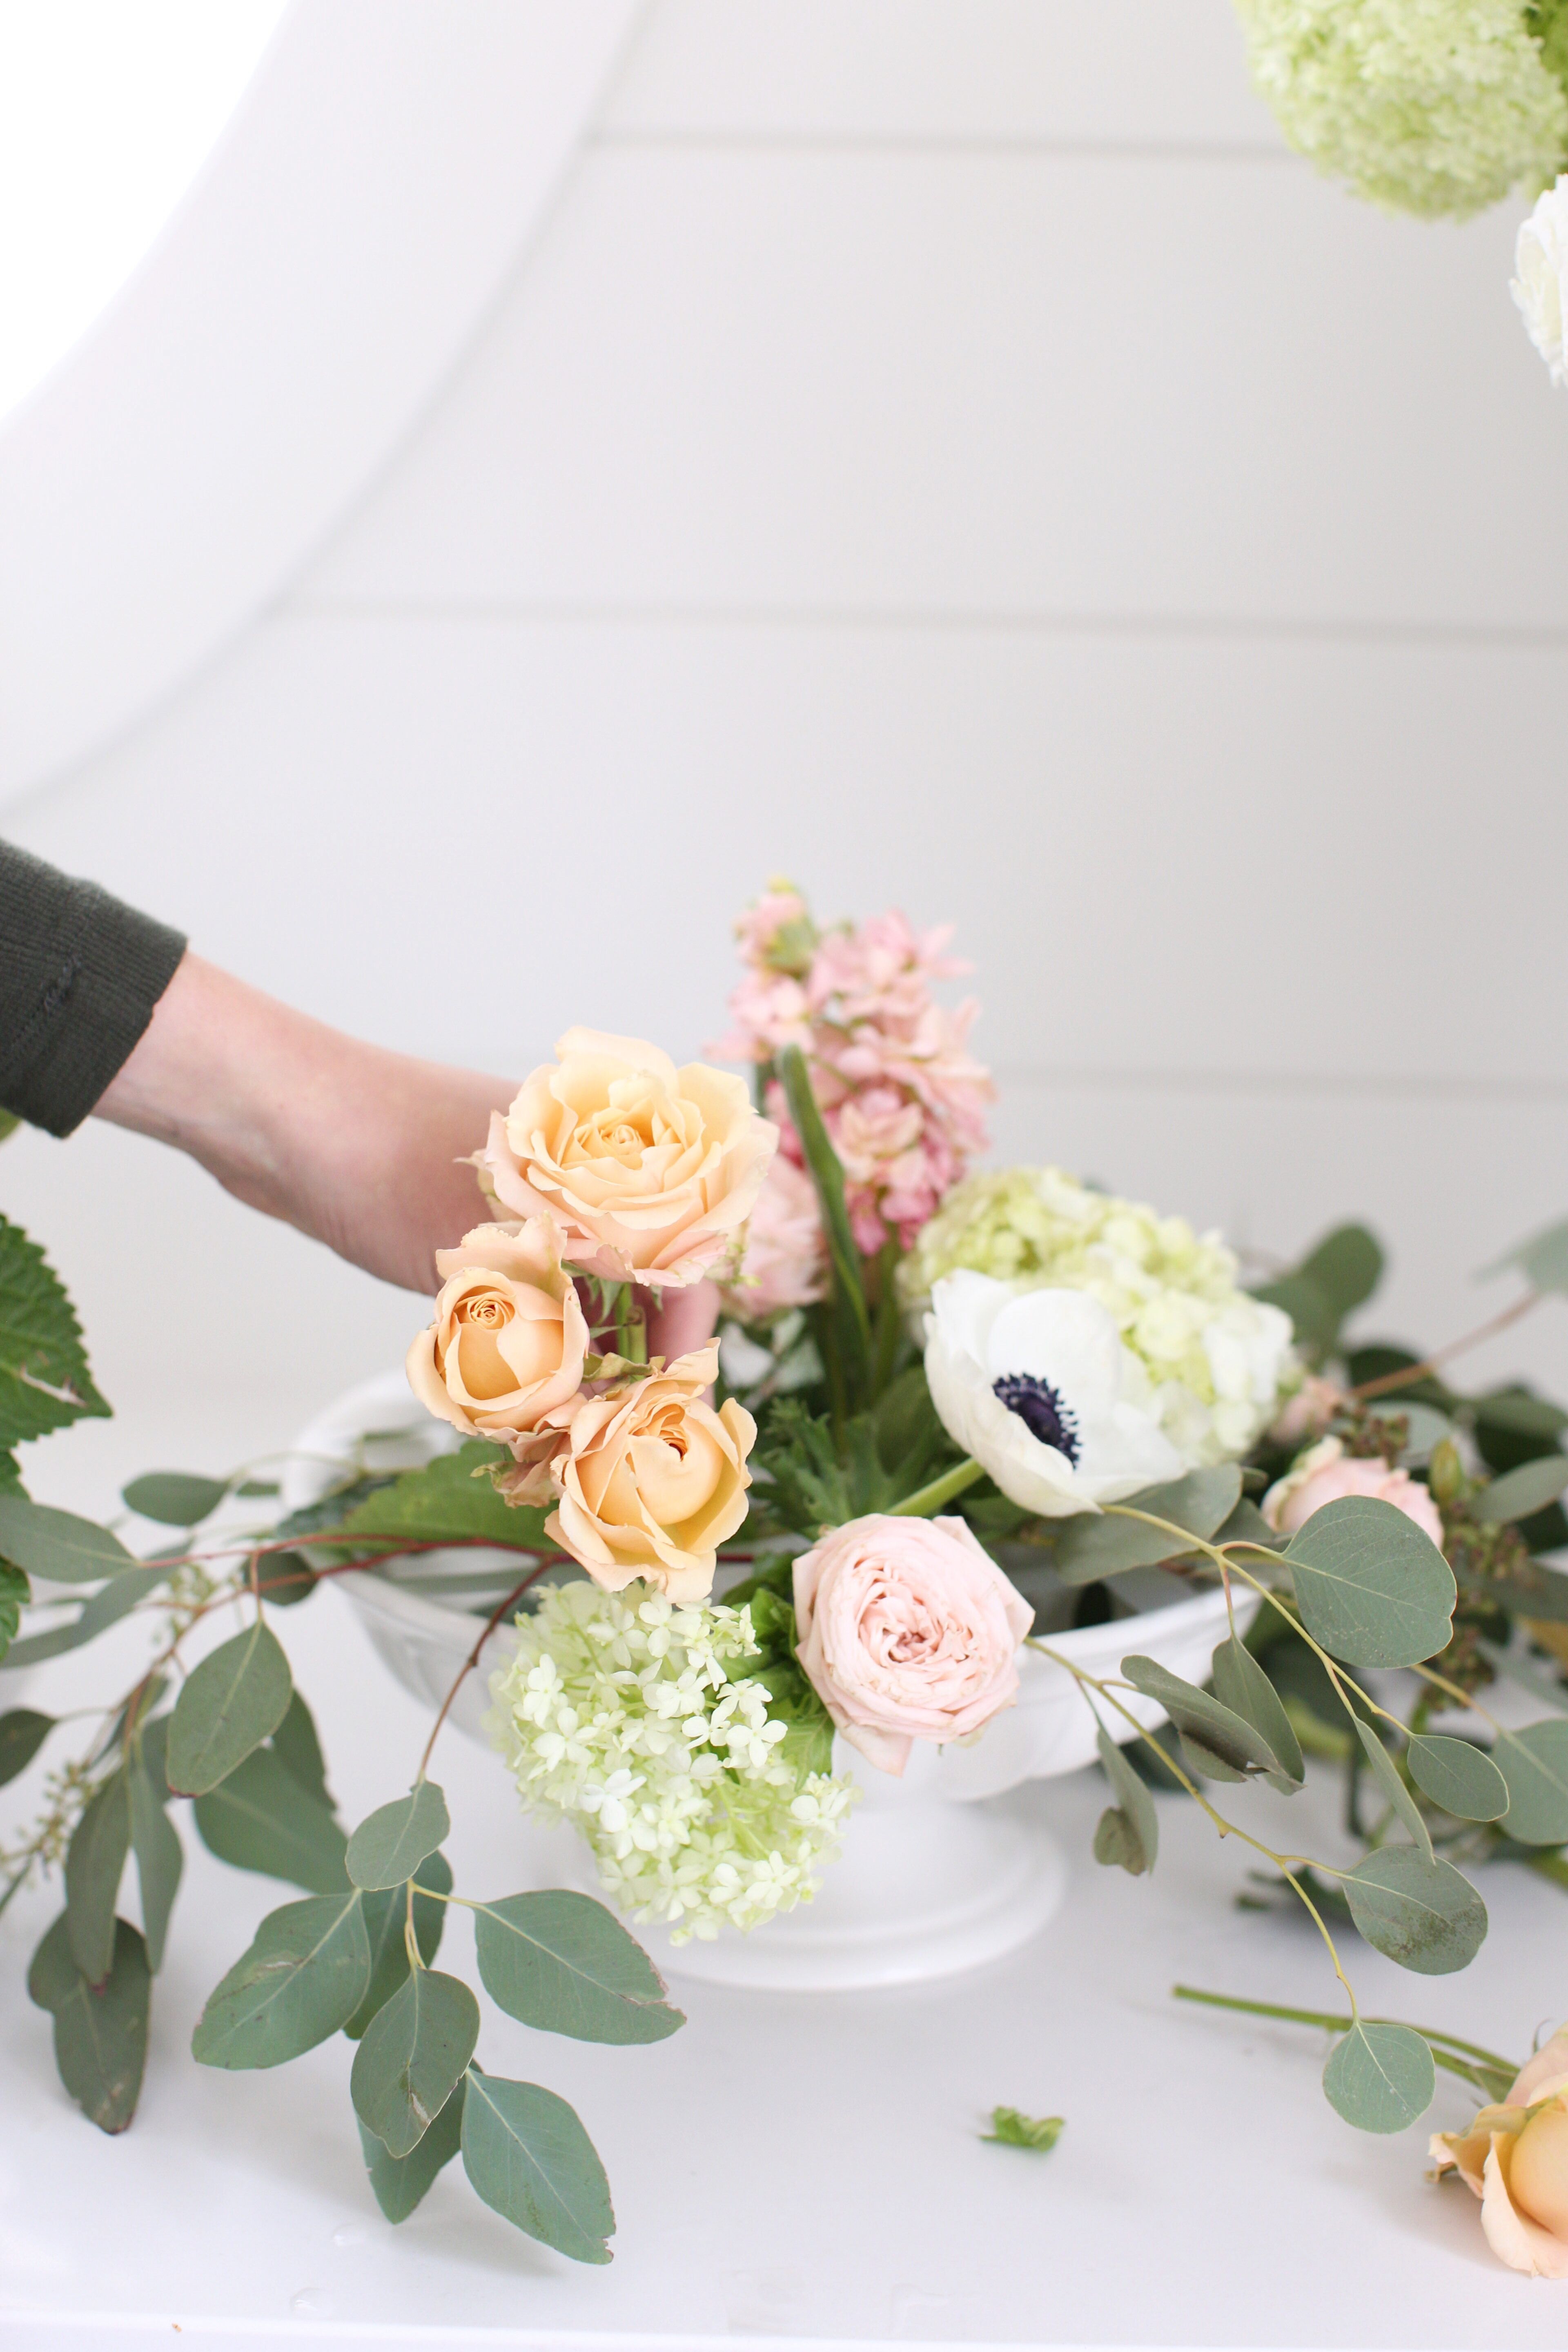
- Starting at the top of your arrangement, add in your taller flowers, cutting them down so that the stem is about 5-7″ long. You can always cut them shorter if needed, so don’t get too aggressive with the scissors! I start with the hydrangeas, stock, anemones, lisianthus and garden roses, tucking the ends between the hatched tape and making sure that all of the ends are immersed in the water.
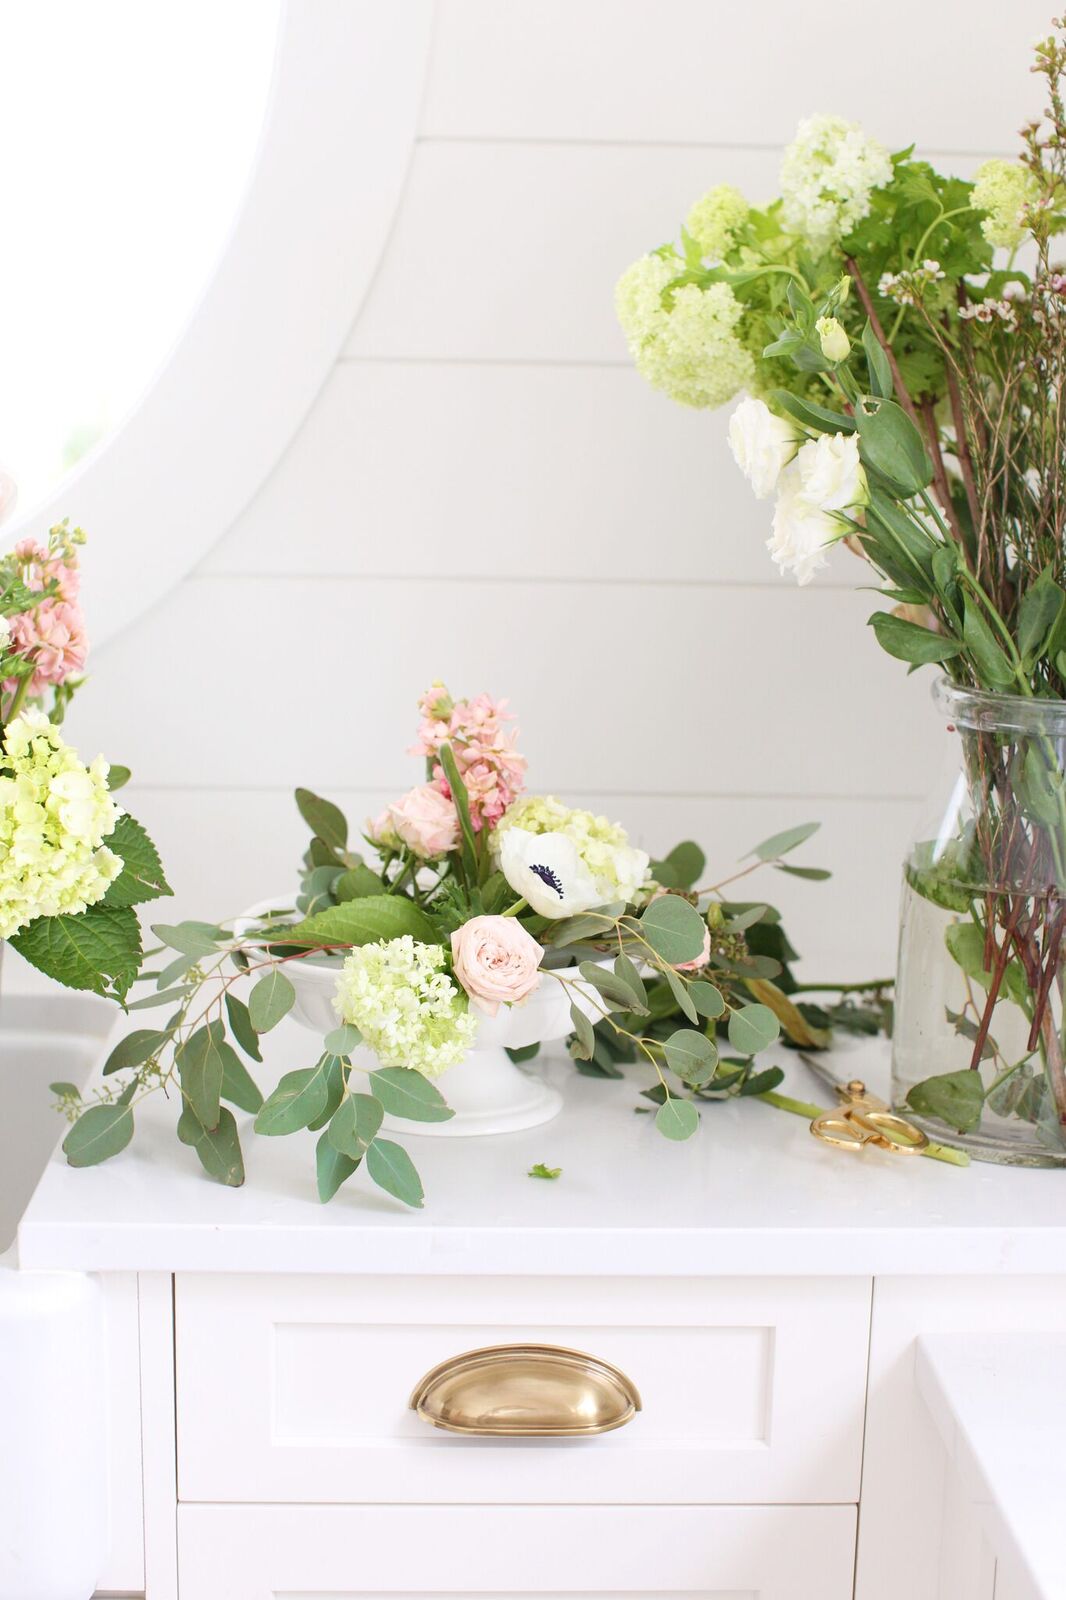
- Continue placing flowers, layering with colour and texture in a random fashion as above until the bouquet is full, reserving the smallest flowers for the end to fill in any gaps. I like using flowers like viburnum around the edges as it has a natural droop to it that lends itself well to a lower placement (don’t fight the flowers, work with their natural shapes!).




Hi Tori!
Wow, that was amazing! I use the green sponge to do mine. Does using the tape elimate having to use it?
Hi Heather yes it does – the sponge works as well but the tape eliminates the need for it.
Nice little guide. Thanks for sharing & please keep them coming using smaller vessels may be or darker coloured flowers 🌺 🌹🌹
Thanks for the feedback Naziha!
What was the cost to make this arrangement ( you must get a discount ) so what would it cost me to get these flowers ?
Hi Peggy, it depends on where you are buying them but it is around $60
Would these colors work for Thanksgiving?
Hi Kate, I think they would, but I would personally add a bit of a burgundy hue to it with perhaps burgundy Dahlias or another flower (skimmia comes in this colour, is not expensive and is very showy – just ask your florist)