These Apple Thyme Focaccia take a bit of time to make but it are WELL worth the effort! If you’re having company (or not lol), these make a pretty sweet weekend project if you feel like channeling your inner Martha Stewart!
When I lived in Vancouver I used to go to Granville Island Market on the weekends, buy a nice cup of coffee and very slowly purchase my groceries, visiting every stand and chatting with the hard working owners. I tried re-living this experience with Charles and the boys when we were there last month. Not exactly the same lol. Ok, truthfully it was a hot mess. Not quite sure what I was thinking.
But about the market; Terra Breads always had this incredible Apple Rosemary Focaccia that I still dream about to this day. It was chewy and sticky and perfectly sweet and salty: my kind of treat (I’m sure they still have it – I didn’t get a chance to check last time). In any case, since I live 4 hours away I figured I would try making something similar at home.
Baking: an Art or a Science?
Now, baking is a bit of an art AND a science. There is a certain ‘feel’ when it comes to baking bread products especially. I feel as though I will be a life long student here, and gladly so. I 100% find making bread cathartic – it’s really so satisfying to knead the dough (stress relief ladies) and I LOVE the feel of kneaded dough when it is perfectly soft but stretchy. Call me weird.
All to say that it may take a bit of time to perfect your dough skills if you’re a newbie… and that’s ok! Hey, the first loaf of bread I ever made weighed about 20 pounds and even the dog wouldn’t eat it (true story – turns out you can’t rush the rising process in the oven). It’s like most things in life, practice makes perfect.
Tips and Tricks for this Recipe
About this recipe: it may seem odd to spray your dough with water during the baking process but this step gives you an artisan chewy texture to the focaccia that is truly out of this world (you can buy spray bottles at most hardware stores for the record). Just in case you were mulling over skipping this step!
When you’re kneading your dough you want to start with a smaller amount of flour and gradually increase it. Once you’ve added too much flour there’s really no turning back. Once it holds together just enough to dump it on to the counter I just keep sprinkling flour on top and kneading away until I get the texture I want. It really ends up feeling like a baby’s bum at the end (I can’t think of a better comparison, someone help a sister out!). Soft and pliable and basically perfect.
As for the honey, I like using the Peace River Honey, but you can use whatever honey you want (choose a runny honey, not a creamed version).
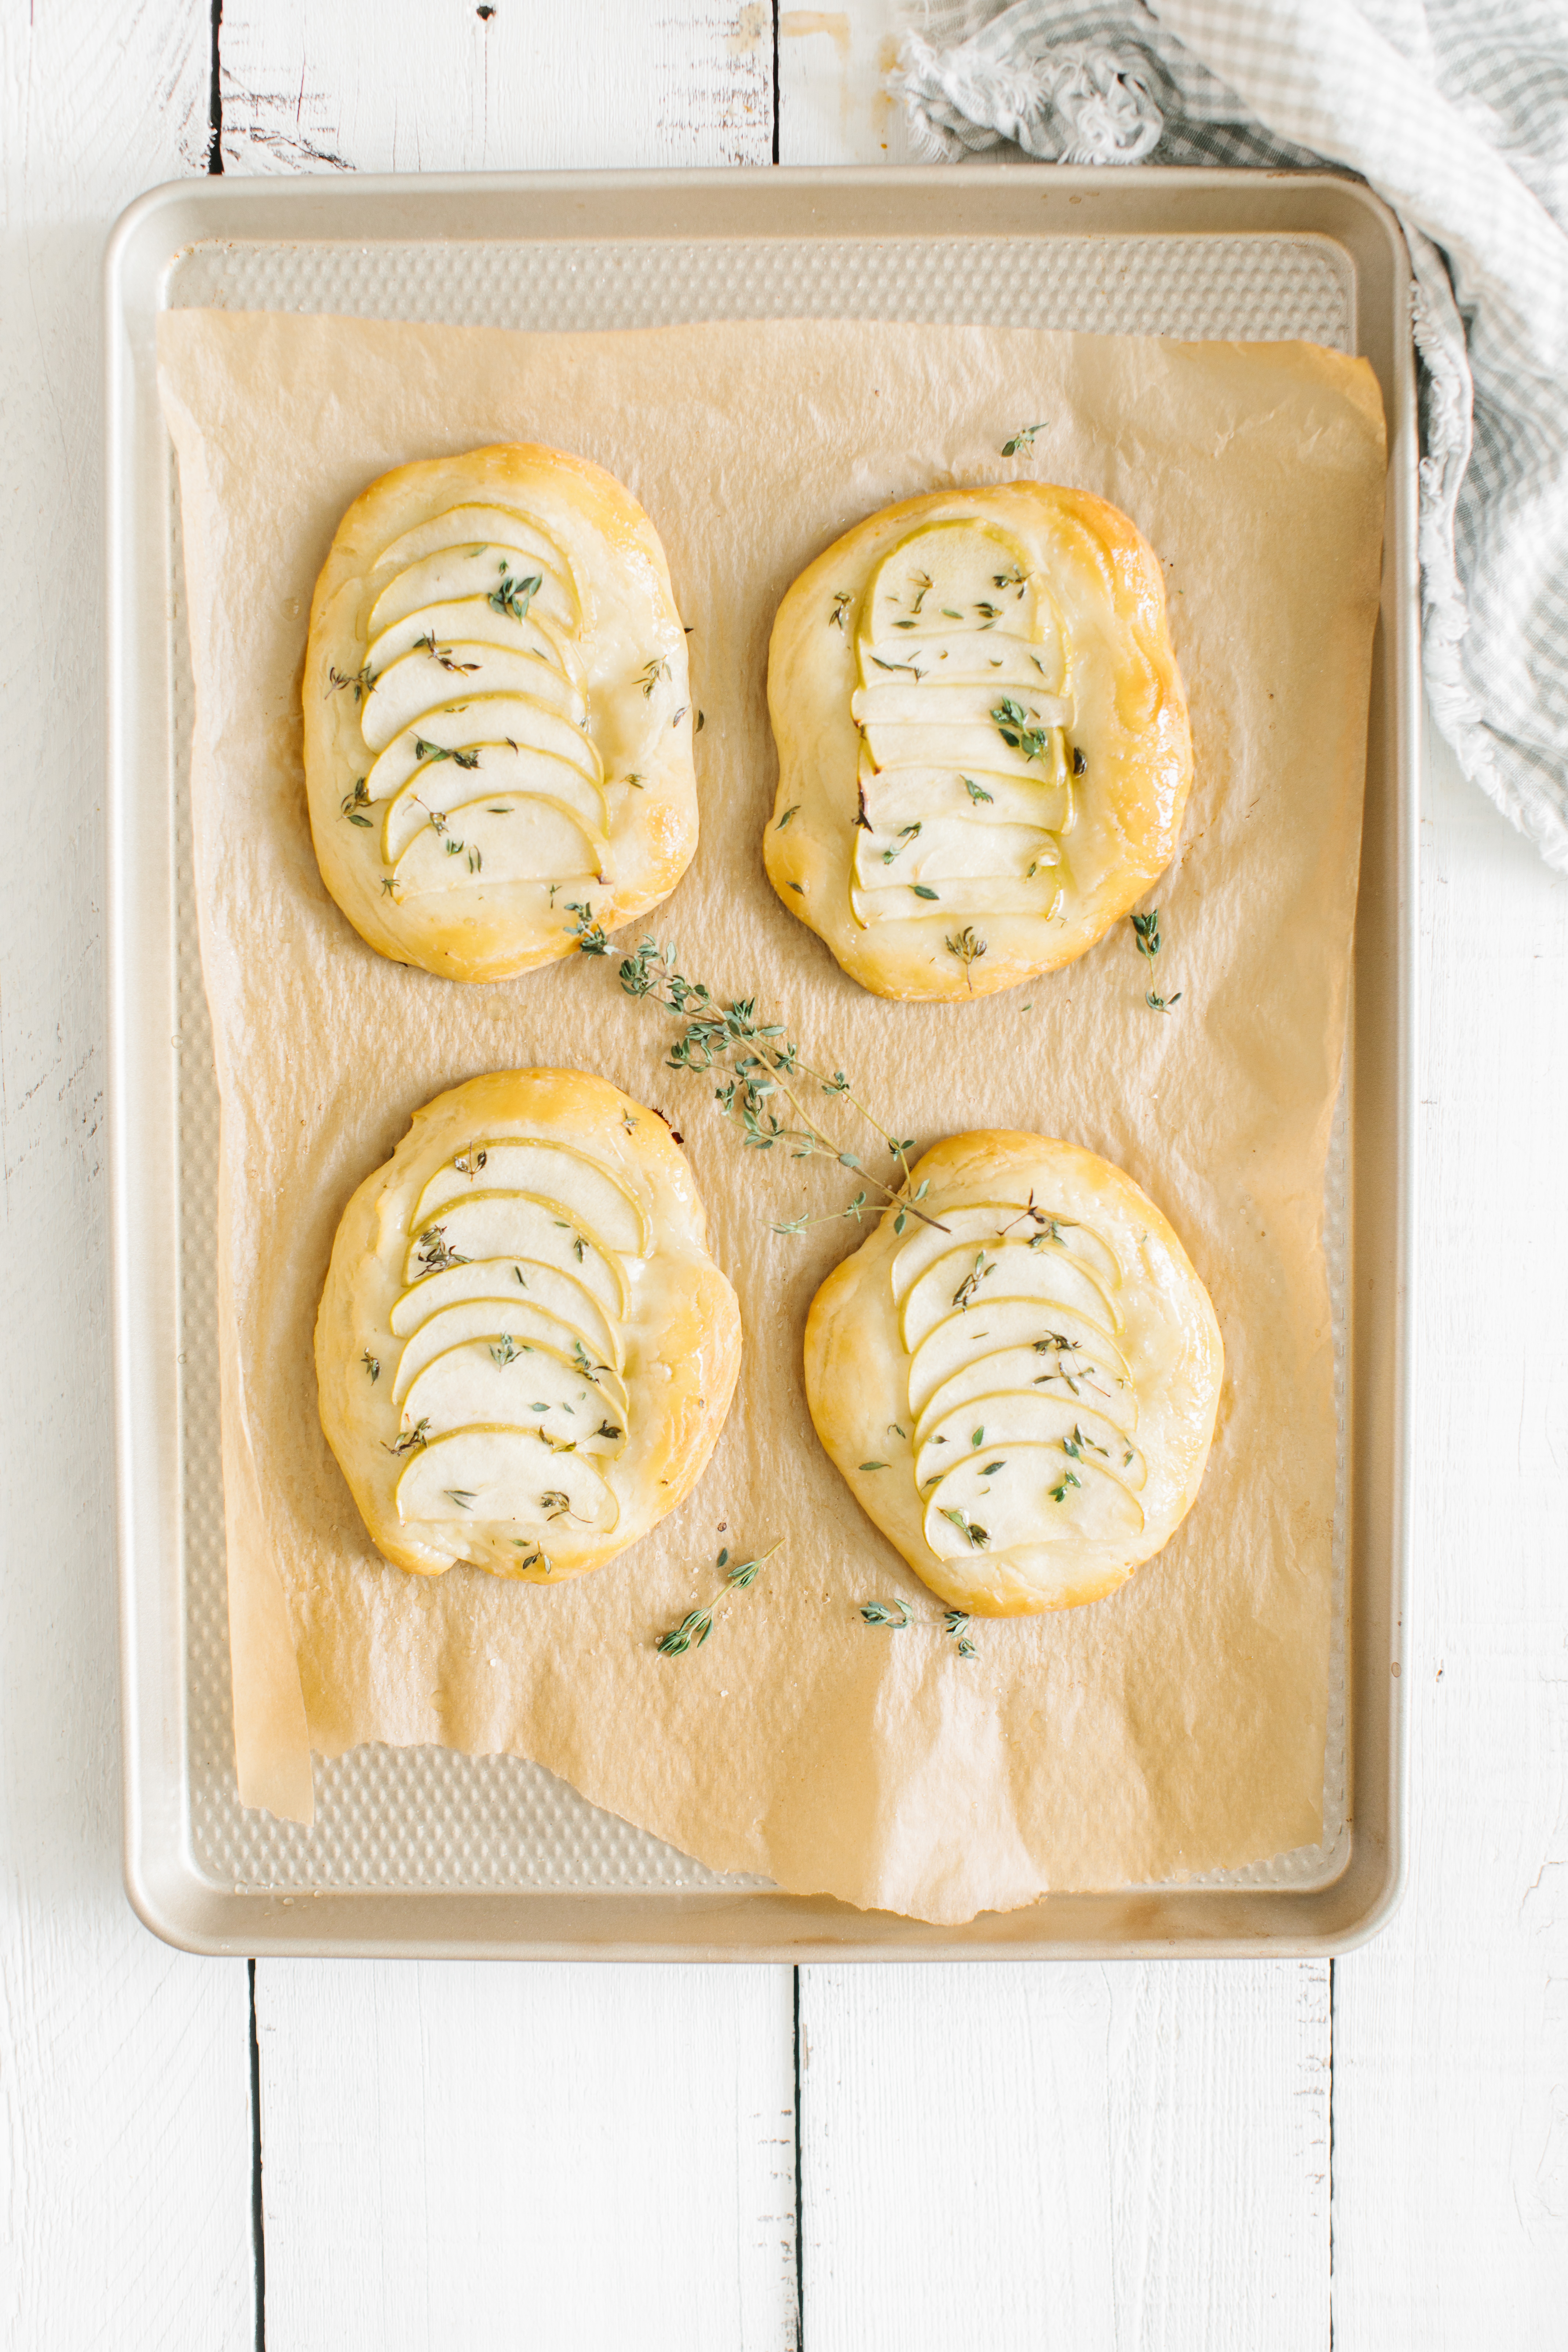
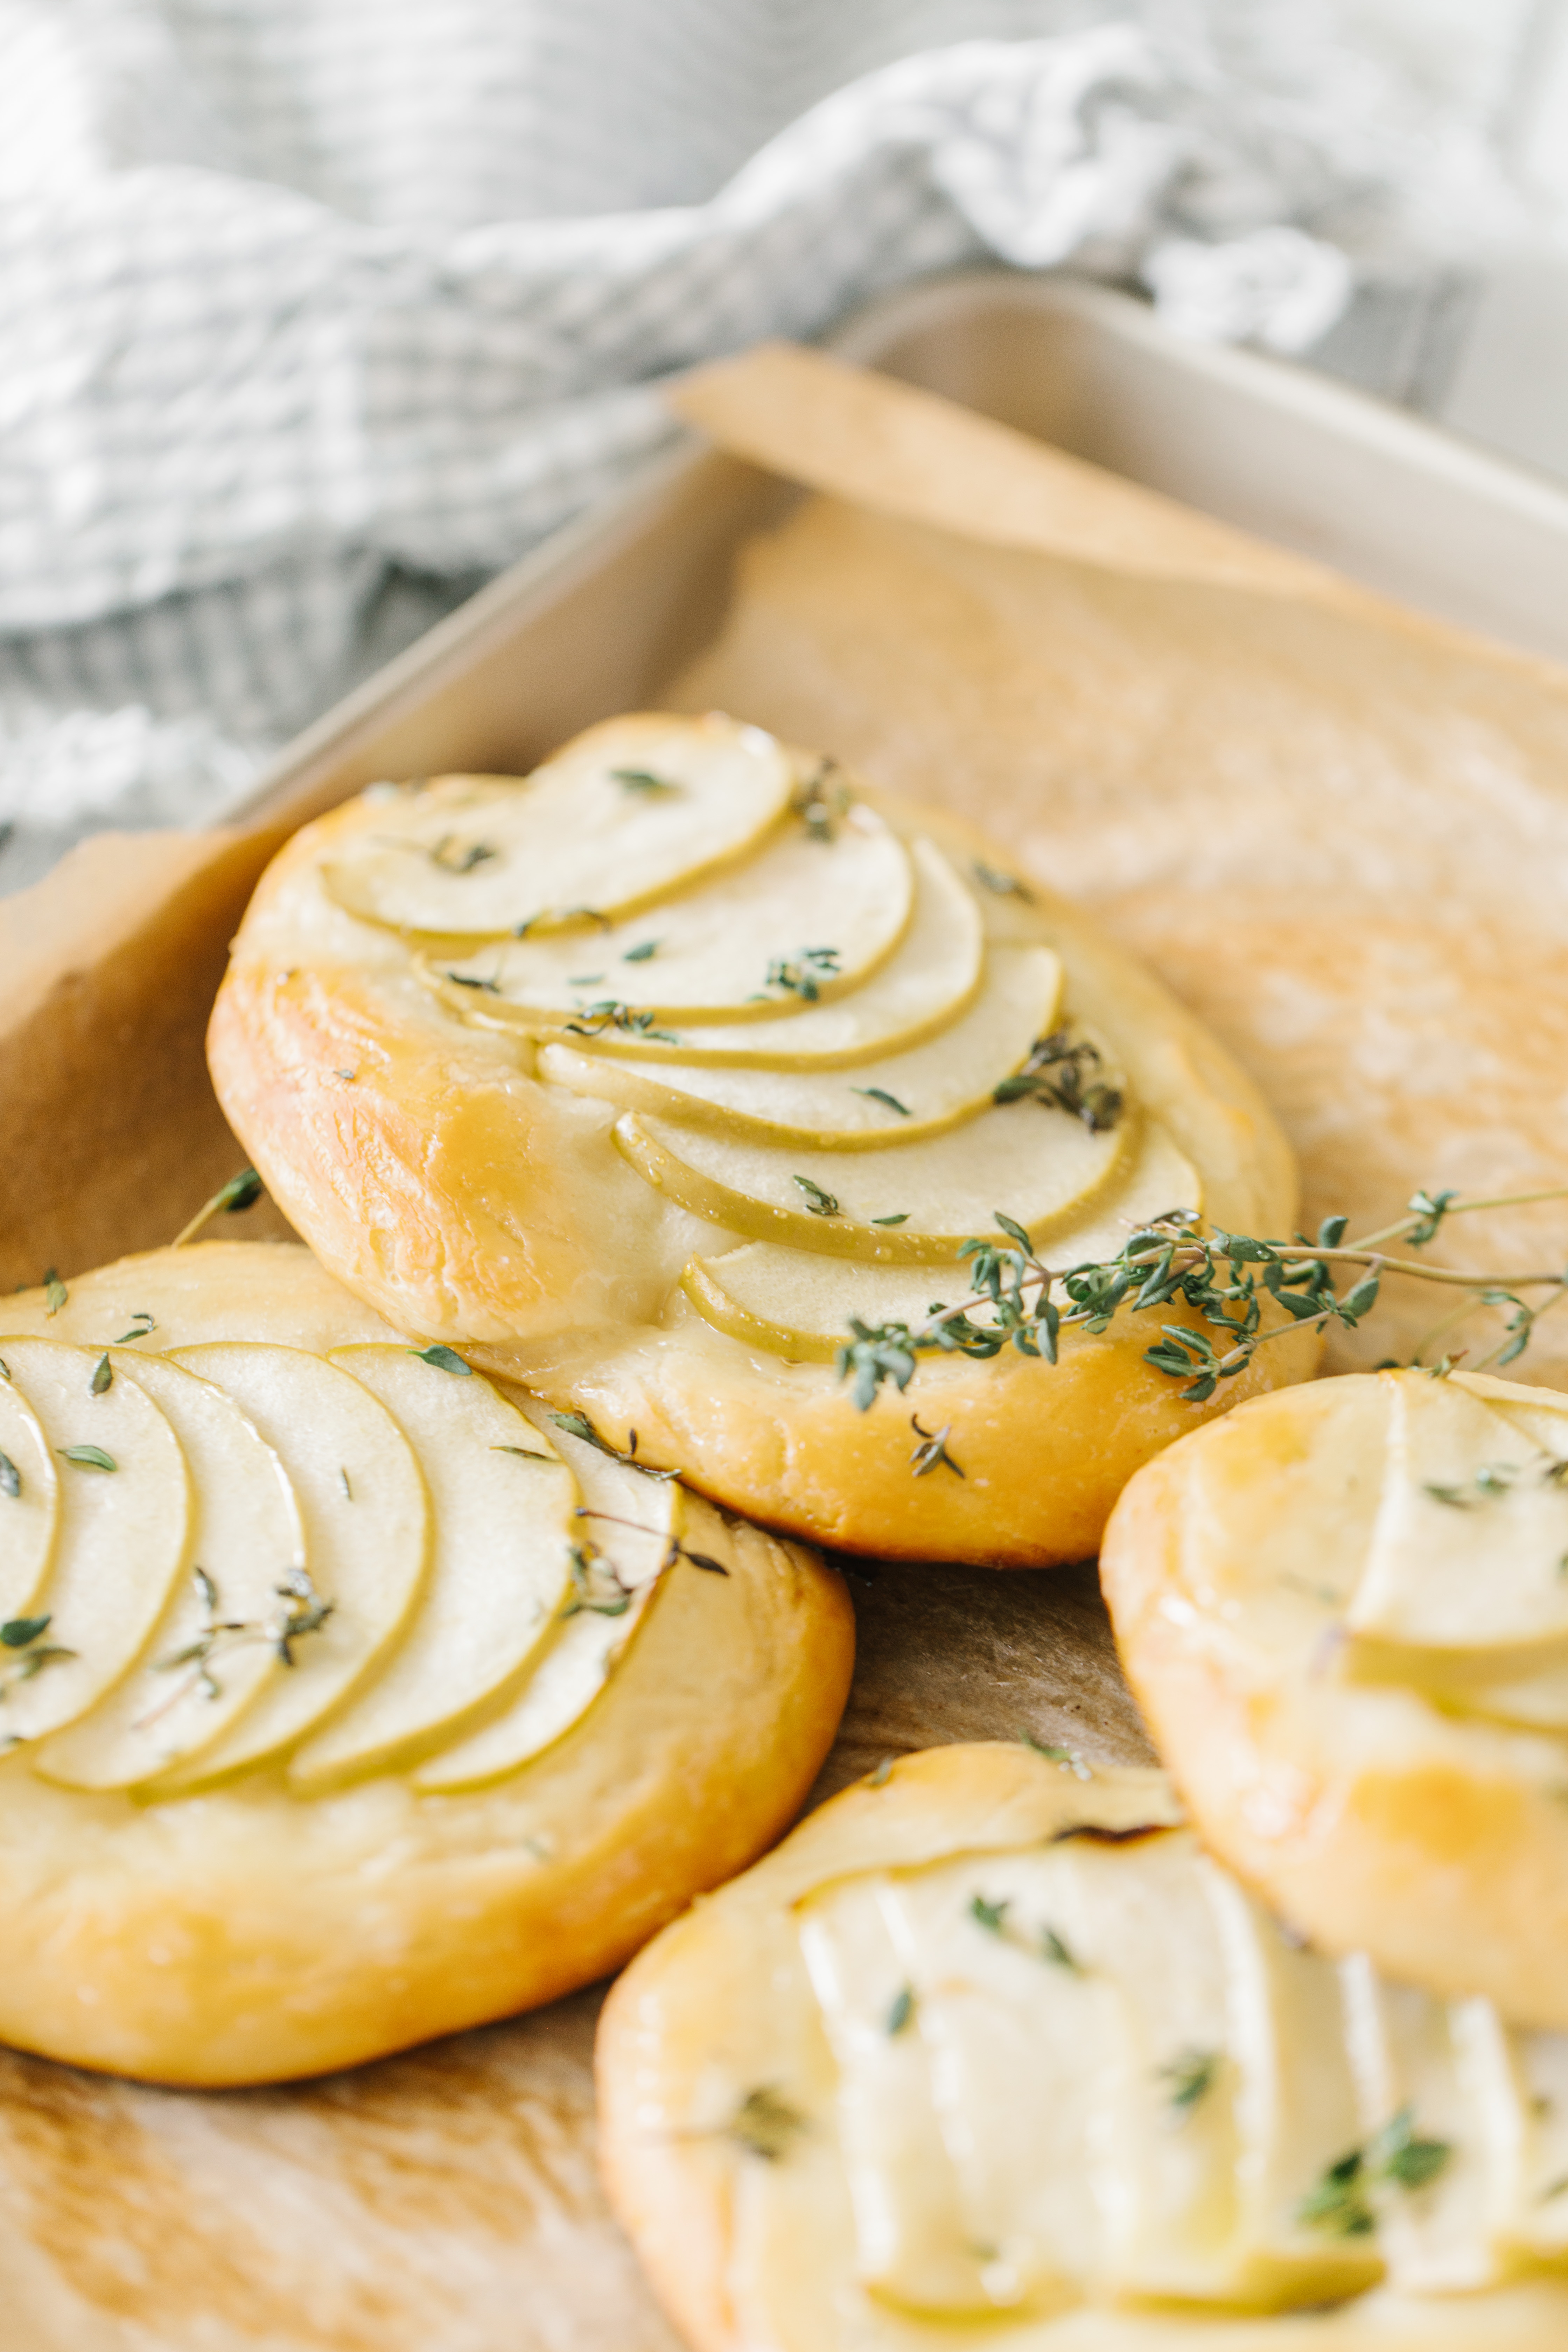
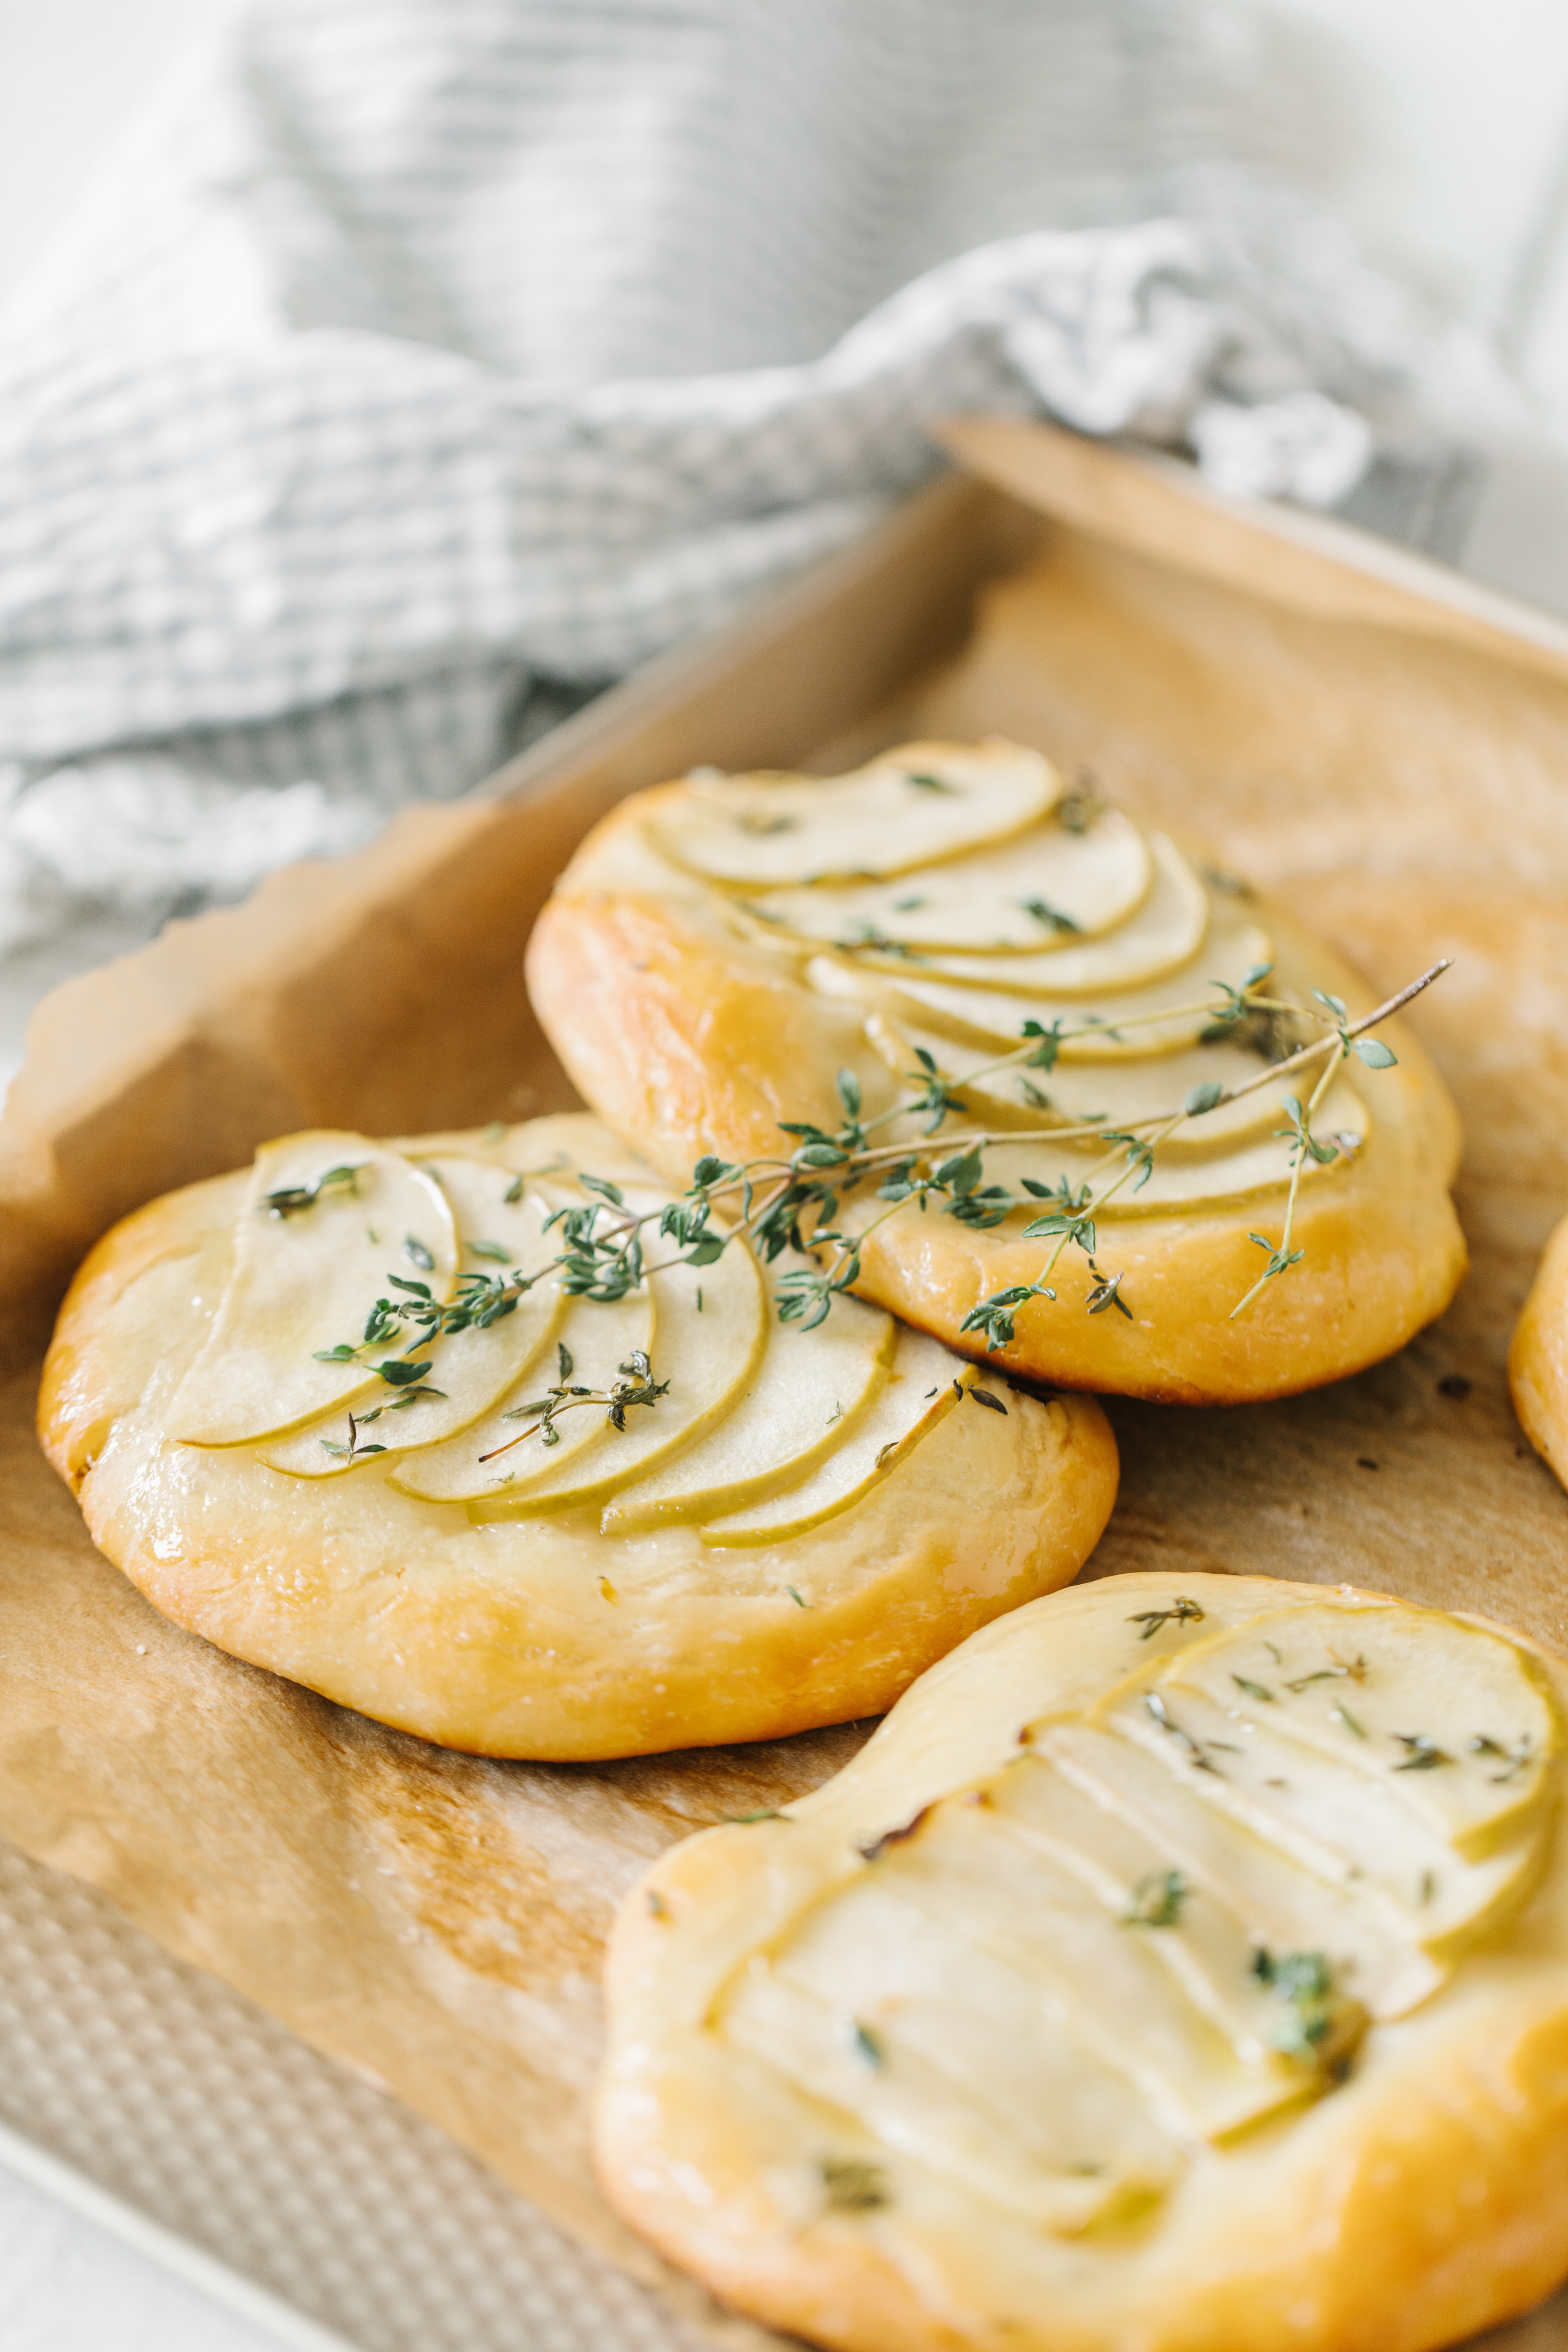
This Apple Thyme Focaccia is a super impressive treat to serve guests all-year round, they’ll think they stepped into a bakery!
If you’re looking for a savoury version of this focaccia look no further than this recipe for a Potato Rosemary Focaccia that I created for Jillian’s Blog! If yeast bread isn’t your thing but you still want to get your bake-on this weekend, try these Sneaky Mommy Muffins, this Okanagan Apple Cake or this Gluten Free Apple Crisp!
Happy weekend loves!
xo
Tori
Apple Thyme Focaccia
Apple Thyme Focaccia
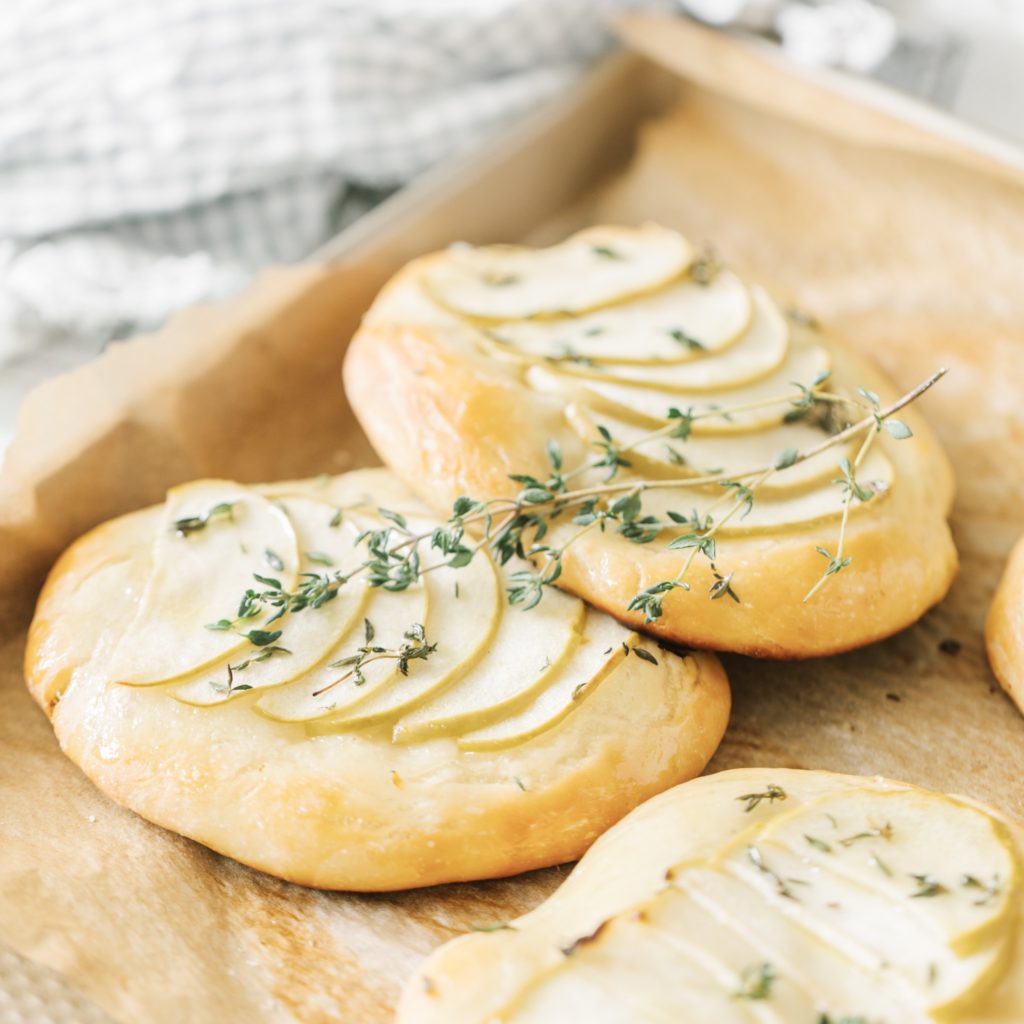
This Apple Thyme Focaccia is a super impressive treat to serve guests all-year round, they’ll think they stepped into a bakery! Makes 6-8 individual focaccia.
Ingredients
For the focaccia dough:
- 1 ¼ cups lukewarm water
- 1 teaspoon sugar
- 1 ½ teaspoons instant active dry yeast
- 2 tablespoons extra virgin olive oil plus extra for greasing the bowl
- 1 teaspoon sea salt plus extra for sprinkling
- 2 ½ - 3 ½ cups all-purpose flour
- 2 cups water in a spray bottle
For the Apple Thyme Foccacia
- 2-3 large cored apples* (unpeeled) thinly sliced
- 2 tablespoons fresh thyme leaves
- ½ cup warmed honey
- fleur de sel or sea salt (optional)
Instructions
-
In a large mixing bowl, stir together the lukewarm water (somewhere between 95°F and 115°F is fine)and sugar until the sugar dissolves. Sprinkle in the yeast and let it sit until the yeast starts to ferment, for approximately 5-10 minutes.
-
Stir the mixture and add the salt, olive oil, and 3 cups of the flour. Stir together with a wooden spoon and keep adding flour until it is too thick to stir with the spoon. Once it becomes too difficult to mix together with your spoon, place the dough on a well-floured flat surface and knead, pushing the dough using the palms of your hands, for approximately 10 minutes, until the dough looks smooth and stretchy, adding more flour as needed if the dough becomes too sticky. The goal is to have a dough that is stretchy but not stiff.
-
Place the ball of dough in a large bowl coated with olive oil, dust the top of the dough with flour, cover the bowl with a clean damp dish towel and place in a warm draft-free area for about two hours, until the dough has doubled in size. Punch the dough down. At this point you can either refrigerate the dough overnight (or up to 2 days, covered with plastic wrap and occasionally punched down) or divide the dough into 6-7 portions (depending on how big you want your pizzas). Note, if you refrigerate the dough, make sure to bring the dough to room temperature before baking it (bring it out of the refrigerator 1-2 hours before you are ready to bake).
-
Preheat the oven to 450 F and line a large baking sheet with parchment paper.
-
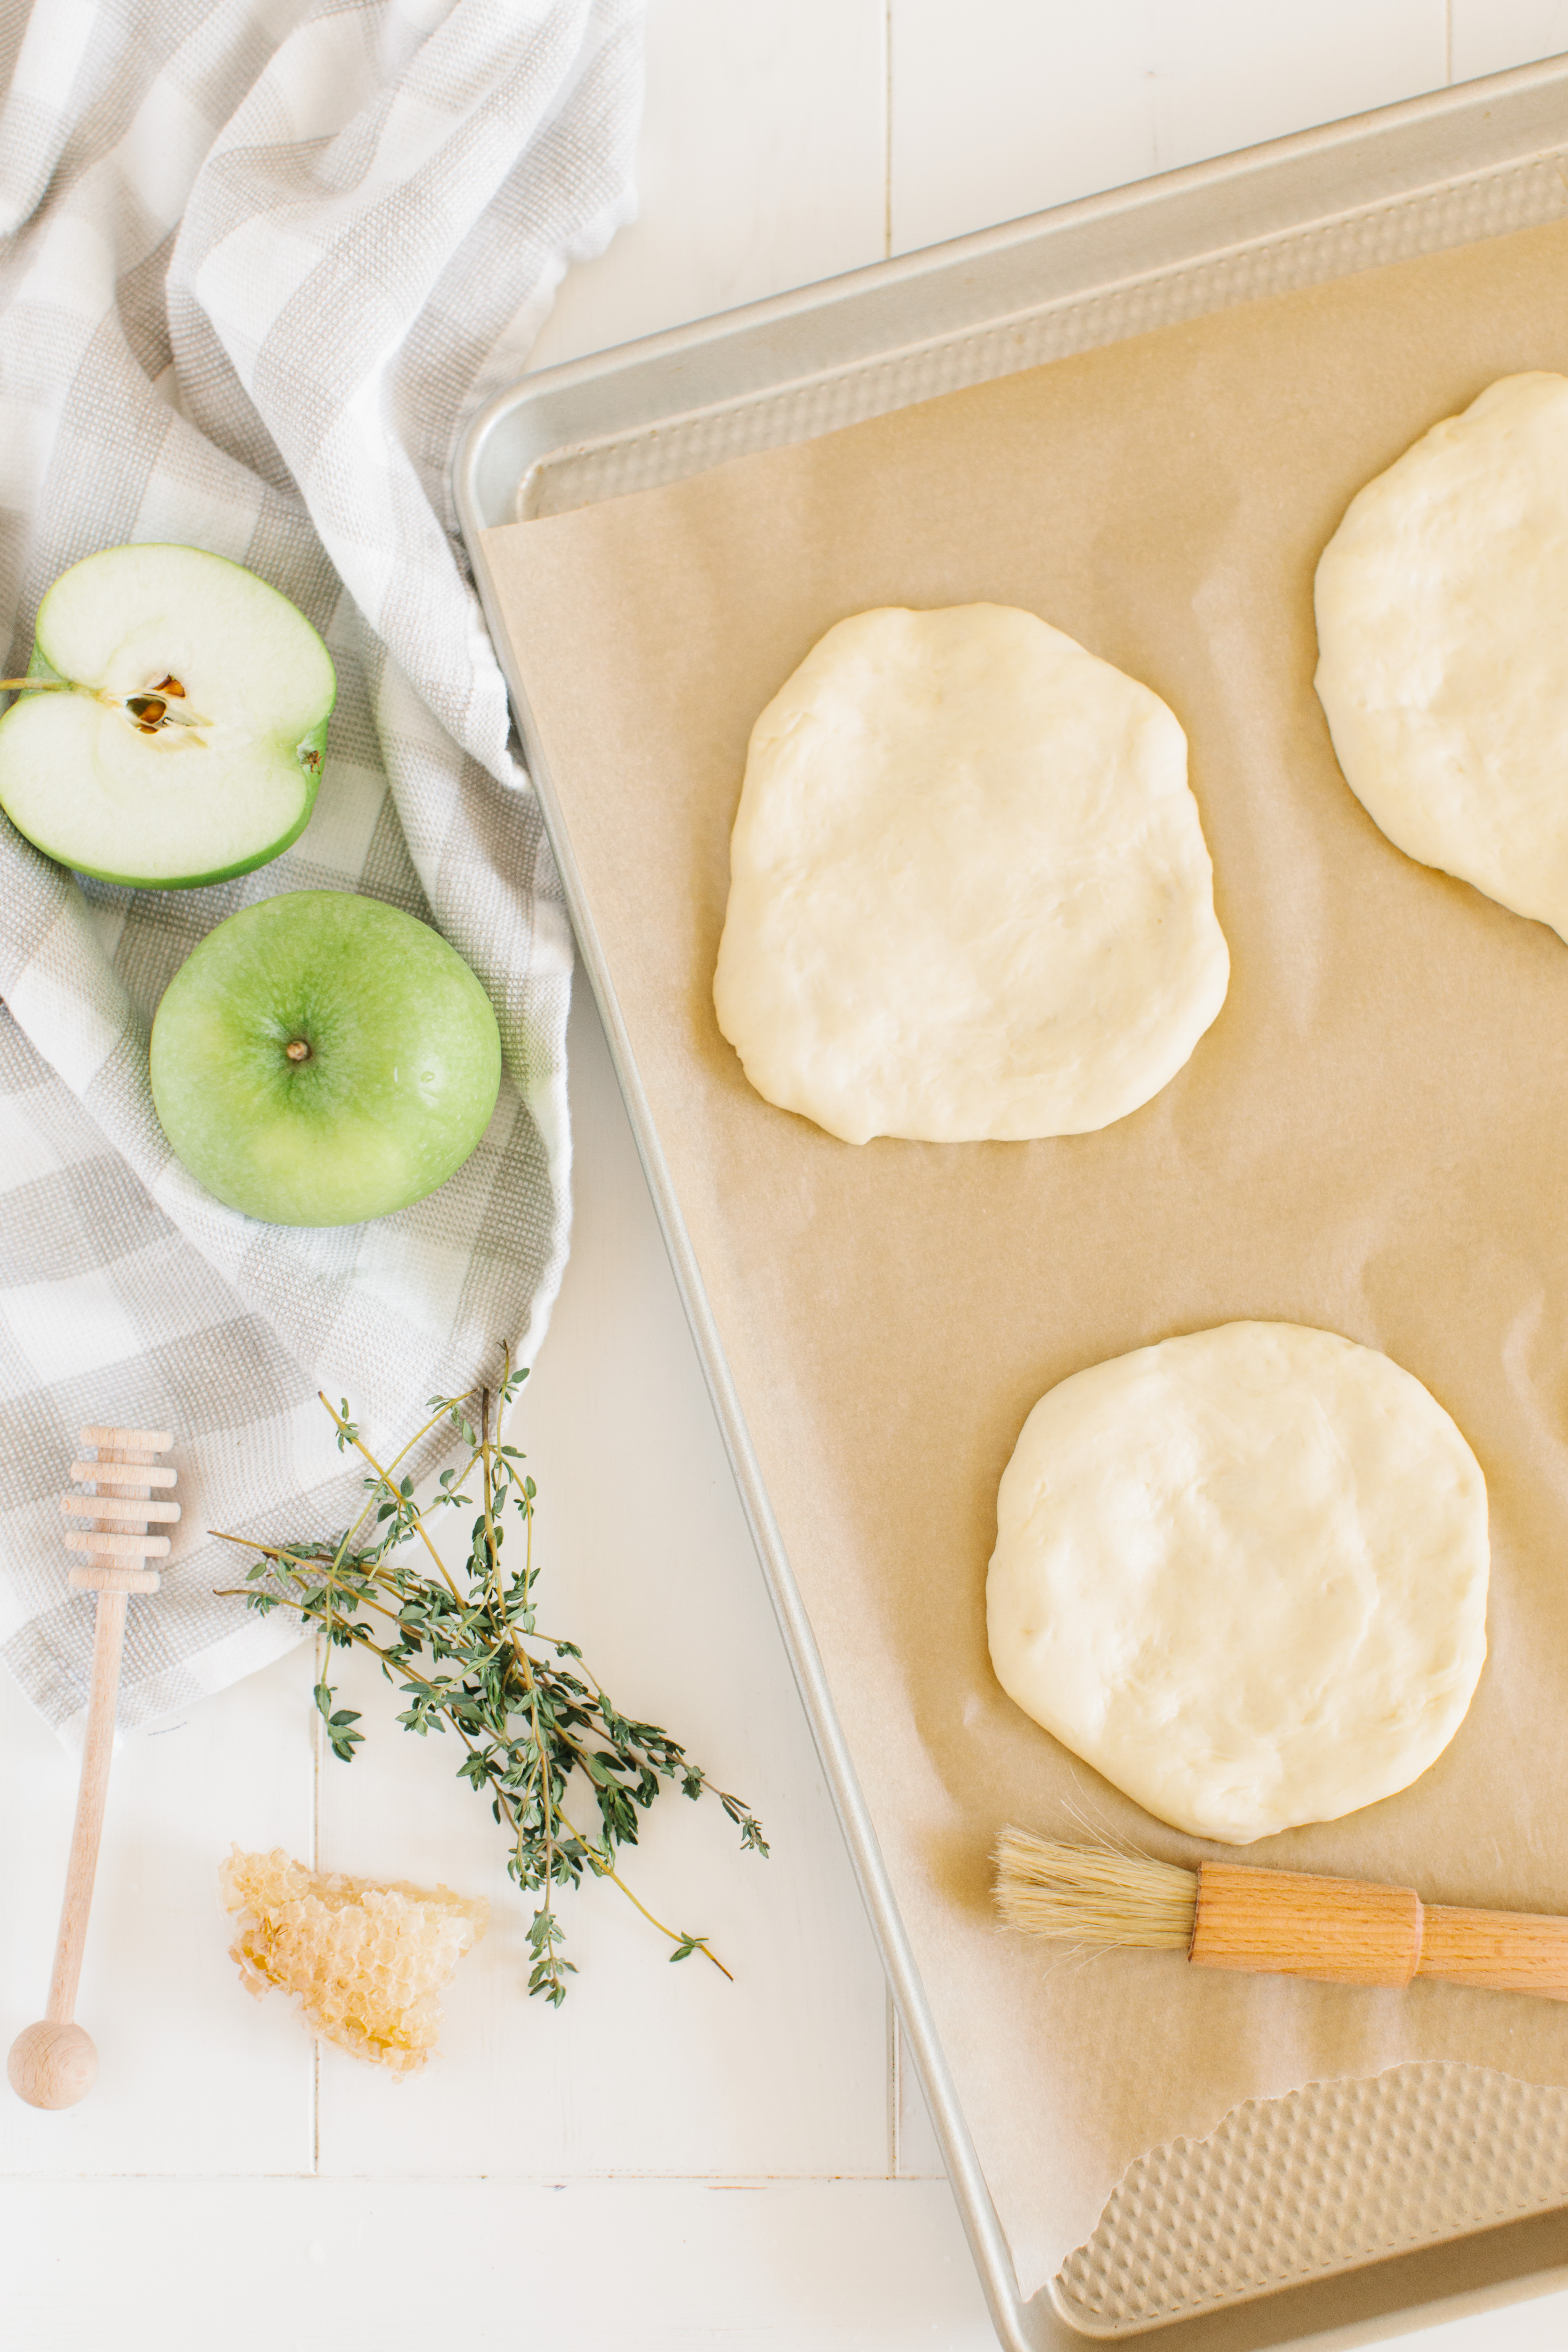
Stretch the balls of dough out with your hands to form individual bases approximately 6” in diameter and place each evenly apart on the baking sheet.
To make the Apple Thyme Focaccia
-
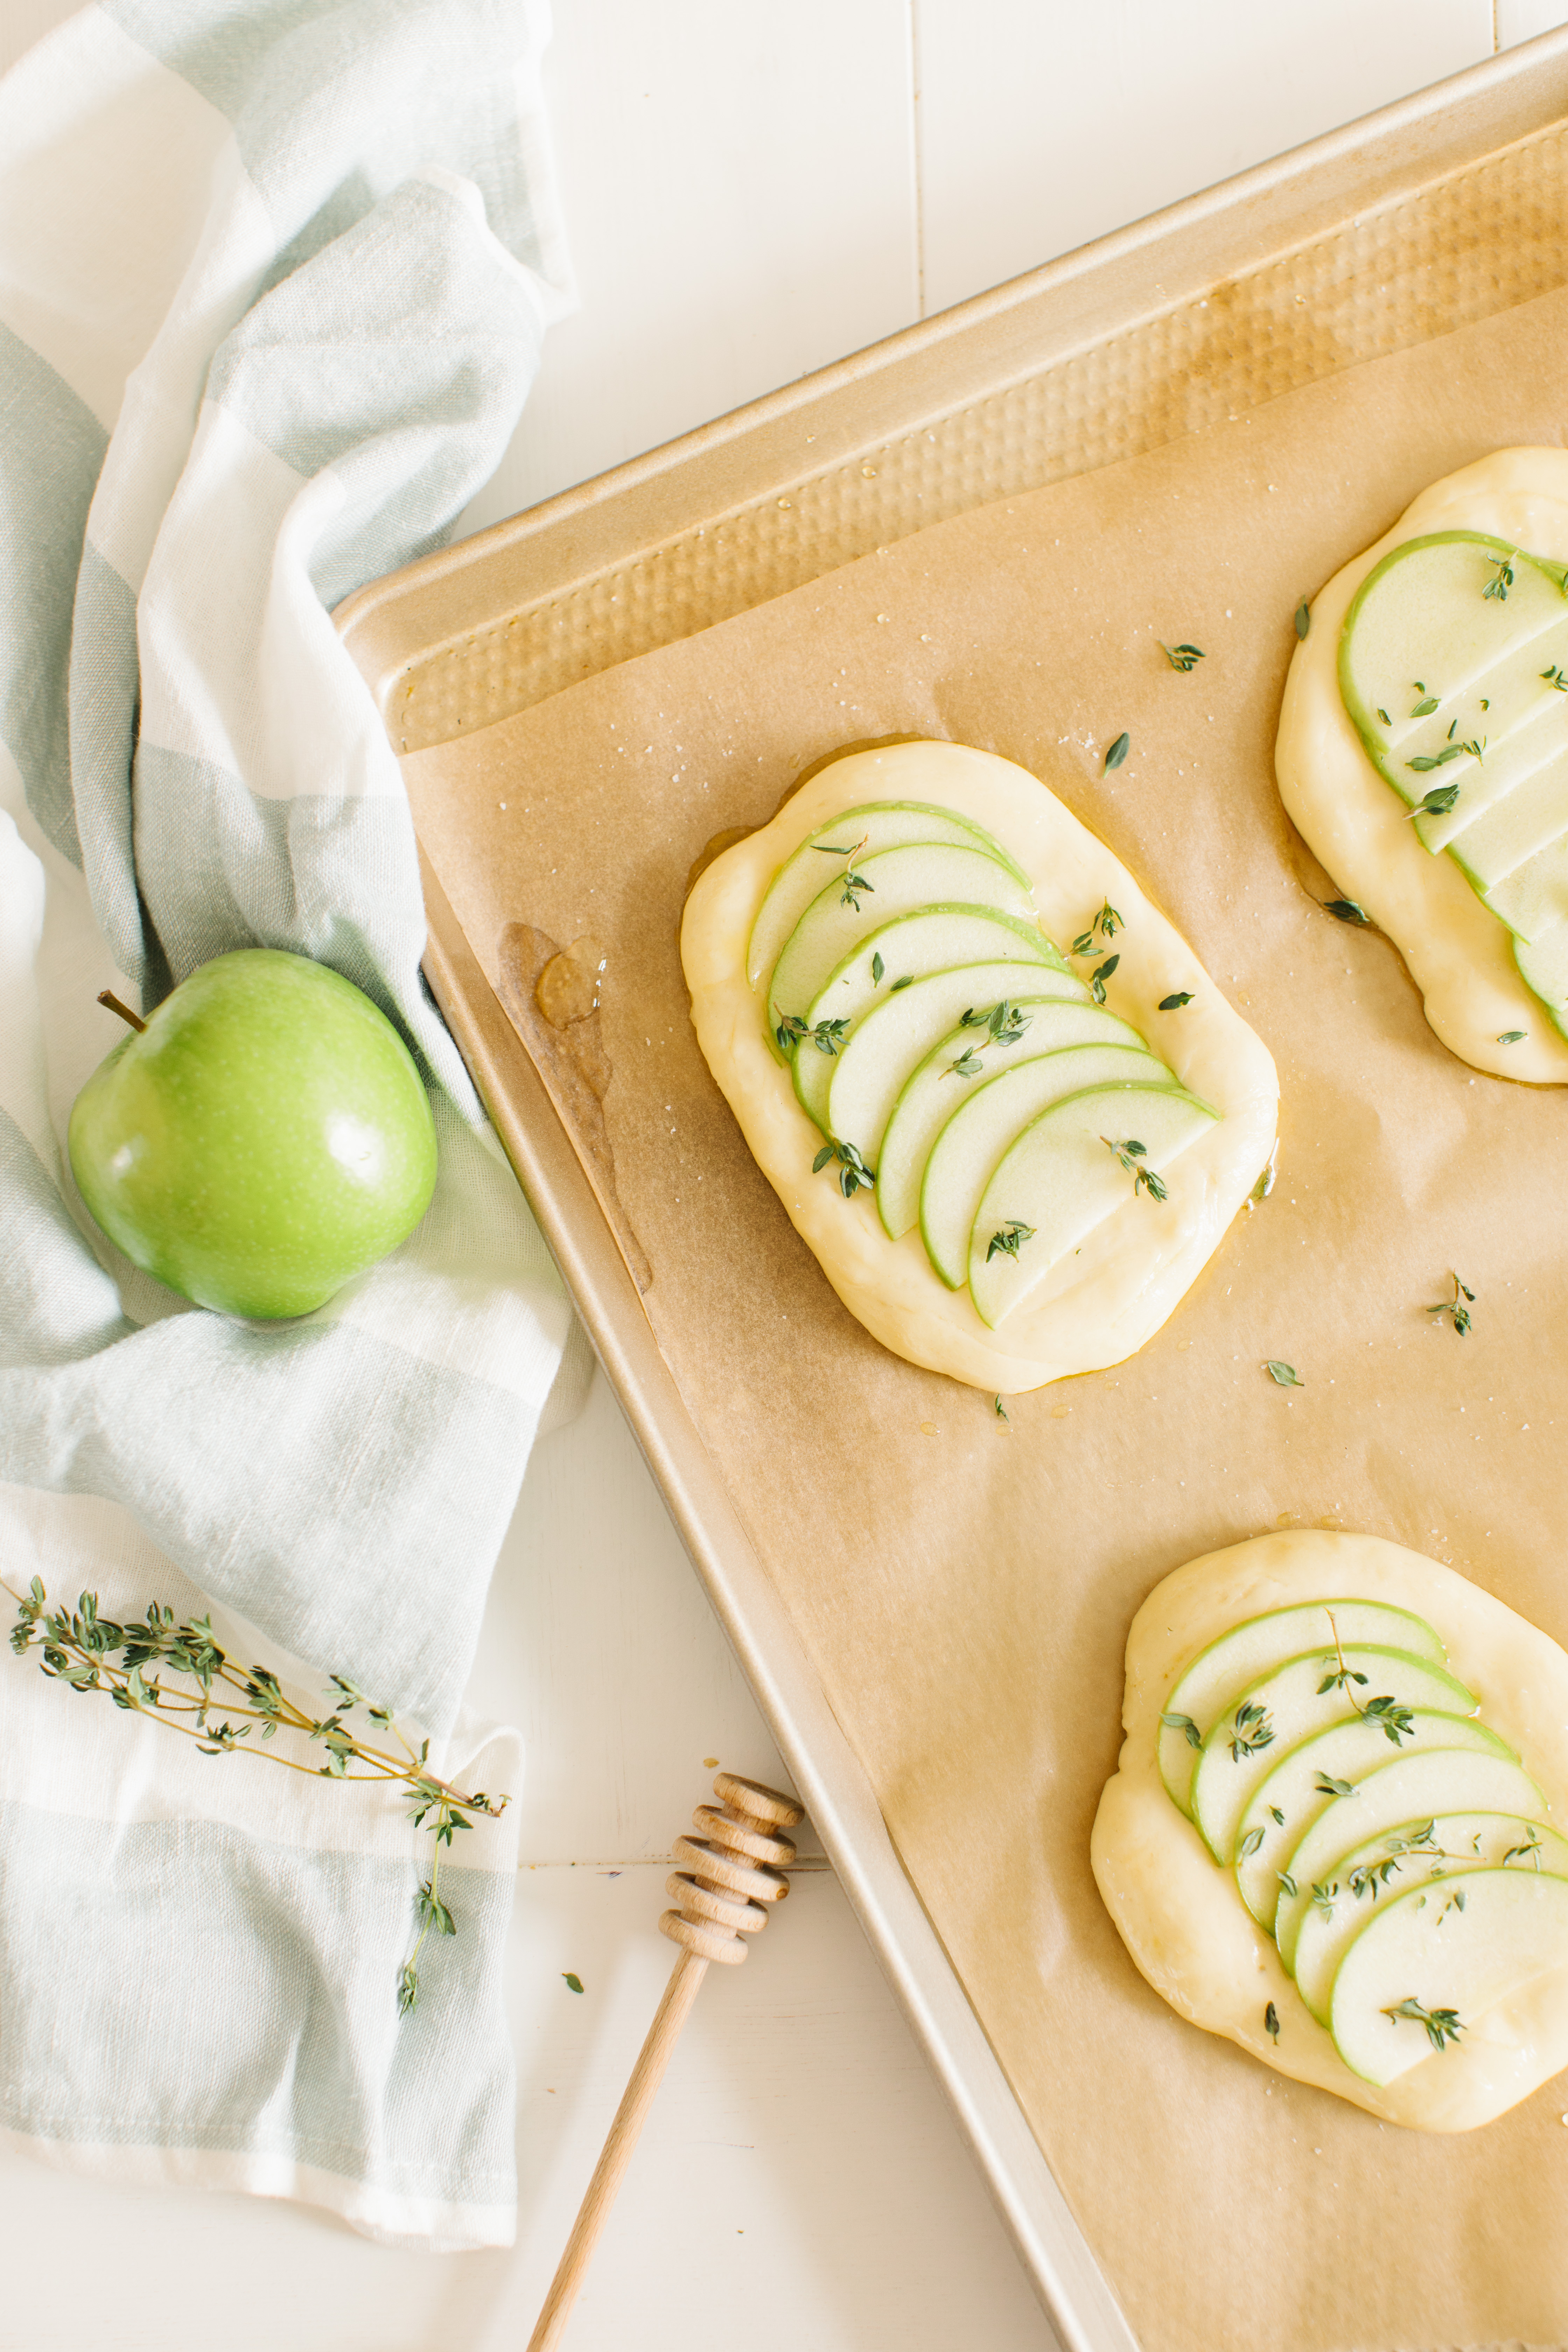
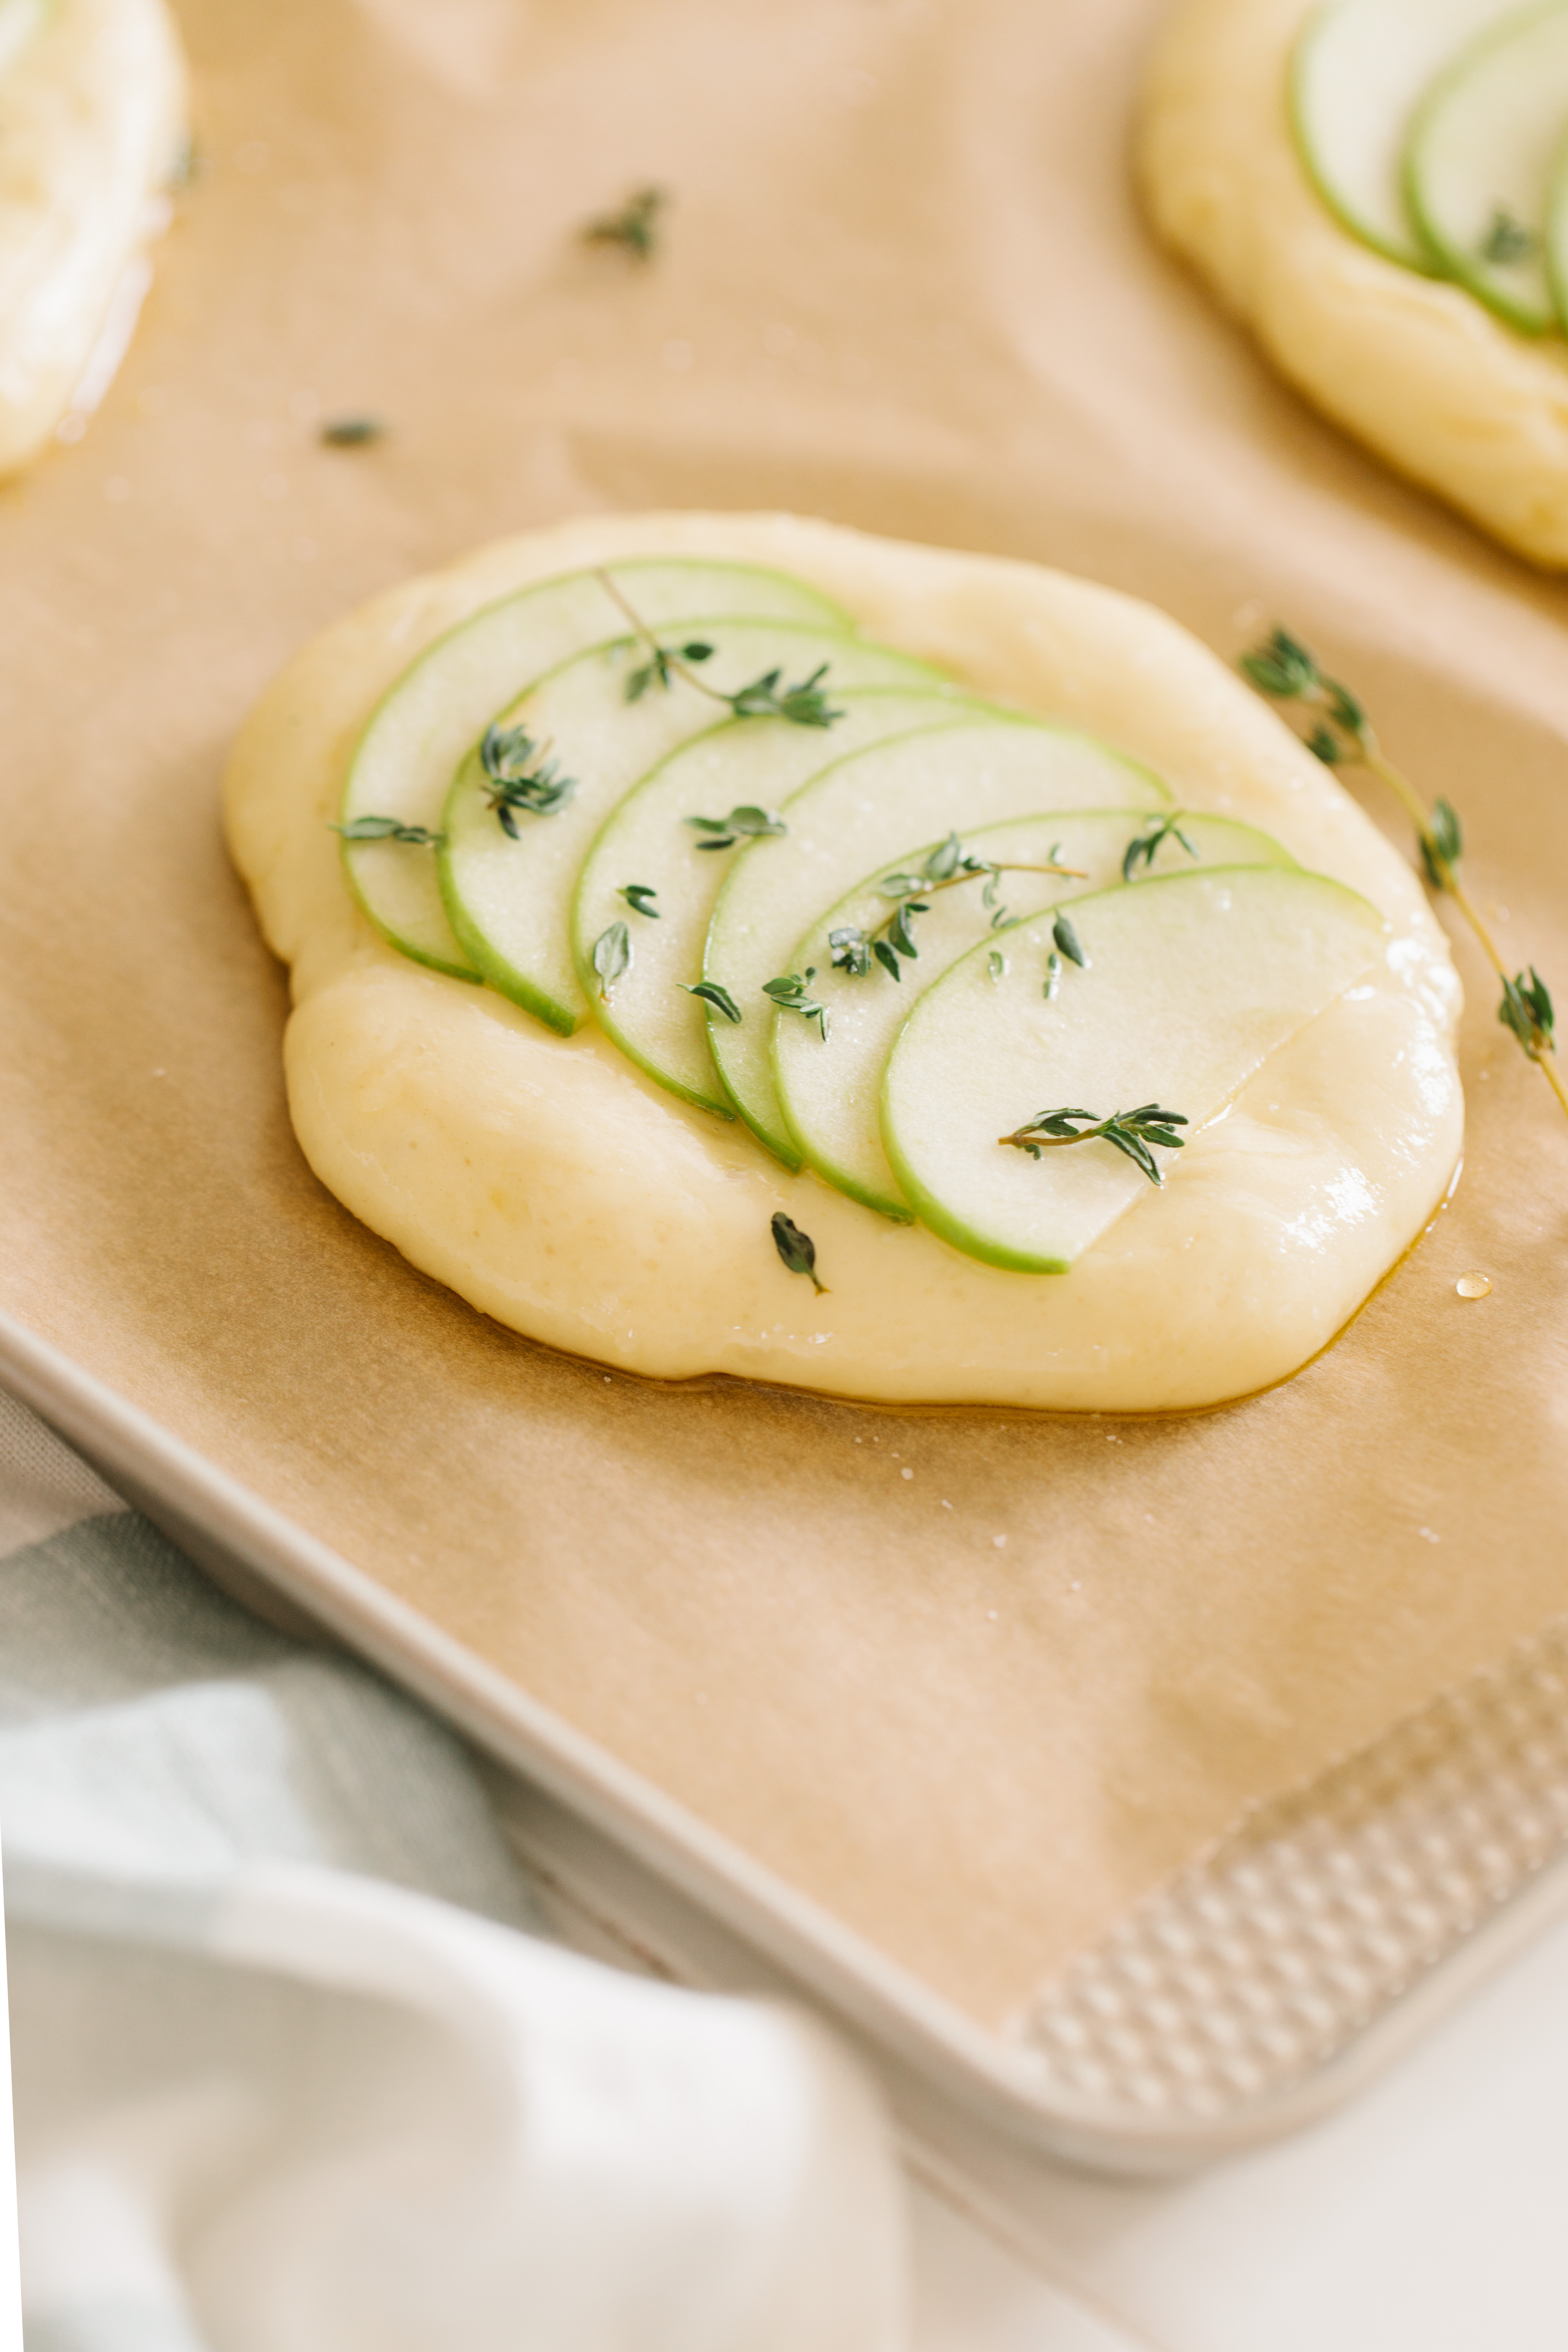
Arrange the apple slices on top of each focaccia and sprinkle each with thyme leaves.
-
Using the water bottle on a mist setting, spray each of the focaccia evenly with the water (don’t be shy, this is what makes them chewy) and place the pan in the oven. Spray the focaccia again every 3 minutes three more times and bake until they are golden brown, approximately 15 minutes in total.
-
Using a pastry brush, bush the tops of the Apple Thyme focaccia generously with the warm honey immediately upon removing them from the oven. Sprinkle very lightly with sea salt or fleur de sel if desired.
Best if served warm from the oven!
Recipe Notes
*we used Granny Smith
Thank you Mackenzie Dempsey for the stunning photography!




I find the dough under the apple slices is very doughy, even after baking it for 20 minutes. Is that normal/okay to eat?
Hi Jess, it may just be the liquid content of your apples but yes it’s ok to eat!
You could try to sauté the apples first before adding them if you wish too.